
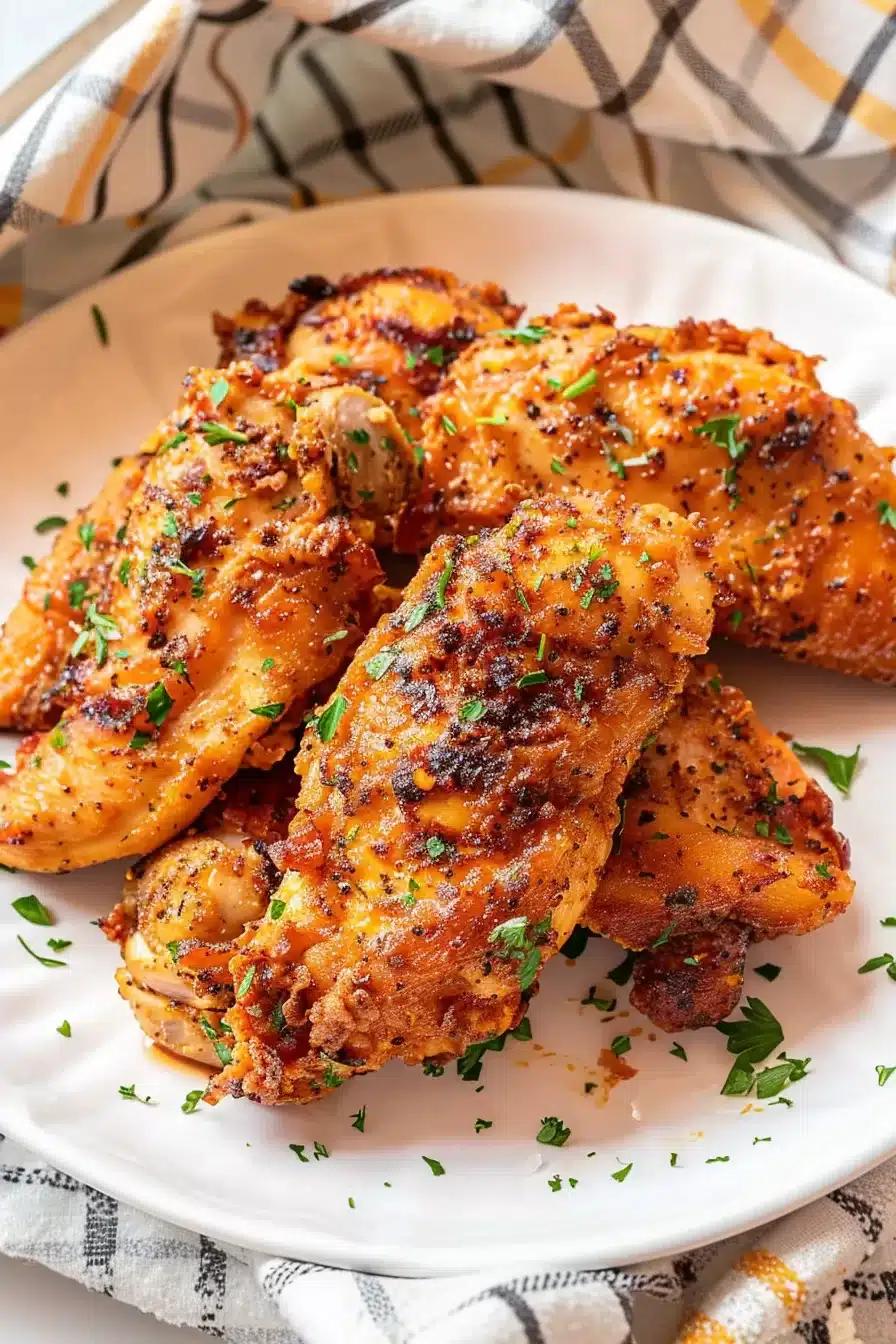
Crispy and tender Texas Roadhouse Chicken Critters made at home with chicken tenderloins, a seasoned flour coating, and your favorite dipping sauces.


Do you ever try a dish at a restaurant and think, why can’t I eat this at home whenever I want? That was me after my first taste of Texas Roadhouse Chicken Critters. It was one of those casual family dinners, the kind where everyone fights over the last bite of something amazing. Spoiler alert: I didn’t win.
My kids? Obsessed. My husband? Already looking up the next time we could visit. Me? Well, I decided I couldn’t wait that long and headed straight to my kitchen to recreate the magic. After a few not-so-crispy attempts (we won’t talk about the oven-baked disaster), I finally nailed it. And now, it’s a family favorite that shows up on our table more than I care to admit.
Why You’ll Love This Texas Roadhouse Chicken Critters Recipe?
- Ridiculously Easy: Seriously, no fancy techniques here—just coat, fry, and devour.
- Crispy Outside, Tender Inside: The perfect combo, am I right?
- Customizable Flavor: Want more spice? Less salt? You’re in charge.
- Kid-Approved: Even the pickiest eaters will be reaching for seconds (and thirds).
- Restaurant Quality at Home: Skip the waitlist and enjoy these in your PJs if you want.
Ingredient Notes:
Let’s break down the essentials that make these critters so good:
- Chicken Tenderloins: Naturally tender, they’re perfect for frying. Don’t have them? Slice up some chicken breasts—they work just as well.
- Seasoned Flour: A mix of paprika, garlic powder, and a pinch of cayenne adds a flavorful kick. You can adjust the spices to suit your taste.
- Egg and Milk Mixture: This is your glue, ensuring every piece of chicken gets that perfect crispy coating.
- Vegetable Oil: Stick with neutral oils like canola or vegetable for the best frying results.

How To Make Texas Roadhouse Chicken Critters?
Step 1: Prepare the Chicken
Start by slicing your chicken tenderloins into even pieces. Keeping them similar in size means they’ll cook evenly. Pro tip: If you’re short on time, pre-sliced chicken tenders work like a charm.
Step 2: Set Up Your Coating Stations
In one shallow dish, whisk together the eggs and milk. In another, mix the flour with paprika, garlic powder, onion powder, salt, and cayenne. These two bowls are the secret to that irresistible crispy coating.
Step 3: Coat the Chicken
Dip each piece of chicken into the egg mixture, ensuring it’s fully covered. Then roll it in the seasoned flour, pressing gently so the coating sticks. Don’t rush this part—it’s the key to getting that restaurant-quality crunch.
Step 4: Heat the Oil
Pour vegetable oil into a large skillet, enough to cover the chicken pieces halfway. Heat it over medium-high heat until a sprinkle of flour sizzles on contact.
Step 5: Fry the Chicken
Working in batches, fry the chicken pieces for 3-4 minutes per side. You’re looking for that golden-brown color that just screams “crispy deliciousness.” Once done, transfer them to a paper towel-lined plate to drain excess oil.
Step 6: Serve and Enjoy
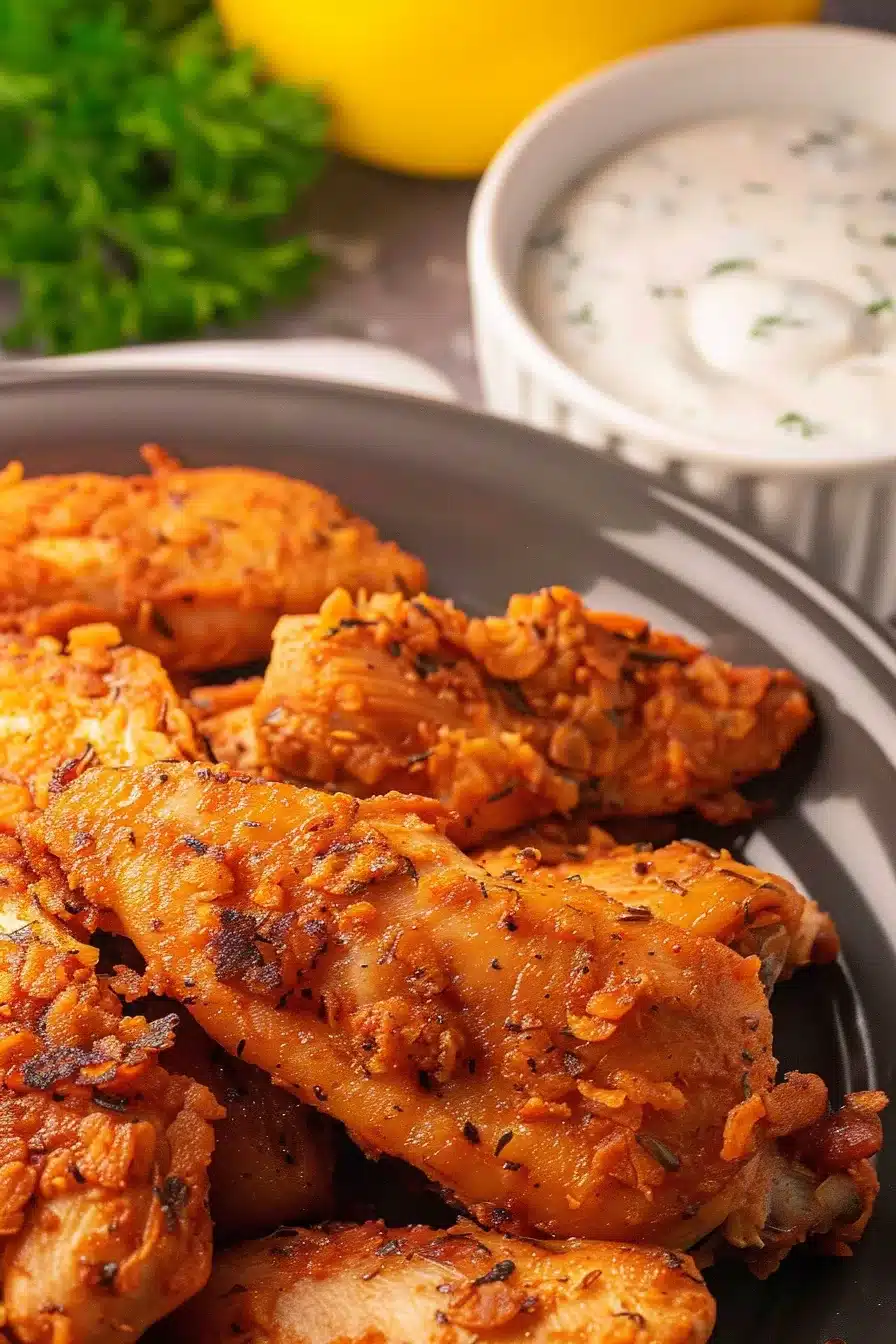
Sprinkle the chicken with a pinch of sea salt while it’s still warm. Serve alongside your favorite dipping sauces—honey mustard, ranch, or buffalo sauce are always a hit.
Want To Save This Recipe?
Storage Options:
- Refrigerate: Store leftovers in an airtight container for up to 3 days. Reheat in the oven or
air fryer to keep them crispy. - Freeze: Flash freeze the cooked chicken pieces on a baking sheet, then transfer to a freezer bag. Reheat directly from frozen for a quick meal.
Variations and Substitutions:
- Gluten-Free: Swap the all-purpose flour for a gluten-free blend.
- Extra Spicy: Add more cayenne or a dash of chili powder to the flour mixture.
- Oven-Baked: For a healthier twist, bake the coated chicken at 400°F for 20-25 minutes, flipping halfway.
- Air Fryer: Cook at 375°F for 12-15 minutes, shaking the basket halfway through.
What to Serve with Texas Roadhouse Chicken Critters?
Complete the meal with these perfect pairings:
- Mashed Potatoes: Creamy comfort food at its best.
- Coleslaw: A refreshing crunch to balance the richness.
- Mac and Cheese: Because you can never have too much indulgence.
- Fresh Veggies: Keep it light with steamed broccoli or a garden salad.
Frequently Asked Questions:
Can I make these ahead of time?
Absolutely! Prep and coat the chicken, then refrigerate until you’re ready to fry.
What’s the best oil for frying?
Stick with neutral oils like vegetable or canola for the best flavor and crispiness.
How do I reheat leftovers without losing the crunch?
Use an oven or
And there you have it—the ultimate Texas Roadhouse Chicken Critters Recipe you can make in your own kitchen. Give it a try, and let me know what dipping sauce you’re pairing it with. I’m always up for new ideas!

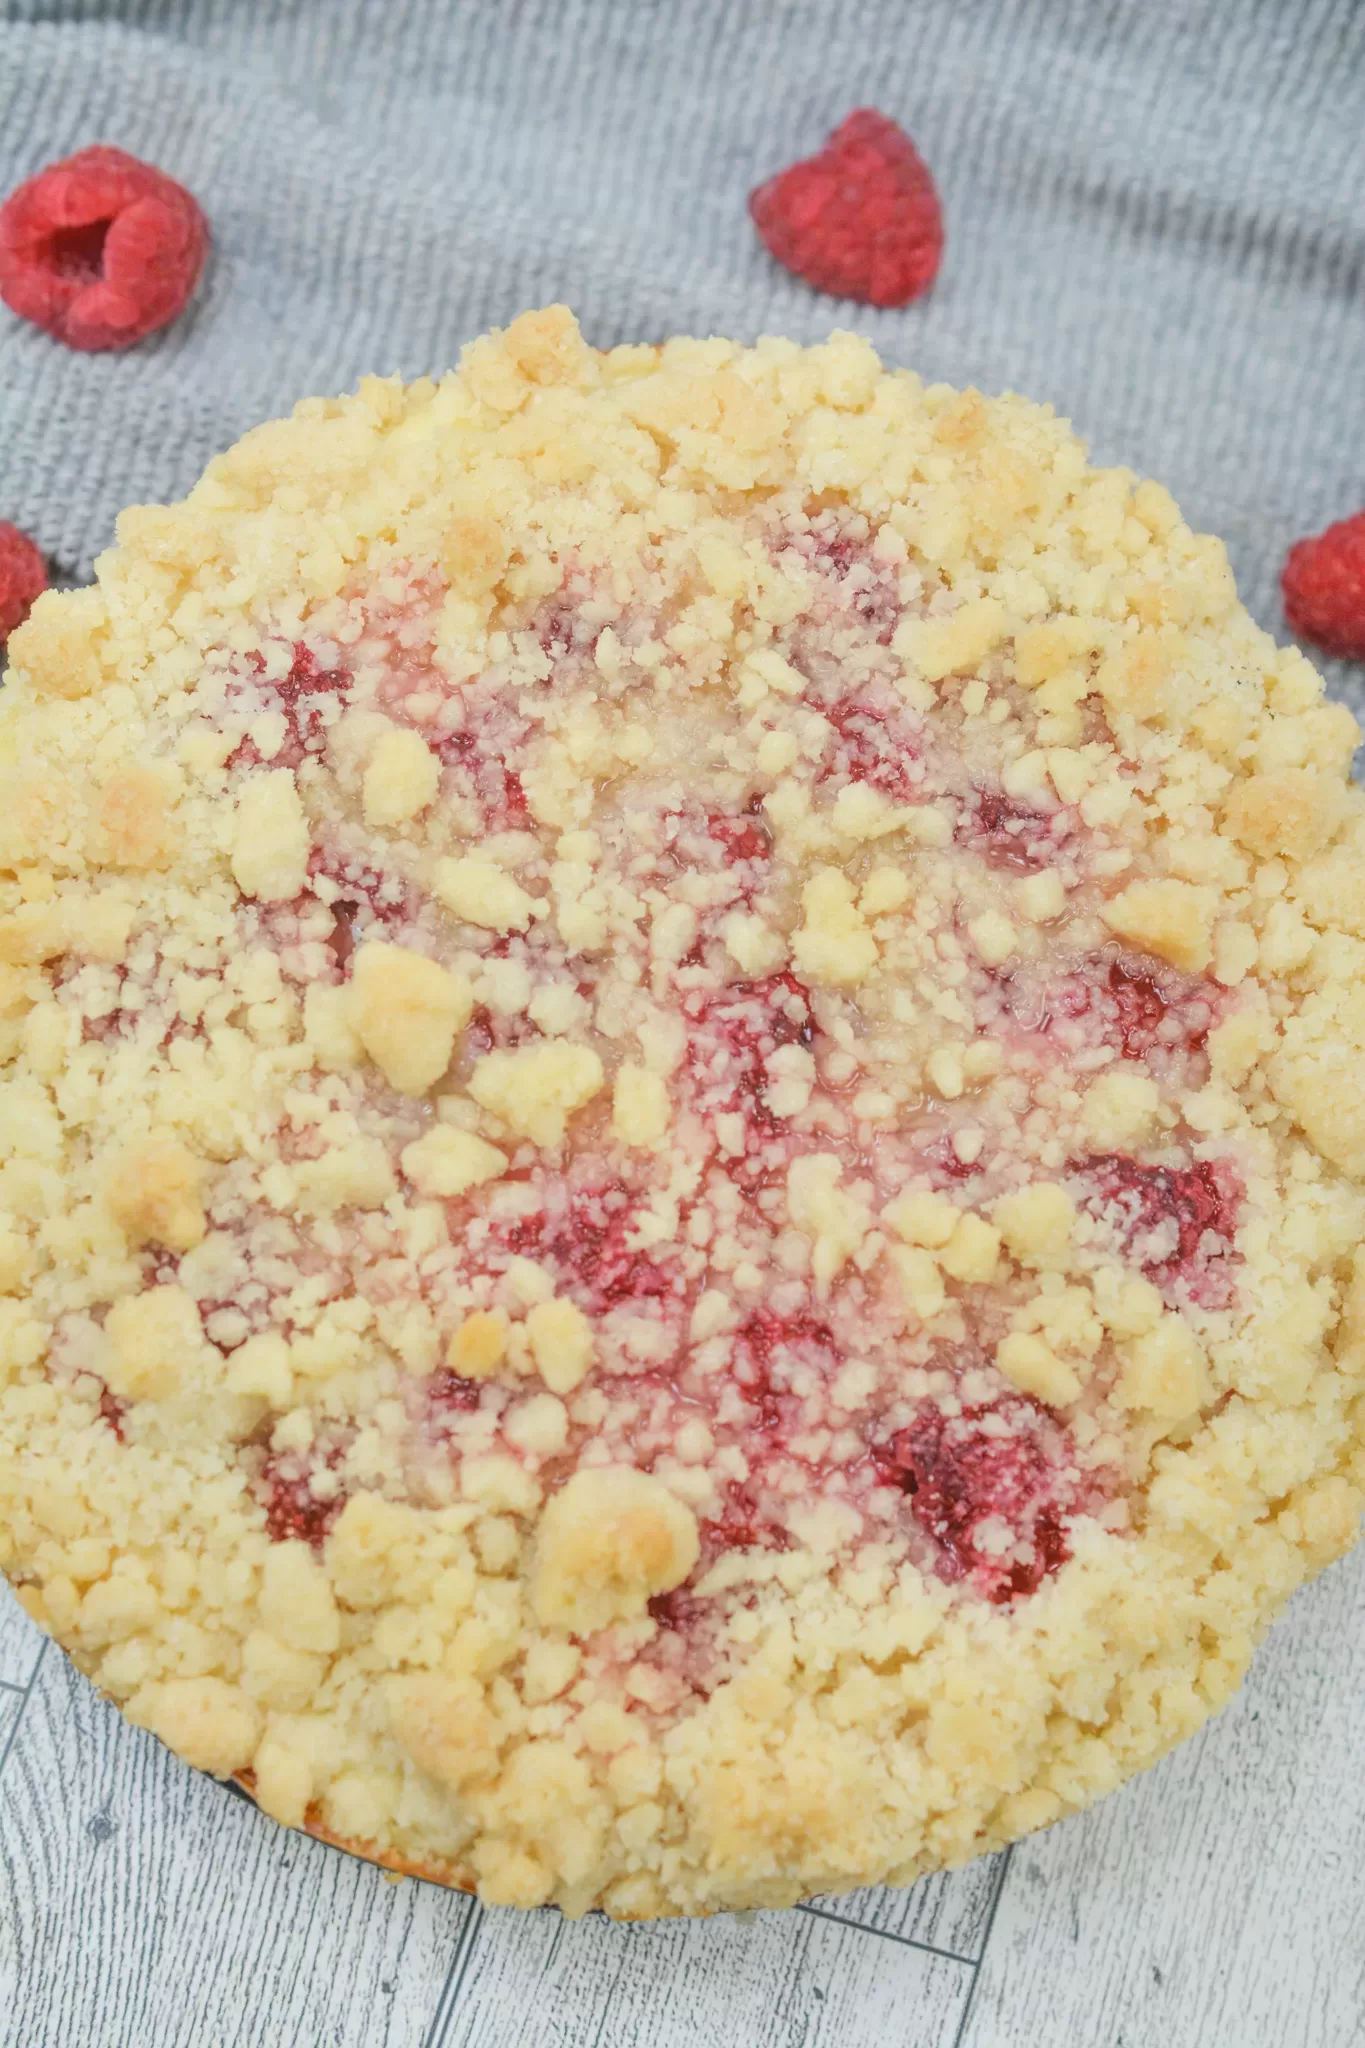
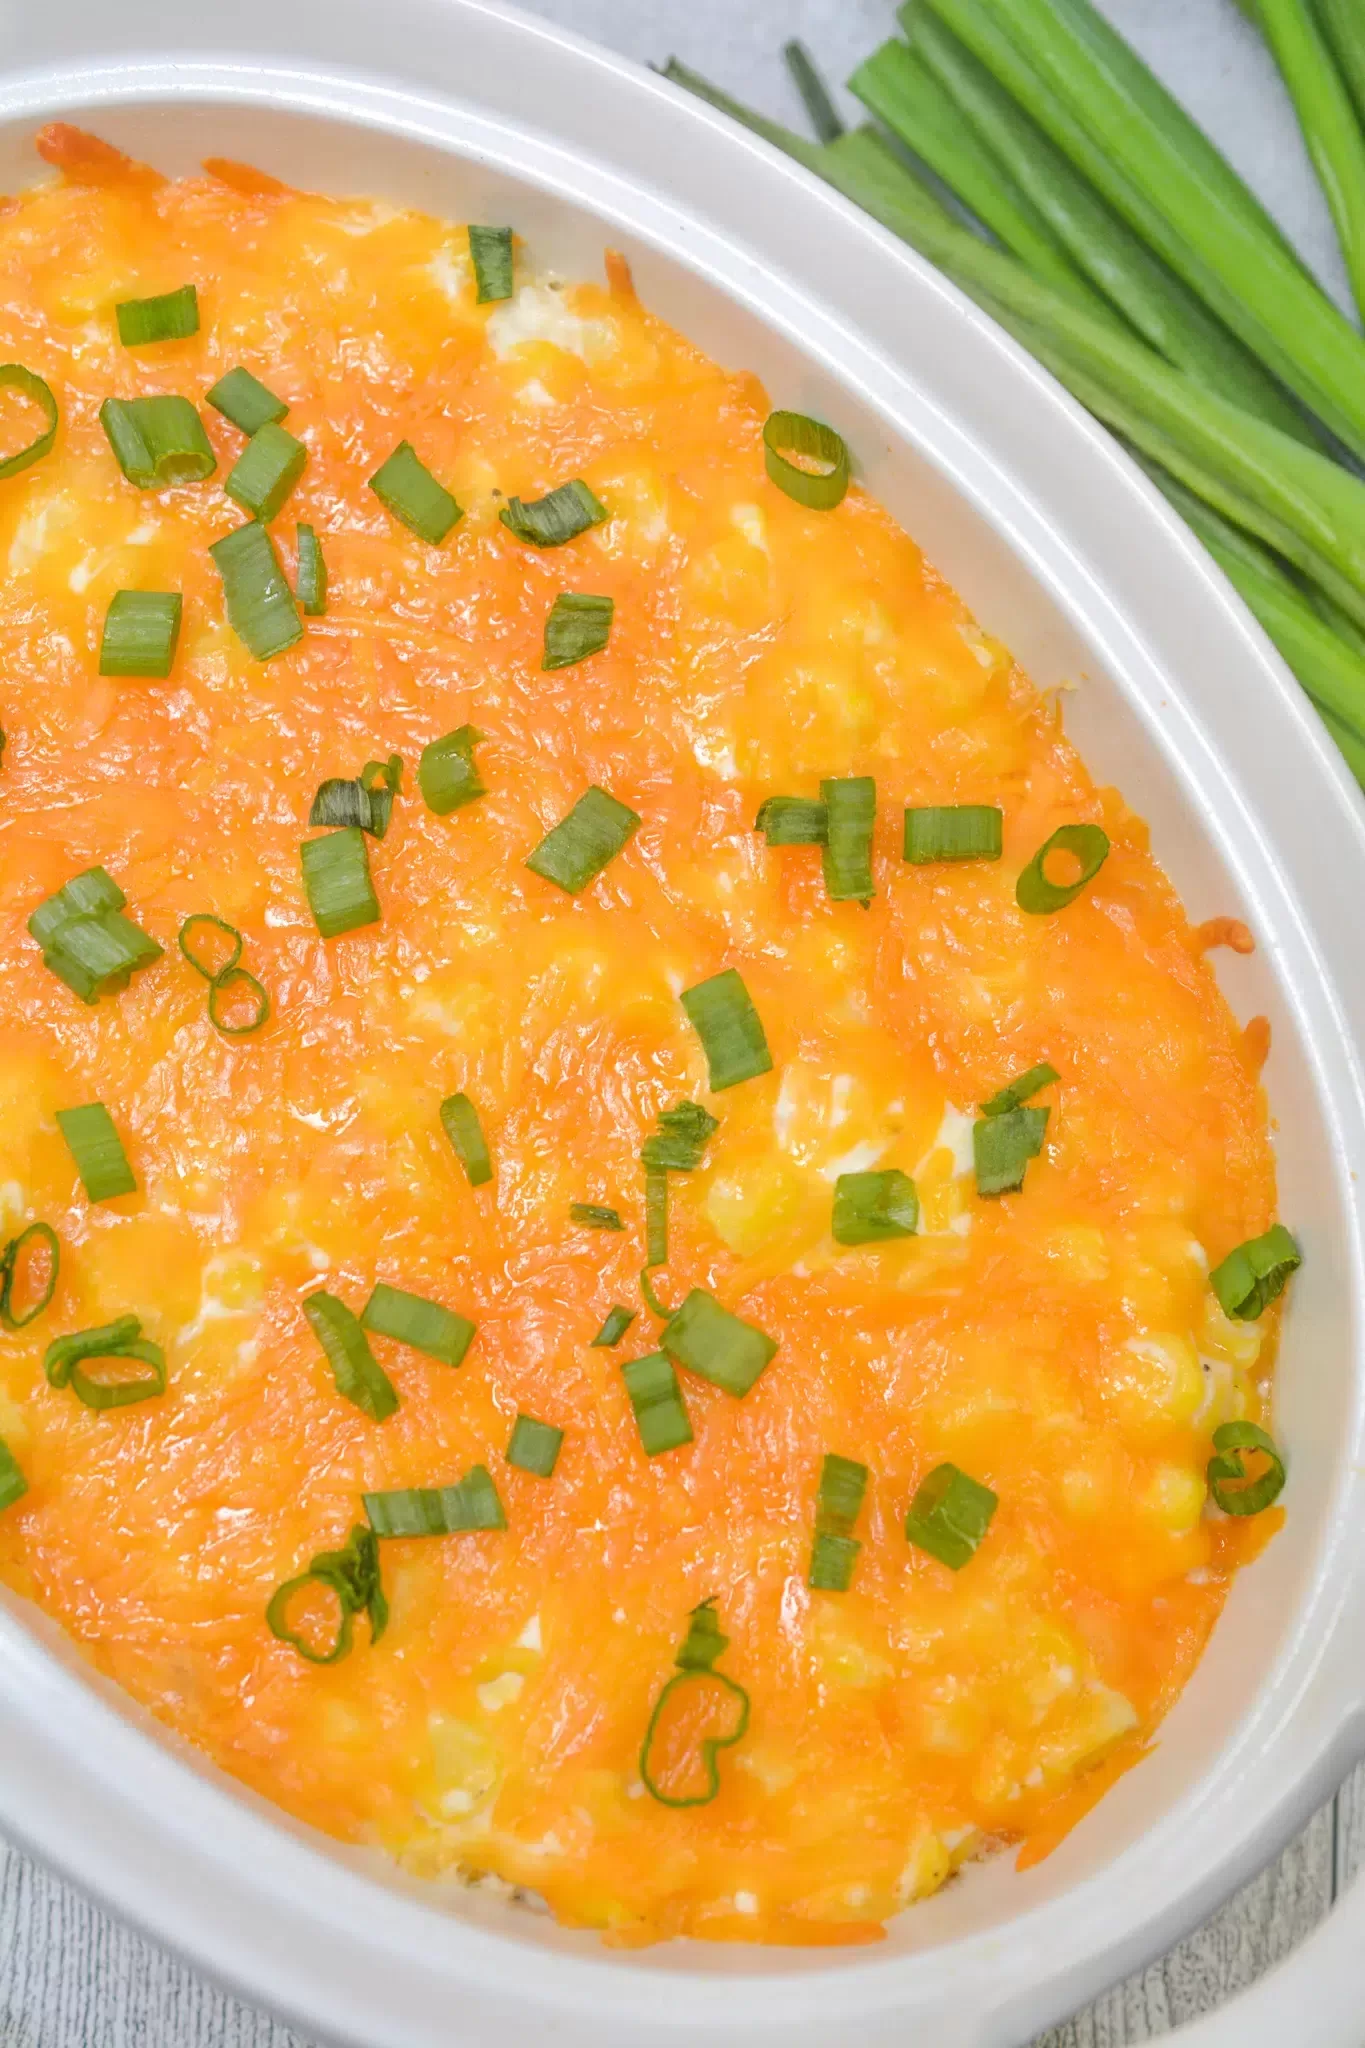
Keep the Flavor Coming – Try These:

Texas Roadhouse Chicken Critters Recipe
Ingredients
- 1 pound boneless skinless chicken tenderloins (or chicken breasts cut into strips)
- 1 cup all-purpose flour
- 2 tablespoons paprika
- 1 tablespoon salt
- 1 teaspoon garlic powder
- 1 teaspoon onion powder
- ¼ teaspoon cayenne pepper
- 2 large eggs
- ½ cup milk
- Vegetable oil for frying
Instructions
Prepare the Chicken
- Begin by slicing the chicken tenderloins into uniform, bite-sized strips if necessary. This ensures even cooking.
Prepare the Seasoned Flour
- In a shallow dish, combine the flour, paprika, salt, garlic powder, onion powder, and cayenne pepper. Mix thoroughly to distribute the spices evenly.
Prepare the Egg Mixture
- In a separate shallow dish, whisk together the eggs and milk until well combined. This mixture acts as the adhesive for the flour coating.
Coat the Chicken
- Dip each piece of chicken into the egg mixture, ensuring it is fully coated. Then, roll it in the seasoned flour mixture, pressing gently to ensure the coating adheres.
Heat the Oil
- In a large skillet, heat vegetable oil over medium-high heat. The oil should be deep enough to submerge the chicken halfway. Test the temperature by sprinkling a small amount of flour into the oil—it should sizzle immediately.
Fry the Chicken
- Carefully place the coated chicken strips into the hot oil in batches. Fry for 3-4 minutes on each side, or until golden brown and fully cooked. Use tongs to transfer the fried chicken to a plate lined with paper towels to drain excess oil.
Serve and Enjoy
- Sprinkle the freshly fried chicken with a pinch of sea salt, if desired. Serve immediately with your choice of dipping sauces.
Notes
I’m Bitty, owner of nodashofgluten.com, where I share simple, delicious recipes for all tastes, including gluten-free. Check out my “About Me” page for more info!

