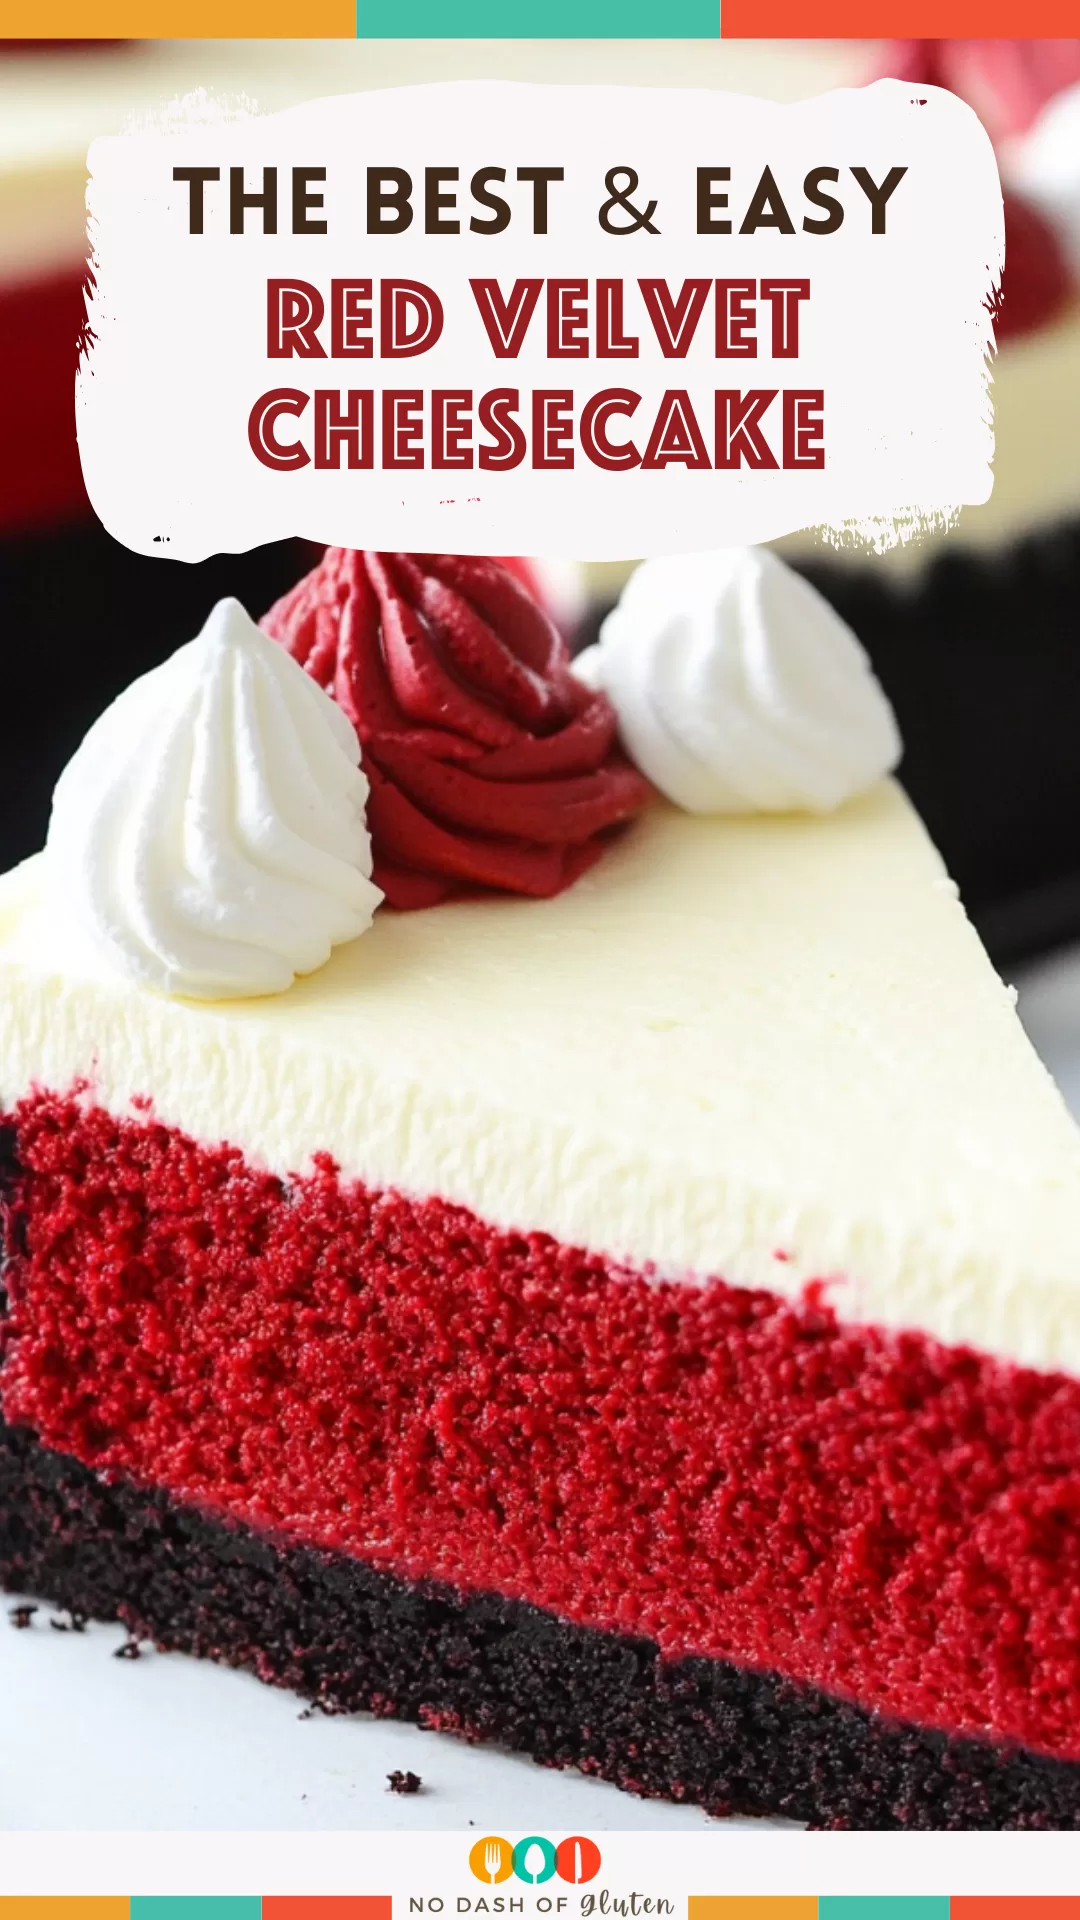
Red Velvet Cheesecake – Okay, confession time—I have a bit of a thing for red velvet. It’s that perfect in-between of chocolatey but not-too-sweet, and let’s be honest, the bright red color makes everything feel fancy. So naturally, I had to level it up with cheesecake.
The first time I made this Red Velvet Cheesecake was for my cousin’s birthday. She’s the kind of person who’ll pass up every dessert on the table except cheesecake, so I knew I had to impress. I wasn’t sure if it would work—would the red velvet flavor come through? Would the cheesecake crack? Would the Oreo crust be too much? Spoiler: it turned out better than I imagined.

Remember it later!
Planning to try this recipe soon? Pin it for a quick find later!
Remember it later!
Planning to try this recipe soon? Pin it for a quick find later!
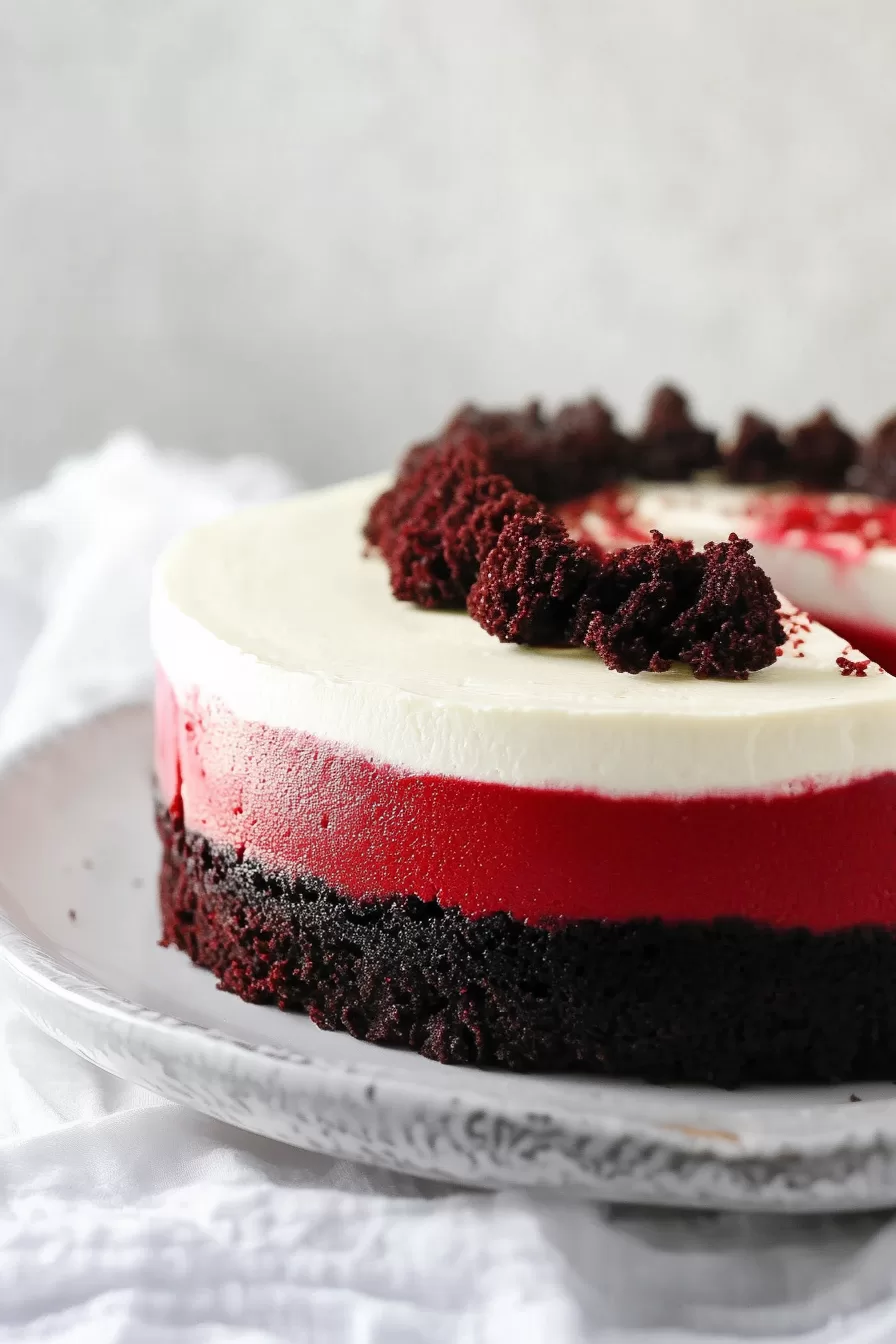
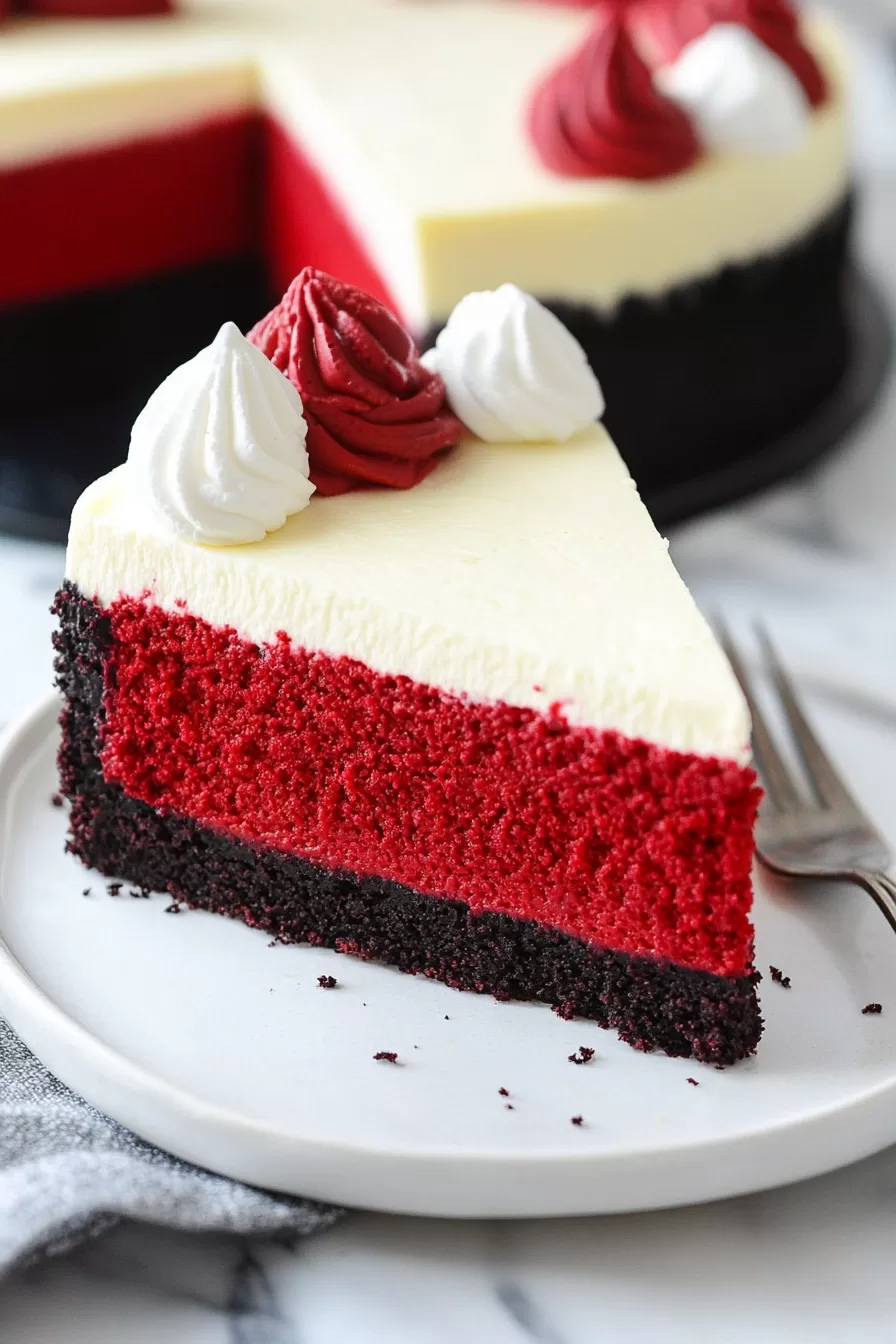
When I pulled it out of the fridge, I’ll admit I was proud (maybe even smug?). The deep red cheesecake against the cream cheese frosting and the dark Oreo crust—it was a moment. And the taste? Tangy, creamy, chocolatey perfection. My cousin still talks about it, and now it’s become a birthday tradition.
Here’s a quick peek at what’s inside:
Table of content
Why You’ll Love This Red Velvet Cheesecake Recipe?
- Two desserts in one: Red velvet + cheesecake = pure magic.
- That Oreo crust: It’s chocolatey, crunchy, and pairs perfectly with the creamy filling.
- Cream cheese frosting: Because a cheesecake without frosting is like a cupcake without icing—good, but not great.
- Looks impressive: This dessert will steal the spotlight on any table.
- Perfect for any occasion: Birthdays, holidays, or just a random Tuesday when you feel like treating yourself.
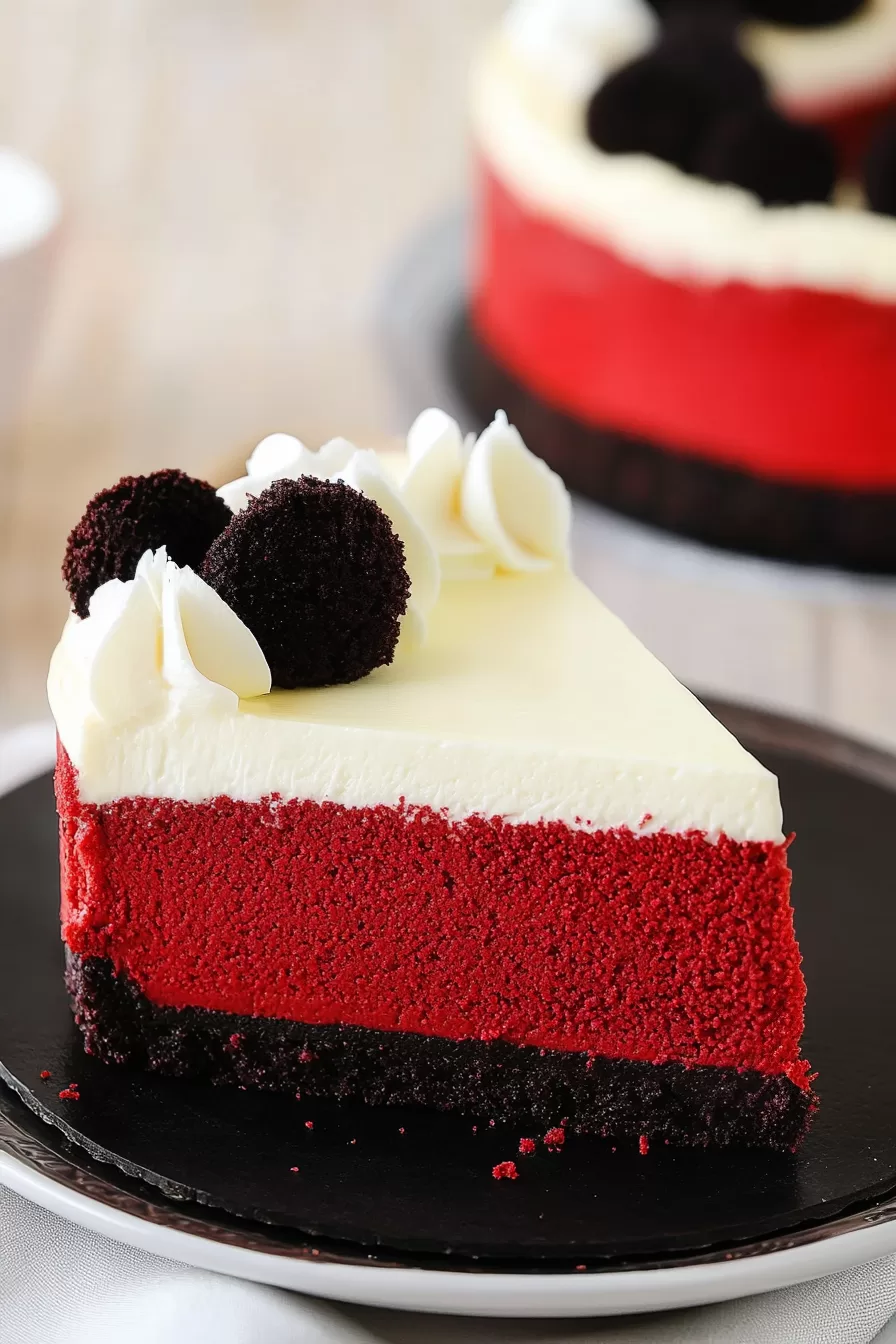
Ingredient Notes:
Here’s why each ingredient is a must:
- OREO cookies: Leave the cream in for extra sweetness—it’s the secret to the best crust.
- Cream cheese: The base for the filling and frosting. Room temperature is key for that smooth texture.
- Sour cream and buttermilk: These add a tangy flavor that balances the sweetness beautifully.
- Cocoa powder: Just a touch for that signature red velvet taste.
- Red food coloring: Essential for that vibrant red hue. No shortcuts here!
- Vanilla extract: Enhances the flavors and adds a touch of warmth.
How To Make Red Velvet Cheesecake?
This cheesecake might seem like a lot, but it’s really just a few simple steps. Let’s break it down:
Step 1: Prepare the Crust
Crush those OREO cookies into fine crumbs. You can use a food processor, or if you’re old school like me, toss them in a zip-top bag and go to town with a rolling pin. Mix the crumbs with melted butter and sugar until it feels like wet sand, then press it firmly into the bottom of a springform pan.
The best part? You don’t even need to bake this crust. Just pop it in the fridge while you prep the filling.
Step 2: Make the Filling
Beat the cream cheese and sugar together until it’s silky smooth. Add the eggs one at a time—don’t rush it! Stir in the cocoa powder, sour cream, buttermilk, vanilla, vinegar, and, of course, the red food coloring. The batter should be creamy, slightly thick, and a gorgeous shade of red.
Step 3: Bake It
Pour the filling over your crust. If you’re using a water bath (which helps prevent cracks), wrap the pan in foil to keep the water out. Place it in a roasting pan with about an inch of hot water and bake at 325°F for 10 minutes. Lower the heat to 300°F and bake for 75 minutes.
Here’s the thing: if it cracks, don’t stress. The frosting covers it, and no one will ever know.
Let it cool in the oven for 30 minutes with the door slightly open, then transfer it to a wire rack. Once it’s at room temperature, refrigerate it overnight. Trust me, the wait is worth it.
Step 4: Frost It
Whip up the frosting by beating cream cheese, butter, powdered sugar, and vanilla until smooth and fluffy. Spread it generously over the top of your chilled cheesecake.
Storage Options:
- Refrigerator: Keep it covered for up to 5 days (if it lasts that long).
- Freezer: Wrap individual slices in plastic wrap and freeze for up to 3 months. Let them thaw in the fridge overnight before serving.
Variations and Substitutions:
Want to switch it up? Here are some ideas:
Want To Save This Recipe?
Enter your email below and we'll send the recipe straight to your inbox.
- Crust options: Try graham crackers, shortbread, or even ginger snaps.
- Natural coloring: Use beet juice or natural food coloring for a more subtle red hue.
- Chocolate drizzle: Melt some dark chocolate and drizzle it over the frosting for extra flair.
- Gluten-free: Use gluten-free OREOs and double-check all other ingredients.
What to Serve with Red Velvet Cheesecake?
This cheesecake is fabulous on its own, but here are a few pairings to make it even better:
- Coffee: A bold espresso or cappuccino cuts through the richness.
- Fresh berries: Strawberries or raspberries add a refreshing pop of flavor.
- Wine: A sweet dessert wine or a crisp sparkling rosé feels extra indulgent.
- Ice cream: Vanilla or chocolate ice cream on the side? Yes, please.
Frequently Asked Questions:
Do I need the water bath?
It’s optional, but it helps keep the cheesecake creamy and crack-free. If you skip it, no biggie—the frosting will cover any imperfections.
How far in advance can I make this?
It’s actually better if you make it a day or two ahead. The flavors develop, and the texture gets even creamier.
What if I don’t have buttermilk?
No problem. Just mix ½ cup of milk with 1 tablespoon of vinegar or lemon juice, let it sit for 5 minutes, and you’re good to go.
And there you have it—Red Velvet Cheesecake that’s as delicious as it is beautiful. Whether it’s for a special celebration or just because you’re craving something decadent, this cheesecake is a winner. Give it a try, and let me know how it turns out—I’d love to hear all about it!
Remember it later!
Planning to try this recipe soon? Pin it for a quick find later!
Remember it later!
Planning to try this recipe soon? Pin it for a quick find later!
Keep the Flavor Coming – Try These:
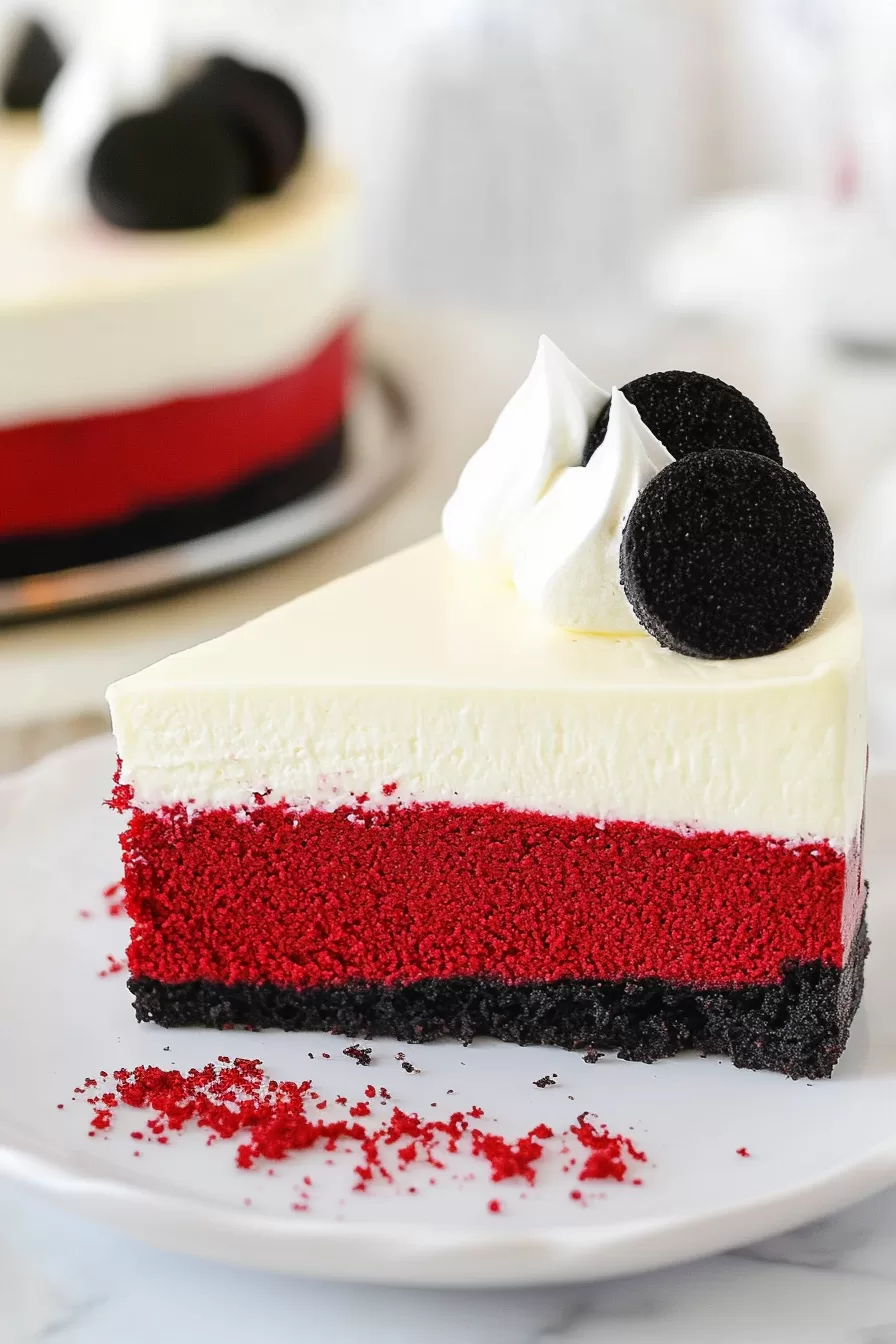
Red Velvet Cheesecake
Ingredients
For the Crust:
- 17 OREO cookies with cream filling, crushed into crumbs
- ¼ cup ½ stick butter, melted
- 1 tablespoon granulated sugar
For the Cheesecake Filling:
- 24 ounces 3 packages cream cheese, softened to room temperature
- 1½ cups granulated sugar
- 4 large eggs lightly beaten
- 3 tablespoons unsweetened cocoa powder
- 1 cup sour cream
- ½ cup buttermilk
- 2 teaspoons vanilla extract
- 1 teaspoon distilled white vinegar
- 2 ounces red food coloring two 1-ounce bottles
For the Cream Cheese Frosting:
- 3 ounces cream cheese
- ¼ cup ½ stick butter, softened
- 2 cups powdered sugar sifted
- 1 teaspoon vanilla extract
- Mint sprigs for garnish optional
Instructions
Prepare the Crust:
- Combine the OREO cookie crumbs, melted butter, and granulated sugar in a medium mixing bowl. Mix until well combined and the texture resembles wet sand.
- Spray the bottom and sides of a 9-inch springform pan with nonstick spray. Press the crust mixture firmly into the bottom of the pan to create an even layer.
- Refrigerate the crust while preparing the filling.
Prepare the Cheesecake Filling:
- Preheat the oven to 325°F. If using the water bath method, prepare a large roasting pan with about 1 inch of water and place it in the oven to preheat. Alternatively, place the roasting pan on a lower rack and bake the cheesecake on a rack above the water.
- In a large mixing bowl, beat the cream cheese and granulated sugar on medium-low speed with an electric mixer for approximately 1 minute, or until smooth.
- Gradually add the eggs, cocoa powder, sour cream, buttermilk, vanilla extract, white vinegar, and red food coloring. Mix on low speed until all ingredients are well combined, being careful not to overmix.
- Pour the cheesecake batter over the prepared crust in the springform pan.
Bake the Cheesecake:
- If using the water bath method, wrap the springform pan with two layers of heavy-duty aluminum foil to prevent water from seeping in. Place the pan in the preheated water bath. Alternatively, place the springform pan on a rack above the water bath.
- Bake at 325°F for 10 minutes, then reduce the oven temperature to 300°F. Continue baking for an additional 75 minutes, or until the center is set but still slightly jiggly.
- Turn off the oven and let the cheesecake cool in the oven with the door slightly ajar for 30 minutes.
- Remove the cheesecake from the oven and carefully take it out of the water bath (if used). Allow it to cool on a wire rack to room temperature before refrigerating. Chill the cheesecake for at least 8 hours or overnight.
Prepare the Cream Cheese Frosting:
- In a medium mixing bowl, beat the cream cheese and butter on medium speed until smooth and creamy.
- Gradually add the powdered sugar and vanilla extract, beating until the frosting is well combined and fluffy.
Assemble the Cheesecake:
- Remove the chilled cheesecake from the springform pan and transfer it to a serving platter.
- Spread the cream cheese frosting evenly over the top of the cheesecake.
- Garnish with mint sprigs, if desired.
Notes

I’m Bitty, owner of nodashofgluten.com, where I share simple, delicious recipes for all tastes, including gluten-free. Check out my “About Me” page for more info!


