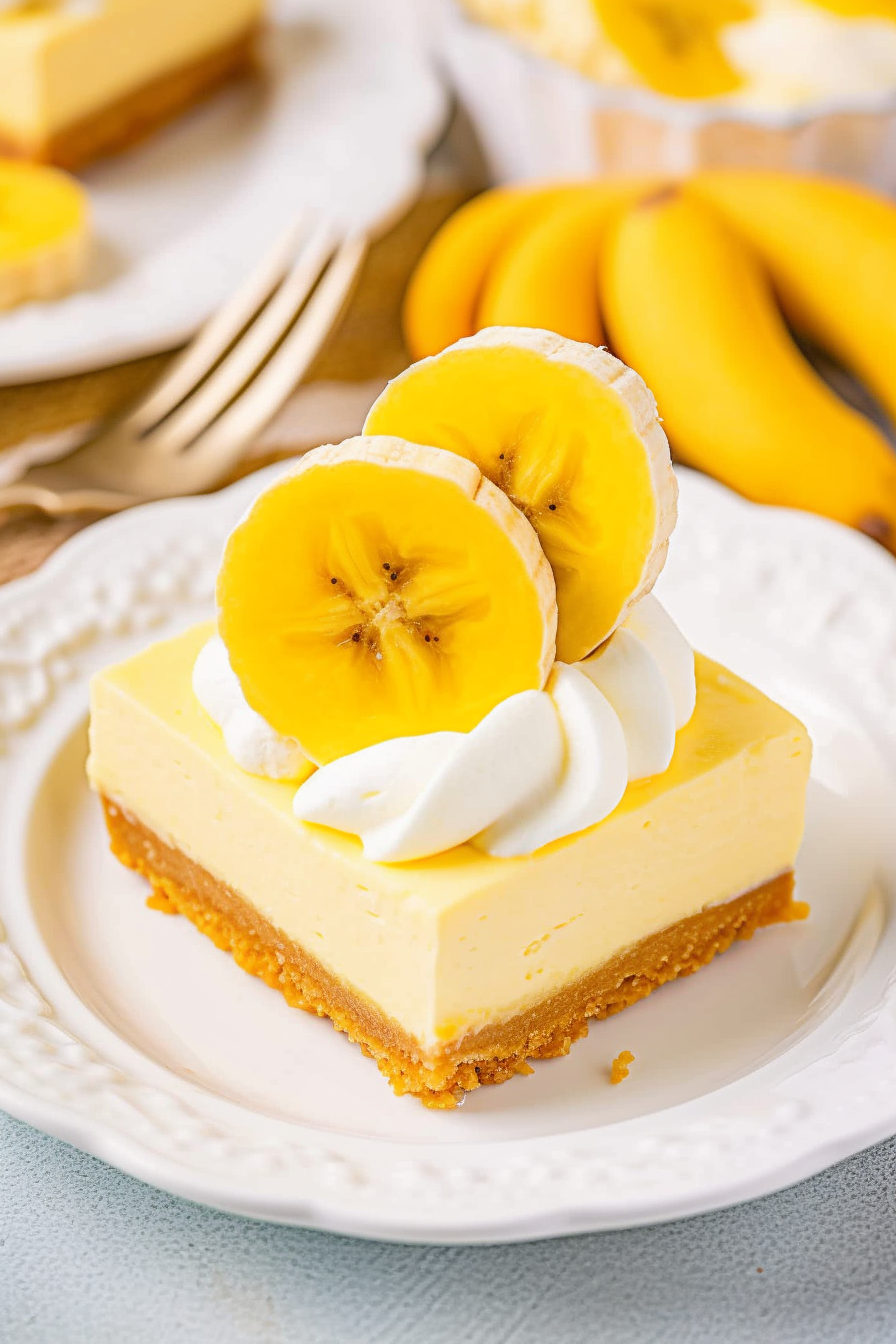
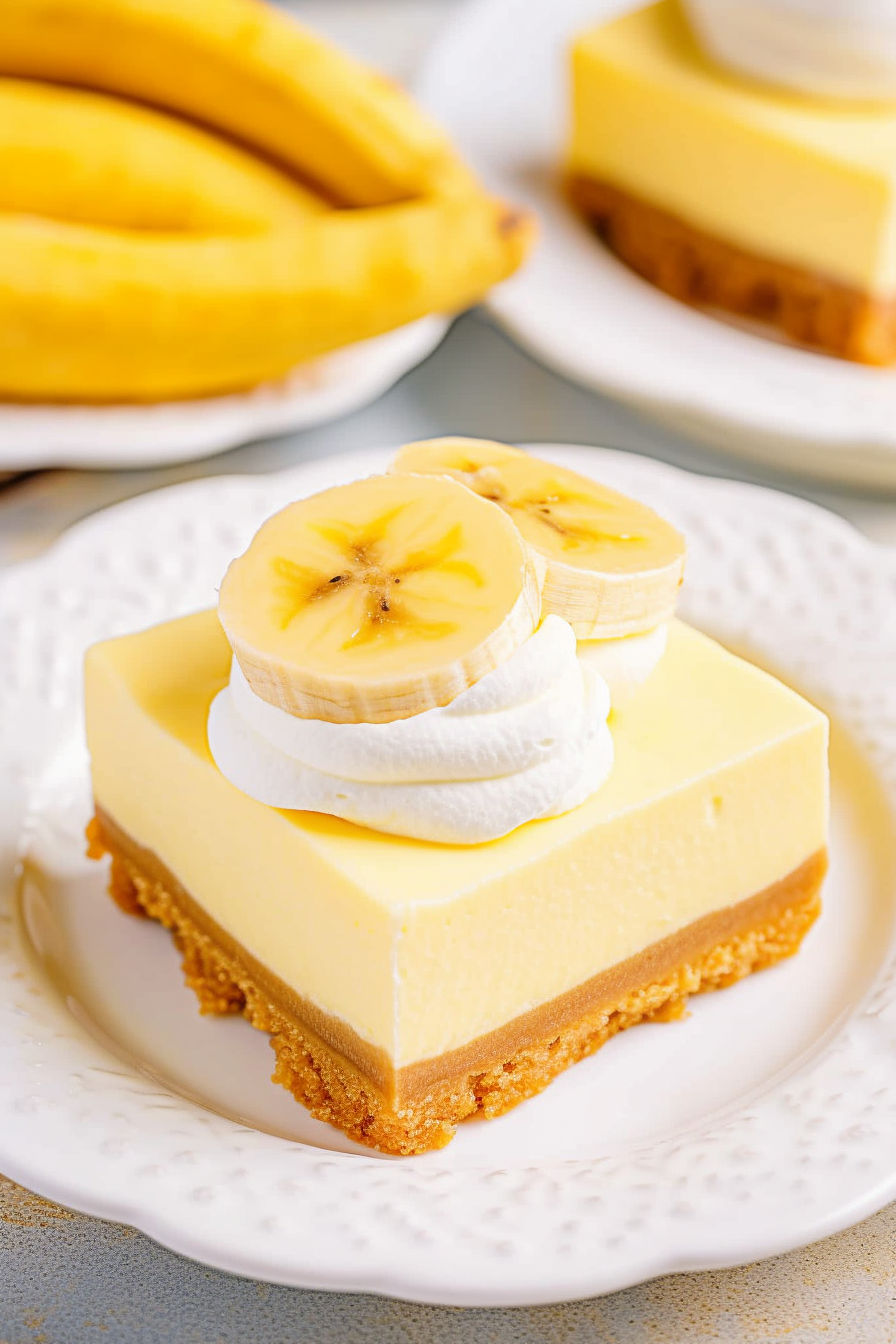
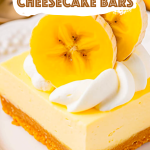
Banana Cream Cheesecake Bars – Savor the delightful indulgence of Banana Cream Cheesecake Bars. These bars bring together the velvety goodness of cream cheese, the freshness of bananas, and the nostalgic taste of Nilla Wafers creating a dessert that shines bright. Whether you’re hosting a family get-together or enjoying a dinner, at home this treat is guaranteed to leave a lasting impression!
I can still vividly recall the first time I whipped up these Banana Cream Cheesecake Bars. The mouthwatering aroma filled my kitchen. Created an atmosphere brimming with excitement. When my husband took his first bite his eyes lit up in surprise. As for my little one? Let’s just say he couldn’t resist stopping at one. The plate was practically wiped clean within minutes. That’s when I knew I had struck gold.
What makes this Banana Cream Cheesecake Bar truly stand out?
In a world of desserts, our Banana Cream Cheesecake Bars stand out as a no-bake wonder that flawlessly combines the creamy elegance of cheesecake with the beloved crunchiness of Nilla Wafers. It’s not just a dessert; it’s an experience where each bite offers a blend of luxurious creaminess and delightful crunch making it an irresistible treat for both young and old alike. Whether you’re seeking a fix or aiming to be the hero, at a potluck gathering these bars promise to captivate everyone’s taste buds with their universal appeal.
What You Need To Make This Banana Cream Cheesecake Bars Recipe?
Nilla Wafers: These cookies are not your everyday ones. Their gentle vanilla flavor and light texture make them the underappreciated heroes of our crust. When finely crushed they form the base for a crust that’s not only crispy but also nostalgically delightful.
Unsalted Butter: We choose unsalted butter to regulate the sodium level. Its main purpose is to bind those Nilla crumbs and provide that rich buttery depth. When melted perfectly it seamlessly combines with the wafers.
Heavy Whipping Cream: This is where the magic unfolds. Luxurious and thick it transforms our bars into a wonderland. Whisked properly it adds an airy touch that makes the cheesecake filling feel light yet indulgent.
Sugar: Just the right amount to balance the flavors. It sweetens without overpowering ensuring that both banana and cheese flavors still shine through.
Cream Cheese: The foundation of our bars. It’s crucial for it to be softened in order to achieve that melt-in-the-mouth texture. Its creamy tang complements, the hints of banana pudding mix resulting in a flavor profile that harmoniously blends together.
Instant Banana Cream Pudding Mix: This ingredient acts as a weapon. Not only does it introduce the banana element. It also guarantees that our bars have a consistently creamy texture throughout. Moreover, it’s a time saver as it effortlessly enhances the banana flavor without any hassle.
Whipped Topping: This wonderful addition brings an airy element to our bars. It’s like the finishing touch. With an extra fluffiness! Consider it as the touch of elegance that adds both appeal and a light creamy texture.
Banana Slices: The inclusion of banana slices not only introduces a burst of natural sweetness but also offers a soft chewy texture that beautifully contrasts with the crust. Additionally, it serves as a reminder of the star ingredient. The banana!
Steps To Make Banana Cream Cheesecake Bars:
Step 1: Start by prepping an 8×8″ baking dish. Line it lovingly with parchment paper.
Step 2: In a medium bowl, mix the Nilla Wafer crumbs and the melted butter together. This mixture should remind you of sandy beaches.
Step 3: Gently press this mixture into the baking dish, creating a perfect crusty base.
Step 4: Pop it into the fridge to chill and set. Meanwhile, imagine the amazing dessert that’s about to come to life.
Step 5: In a chilled bowl (because it gives the best results), whip up the heavy cream and sugar using a handheld mixer. Keep going till you see stiff peaks forming. It’s like magic!
Step 6: Now, in another bowl, it’s time to give the cream cheese a good beating until it’s all smooth and creamy.
Step 7: Add the pudding mix to the cream cheese, and beat again till they’re dancing together in harmony.
Step 8: Now, fold in the whipped cream. Oh, the creaminess!
Step 9: Pour this heavenly filling into our chilled crust.
Step 10: Cover and give it some alone time in the refrigerator for at least 8 hours.
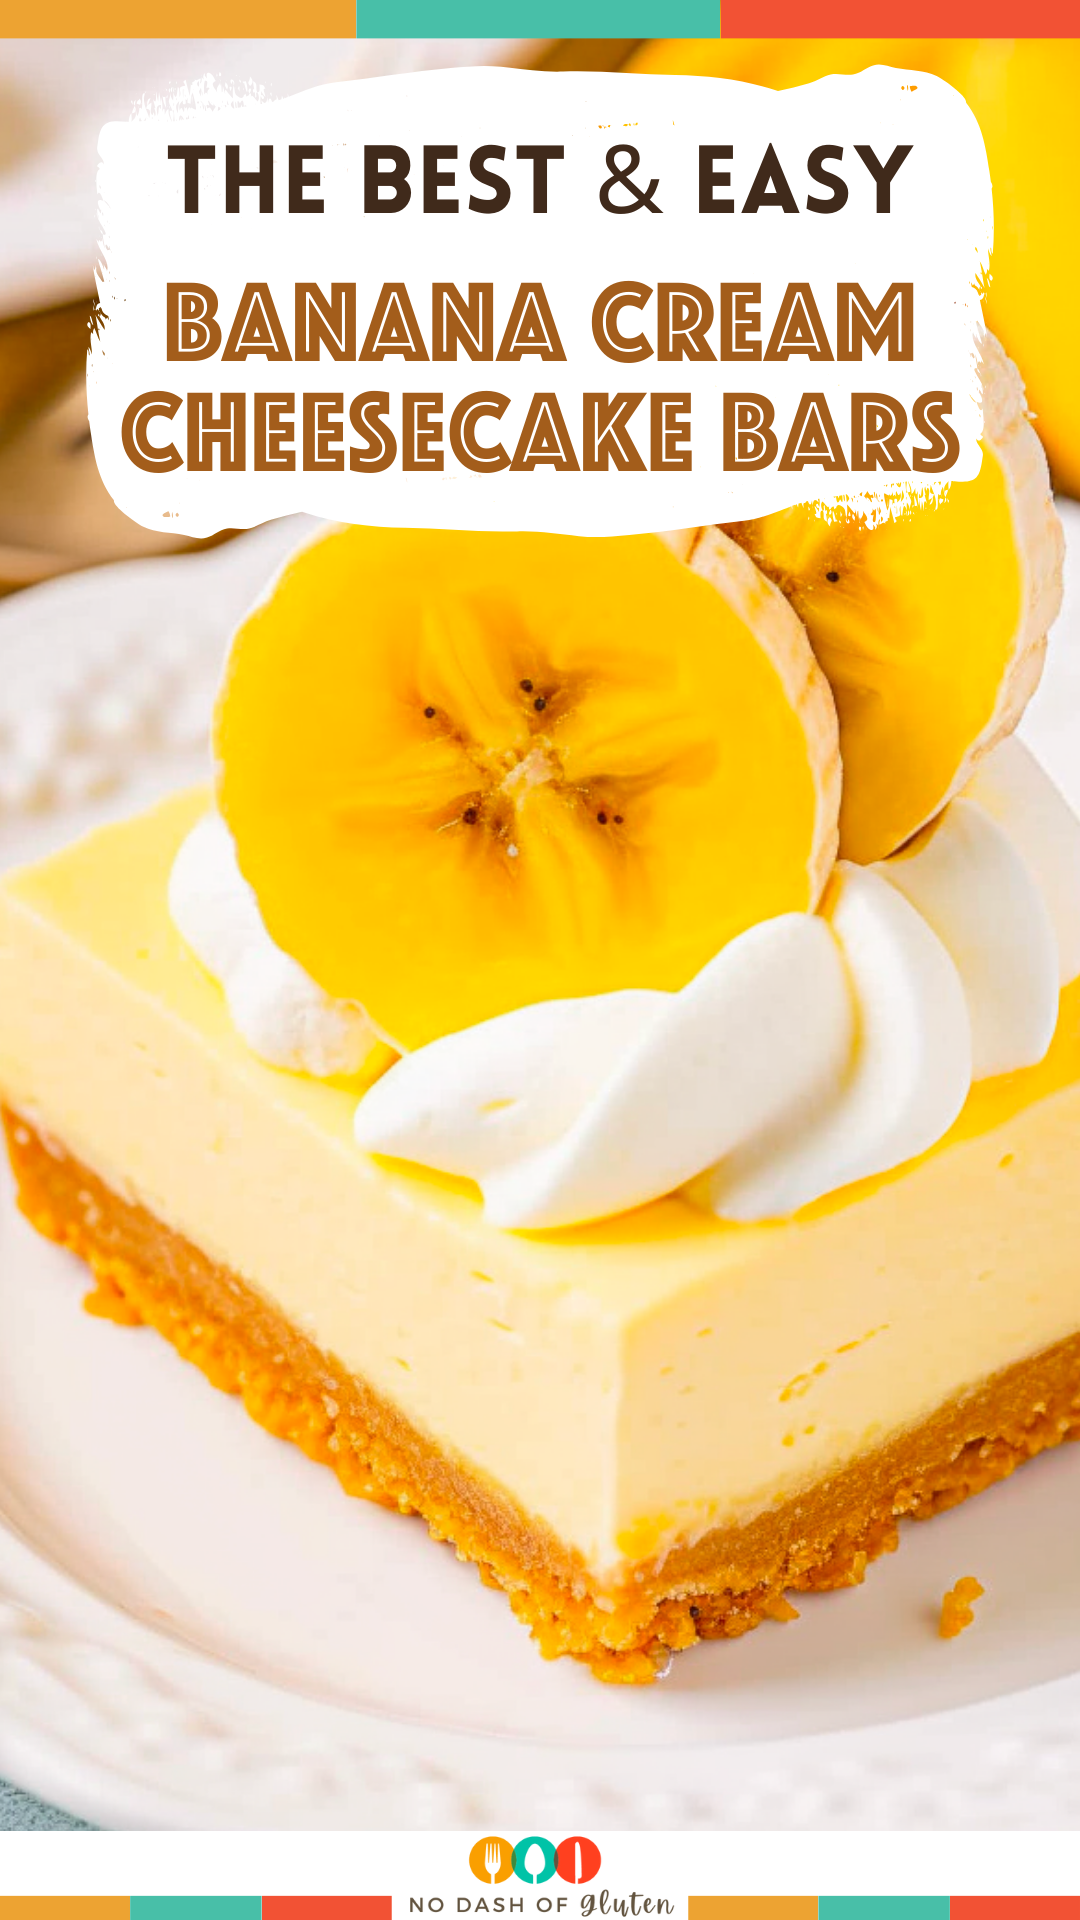
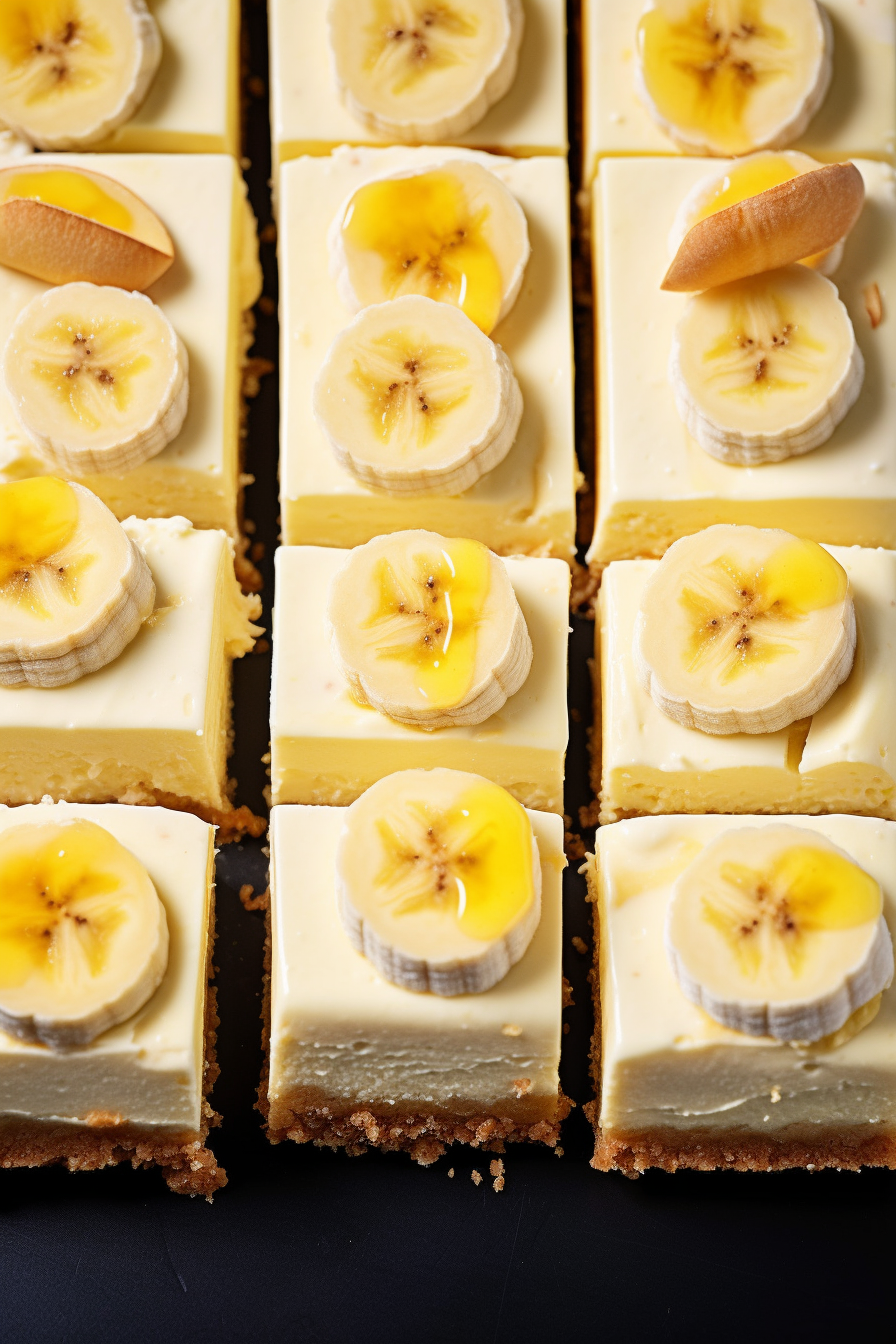
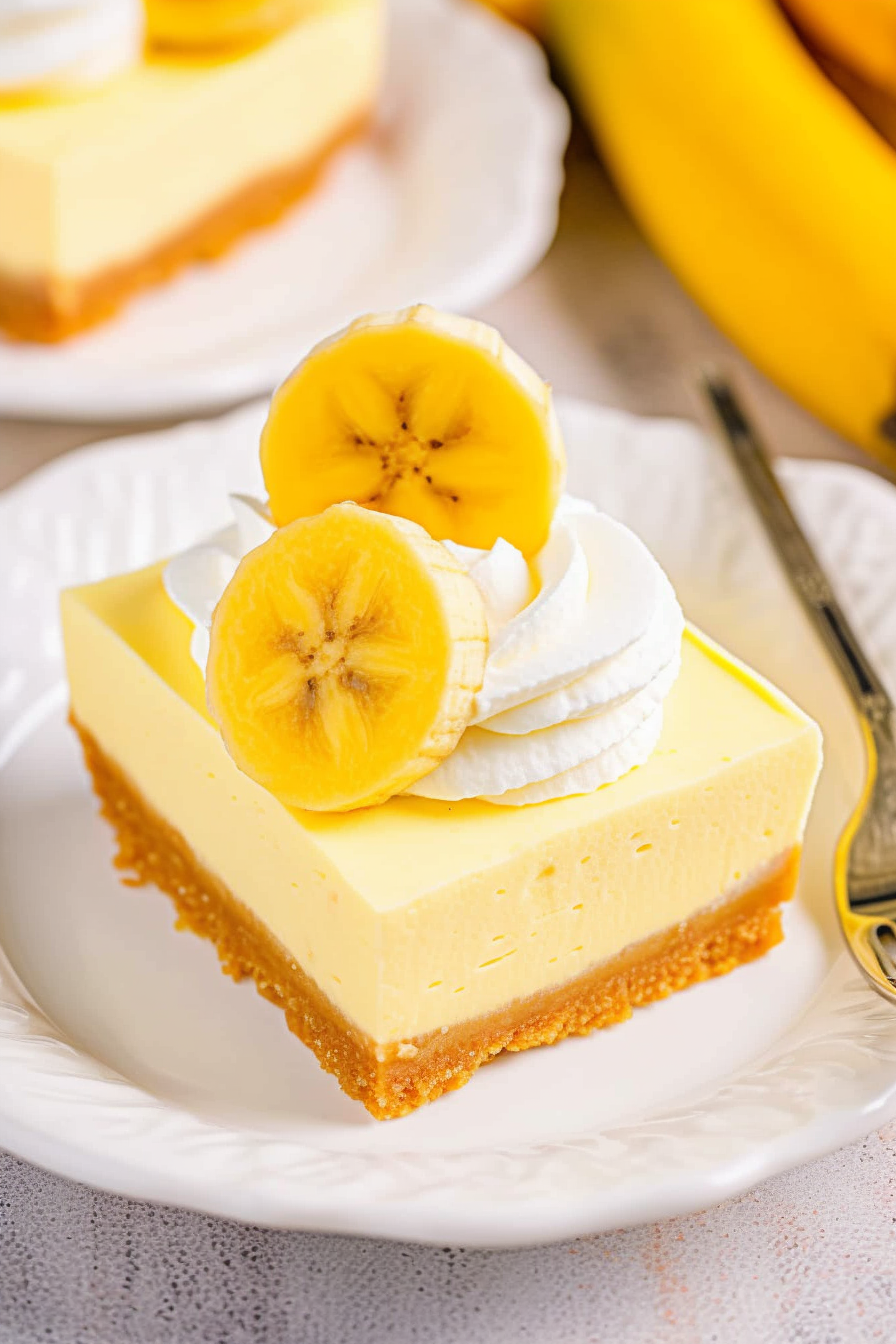
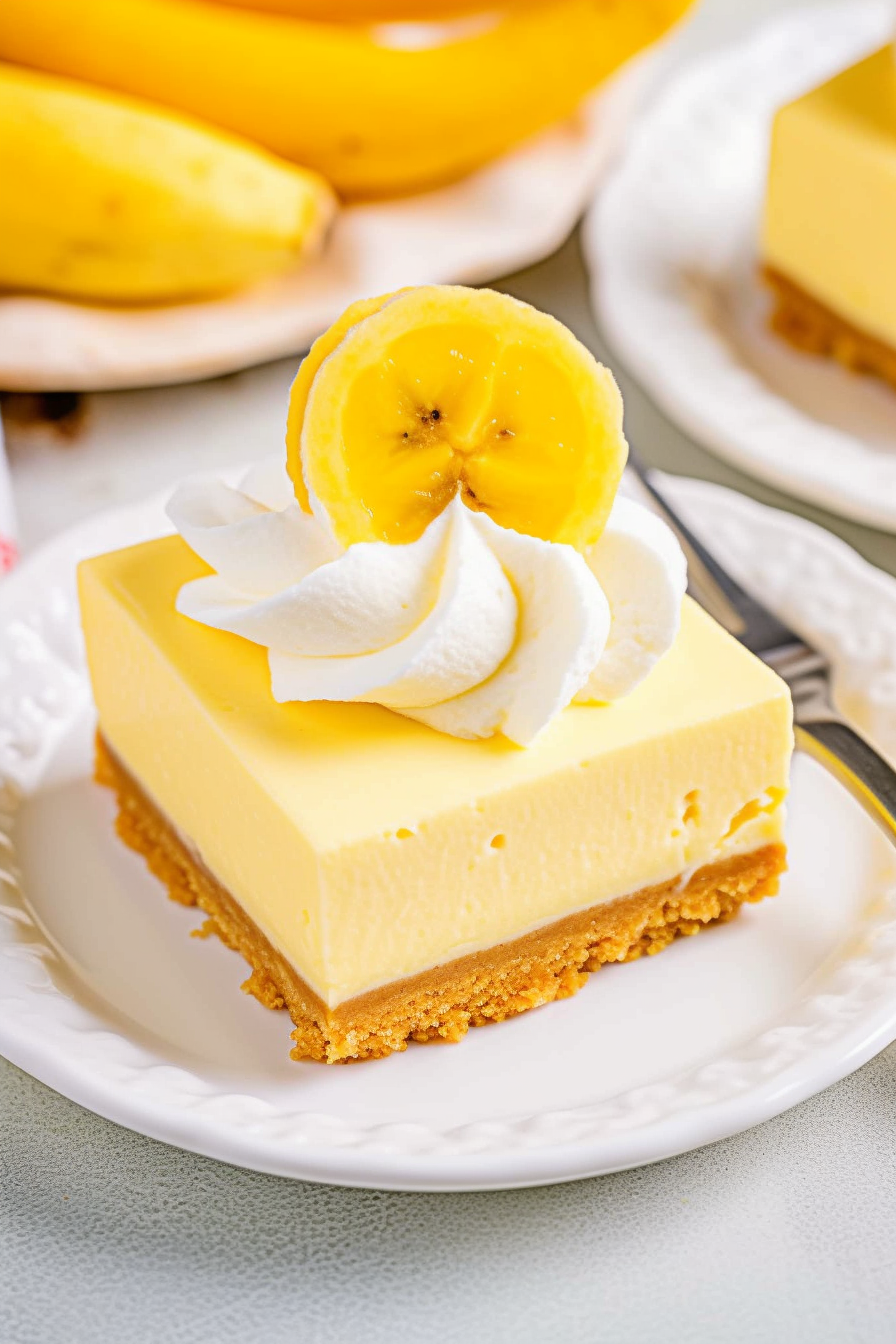
Step 11: After patiently waiting, cut them into 9 heavenly squares. Garnish with whipped cream and fresh banana slices.
Step 12: Dive in and ENJOY every creamy, crunchy bite!
Tip:
To add a depth of flavor and sophistication you can lightly caramelize the banana slices before using them as a garnish. Take a pan. Sprinkle some sugar, on it then cook the slices for 1 to 2 minutes, on each side until they turn a beautiful golden color. This technique not only enhances the sweetness of the bananas but also provides a delightful crispy texture giving your Banana Cream Cheesecake Bars an elegant touch!
Frequently Asked Questions:
Can I use low-fat cream cheese instead of regular cream cheese?
Sure! You can definitely use low-fat cream cheese instead of regular cream cheese. While regular cream cheese adds a flavor opting for the low-fat version can help lighten up the recipe. Just keep in mind that the texture might be less creamy. The bars will still taste delicious!
I don’t have Nilla Wafers. What’s a good substitute for the crust?
If you don’t have Nilla Wafers there are a few substitutes, for the crust. Graham crackers are a choice. Provide a great base. However, if you’re looking for something fun crushed Oreo cookies (without the filling) or even Biscoff cookies can work well too. Both alternatives will give your cheesecake layer a foundation.
How can I ensure my cheesecake filling is lump-free and smooth?
To ensure your cheesecake filling is lump-free and smooth patience is key. Make sure your cream cheese is thoroughly softened at room temperature before starting. Take your time when beating the cream cheese and remember to scrape down the sides of the bowl to ensure everything mixes evenly. If you still notice any lumps you can pass the mixture through a sieve before adding it to the crust. Remember that achieving a filling will result in a lavish bite!
Banana Cream Cheesecake Bars
Description
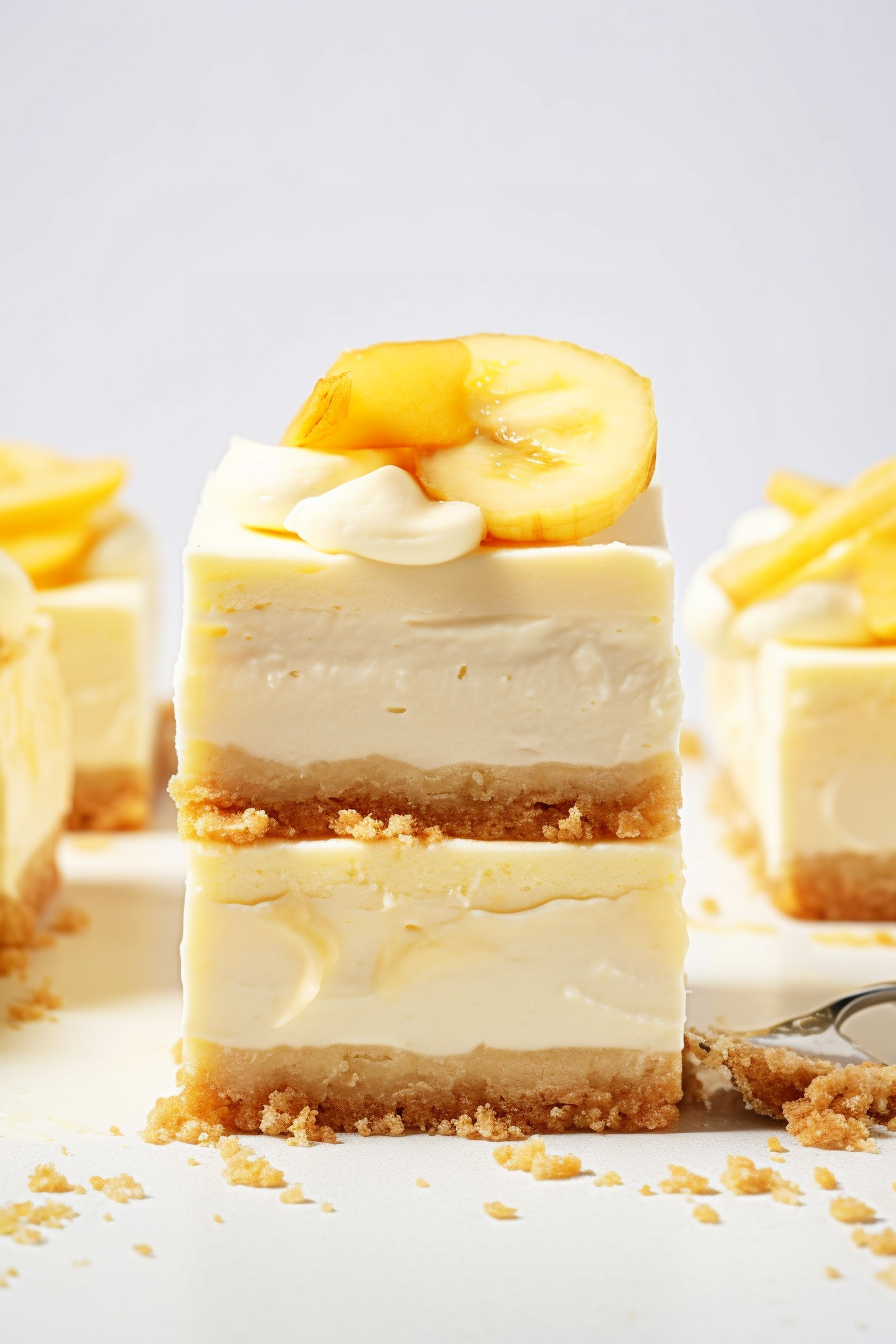
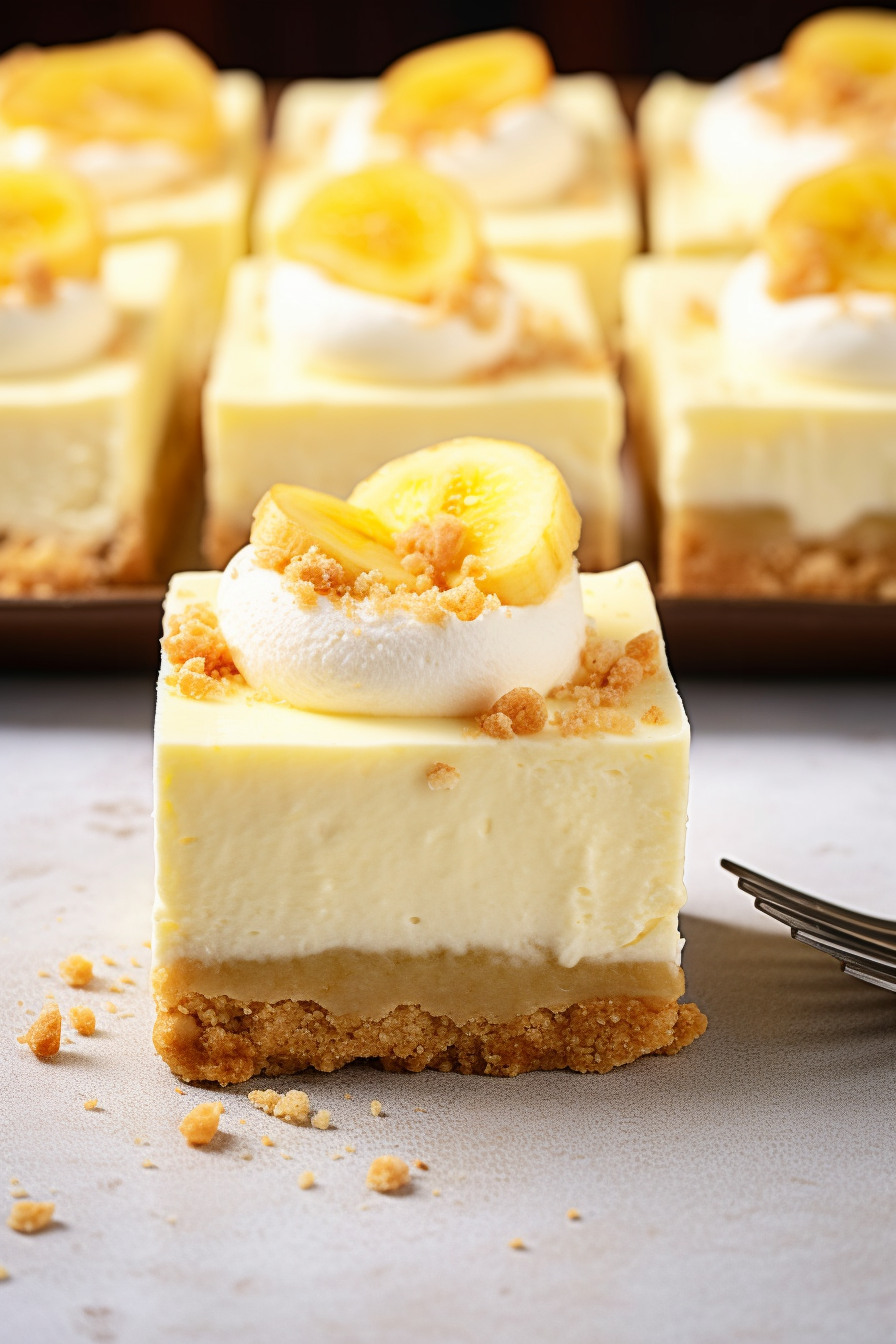
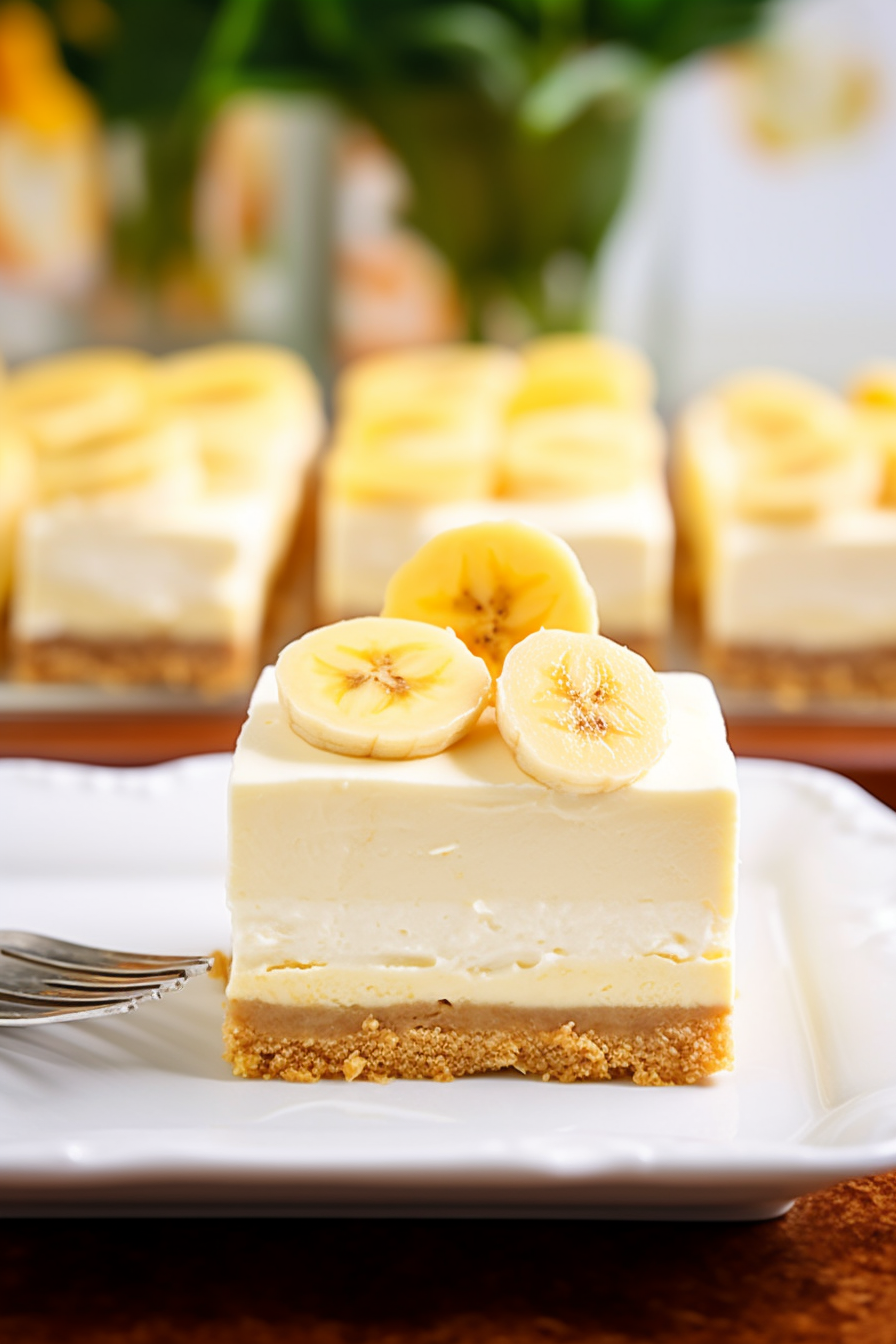
Introducing the Banana Cream Cheesecake Bars; a combination of flavors where the familiar crispness of finely crushed Nilla Wafers meets the creamy essence of banana-infused cheesecake. Every bite is a voyage starting from the crumbly base transitioning into the blend of banana and cream cheese and concluding with a gentle touch of fresh banana and a touch of whipped bliss. It’s more, than a dessert; it’s a moment of indulgence that is presented in perfect squares to be savored.
Ingredients
1 11-ounce box Nilla Wafer, crushed into crumbs
1/2 c unsalted butter, melted
2 c heavy whipping cream
3/4 c sugar
3 8-ounce packages cream cheese, softened
1 3.4-ounce package instant banana cream pudding mix
Whipped topping
Banana slices
Instructions
Start by lining an 8×8″ baking dish, with parchment paper.
For the crust, combine crushed Nilla Wafers with butter. Press the mixture into the dish. Let it chill.
To make the whipped cream, whisk heavy cream with sugar in a chilled bowl until it forms stiff peaks.
For the filling, beat softened cream cheese and mix in banana cream pudding. Gently fold in the whipped cream.
Now pour the filling over the crust. Refrigerate for 8 hours.
Once chilled cut into 9 squares. For garnish add some whipped topping and banana slices, on top of each square. Now you’re ready to enjoy!
Notes
Enjoy the indulgence of our Banana Cream Cheesecake Bars while keeping a gluten-free lifestyle. You don’t have to sacrifice anything! Instead of using Nilla Wafers simply choose your gluten-free cookie or biscuit for that perfect crunchy base. Brands, like ‘Glutino’ or ‘Schar’ offer options that work wonderfully. Additionally remember to check the banana cream pudding mix for any hidden gluten ingredients. With these swaps you can savor a delicious treat that caters to your dietary needs, without compromising on taste.

My name is Natasha and I am the owner of nodashofgluten.com, a blog dedicated to all kinds of recipes. On my website, you can find classic dishes, vegetarian delights, creative snacks, Gluten-free recipes, and desserts – all proving that cooking isn’t as hard as it seems! With easy-to-follow instructions and tips on how to make your meals even better, I strive to help everyone become master chefs in their own kitchen. Come join me at nodashofgluten.com for some delicious fun!


Leave a Reply