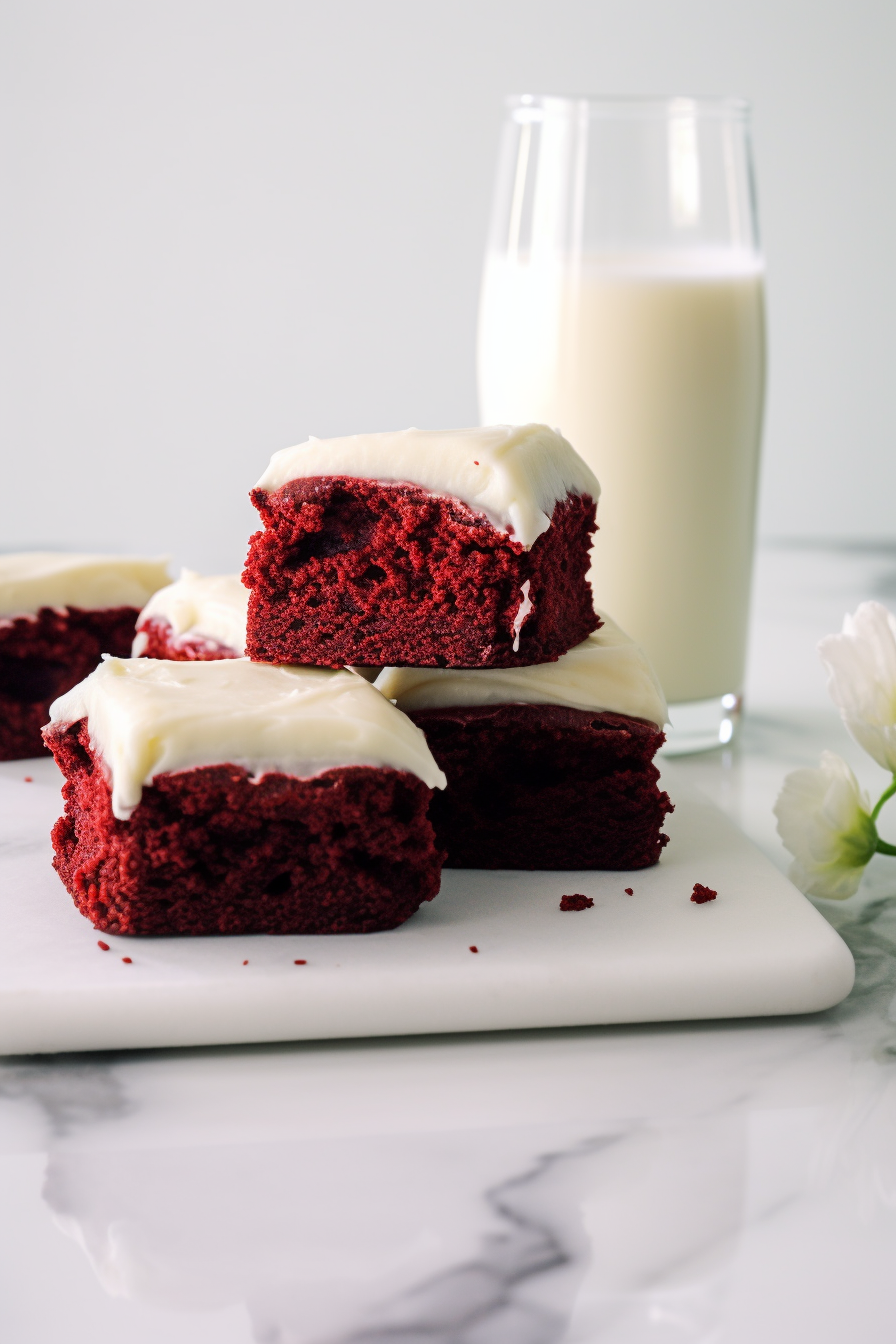
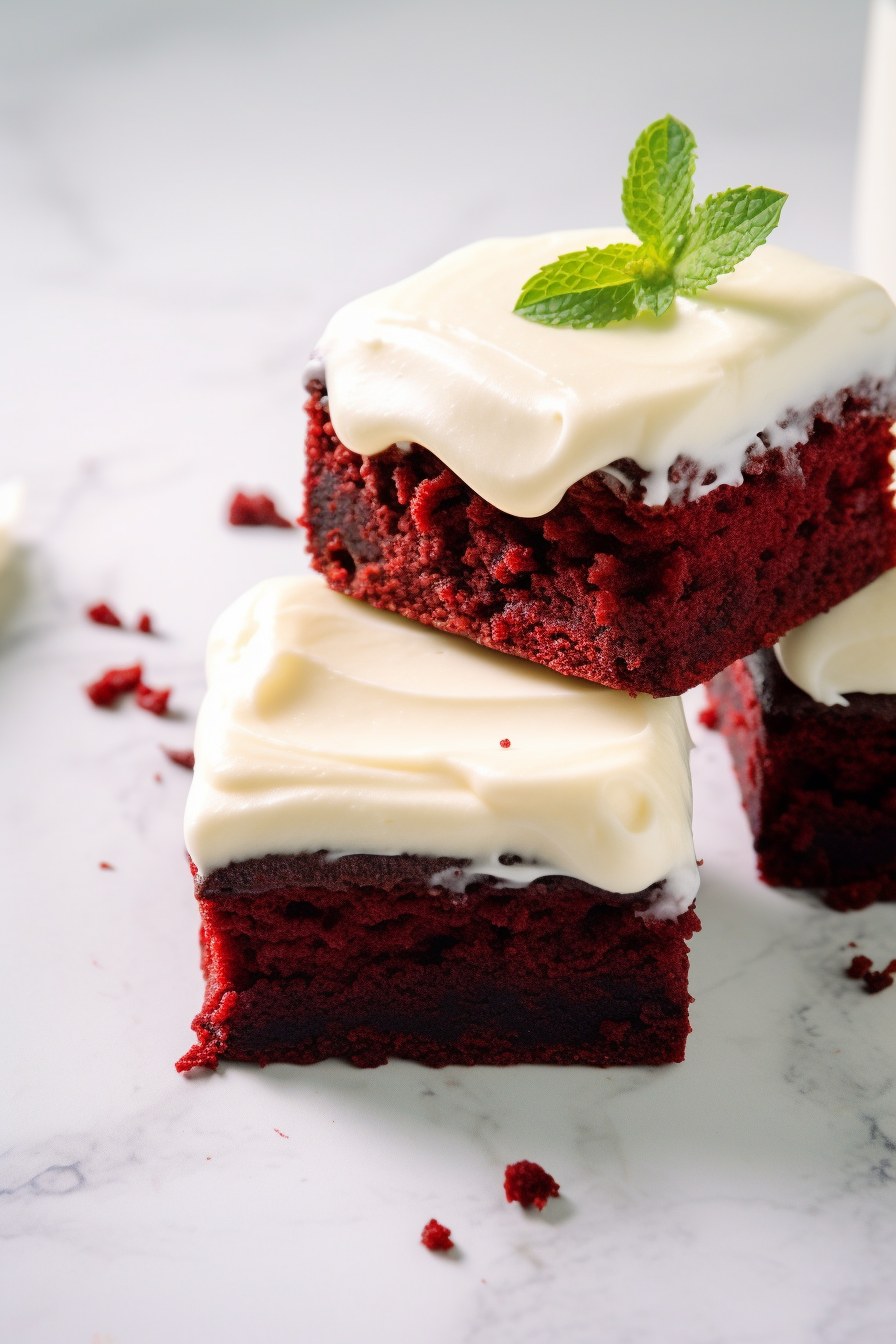
Red Velvet Brownies with Cream Cheese Frosting – Welcome to the corner of my blog, where I’m excited to introduce you to today’s star recipe; Red Velvet Brownies, with Cream Cheese Frosting. This indulgent dessert combines the richness of chocolate brownies with the velvety smoothness of red velvet cake. Topped generously with a layer of cream cheese frosting this dessert is sure to please any crowd. The key ingredients we’ll be using are velvet cake mix, dark chocolate chips and of course cream cheese for the frosting. So let’s dive into the world of velvety goodness and let our baking skills shine!
I still vividly recall the first time I prepared these red velvet brownies; it was for a family gathering. I wanted to venture beyond my usual repertoire. My husband, skeptical about recipes raised an intrigued eyebrow but volunteered as a taste tester. To both my delight and his surprise these brownies were a hit! The kids couldn’t resist the creamy frosting while even my husband had to admit that this recipe was exceptional. It has since become a family favorite requested without fail, at every holiday and occasion.
What makes this Red Velvet Brownies with Cream Cheese Frosting truly special?
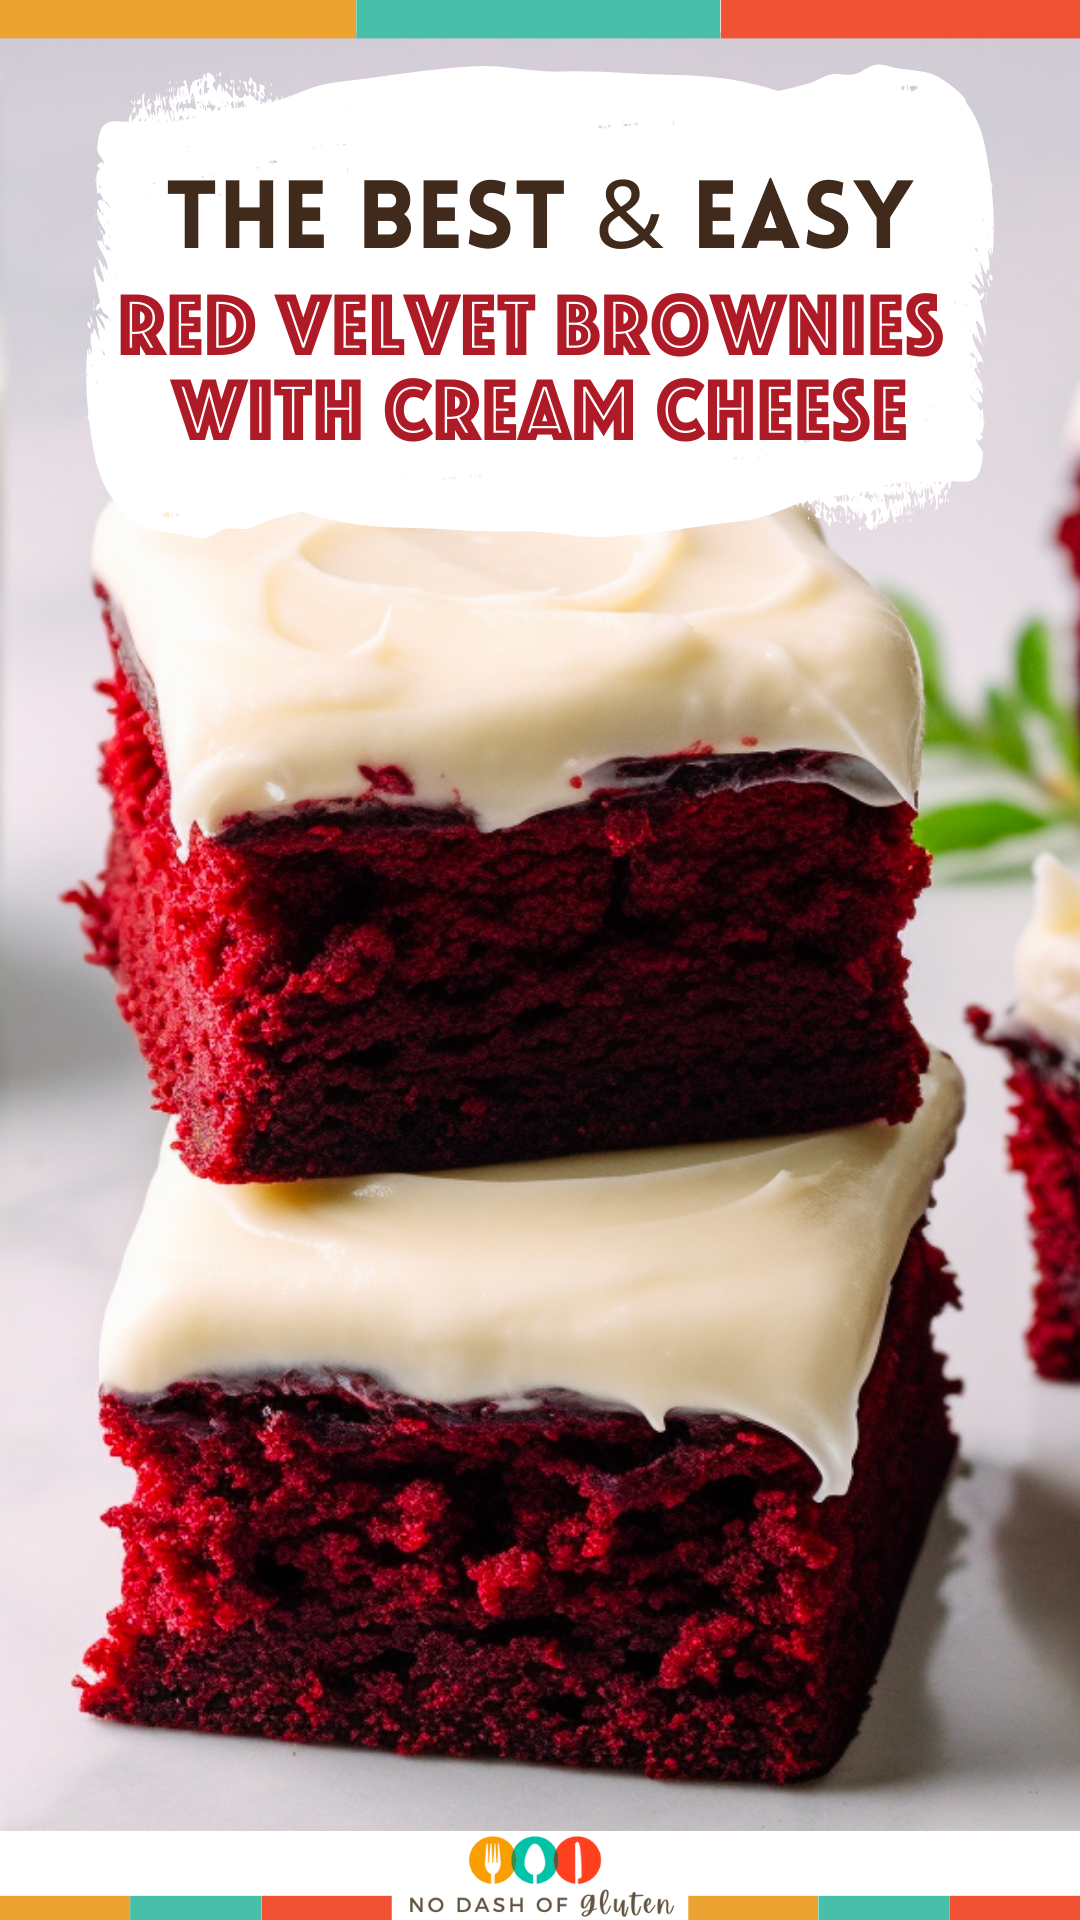
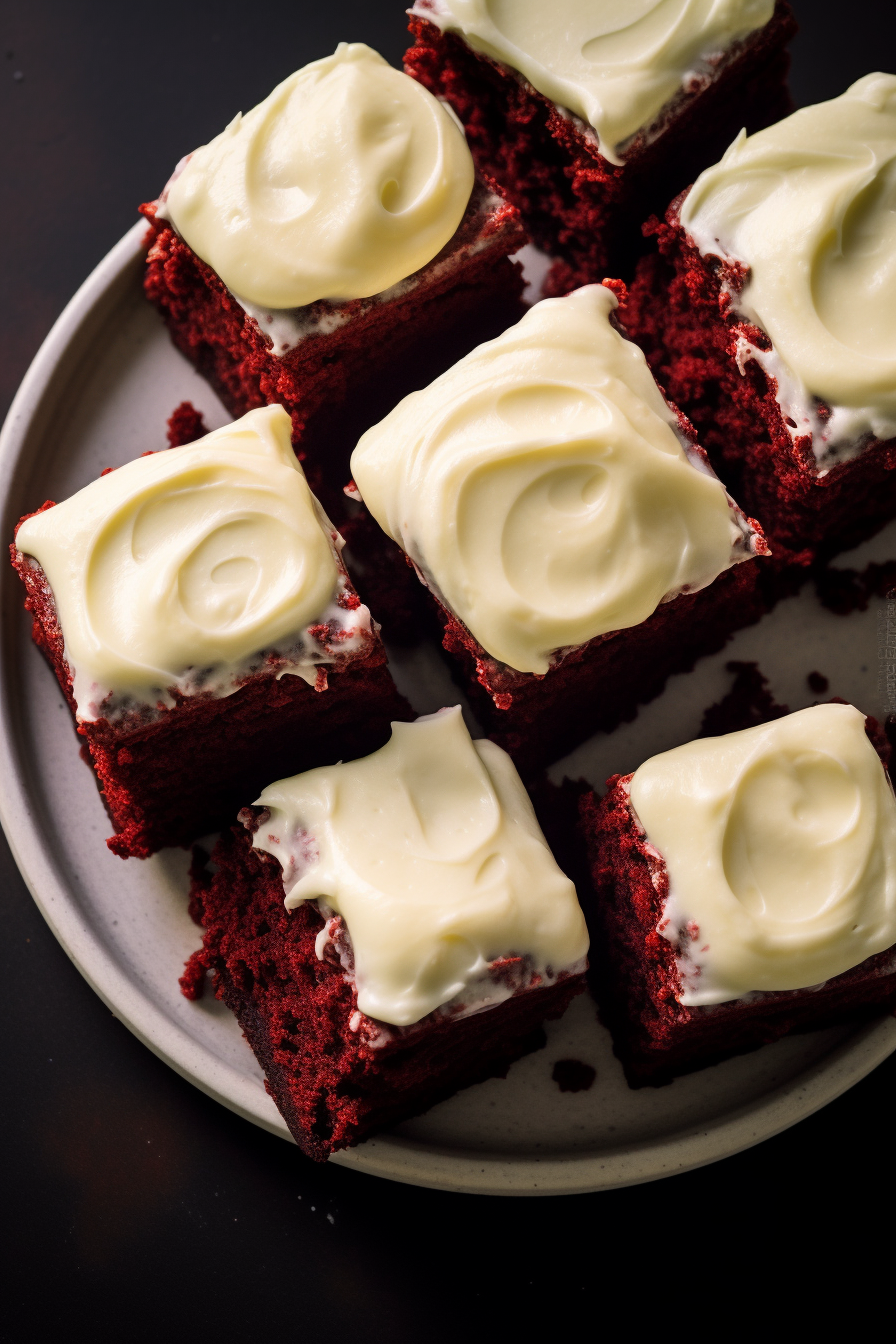
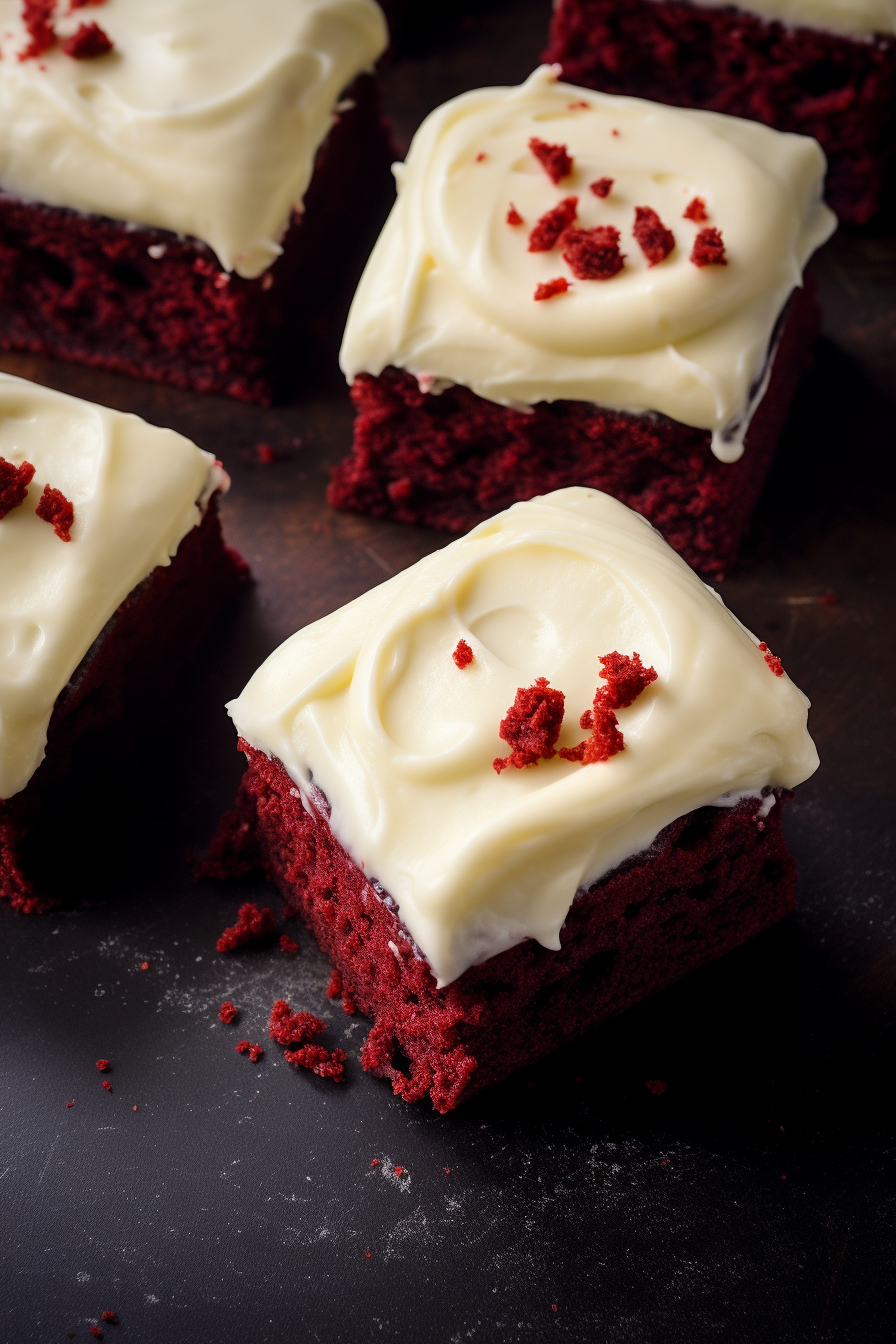
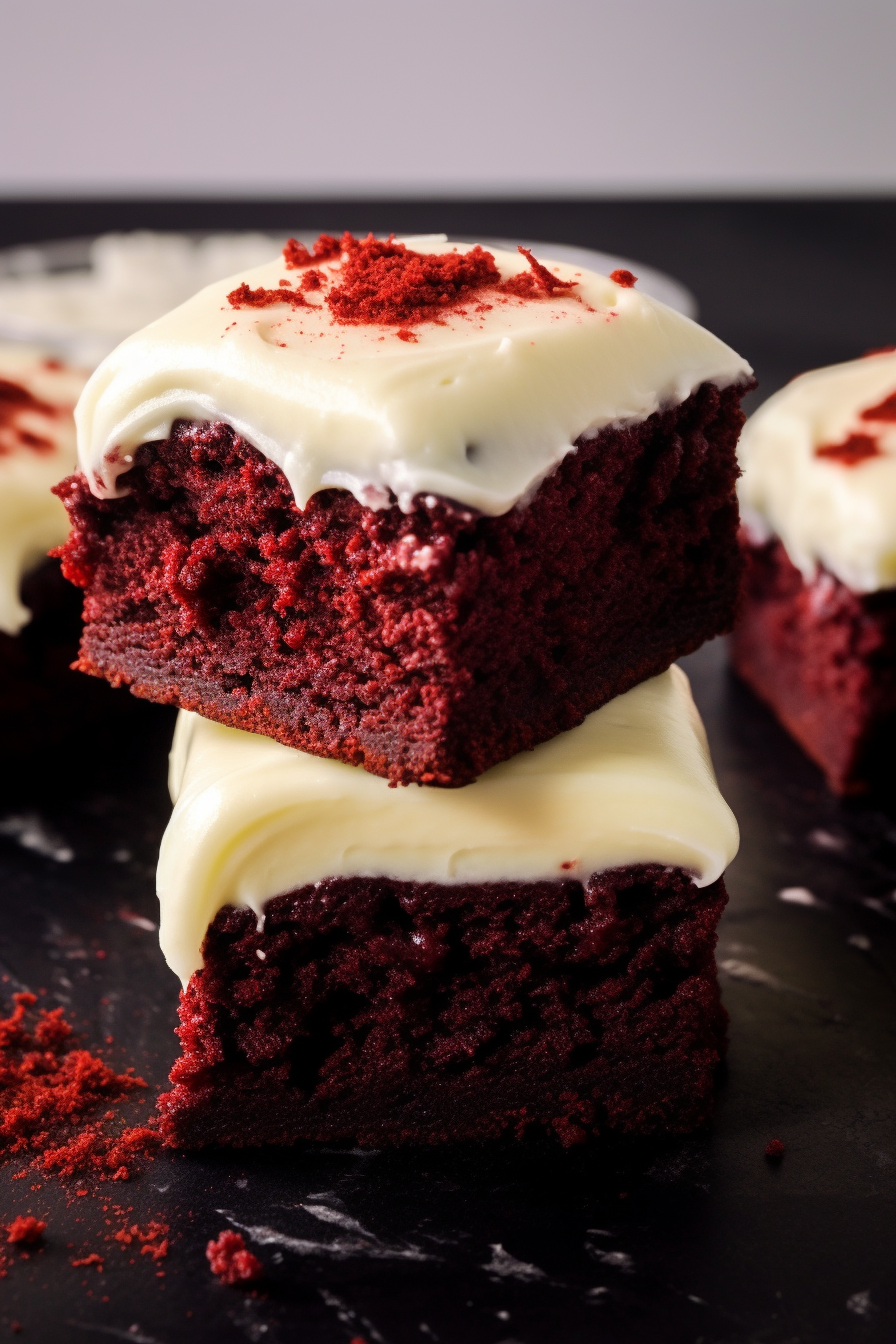
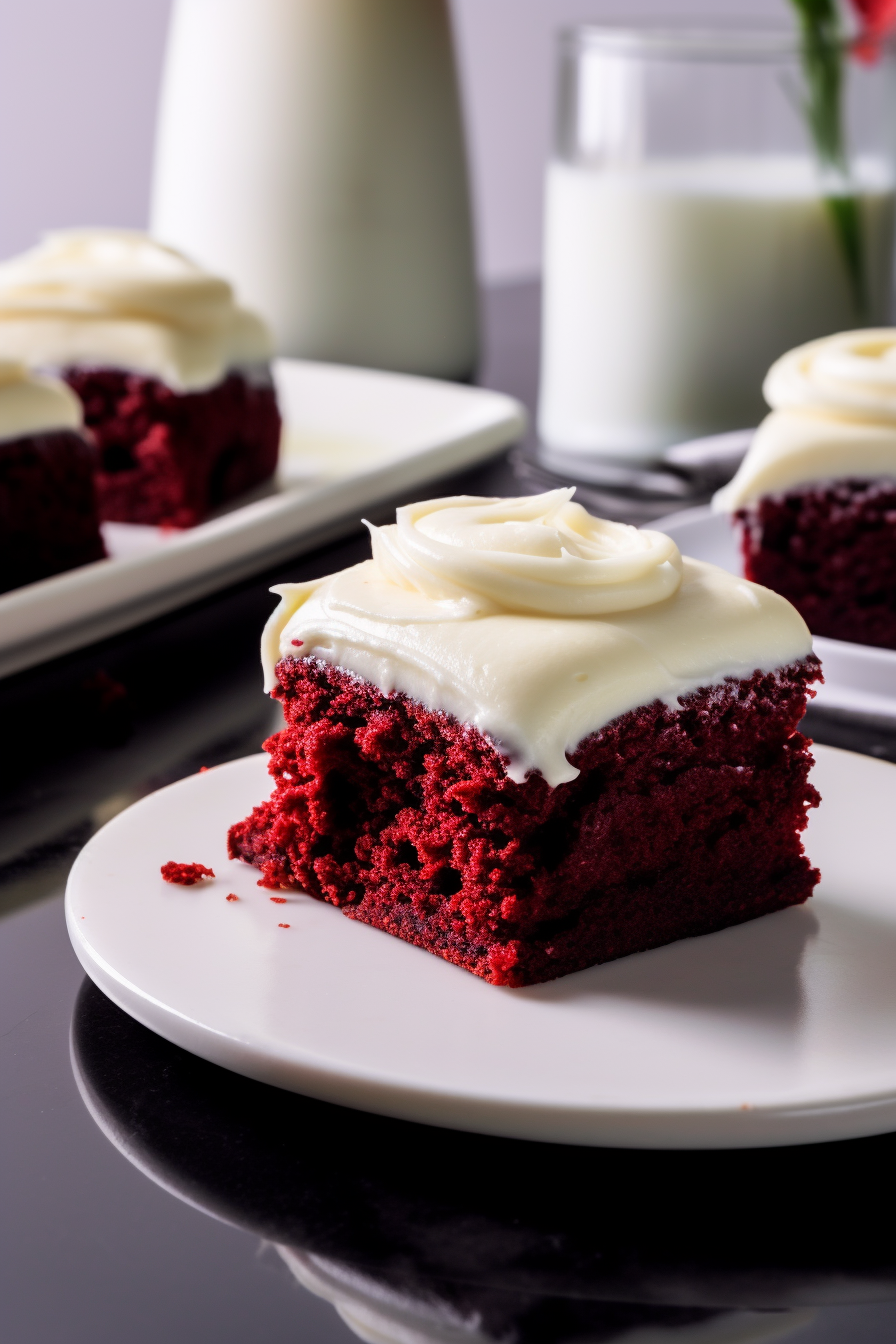
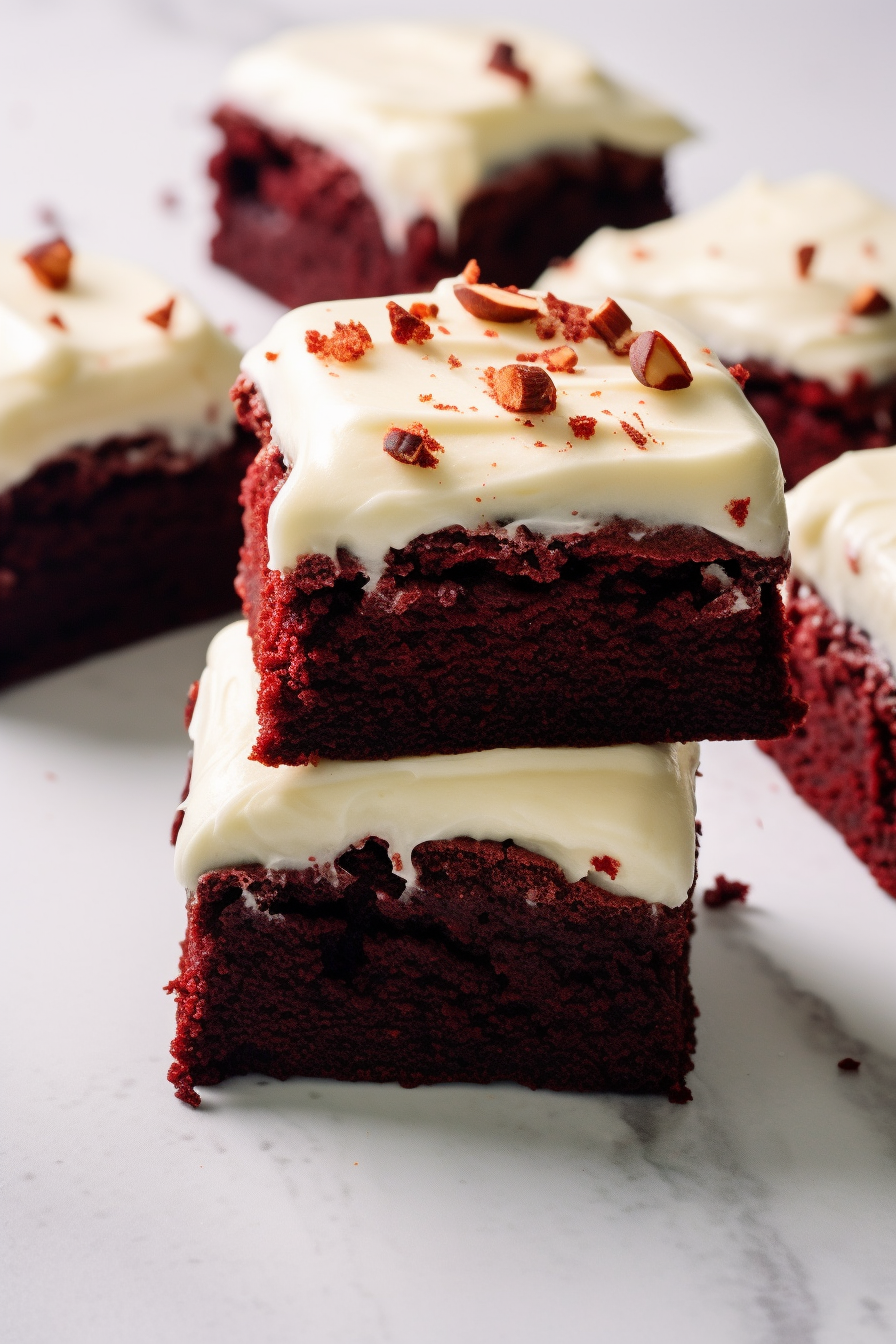
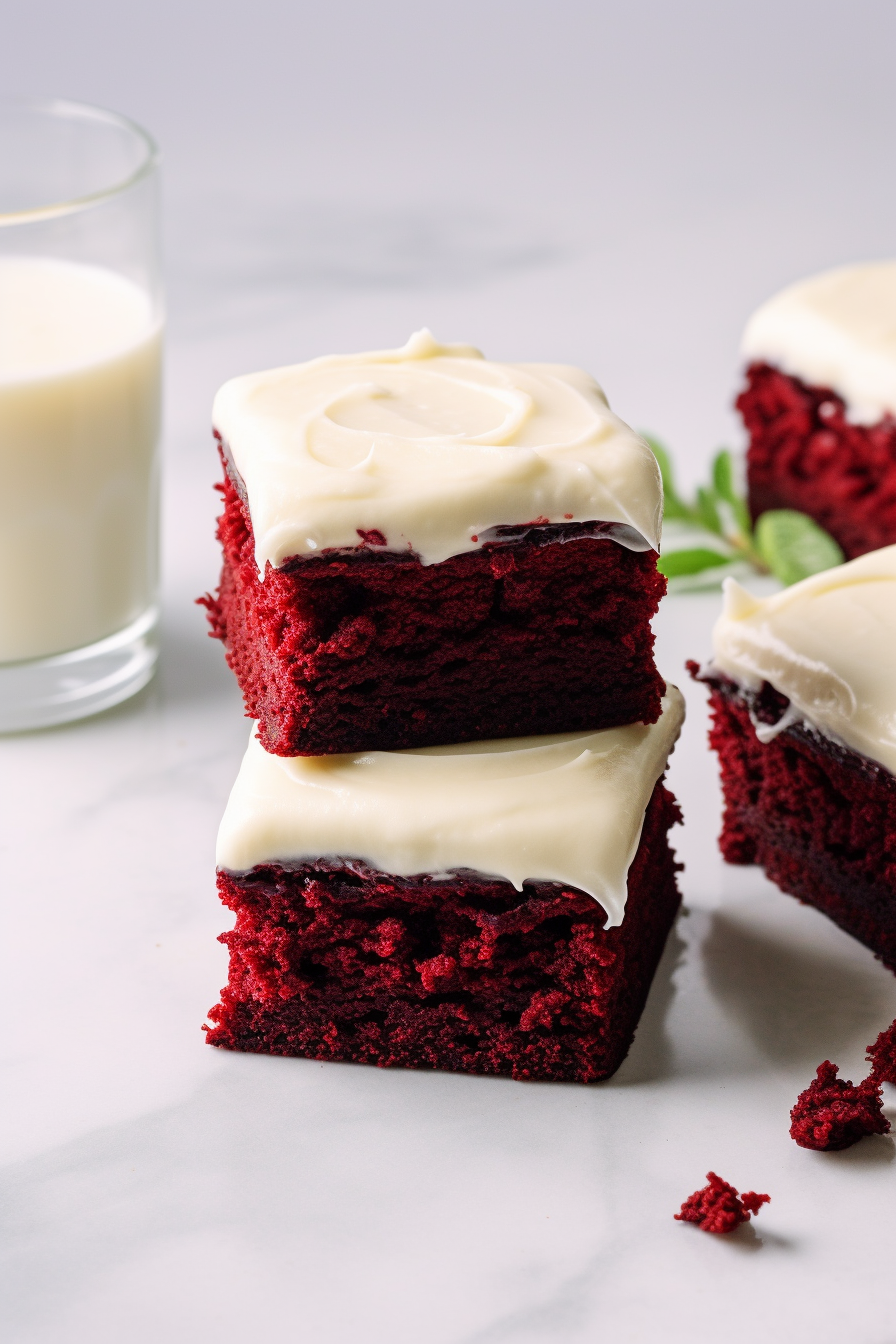
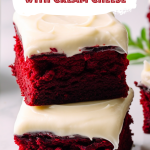
What sets these red velvet brownies apart? Well, their texture is truly divine. By allowing the batter to chill in the refrigerator we ensure that every brownie turns out incredibly rich and indulgent. The cream cheese frosting provides a touch that beautifully complements the chocolatey layers underneath. And of course, we can’t overlook its presentation; the deep red color of the brownies adorned with the flawless white frosting is truly a sight to behold. This dessert is not only delicious but a treat, for the eyes!
What You Need To Make This Red Velvet Brownies with Cream Cheese Frosting Recipe?
Red Velvet Cake Mix: This isn’t just a way to make a cake; it’s a blend of flavors and colors that adds excitement to our red velvet journey. Using the mix guarantees consistency and convenience while still leaving room, for that personal touch.
Unsalted Butter: When melted butter transforms into a velvety liquid that gives the brownies a texture and a buttery undertone. Opting for unsalted butter allows us to have control over achieving the perfect balance between sweet and savory.
Large Eggs: Consider eggs as the architects of our brownie structure. They provide stability and volume ensuring our brownies are both rich and airy. Using room-temperature eggs ensures smooth mixing contributing to the sophistication of the batter.
Dark Chocolate Chips: These aren’t just your chocolate chips; they are the enigmatic elements that bring depth to every bite creating an exquisite chocolate experience. Melting them ensures effortless incorporation resulting in a seamless chocolate canvas.
Cream Cheese: Cream cheese is the heart of our frosting; its creamy texture and subtle tanginess cut through the sweetness forming a layer that’s simply irresistible. Making sure it’s, at room temperature allows us to achieve frosting perfection—to spread and absolutely divine.
Buttermilk: Buttermilk brings a tanginess that perfectly complements the chocolate and adds depth to the flavor. It also contributes to the texture of the brownies making them more irresistible.
Pure Vanilla Extract: Vanilla extract enhances the taste of the brownies adding richness and a touch of sweetness that beautifully ties all the ingredients together. Like, in the brownie batter vanilla extract adds complexity and sweetness to the frosting elevating its flavor.
Salt: A small amount of salt goes a long way, in balancing out the sweetness of the frosting enhancing the flavors of both cream cheese and vanilla.
Steps To Make Red Velvet Brownies with Cream Cheese Frosting:
Step 1: Alright, first things first grab a mixing bowl. Add in the vanilla, buttermilk, melted butter and room-temperature eggs. Take a whisk. Give it a mix until everything is nicely combined. Now pour, in the melted chocolate. Stir it well until it is evenly incorporated.
Step 2: Now it’s time to add the red velvet cake mix to the bowl. Gently fold it in until it is just mixed in. Remember that the batter will be thick which is what we want. Just be careful not to overmix; we’re not looking for a workout just some delicious brownies!
Step 3: Take that batter. Transfer it into a baking pan measuring 9×9 inches that has been lined with parchment paper. Smooth out the top. Put it in the refrigerator for at least an hour. Trust me on this; waiting is totally worth it!. If you’re aiming for fudgy brownies you can let them chill for up to 72 hours. It’s, like giving your brownies a vacation. They’ll reward you with amazing flavor!
Step 4: While those brownies are chilling out in the fridge let’s prepare some cream cheese frosting.
Step 5: Start by beating the cream cheese and butter until they become light and fluffy like a cloud. Take your time while adding the confectioners’ sugar ensuring it’s a process to avoid any sugar explosions! Finish off by adding a pinch of salt and a splash of vanilla. Place the mixture in the fridge until you’re ready to use it.
Step 6: When it’s time to bake preheat your oven to 350°F. Bake the brownies for 20 to 25 minutes. Look for set edges but a gooey center – that’s what we’re aiming for. Allow them to cool before indulging.
Step 7: For those who adore fudgy brownies here’s a tip; cover them with foil as soon as they come out of the oven then pop them in the freezer for 30 minutes. It’s, like giving your brownies a spa treatment that locks in all that moisture.
Step 8: To serve generously spread on a layer of that dreamy cream cheese frosting, cut them into squares and watch them disappear!
Tip:
For brownies that truly stand out, let your batter rest in the refrigerator for up to 72 hours before baking. This extra time allows the flavors to meld and intensify, and the flour to fully hydrate, resulting in a richer, fudgier treat. Simply cover, chill, and bake when you’re ready for a next-level red velvet experience!
Frequently Asked Questions:
Can I use a different type of chocolate in the brownies?
Of course! Feel free to try using different types of chocolate in the brownies, such as milk chocolate or white chocolate chips if that’s what you prefer.
Can the brownies be made in advance?
Absolutely! You can make the brownies ahead of time up to 2 days in advance. Just make sure to store them in an airtight container at room temperature.
Can I freeze the brownies?
Yes, you can definitely freeze the brownies. Whether with or without the frosting they can be frozen for, up to 3 months. Just remember to wrap them to prevent freezer burn.
Red Velvet Brownies with Cream Cheese Frosting
- Yield: (1) 9×9-inch pan of brownies, approximately 9-12 servings
Description
Embark, on an adventure with our delectable Red Velvet Brownies topped off with a creamy and luxurious Cream Cheese Frosting. This recipe guarantees to excite your taste buds and create a lasting impression. The brownies displaying their color offer a moist and fudgy texture that comes from the perfect combination of rich dark chocolate, velvety buttermilk and a hint of pure vanilla extract. To take this dessert to heights of indulgence we add a cream cheese frosting that is delicately sweetened and impeccably balanced. Every bite is like a symphony of flavors as the chocolatey goodness of the brownie harmonizes with the tangy sweetness of the frosting, for an exquisite contrast.
Ingredients
Brownies:
432 grams red velvet cake mix
140 grams unsalted butter, melted
2 large eggs, room temperature
30 grams buttermilk, room temperature
1 tbsp pure vanilla extract
135 grams dark chocolate chips, melted
Cream Cheese Frosting:
226 grams cream cheese, softened to room temperature
85 grams unsalted butter, room temperature
300 grams confectioners’ sugar
1 tbsp pure vanilla extract
1/8 tsp salt
Instructions
To make the brownie base start by whisking melted butter, room-temperature eggs, buttermilk and vanilla extract, in a bowl until they are well combined.
Next, add the chocolate to the mixture and stir it until it becomes smooth.
Gradually fold in the red velvet cake mix making sure not to overmix. The batter will be thick.
Take a 9×9 inch baking pan. Line it with parchment paper. Spread the batter evenly across the pan.
Put the pan with the batter in the refrigerator for an hour to allow it to set.
Preheat your oven to 350°F (175°C).
Bake the brownie base for around 20 to 25 minutes. Until you notice that the edges have set.
Once done let the brownies cool completely while they are still in the pan.
For the cream cheese frosting take another bowl. Beat together some room-temperature cream cheese and butter until they become light and fluffy.
Gradually add confectioners’ sugar, vanilla extract and salt into this mixture while continuing to beat until everything’s smooth.
After your brownies have cooled down completely spread a layer of frosting over their surface.
Finally cut them into squares.
Enjoy these Red Velvet Brownies, with Cream Cheese Frosting!
Notes
Are you yearning for the indulgence of Red Velvet Brownies? Need a gluten-free option? Don’t worry, because we have the twist to make this decadent treat accessible, to everyone! Instead of using the red velvet cake mix you can use a gluten-free red velvet cake mix to ensure that all the rich flavors are still present. As you combine the buttermilk melted chocolate and fragrant vanilla you will discover that the essence of the red velvet experience is preserved. When it comes to frosting our creamy blend of cream cheese and butter remains gloriously free, from gluten.

My name is Natasha and I am the owner of nodashofgluten.com, a blog dedicated to all kinds of recipes. On my website, you can find classic dishes, vegetarian delights, creative snacks, Gluten-free recipes, and desserts – all proving that cooking isn’t as hard as it seems! With easy-to-follow instructions and tips on how to make your meals even better, I strive to help everyone become master chefs in their own kitchen. Come join me at nodashofgluten.com for some delicious fun!




Leave a Reply