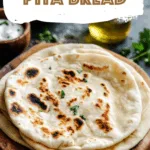
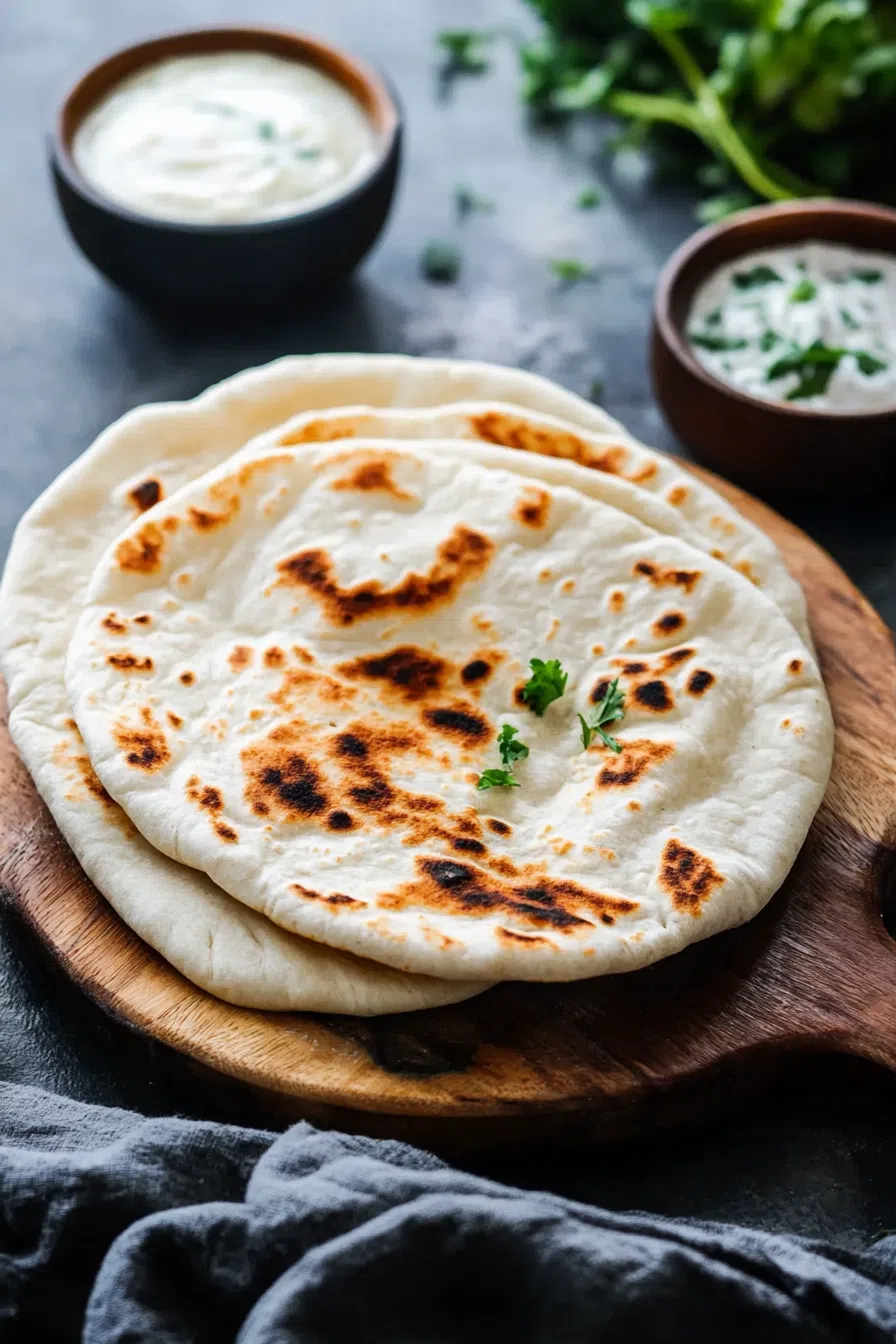
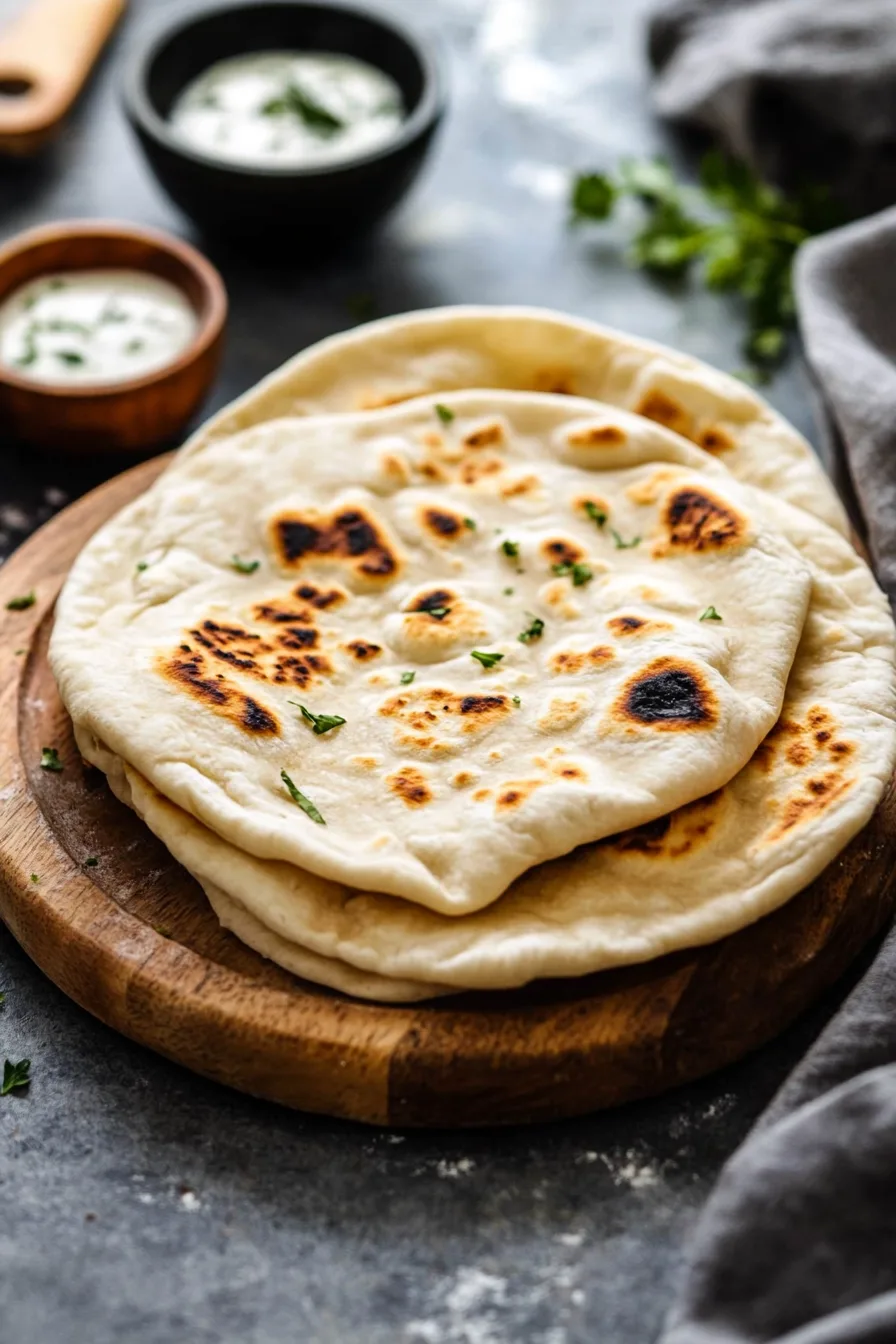
Flour, yeast, olive oil, warm water, and a little sugar — that’s all you need to whip up soft, pillowy pita bread at home.


I’ll be honest — I never set out to master pita bread. It just kinda… happened. It started with a random scroll through a cooking thread where someone posted a video of their pita ballooning in the oven like a magic trick. You know that moment when something so simple feels so satisfying? That was it. I was hooked.
I remember standing in my tiny kitchen, late on a Tuesday night, with flour on my sweatshirt and doubt in my heart. My first batch? Meh. Some puffed, some didn’t. One looked like a deflated beach ball. But that one perfect puff? Oh, man. I danced. It felt like winning the dough lottery. And ever since, pita’s been a ride-or-die in my kitchen.
Why You’ll Love This Pita Bread Recipe?
Let me tell you, once you make pita from scratch, it’s kinda hard to go back to the store-bought stuff. It’s like comparing a fresh donut to one that’s been sitting in a vending machine for 48 hours. There’s just no contest.
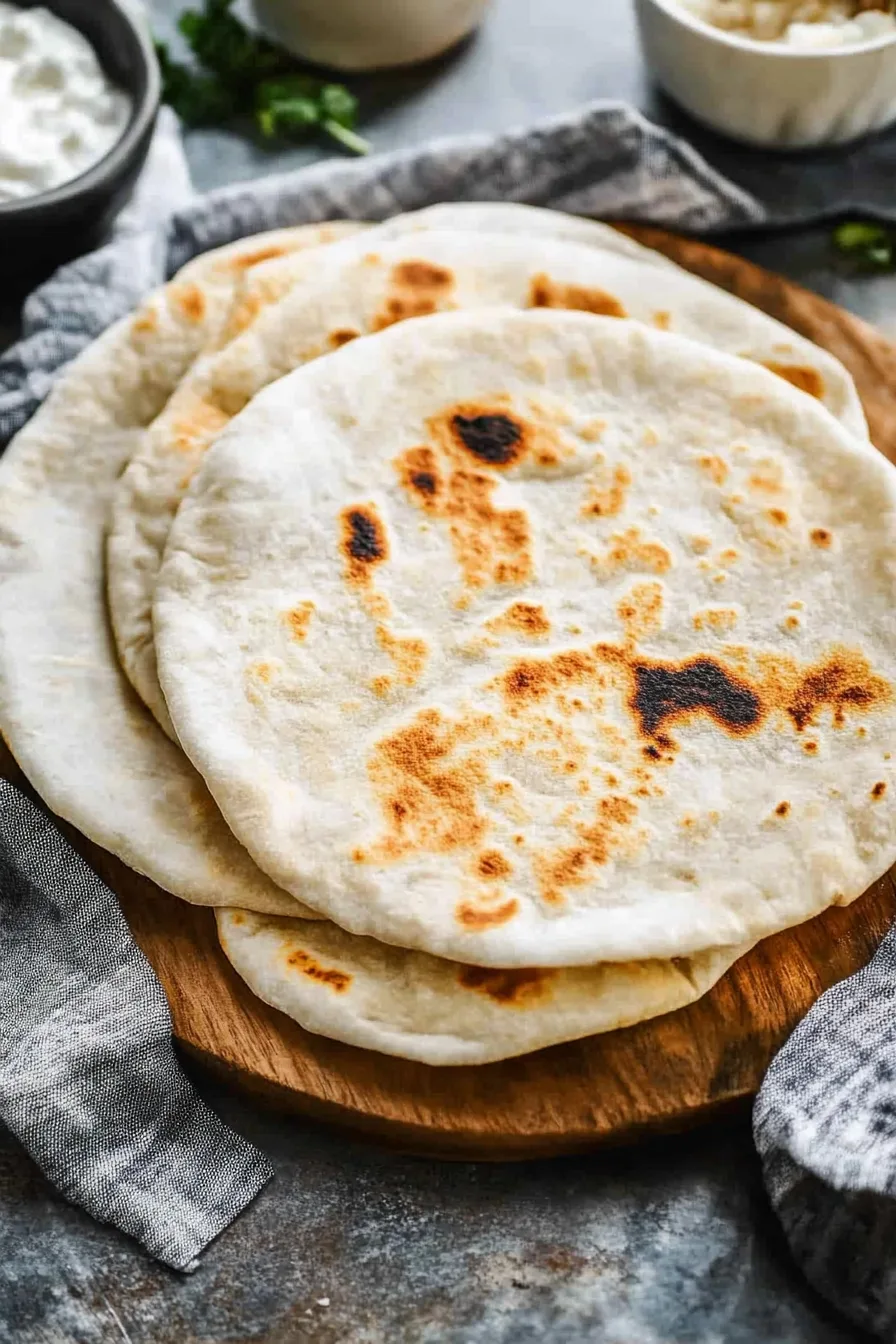
This recipe is simple enough for a beginner but satisfying enough to make you feel like a pro baker. It only takes basic pantry staples, but it delivers serious payoff — soft, steamy centers and that iconic pocket that begs to be stuffed with something delicious. And the smell? Like your kitchen opened its own cozy little bakery.
Ingredient Notes:
Not trying to be a flour snob here, but sometimes the basics really are best. Let’s break it down:
-
All-purpose flour – No fancy blends or specialty flours needed. Just the plain old reliable white stuff.
-
Yeast – Active dry yeast is your magic here. I once used expired yeast and wondered why my dough turned into a sad pancake. Check the date. Trust me.
-
Sugar – It feeds the yeast and gives just a hint of flavor. You won’t even taste the sweetness, but the dough will thank you.
-
Extra virgin olive oil – Adds that lovely richness and helps the texture stay soft.
-
Salt – Without it, the bread tastes like nothing. Just don’t forget it. Been there.
-
Warm water – Not boiling, not cold. Just warm. I test mine with my wrist like I’m prepping a baby bottle.

How To Make Pita Bread?
You don’t need to be a baking wizard to pull this off. Here’s how it goes down:
- Start with the yeast.
In a measuring cup, mix ½ cup of warm water, 2 teaspoons of sugar, and the yeast. Give it a gentle stir and let it sit for 10 minutes. It should look foamy — like beer froth or a bubble bath. If it doesn’t? Toss it and try again. - Make your dough.
In a stand mixer (or with some elbow grease), mix flour, salt, and olive oil. Make a well in the center. Pour in your yeast mix and the remaining 1¼ cups warm water. Use the dough hook or your hands and knead it until it’s smooth, stretchy, and you feel oddly proud of yourself — about 6 to 8 minutes. - Rise and shine.
Place your dough in an oiled bowl, cover it, and forget about it for 1.5 hours. Read a book. Call your mom. When you come back, it should be double the size and ready for action. - Shape it.
Tear off pieces the size of small oranges. Roll each into a ball and line them up on a baking sheet like little dough soldiers. Cover with a towel. Let them rest for another 30 minutes. They’ve earned it. - Roll and rise again.
Roll each ball into a circle about ¼ inch thick. Not too thin, not too thick. Cover once more for a quick nap — 30 minutes should do it. - Bake like a boss.
Preheat your oven to a screaming-hot 500°F. Yes, really. Place each circle straight on the oven rack and watch the magic happen. They puff up in just 5–7 minutes. Some might not puff — and that’s okay. They’re still delicious.
Storage Options:
I usually make a double batch and stash half. Once they’ve cooled completely, pop them into a zip bag or airtight container. They’ll stay fresh at room temp for 2–3 days. Want to save them for later? Freeze ’em flat with parchment between each one. When the craving hits, reheat in the oven or a hot skillet and it’s like they’re freshly baked all over again.
Variations and Substitutions:
-
Whole wheat swap: Sub in half whole wheat flour for a nuttier flavor and more fiber.
-
Herb party: Mix in some dried oregano, thyme, or garlic powder into the dough.
-
Stuffed pitas: Flatten them a little thicker and sneak in cheese before baking (hello, cheese pockets).
-
Mini pitas: Make ‘em smaller for snackable sandwich vibes or party platters.
Want To Save This Recipe?
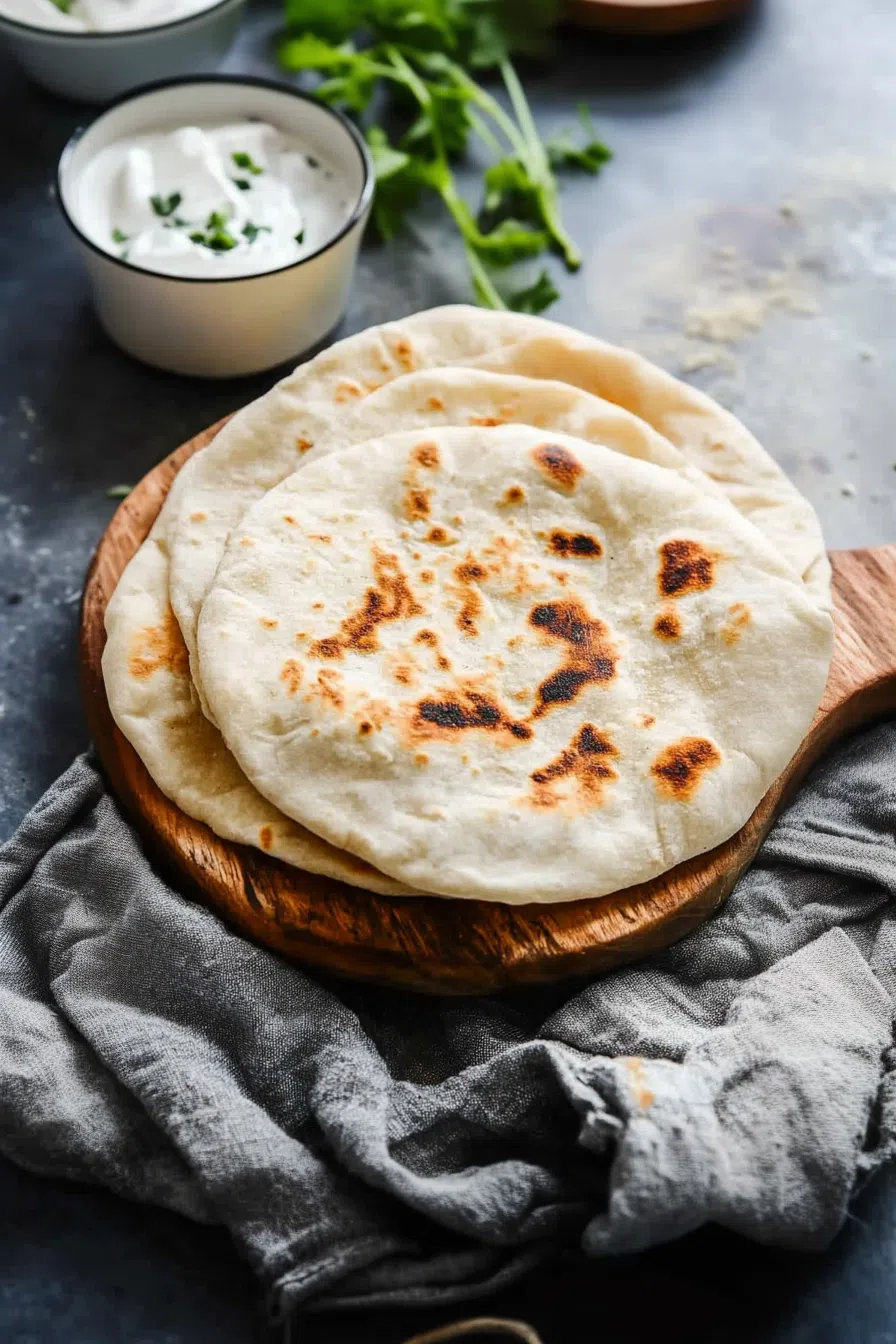
What to Serve with Pita Bread?
Let’s be real—pita goes with everything. But here are a few standouts:
-
Classic hummus or baba ghanoush – Dipping heaven.
-
Grilled meats or kebabs – Wrap it, roll it, devour it.
-
Breakfast pitas – Scrambled eggs, avocado, hot sauce… done.
-
Pizza base – Sauce, cheese, toppings, boom.
-
Soup sidekick – Dip it in chicken soup or lentil stew.
Frequently Asked Questions:
Why didn’t mine puff up?
Could be a few things—oven not hot enough, dough not rested long enough, or rolled too thin. It happens. Still tasty.
Can I cook them on a stovetop instead?
Totally! Use a hot cast iron skillet, flip after a couple of minutes. Less puff, but still soft and golden.
Do I have to let them rise twice?
Honestly… yes. I’ve rushed it before and ended up with chewy frisbees. Don’t skip it unless you like chewy frisbees.

Homemade pita bread might sound fancy, but once you’ve tried it, you’ll see it’s just flour, water, and a little confidence. And when they puff up in the oven? It feels like a tiny celebration. Try it, tweak it, play with flavors — and most of all, have fun with it.
Can’t wait to hear how yours turn out.
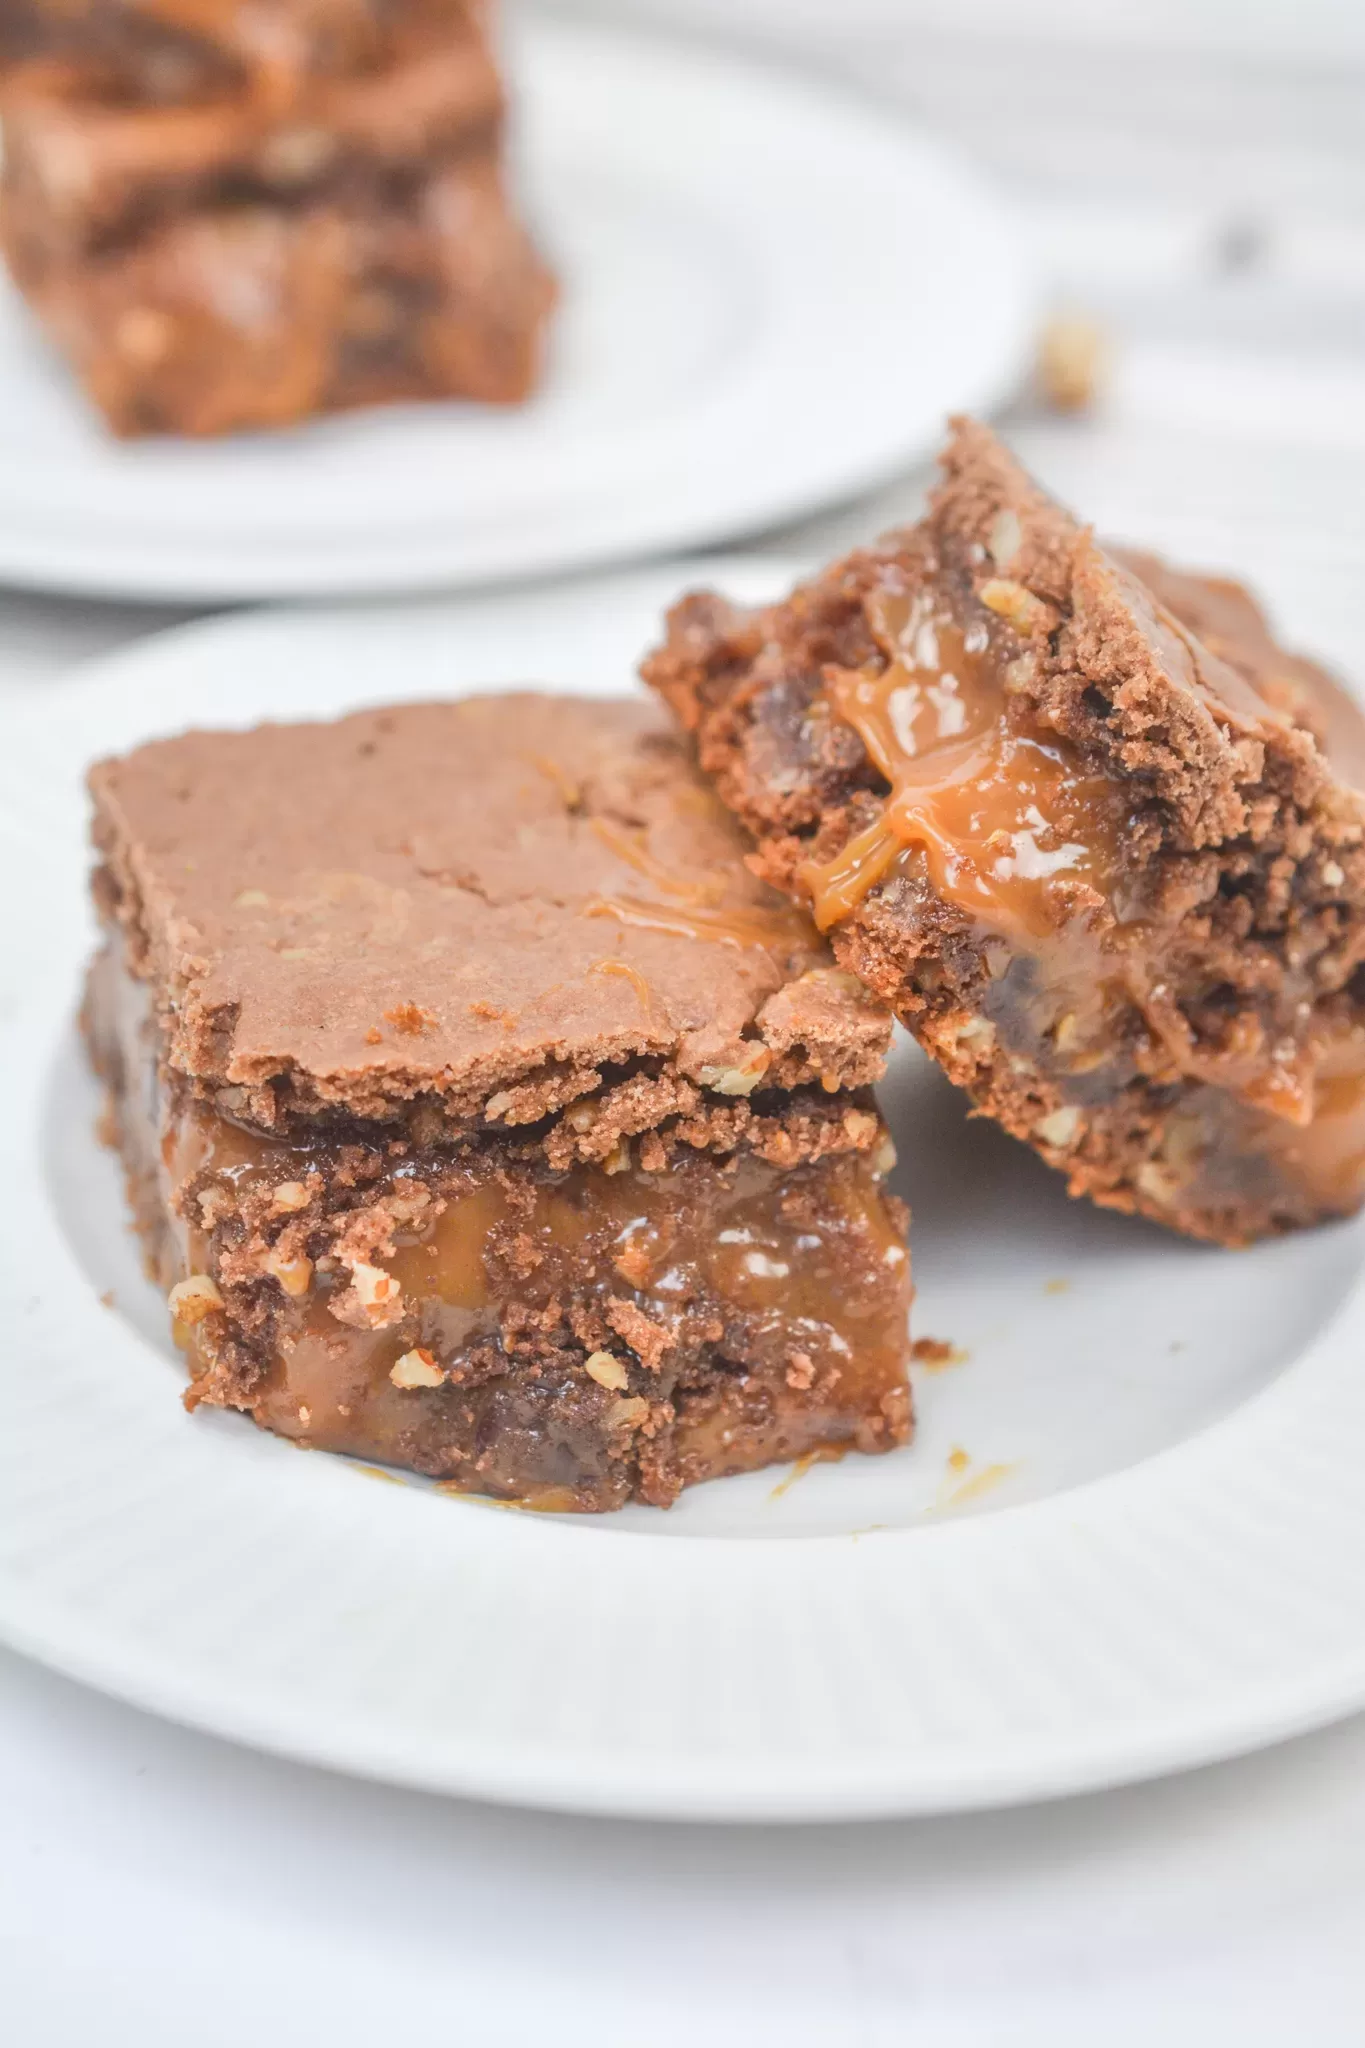
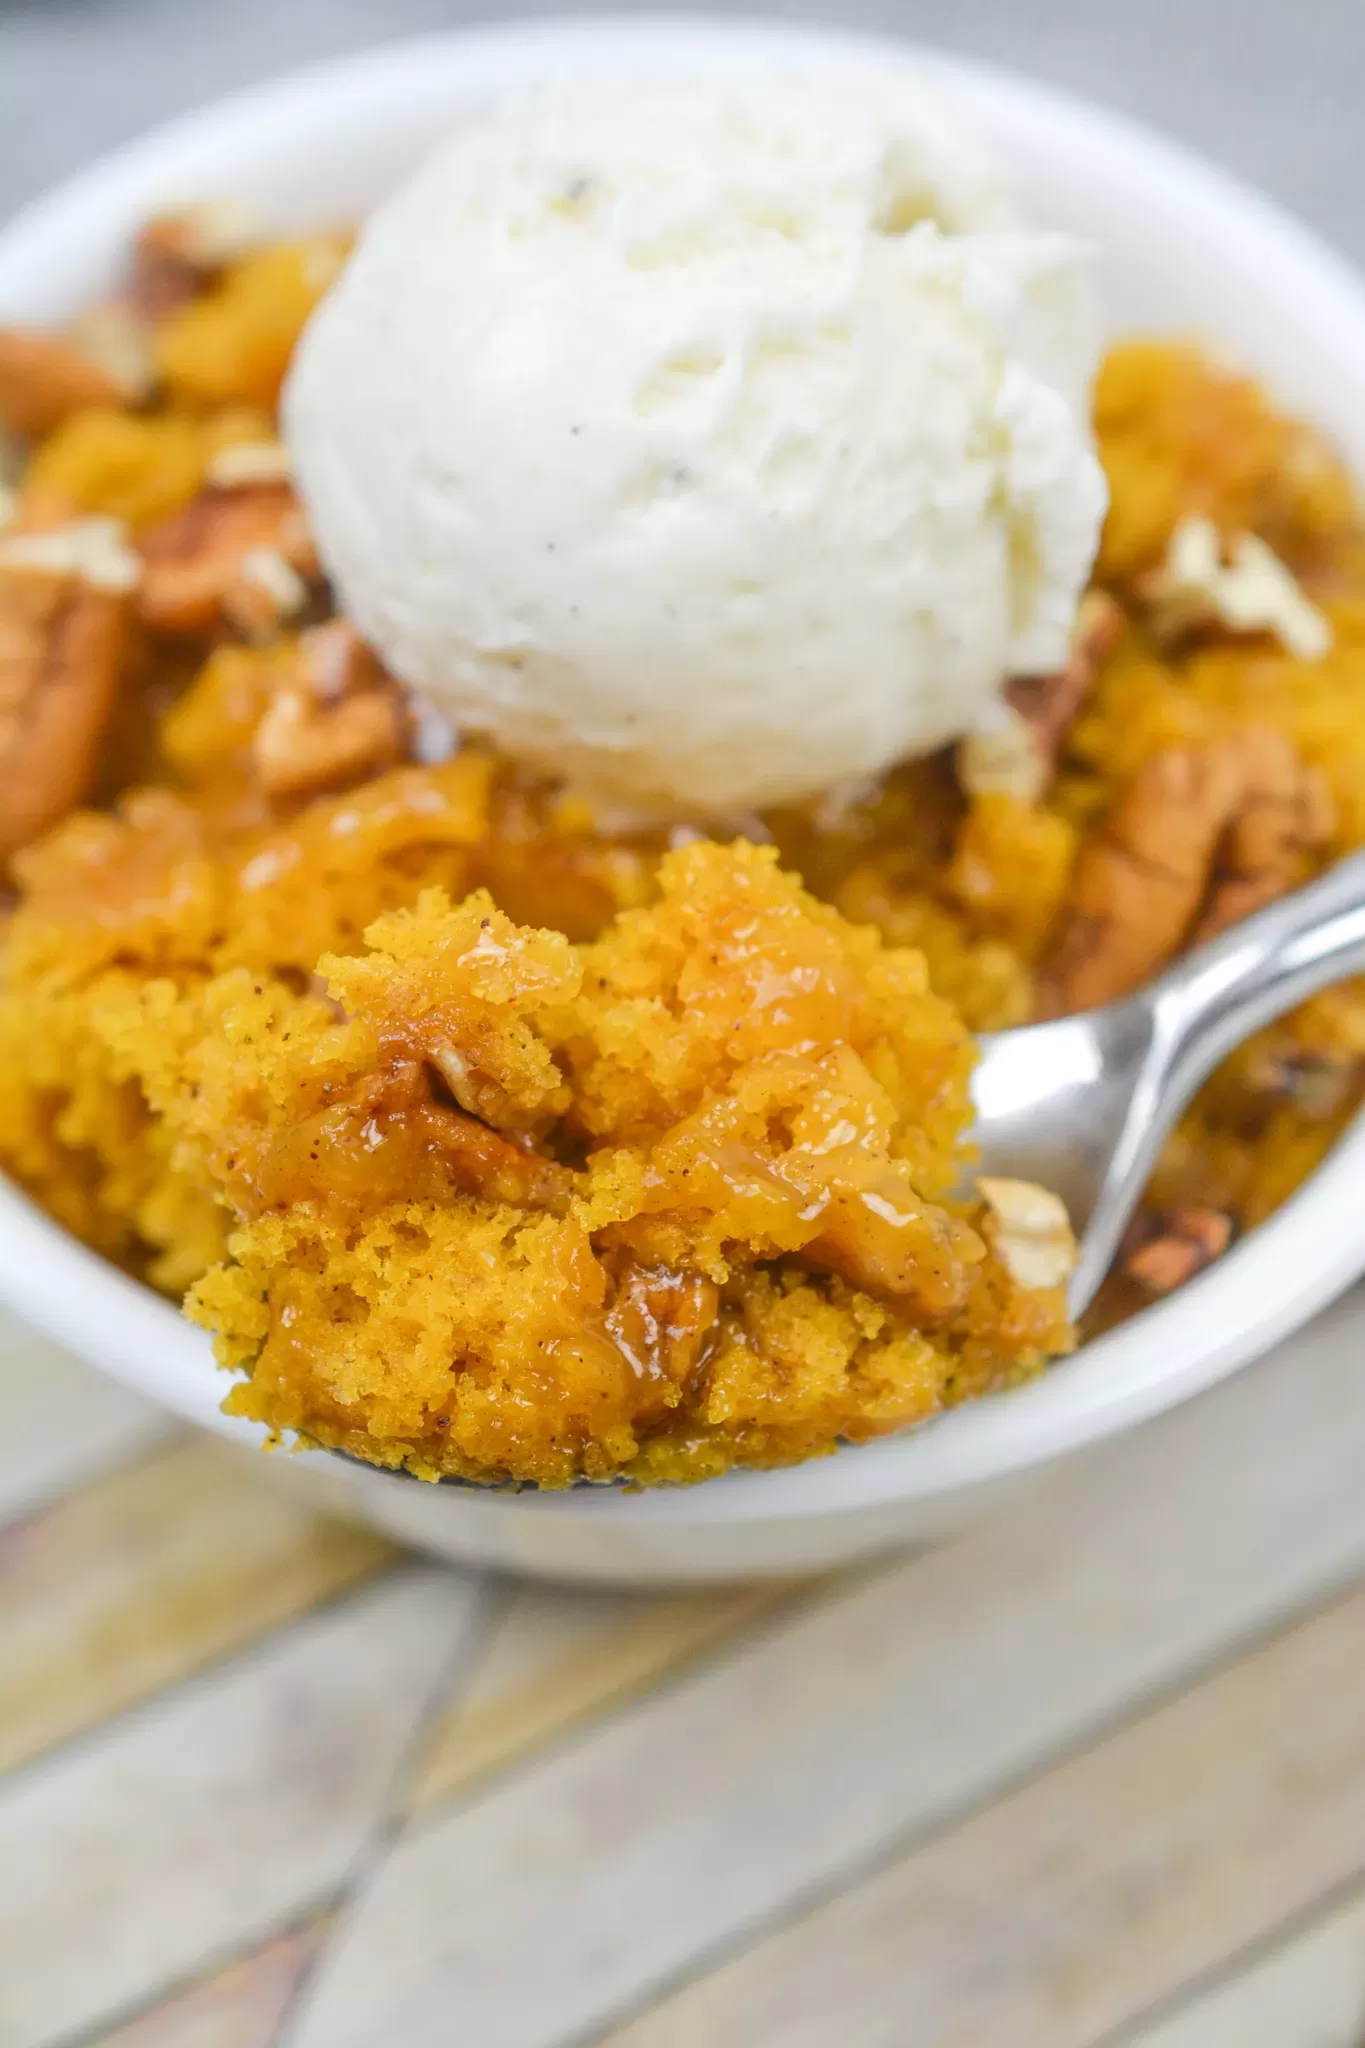
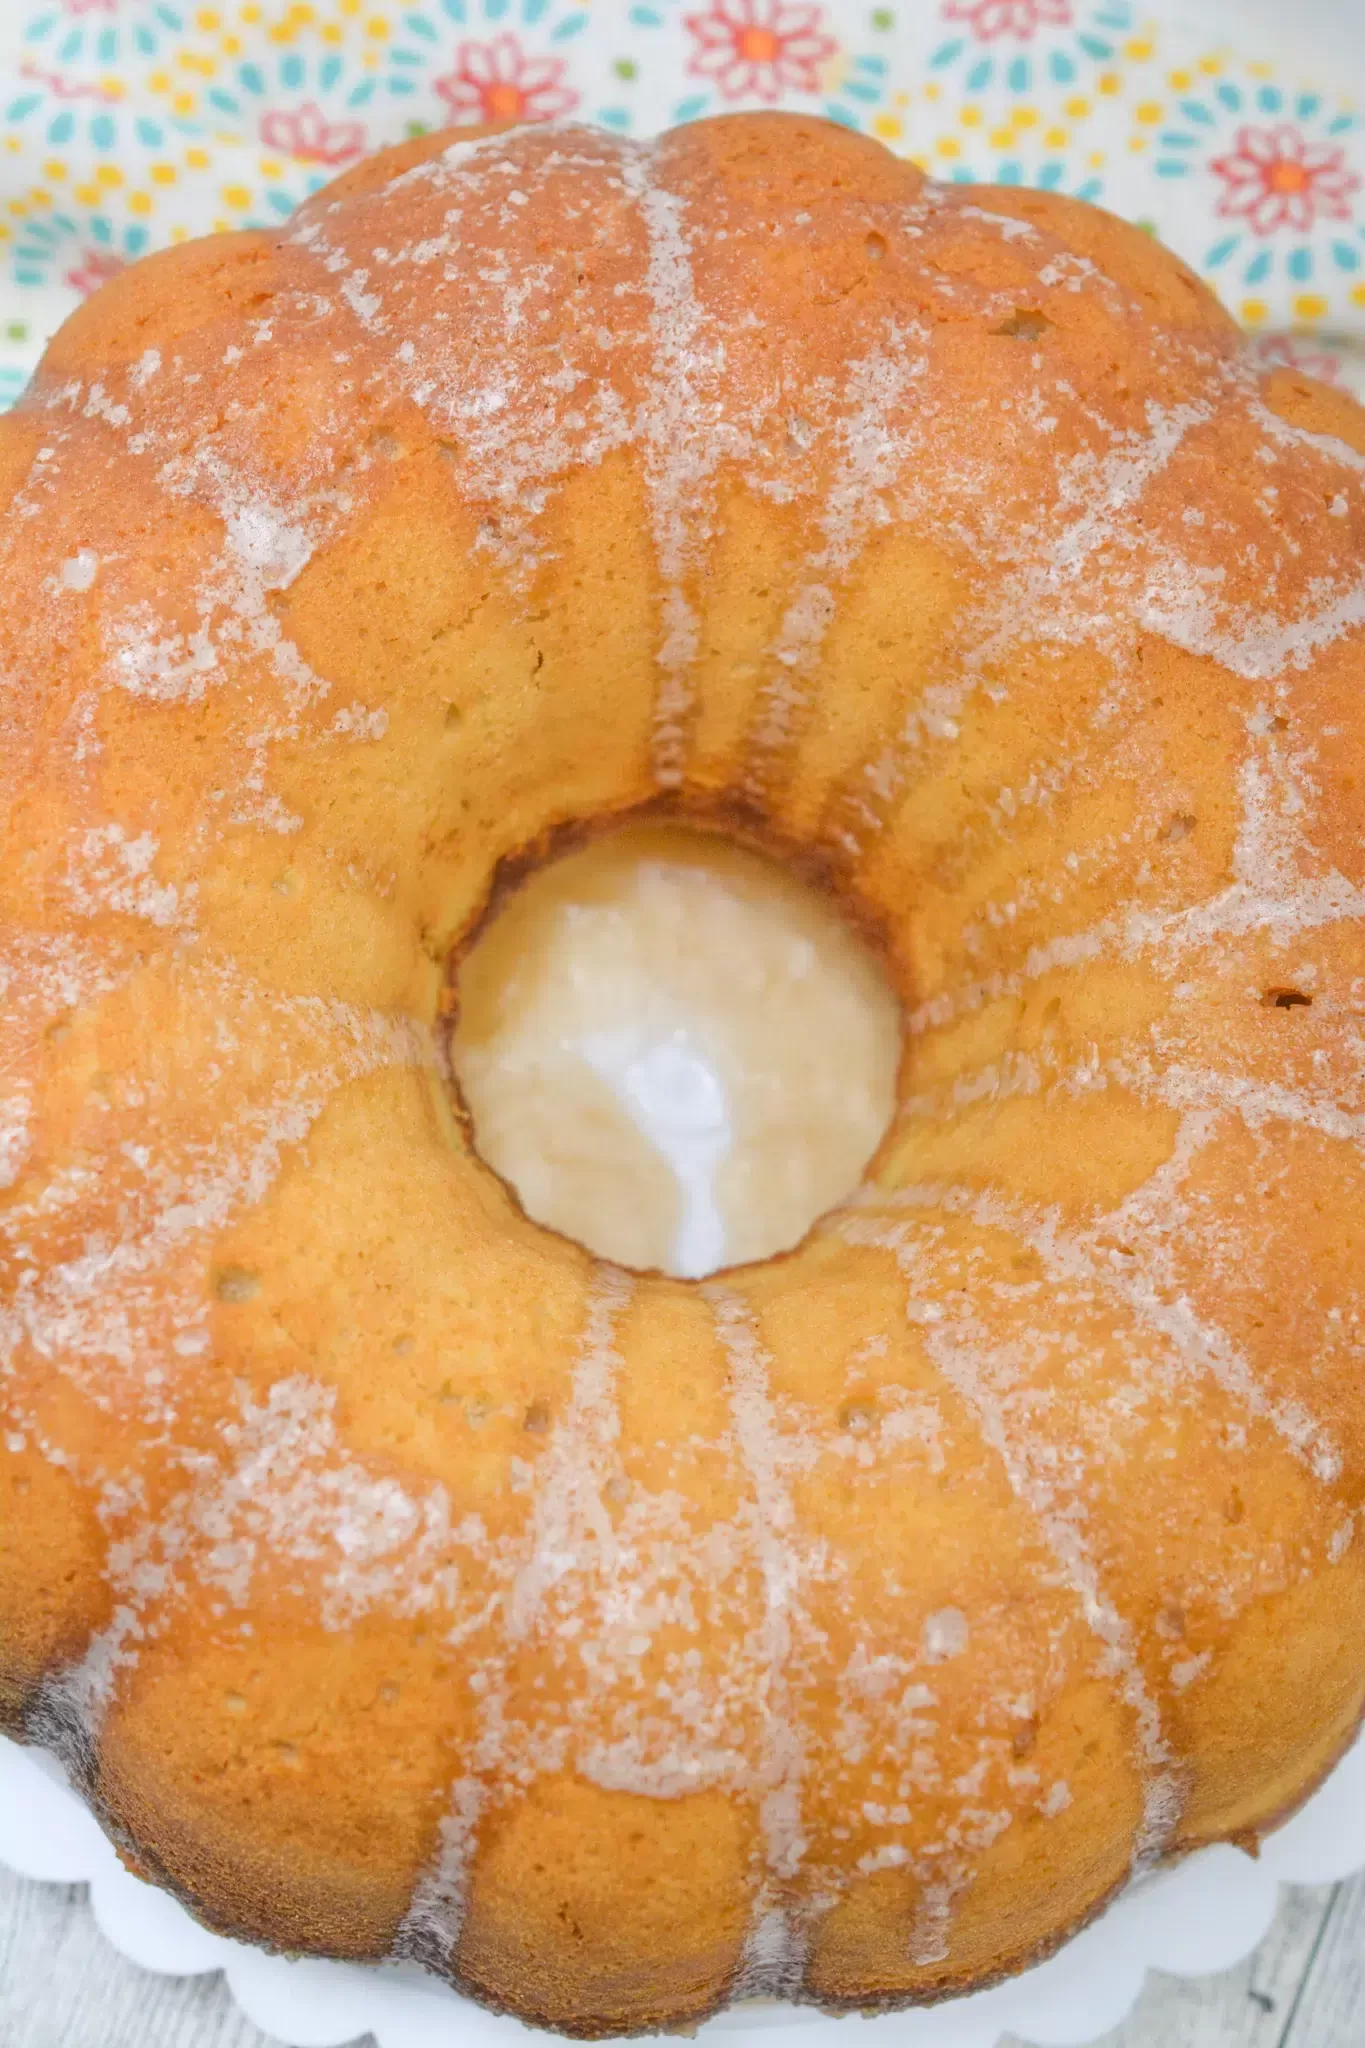
Keep the Flavor Coming – Try These:
Pita Bread
Ingredients
- 4 cups all-purpose flour
- ½ teaspoon salt
- 2 tablespoons extra virgin olive oil
- 2 envelopes ½ oz active dry yeast
- ½ cup warm water
- 2 teaspoons sugar
- 1¼ cups warm water approximately 110°F
Instructions
Activate the Yeast:
- In a two-cup measuring vessel, combine ½ cup warm water with the sugar and active dry yeast. Stir gently and allow the mixture to rest for approximately 10 minutes, or until a foamy surface develops, indicating that the yeast is active.
Prepare the Dough:
- In the bowl of a stand mixer fitted with the paddle attachment, combine the flour, salt, and olive oil. Create a well in the center. Pour in the yeast mixture along with 1¼ cups of warm water. Switch to the dough hook and knead on medium speed for 6 to 8 minutes, or until the dough becomes smooth and elastic.
First Rise:
- Transfer the dough to a lightly oiled mixing bowl, cover with a clean towel or plastic wrap, and allow it to rise in a warm location for approximately 1½ hours, or until doubled in size.
Divide and Shape:
- Once risen, portion the dough into 12 equal-sized pieces (each roughly the size of a small orange). Roll each piece into a ball and place them on a rimmed baking sheet. Cover with a kitchen towel and let them rest for 30 minutes.
Roll into Circles:
- On a lightly floured surface, roll each dough ball into a circle approximately ¼ inch thick. Cover again with a towel and allow a second rise for 30 additional minutes.
Bake:
- Preheat the oven to 500°F. Carefully place the dough rounds directly onto the oven rack. Bake for 5 to 7 minutes, or until the pita breads puff up and begin to lightly brown. Remove promptly and allow to cool slightly before serving.
Notes
I’m Bitty, owner of nodashofgluten.com, where I share simple, delicious recipes for all tastes, including gluten-free. Check out my “About Me” page for more info!