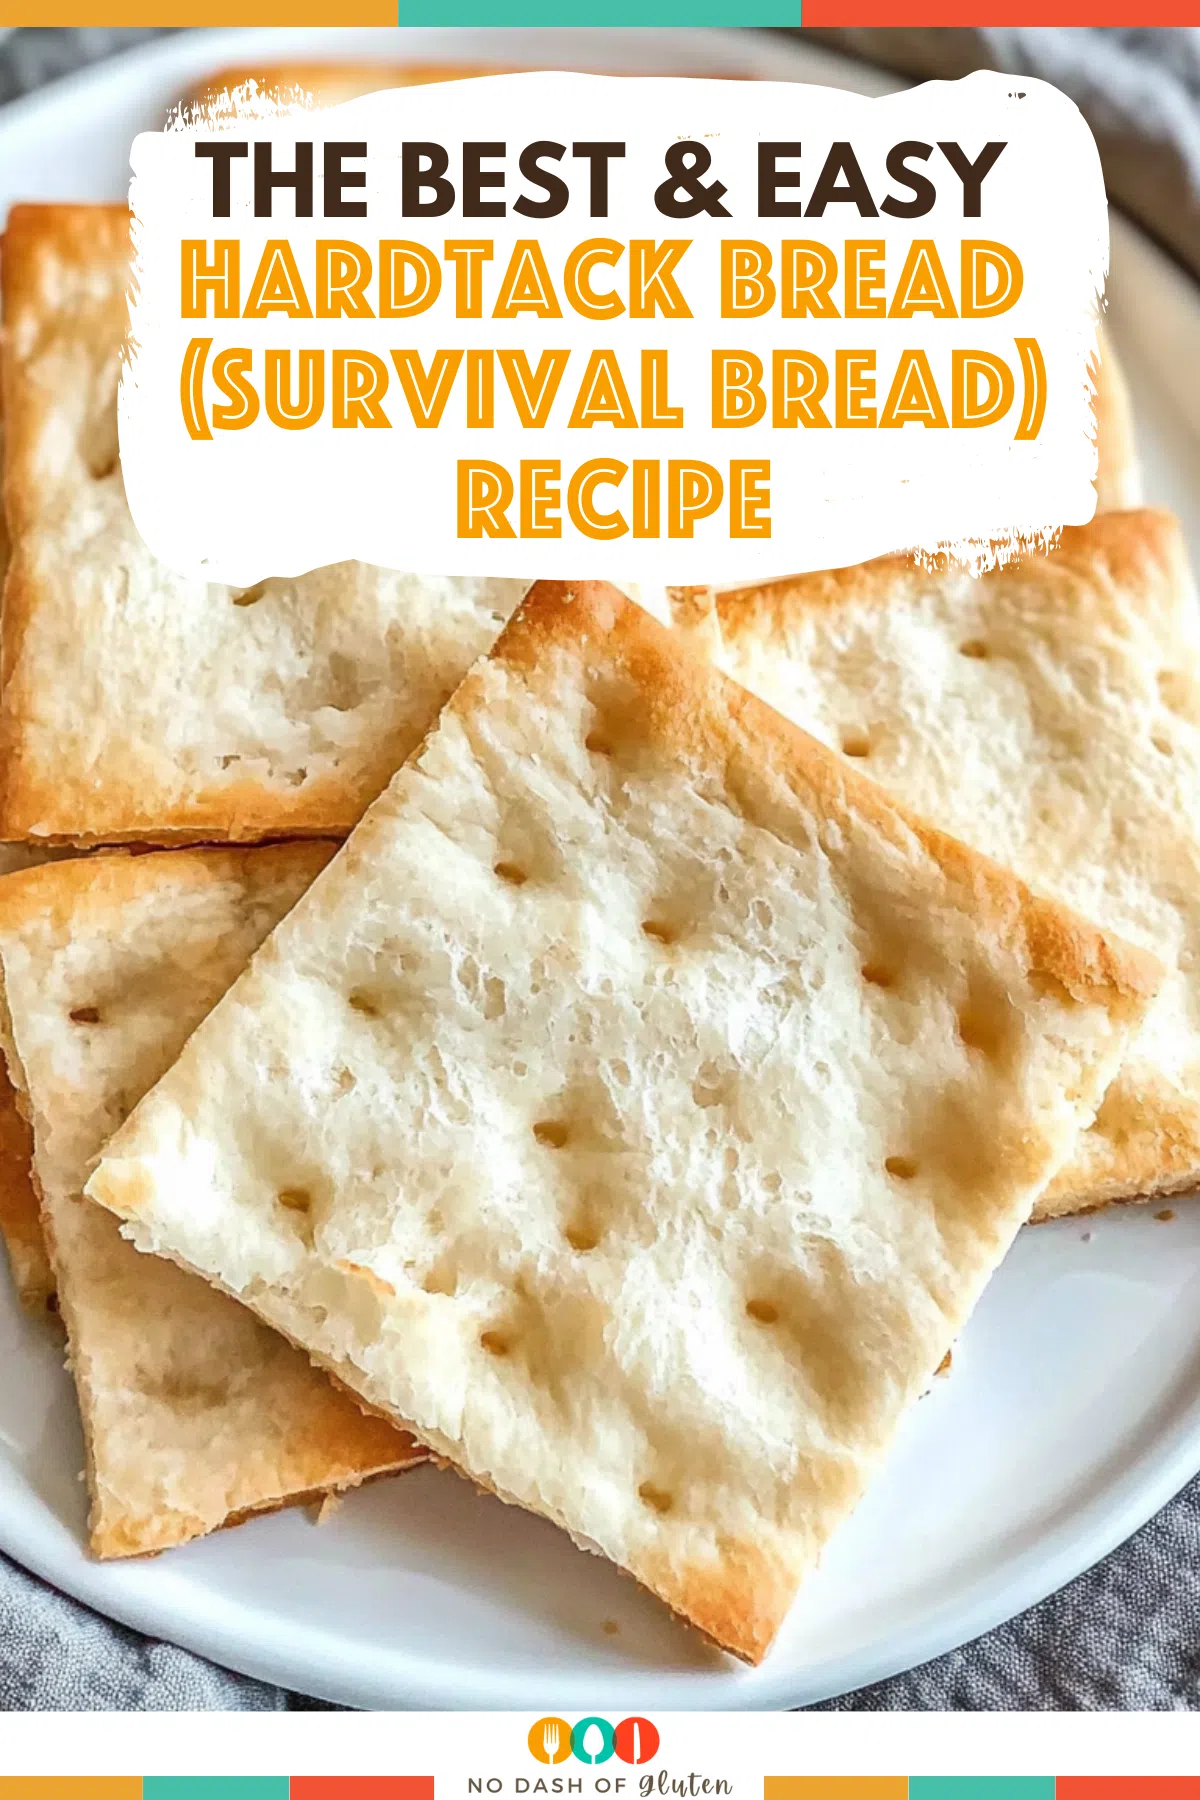
Simple Hardtack Bread Recipe (Survival Bread) made with just flour, water, and salt! A tough, long-lasting survival food that stands the test of time.
I don’t know about you, but I love weird, old-fashioned recipes. The kind of food that has a story—something people ate when times were tough, supplies were low, and grocery stores weren’t even a thing. That’s how I ended up making hardtack, aka survival bread, aka the cracker that refuses to die.
The Storied Past of Hardtack
Turns out, hardtack has more aliases than an international super spy—and quite the globetrotting résumé to match. This famously indestructible cracker has been fueling hungry travelers and tough-as-nails soldiers for thousands of years, long before anyone was Pinteresting their dinner.
Roman legionaries would bake up hardtack (they called it buccellatum) before heading out on campaign, since it could survive rough journeys without turning into a science experiment. Fast forward a few centuries, and you’d find Crusaders tucking hardtack into their packs for long treks through unfamiliar lands.
Sailors—especially those in the British Navy—relied on these baked bricks to keep scurvy at bay when fresh fare was but a distant dream. By the time the American Civil War rolled around, hardtack was still the MVP of camp rations. Soldiers got creative: pounding it with rifle butts into edible mush, dunking it to soften, frying it in bacon grease (because, why not?), or mixing it with sugar and the occasional splash of whiskey for a makeshift dessert.
So, across continents and centuries, from the dusty roads of Rome to the smoky camps of 19th-century America, hardtack didn’t just stay relevant—it became a legend in the world of food that lasts forever.
Hardtack’s Many Aliases
However, it turns out that hardtack goes by a truly impressive number of names, each with its own colorful backstory. Sailors once munched on “sea biscuit” or “ship’s bread” while crossing the Atlantic. Some old hands jokingly called it “molar breaker,” “sheet iron,” or my personal favorite, “worm castles”—charming, right? In other parts of the world, you’ll find this unyielding cracker as “pilot bread” or “cabin bread.”
I first heard about hardtack when I was deep in a historical rabbit hole (you know how it goes—one minute you’re googling something random, the next you’re reading about Civil War rations at 2 AM). Apparently, soldiers used to survive on this stuff for months—sometimes years—and sailors carried it on long voyages because it wouldn’t spoil. The fact that some of it still exists today in museums? I mean, that’s both impressive and slightly terrifying.
So, What Sets Sailor Boy Pilot Bread Apart?
Here’s where things get interesting: while traditional hardtack was as basic as it gets—just flour, water, and maybe a sprinkle of salt—Sailor Boy Pilot Bread brings a couple of modern twists to the historic recipe. Unlike its tooth-chipping ancestor, this version is made with added leavening agents and vegetable shortening.
That means Sailor Boy is lighter, flakier, and generally more like the crackers you’d find at a grocery store than the dense, jaw-testing “sheet iron” that kept sailors and soldiers going. In other words, it still lasts just about forever—just without doubling as an emergency dental challenge.
So…why “Hardtack Bread”?
As for the name, it’s surprisingly literal. “Tack” was old British sailor slang for food (neatly practical, if you ask me). So, when you make it rock-hard to help it survive months at sea or in a rucksack? Naturally, it becomes “hardtack.” Not exactly poetic, but it does what it says on the tin.
Hardtack in Japan and South Korea: A Modern-Day Snack and Lifesaver
Turns out, hardtack isn’t just a relic gathering dust in glass museum cases—it’s still part of everyday life in places like Alaska, and even enjoyed as a snack in parts of Asia. In Japan, it goes by the name kanpan, while in South Korea, it’s called geonbbang, which literally means “dry bread.”
But here’s the twist: over there, it’s not just food for sailors or soldiers, it’s a legit snack. People buy it like we’d buy chips or crackers. And because it lasts basically forever, canned kanpan is tucked into emergency kits throughout Japan, standing by for earthquakes, floods, or whatever else Mother Nature might throw their way. It’s hardtack for the 21st century—still tough, still trusty.
Can You Actually Buy Hardtack?
Absolutely! If you’re curious but not quite ready to heat up your oven, you don’t have to embark on a DIY adventure just yet. Hardtack is still sold in stores, and you can find it online from big retailers like Amazon. The classic, most-recognized name you’ll spot is Sailor Boy Pilot Bread—a time-tested favorite, especially up north.
But honestly, once you see how simple (and cheap) hardtack is to make at home, you might be tempted to whip up your own batch instead. Still, should the urge for a taste of history strike while scrolling, rest assured: it’s as easy to click “add to cart” as it is to mix flour, water, and salt.
Who Makes Hardtack These Days—And Where Does It All Go?
If you’re wondering who’s actually baking up the hardtack that ends up on modern shelves, here’s the scoop: Most of the commercially available hardtack in the U.S. comes from Interbake Foods, based out of Richmond, Virginia. Their “Sailor Boy” label is the main player you’ll find if you go hunting for a classic box.
But here’s the fun bit—nearly all of it (we’re talking about 98 percent!) is shipped straight up to Alaska. That’s right, of all the places this rugged little cracker still makes a splash, it’s Alaska that keeps the tradition alive and well. So, if you ever spot hardtack outside the Land of the Midnight Sun, you’re basically holding a piece of true northern culinary heritage.
So…Who’s Still Eating Hardtack Bread These Days?
As it turns out, hardtack hasn’t disappeared into the annals of history just yet. In fact, it’s alive and well, especially way up north in Alaska. While most of us might only encounter hardtack at a museum or during a particularly ambitious baking project, Alaskans still regularly include it in their diets.
This isn’t just a quirky tradition, either. Hardtack was originally brought up as a food that could handle harsh travel conditions—think sled dogs, remote cabins, and miles of wilderness. Even now, with plenty of fresher, fancier options available, Alaskans stick to hardtack. It’s a staple that’s stood the test of time (and temperature).
So, of course, I had to roll up my sleeves and bake a batch myself. I mean… how could I not? And let me tell you—this bread does not mess around. It’s simple, sturdy, and practically indestructible. Is it the most exciting thing you’ll ever eat? No. But will it last in your pantry for years and be a lifesaver in an emergency? Absolutely. And honestly? I kinda love that about it.
If you’re curious about old-school survival foods, love prepping for “just in case” scenarios, or want to feel like a 19th-century explorer for a day, you’ve got to try this Hardtack Bread Recipe (Survival Bread). Let’s do it!
Why Learn to Make Regular Homemade Bread Too?
Now, as much as I’m a fan of foods with the shelf life of a mummy, I’d be lying if I said I only want to chew on bricks for the rest of my time. There’s something pretty wonderful about knowing how to whip up fresh bread, too—think fluffy loaves, warm out of the oven, making your kitchen smell like happiness itself.

Sure, hardtack is unbeatable during an emergency (or if you’re recreating a lost episode of Alone), but having the skills to make regular homemade bread? That’s how you turn any “stuck inside” situation—blizzards, power outages, even pandemics—into something a little cozier, maybe even enjoyable for the whole gang. Because nothing says morale boost like a slice of fresh, buttery bread when it feels like the rest of the world is falling apart.
So while you’re channeling your inner pioneer with hardtack, don’t forget to master a simple white bread or a rustic sourdough. Your future self (and taste buds) will thank you.
Why You’ll Love This Hardtack Bread Recipe?
- Crazy Long Shelf Life – It’ll outlive your other pantry staples, no joke.
- Ridiculously Easy to Make – Three ingredients. No yeast. No special skills required.
- Great for Emergencies – Whether you’re camping, storing up for an emergency, or just prepping for the next grocery store disaster, hardtack is solid backup food.
- Totally Travel-Friendly – No refrigeration needed. Just toss it in your bag and go.
- Surprisingly Versatile – Okay, so it’s not delicious on its own, but there are ways to make it work (trust me).
Ingredient Notes:
This is as basic as bread gets, but here’s why each ingredient matters:
- Flour – All-purpose flour is perfect here. It’s cheap, reliable, and lasts longer than whole wheat (which spoils faster due to natural oils). Whatever you use, make sure it’s fresh—old flour can smell weird, soak up moisture, and ruin your dough. Sticky dough? Add more flour until it’s stiff and no longer clinging to your fingers.
Keep in mind, whole wheat flour contains more natural oils and wheat germ, which means it spoils faster than all-purpose or bread flour. If you don’t bake with whole wheat often (and rotate your stock), it can develop an odd smell or taste as it ages—definitely not something you want in your hardtack. Spoiled or rancid flour will impact the final flavor, so fresher is always better, especially with whole wheat.
Why Not Self-Rising Flour?
Skip the self-rising flour for this one—trust me. Hardtack’s magic lies in being tough and shelf-stable, and self-rising flour is packed with leaveners (think baking powder or baking soda) that will puff things up, making your bread airy and way less durable. For true indestructible hardtack, you want plain ol’ all-purpose flour—no baking powder, no yeast, just the basics. The moment you add any rising agent, you’re venturing into biscuit territory, and that’s not the bread that survived the Civil War or an apocalypse prepping pantry. Keep it simple for maximum longevity!
- Water – Just enough to form a stiff dough. Too much = mold risk, and moldy hardtack is not the survival move.
- Salt – Adds some flavor and helps preserve the bread. You can add more or less, depending on how long you plan to store it. Traditionally, about 1 1/2 teaspoons of salt is used, but this ingredient is optional. Historically, salt was added as a preservative, yet hardtack was often made without salt if it wasn’t available. Adjust according to your needs or skip it entirely if you prefer a simpler version.
Why Skip the Extras? (Sorry, Butter—Not Today)
Now, you might be tempted to jazz up your hardtack with a little butter, oil, honey, or sugar. I get it—who doesn’t love a softer, tastier treat? But here’s the un-glamorous truth: those tasty extras are actually hardtack’s arch-nemesis.
Adding fats (like butter or oil) or sweet stuff (like honey or sugar) does make hardtack tastier and maybe a bit kinder to your teeth. But it’s a trade-off—your bread will go stale much faster and lose its superpower: the ability to last forever. Fats eventually go rancid, turning your survival snack into a science experiment nobody wants to taste. Plus, honey and sugar naturally attract moisture (hello, science!), which opens the door for mold, bacteria, and even a parade of pantry insects.
So, if you want your hardtack to survive the next apocalypse (or just an extra-long camping trip), stick to the basics: flour, water, and salt. Save the sweet stuff for when you’re back in the comfort of your own kitchen.
Common Hardtack Mistakes to Dodge
Let’s save you some trouble (and sore teeth) by running through common pitfalls so your hardtack doesn’t end up as a cautionary tale.
Don’t Expect a Snack
First things first—hardtack is for survival, not snacking satisfaction. If you’re hoping for a tender cracker or crunchy treat, curb your enthusiasm. This bread is tough, dense, and built to last. Its job isn’t to impress your taste buds, it’s to keep famine and food spoilage at bay.
Beware of Flour Follies
Old, improperly stored flour is a recipe’s worst enemy. Flour left in open bags or unsealed containers grabs moisture and strange odors faster than a sponge at a barbeque. Not only can this ruin the taste, but it’ll also make your dough soggy and sticky. Always check the freshness—if it smells musty, toss it. For the best results, use all-purpose flour stored airtight. If your dough is sticking to your fingers, add a little more flour until it firms up.
Skip the Self-Rising Stuff
No baking powder, baking soda, or sprinkles of self-rising magic—just plain, unadulterated all-purpose flour. Anything with leavening agents will puff up your bread and tank its shelf life, making your hardtack brittle instead of durable.
Too Thick or Too Thin
If you roll your dough too thick (more than ½ inch), the inside won’t properly dry, risking mold and a bread brick that can break teeth and spirits. Too thin (think cardboard), and you’ll lose that rugged durability. Aim for a Goldilocks zone: about ⅓ to ½ inch thick.
Watch Your Water
More water isn’t better. Extra moisture means a higher risk of mold—and chewy hardtack is not the goal. The dough should be stiff, never sticky. If you overshoot and things get gummy, sift in extra flour until you can shape it easily.
Mind the Oven and Its Quirks
Baking hardtack is a long, dry process. Make sure your oven is fully preheated before you slide in the tray. Many ovens have minds of their own and run hotter or colder than the dial claims, so consider using an oven thermometer for accuracy. Also, stick to the middle rack to avoid burning—heat is more unpredictable near the top or bottom elements.
Convection Oven Cautions
If you’re using a convection oven, things might cook (and burn) faster than expected. This guide assumes a regular oven, so adjust baking times if you’re working with a fancier setup.
Cool Completely Before Storing
Don’t pack away hardtack until it’s fully cooled. That final cooling does more than save you from a steamy disaster—it finishes the drying process, keeping your bread mold-free for the long haul.
Dodge these blunders and you’ll have a stash of tough, practically immortal hardtack ready for anything—from backpacking adventures to the unexpected apocalypse.
How To Make Hardtack Bread?
Step 1: Make the Dough
Start with 4 cups of flour in a mixing bowl. Slowly add 2 cups of water—but don’t just dump it all in at once! You might not need the full amount. The goal is a firm, stiff dough that’s not sticky or overly dry. If it’s too wet, add a little more flour. Too dry? A splash more water should do the trick.
Step 2: Roll & Cut
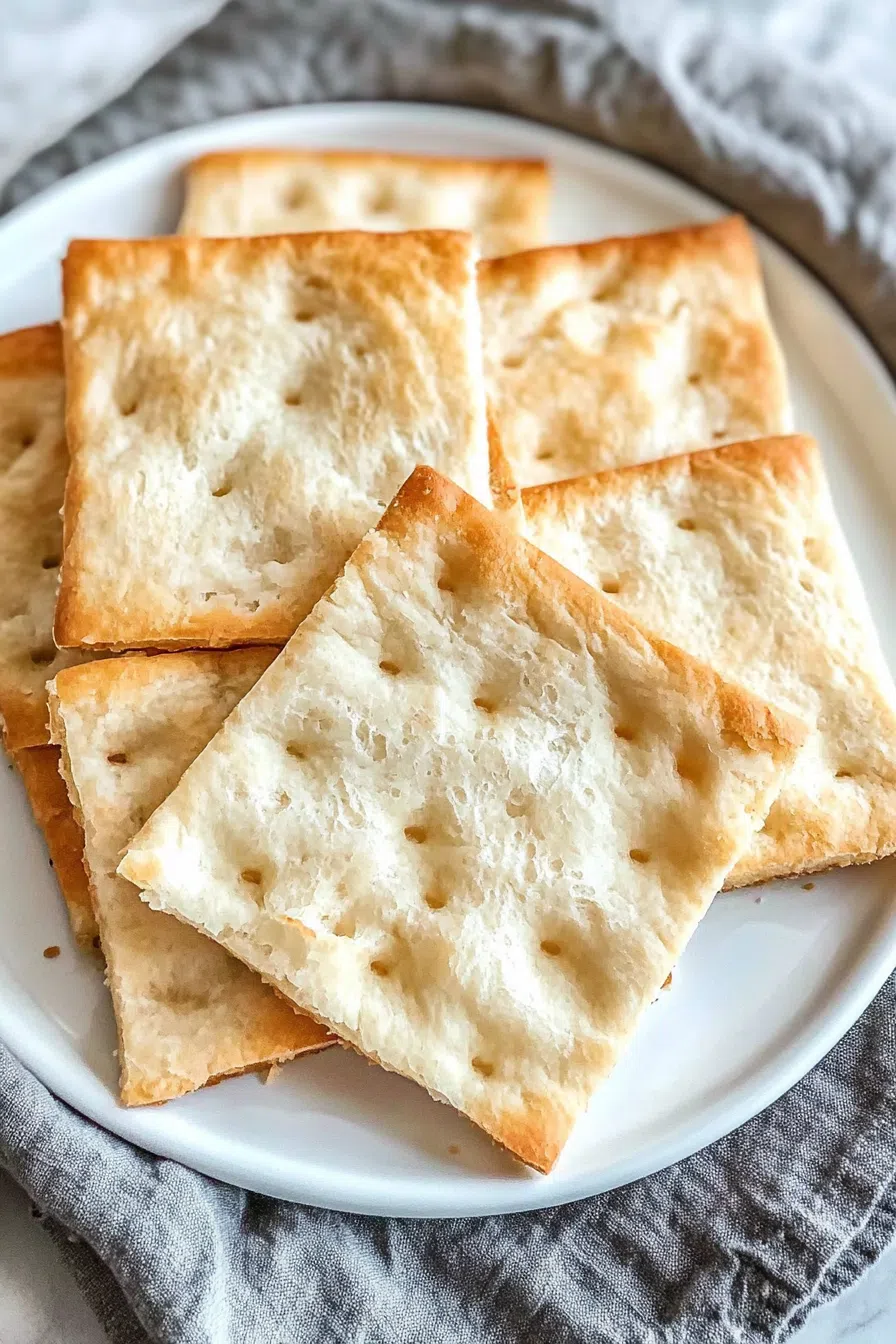
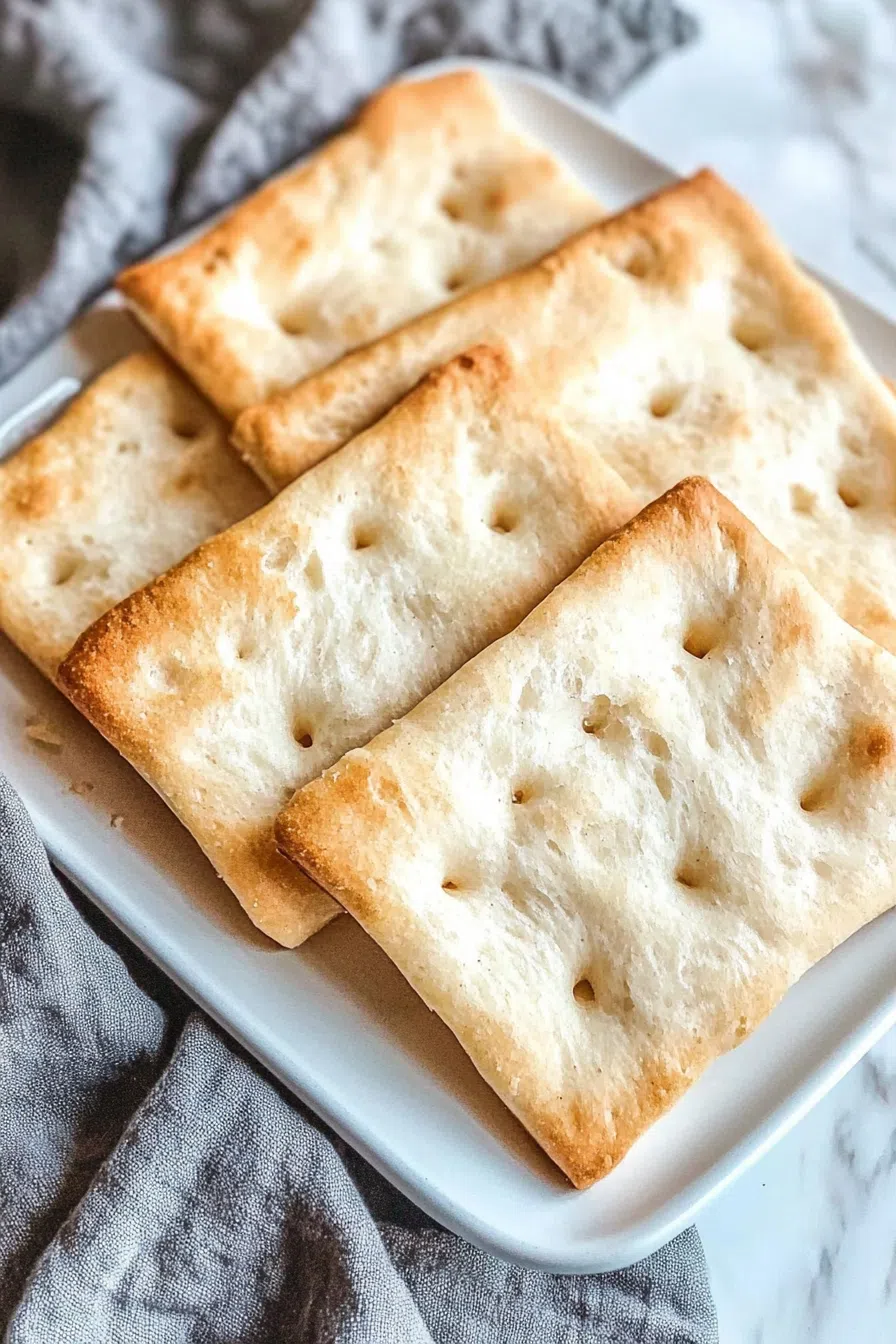
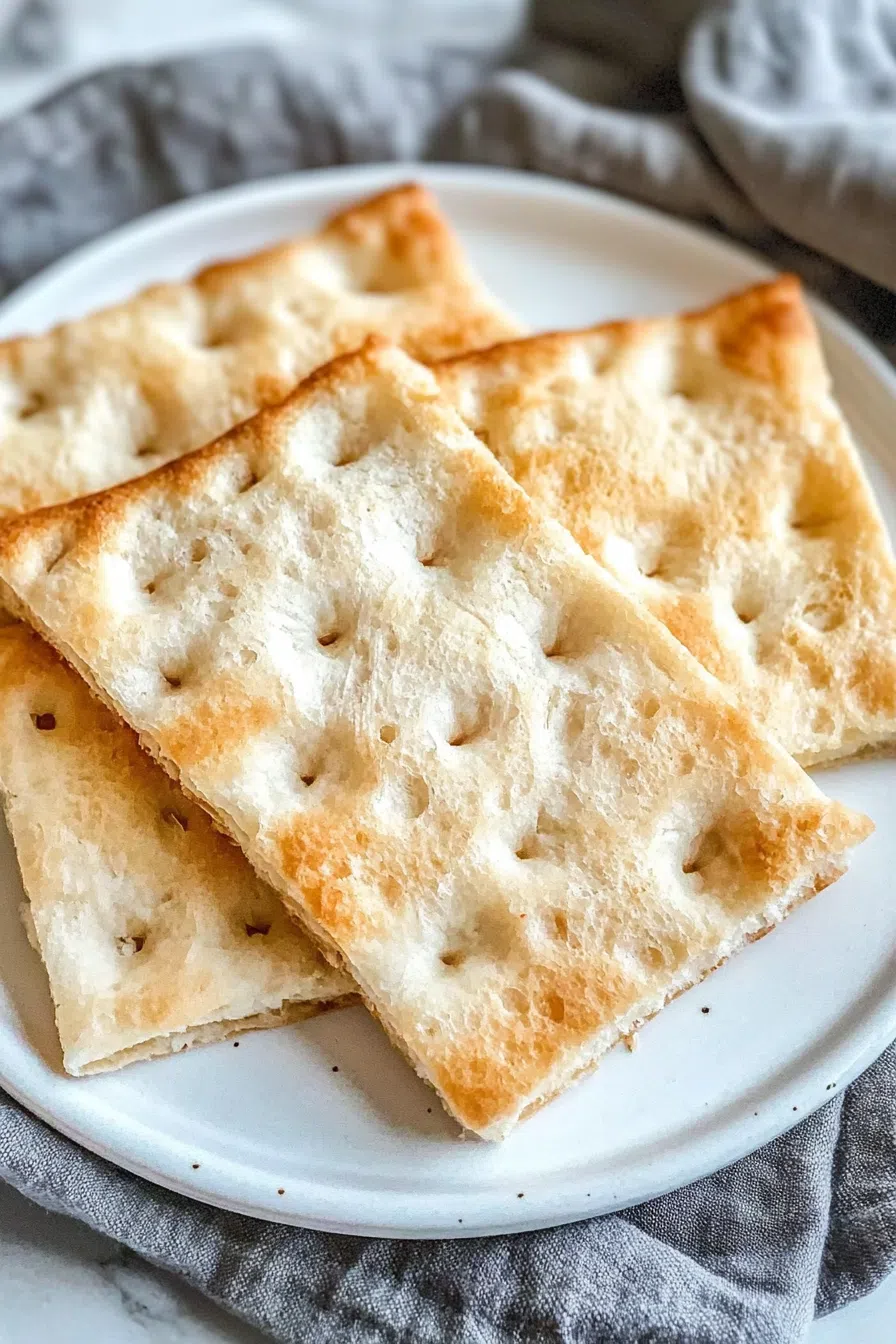
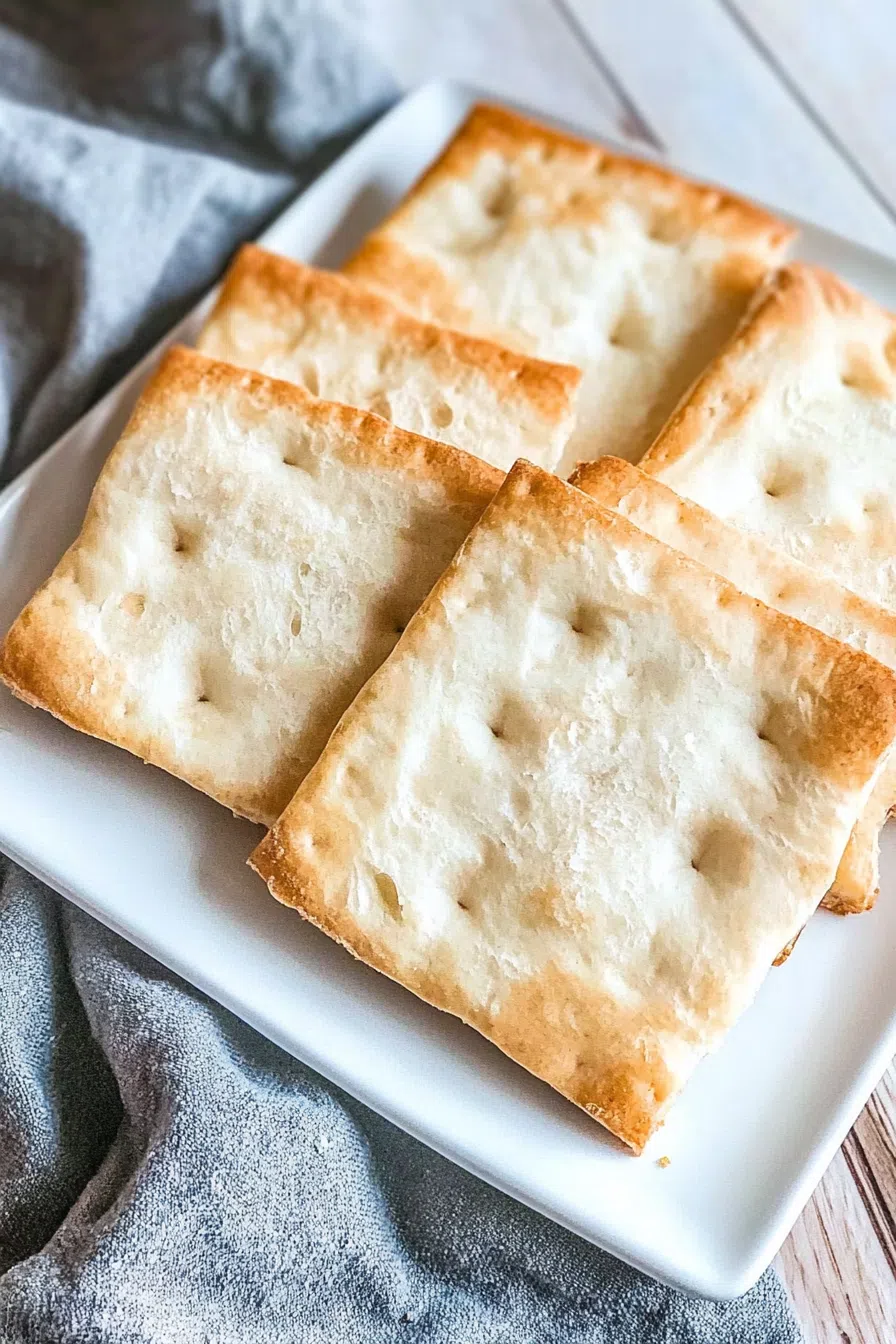
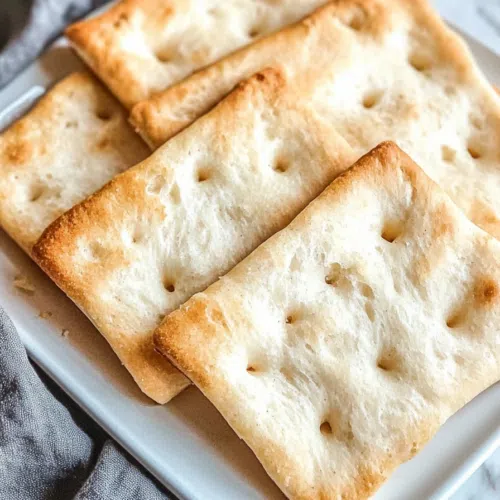
Lightly flour your counter and roll the dough out to ½-inch thickness. It needs to be thick enough to stay sturdy but thin enough to bake all the way through. Cut into 3-inch squares (or whatever shape makes your heart happy). Then, use a fork to poke holes all over each piece—this helps it bake evenly and dry out completely.
Baking Safety Tips for Hardtack
Before you channel your inner pioneer and start manhandling hot trays of hardtack, make sure you’re playing it safe. Ovens and baking sheets get scorching—enough to brand you with a memory you never wanted. Protect your hands with thick oven mitts or heatproof gloves (those silicone ones work wonders), especially when flipping the hardtack or pulling it from the oven.
And don’t forget: always use both hands when lifting a heavy, loaded baking sheet. A dropped batch of hardtack is almost as tragic as a burned palm! If kids or curious pets are hanging around your kitchen, keep them clear of hot surfaces and sharp utensils—those hardtack edges are no joke either. Safety first, delicious indestructible bread second.
Step 3: Bake It Until It’s Basically a Brick
Preheat your oven to 375°F (190°C). Arrange the hardtack pieces on an ungreased baking sheet and bake for 30 minutes. Flip them over and bake for another 30 minutes. When they come out, they should be hard as a rock—that’s exactly what you want.
Want To Save This Recipe?
A Note on Ovens and Tray Placement
Before you toss those slabs into the inferno, a quick word to the wise: not all ovens are created equal. This recipe is perfect for a good old-fashioned, non-convection oven. If you’re using a convection oven (the kind with a fan whirring in the back), your hardtack may cook faster—and no one wants bricks that are accidentally burnt to a crisp.
Where you park your baking tray matters, too. Slide your tray onto the center rack. Up high or down low, you risk roasting your hardtack right next to the heating elements, which can send those biscuits from golden to charcoal faster than you can say “Civil War ration.” Center rack, traditional oven—your best bet for that perfect, prehistoric crunch.
Step 4: Cool & Store
Let them cool completely before storing. If there’s any warmth left, it could cause moisture buildup, and that’s the enemy of long-term storage. Once cooled, store in an airtight container or vacuum-seal them for maximum shelf life.
Storage Options:
- Keep It Dry – Moisture is the only thing that can ruin hardtack, so airtight storage is key. Vacuum seal them for maximum shelf life—moisture is the enemy of shelf-stable food (check out the USDA’s guide on food safety). If you want to dive deeper into the science behind long-term storage.
- Store in a Cool, Dry Place – A pantry, emergency kit, or bug-out bag works great. And here’s a bonus tip: light and temperature matter, too. Exposure to heat or direct sunlight can shorten hardtack’s shelf life, so keep it tucked away somewhere dark and cool—think back of the pantry, basement shelf, or your emergency food stash.
- Re-Bake If Needed – If your hardtack ever gets soft, just pop it back in the oven for a few minutes to dry it out again.
By keeping moisture, heat, and light at bay, you’ll give your hardtack the best shot at outliving even your most questionable camping supplies.
Variations and Substitutions:
Hardtack is tough. Like, “you-might-lose-a-filling” tough. But there are ways to make it more edible:
- Soaked in Soup or Broth – The best way to soften it up and actually enjoy it.
- Crumbled into Stew – Adds texture and makes meals heartier.
- Topped with Butter or Jam – If you’re not in survival mode, slathering it with something tasty makes a big difference.
- Dunked in Coffee or Tea – Old-school sailors used to do this. Turns hardtack into something almost like a cracker.
What to Serve with Hardtack Bread?
Hardtack isn’t exactly a grab-and-go snack on its own, but paired with the right thing? It actually works. I usually reach for something warm or salty to balance it out, and honestly, even just dunking it in tea makes a big difference. Here are a few ways to make it more than just a rock-hard relic:
-
First up, soups and stews are your best friend—anything brothy will soften it right up.
-
Spread it with butter, jam, or even peanut butter if you’re not roughing it in the wild.
-
Fried eggs, canned tuna, or Spam turn it into an easy meal that’s totally campfire-friendly.
-
Cheese (especially the hard kind) or a little cream cheese makes it feel more like a rustic cracker.
-
And when in doubt? Dunk it in coffee or tea like the old sailors did. Surprisingly satisfying.
It might not be fancy, but with a little help, hardtack can definitely pull its weight.
When to Serve Hardtack
Hardtack’s versatility isn’t just about what you pair it with—it can slide into almost any meal slot:
- Breakfast: Crumble it into your morning porridge or soak it in hot coffee to soften it up. Pair with fried eggs or cold cuts for a hearty start.
- Lunch: Use it as a crunchy side with soups or stews, or top it with cheese, canned meats, or spreads for a makeshift sandwich.
- Dinner: Dunk it into a rich broth, or serve alongside chili, stew, or beans to soak up the flavors.
It’s the ultimate backup plan—whether you’re camping, hiking, prepping an emergency kit, or just feeling a little old-school in your kitchen. Hardtack may have a reputation for being tough, but give it good company, and you’ll find it’s a surprisingly useful staple, no matter the time of day.
What Nutrients Does Hardtack Lack?
Here’s the straight-up truth: hardtack is all about simple carbs and salt, but it comes up pretty short on vitamins, fiber, and protein. If you’re hoping for vitamin C, healthy fats, or any sort of complete nutrition, you won’t find it here. (Sorry, scurvy prevention not included.)
And about that salt, yes, it’s there, but not to jazz up the flavor. Salt was added as a way to extend the shelf life of these historic military rations, not as a flavor enhancer. It keeps hardtack from going bad, which is great for storage but not so much for taste.
That’s why, even back in the day, folks never relied on hardtack alone—they paired it with meats, dried fruit, or anything else they had on hand. Think of hardtack as your backup fuel: good for calories and bulk, but it needs partners in crime like veggies, proteins, and fruits to round out your meal and actually keep you going.
Other Survival Breads to Try
If you’re in the mood to mix it up, hardtack has some cousins in the world of emergency carbs. Here are a few other old-school survival breads you might want to have up your sleeve:
- Campfire Bread & Frying Pan Bread – Rustic and easy, these only need basic ingredients and a hot surface (no oven required!).
- Baking Powder Breads & Flatbreads – No yeast? No problem. Think quick breads, skillet breads, or even classic tortillas.
- Ash Cakes & Johnnycakes – Cooked right in the coals or on a griddle, these are as simple as it gets (and bonus points if you like cornbread style).
- Oatcakes & Unleavened Breads – Durable, travel-friendly, and ideal for using whatever grain you have on hand.
- Wild Yeast Breads – If you’re feeling adventurous, catch some wild yeast and make a rough sourdough—no packet yeast required.
Most of these options won’t outlast hardtack’s marathon shelf life, but they’re fantastic when you don’t have yeast, an oven, or you just want something a little different for the campfire menu.
Looking Beyond Bread: Other Survival Staples
Of course, if you really want to round out your emergency pantry, it pays to think beyond bread. Some tried-and-true survival foods that last just about forever include:
- Canned foods – From beans to veggies to tuna, they’re shelf-stable and ready to eat.
- MREs (Meals Ready to Eat) – Military-style rations that pack a surprising amount of calories into a compact package.
- Dried goods – Think dried beans, lentils, grains, and rice. They’re lightweight, inexpensive, and have a crazy-long shelf life.
- Pasta – Simple to cook and stores well in a cool, dry place.
- Freeze-dried foods – Whether fruits, veggies, or full meals, these are lightweight and keep for years.
Mix and match with your hardtack or survival bread of choice, and you’ll have a stockpile that’s not just practical but actually edible when you need it most.
Historical Preparations of Hardtack Bread and Creative Uses
Through the ages, folks have gotten pretty inventive with hardtack, turning this jawbreaker into something you might actually want to eat. Some of the old-timers’ favorite tricks include:
- Hardtack Mush: Civil War soldiers would smash hardtack to bits (using the business end of a rifle, if we’re being colorful), mix in water, and either fry the mush into a rough pancake or toss it straight onto campfire coals. Resourceful and rugged.
- Skillygalee: This classic came out of army camps, where hardtack was soaked in water, then fried up in bacon fat or lard. The result? A crispier, softer bite that beats gnawing on a rock-hard biscuit.
- Hardtack “Pudding”: When soldiers had a sweet tooth, they’d blend broken hardtack with hot water, brown sugar, and the occasional splash of whiskey, turning survival rations into a kind of rustic dessert.
- Fried Hardtack: Some history-minded cooks recommend giving hardtack a quick fry—just a minute or two in bacon grease, lard, or whatever fat’s on hand—until golden-brown. This is a shortcut to a much tastier, more manageable bit of hardtack, with a crunchy outside and ‘almost soft’ middle.
Basically, whenever there was a fire and a bit of ingenuity, hardtack got a makeover.
Hardtack in Newfoundland Cuisine: Fish and Brewis
Hardtack isn’t just for Civil War reenactors or lost-at-sea scenarios—it actually stars in one of Newfoundland’s most beloved comfort foods: Fish and Brewis. Picture this: salt cod and hardtack (called “hard bread” locally), both soaked overnight to soften up, then gently boiled until tender. No dental insurance required.
Once they’re both ready, you plate up the cod and bread together and top it off with something magical—crispy “scrunchions.” That’s salted pork fat fried until golden, with the flavorful drippings poured right on top for old-school savory goodness. Every family has their own twist, but the combo of mild fish, hearty soaked bread, and rich, salty fat has made Fish and Brewis a staple from St. John’s to the tiniest outport. If you ever find yourself with a box of hardtack and some salt fish—now you know what to do.
Frequently Asked Questions:
How long does hardtack actually last?
If stored properly? Years. In fact, some Civil War-era hardtack is still intact today. No joke.
For perspective, in 2015, a hardtack cracker from a Titanic lifeboat actually sold at auction for £15,000 (about $22,990), according to CNBC. This particular cracker was part of the survival kit found in the Titanic’s lifeboats and was kept as a keepsake by the Fenwicks, newlyweds who were aboard the SS Carpathia—the ship that rescued Titanic survivors. So, if you’re wondering how long hardtack can last, let’s just say it might outlive your great-grandkids.
Can I eat it dry?
You can, but I wouldn’t recommend it unless you’re trying to prove a point. Soak it first.
Hardtack is called “hard” for a reason—it was designed as a rugged survival food, not as a delicate cracker or fluffy biscuit. If you try to bite into it straight out of the tin, you might end up with a dental emergency rather than a snack.
How to Soften Hardtack
To actually enjoy eating hardtack (or at least tolerate it), soak it for at least 5–10 minutes in water, milk, coffee, soup, or stew. If it’s still tough, keep soaking—some pieces, especially if they’re particularly dry, may need 15 minutes or more.
Historically, soldiers would dunk hardtack in whatever liquid they had on hand, from brine to coffee. Some would even crush it up and cook it into a mush or fry it in bacon fat to make “skillygalee”—a kind of makeshift campfire treat.
You can also try frying hardtack in a little oil, butter, or bacon grease for a minute or two until it’s golden and a bit softer on the inside. Some folks even mixed it with sugar, hot water, and (if they were lucky) a splash of whiskey to make a kind of pudding.
So, unless you’re reenacting a particularly challenging Civil War experience, give your jaw a break and soak that hardtack.
Can I make hardtack over a campfire?
Yep! Bake it on a flat rock near the fire or in a Dutch oven for a true survivalist experience.
Does it taste good?
Let’s be real—it’s functional. But with the right toppings or mix-ins, it can be pretty decent.
How Much Does This Recipe Make?
This batch makes about 24 hearty hardtack biscuits—plenty to stash away for emergencies or to fuel your next adventure.
Why Is Hardtack Considered Unleavened?
Hardtack gets its badge of honor as an unleavened bread because there’s absolutely zero rising agents in the mix. No yeast. No baking soda. No secret ingredient to make it fluffy. The whole point was for this bread to be as tough and long-lasting as possible. If you introduced anything that made it soft or airy, you’d end up with something that spoiled much faster (and kind of missed the survival memo).
The beauty here is in the simplicity: just flour, water, and salt. That means the texture is dense, seriously sturdy, and basically immune to crumbling under pressure—perfect for sailors, soldiers, or, you know, whenever life throws you into the 19th-century wilderness.
So there you have it—a bread that refuses to die. Whether you’re stocking up for emergencies, going camping, or just want to try an old-school recipe, this Hardtack Bread Recipe (Survival Bread) is worth making.
Ever tried hardtack? Got any fun ways to eat it? Drop a comment and let me know—I’d love to hear how you make this survival classic work for you!

Keep the Flavor Coming – Try These:


Hardtack Bread Recipe (Survival Bread)
Ingredients
- 4 cups all-purpose flour
- 2 cups water (you may not use it all)
- 4 teaspoons salt
Equipment
- large mixing bowl
- Rolling Pin
- Fork (for pricking dough)
- Knife or dough cutter
- Baking sheet
- Airtight container or vacuum sealer
Instructions
- Prepare the Dough: In a large mixing bowl, combine 4 cups of flour with 4 teaspoons of salt. Gradually add 2 cups of water, stirring continuously to ensure even distribution. Add only enough water to form a firm, non-sticky dough. If the dough appears too wet, incorporate additional flour as needed.
- Roll and Shape: Lightly flour a clean work surface and roll out the dough to a thickness of ½ inch. Using a sharp knife or pastry cutter, divide the dough into 3-inch squares. For a traditional hardtack appearance, use a fork to pierce multiple holes into each square to facilitate even drying.
- Bake Until Dry and Firm: Preheat the oven to 375°F (190°C). Arrange the hardtack pieces on an ungreased baking sheet, ensuring they are evenly spaced. Bake for 30 minutes, then flip each piece and bake for an additional 30 minutes. The finished product should be dry, firm, and lightly golden.
- Cool and Store Properly: Allow the hardtack to cool completely at room temperature before storing. Once fully cooled, transfer to an airtight container to prevent moisture absorption. Properly stored, hardtack can last for years in a cool, dry place.
Notes
- Flour Substitute: Use a gluten-free all-purpose flour blend or a combination of rice flour and cornstarch to maintain a firm texture.
- Adjust Water Ratio: Gluten-free flours absorb water differently, so gradually add water to ensure the dough remains stiff and moldable.
- Ensure All Ingredients Are Gluten-Free: Check that the salt and flour blend are certified gluten-free to prevent cross-contamination.
Nutrition
I’m Bitty, owner of nodashofgluten.com, where I share simple, delicious recipes for all tastes, including gluten-free. Check out my “About Me” page for more info!