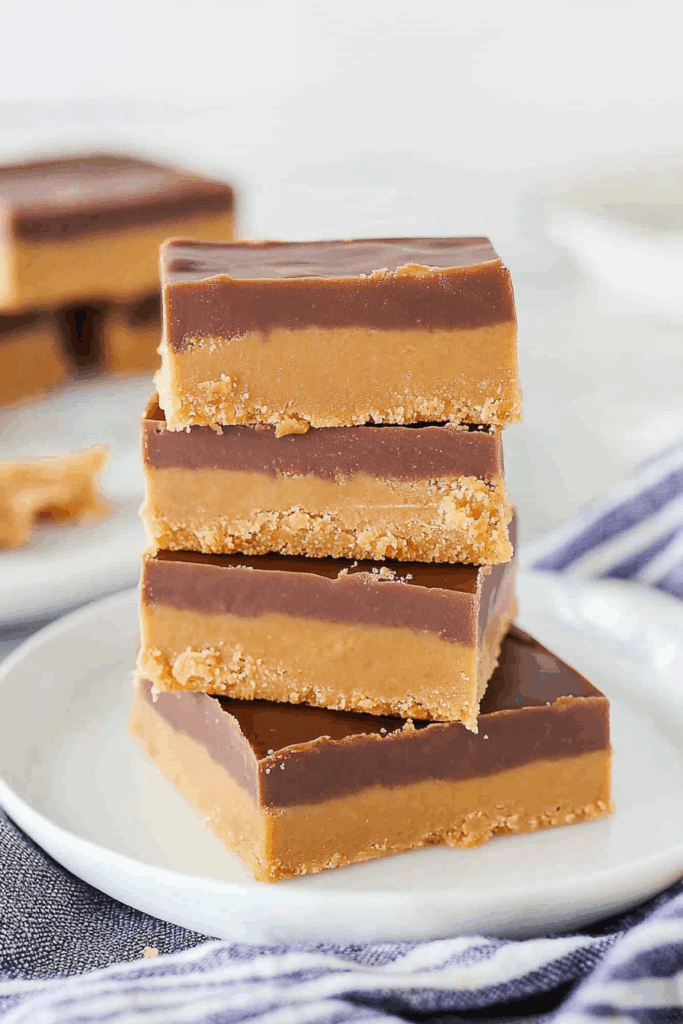
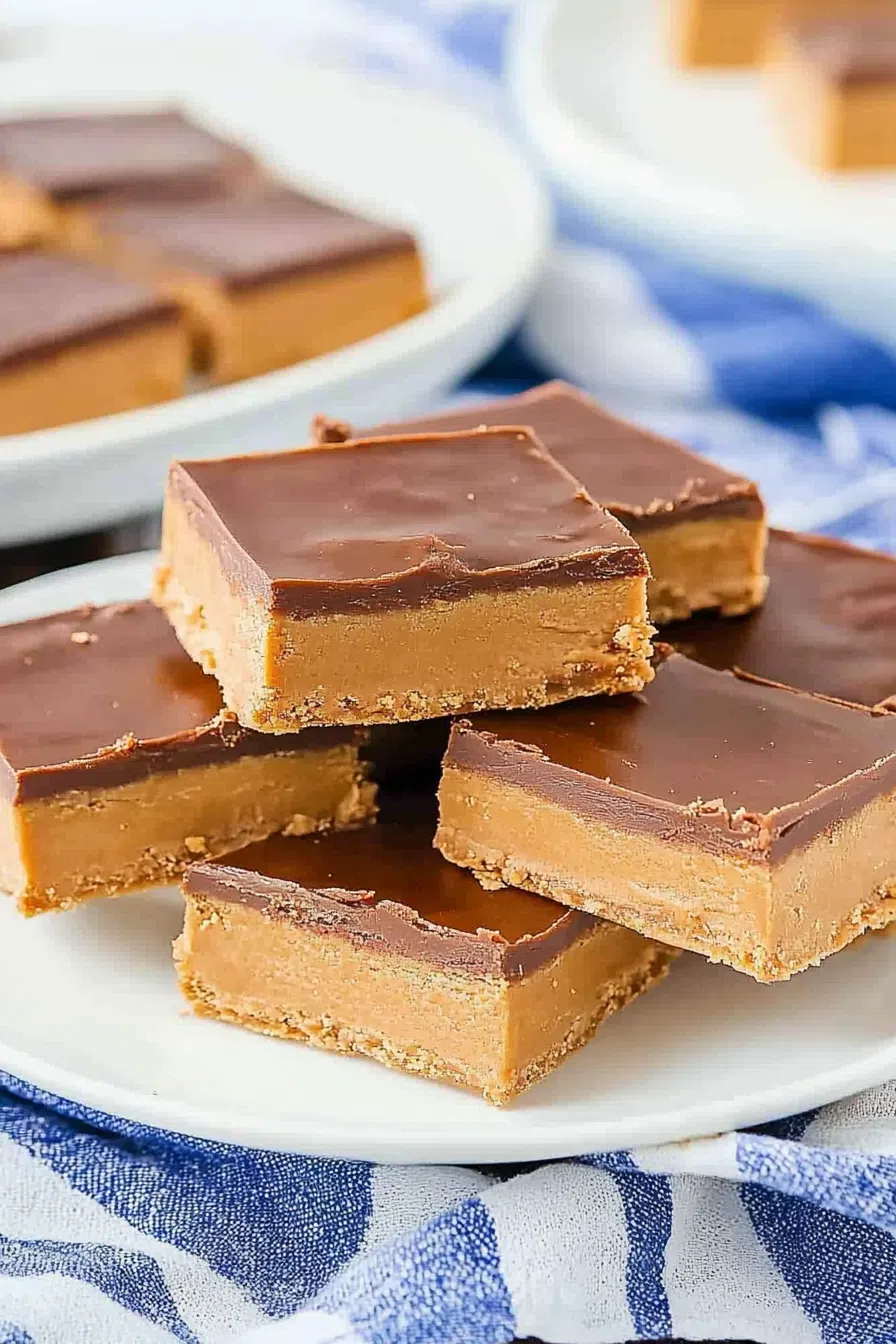
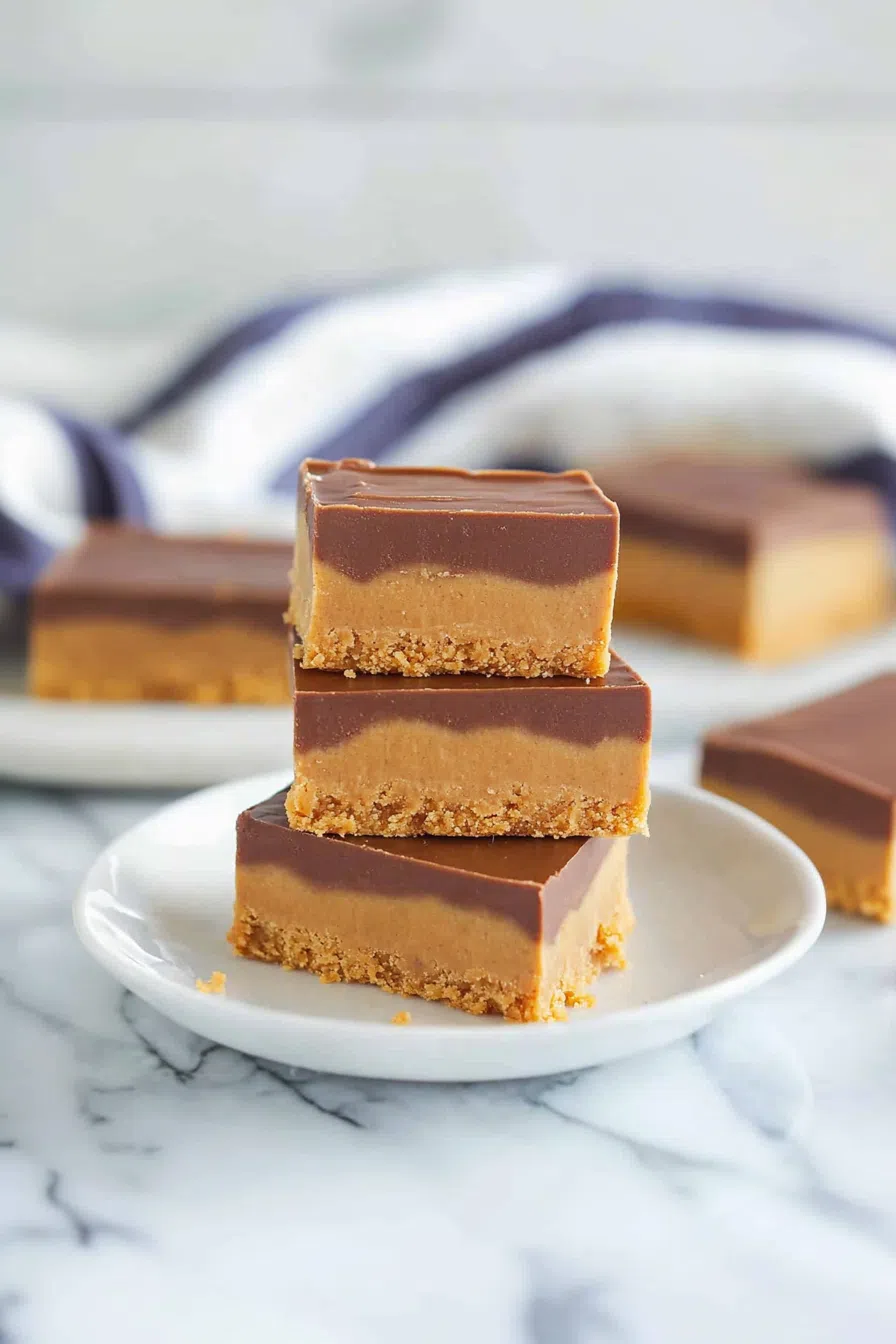
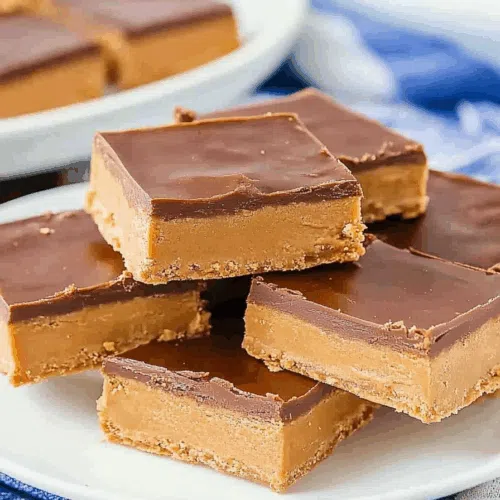
These No-Bake Peanut Butter Cup Bars are made with peanut butter, graham crackers, chocolate, and butter—super easy, rich, and sweet.
So… confession time. I made these No-Bake Peanut Butter Cup Bars after a full-on meltdown over printer ink. Yes, printer ink. It was one of those days where nothing was working: the emails kept piling up, my toddler thought crayons belonged in the toaster, and the WiFi was slower than molasses in January. I was this close to crying into a bag of chocolate chips.


Instead, I grabbed those chips, some graham crackers, peanut butter, and decided—no-bake bars it is. I needed something that tasted like childhood comfort food, but with adult-level efficiency. And this? This delivered. I made the whole thing in my kitchen slippers, didn’t have to preheat a single thing, and 30 minutes later had an entire pan of joy chilling in the fridge.
I might’ve eaten three before I even called them “set.”
Why You’ll Love This No-Bake Peanut Butter Cup Bars Recipe?
There’s something deeply satisfying about no-bake desserts. They’re like the culinary equivalent of a cozy hoodie—warm, unfussy, and always what you actually want. These No-Bake Peanut Butter Cup Bars are everything your sweet tooth didn’t even know it needed: rich, salty-sweet, soft with just the right bite, and layered with nostalgia. Think Reese’s, but homemade… and thicker… and a little less perfect (in a good way).
They take 10 minutes to throw together, require zero oven commitment, and somehow manage to taste like you tried way harder than you actually did. Win-win-win.

Ingredient Notes:
Let’s be honest—most of us are just raiding the pantry and hoping for the best. These are the real MVPs of this recipe:
-
Unsalted Butter: You need it in both layers. It holds everything together and keeps things lush. I used Kerrygold because I was feeling fancy. You don’t have to.
-
Powdered Sugar: Not to be confused with granulated sugar. This blends smooth and sets the texture just right.
-
Creamy Peanut Butter: Go for the classic, shelf-stable stuff. Natural peanut butter will separate and make the bars greasy. I learned that the messy way.
-
Graham Cracker Crumbs: They add structure and a subtle crunch. Out of grahams? I’ve crushed pretzels in a pinch, and honestly, not mad about it.
-
Milk Chocolate Chips: They melt beautifully and taste just like your favorite peanut butter cup. I once used dark chocolate when I ran out, and while it was good… it just didn’t hit the same nostalgic note.

How To Make No-Bake Peanut Butter Cup Bars?
Step 1: Prep Your Pan
Grab an 8×8-inch pan, grease it a bit, then line with parchment paper so you can lift the bars out later. If you skip the parchment, you’ll regret it when you’re digging corners out with a fork (not that I’ve done that… twice).
Step 2: Mix the Base
In a saucepan, melt ½ cup butter over low heat. Take it off the burner, stir in the powdered sugar, then the peanut butter and graham cracker crumbs. Mix until smooth-ish. It’ll look a little clumpy—that’s okay. Press this into your pan. Use the back of a spoon, or honestly, your fingers. We’re not here to impress judges.
Step 3: Add the Chocolate Layer
Same pan, no need to wash—because this is a real-life kitchen, not a cooking show. Melt the remaining ¼ cup butter, toss in the chocolate chips, and stir until smooth. Pour over the peanut butter base and smooth it out like you mean it.
Step 4: Chill
Pop the pan in the fridge for at least 30 minutes. Go fold laundry. Or don’t. When the top’s set, lift it out, slice into squares, and marvel at your own brilliance.
Storage Options:
Store these babies in the fridge, in an airtight container, for up to a week. Though let’s be honest—they won’t last that long. You can freeze them too. Just layer with parchment paper and store in a zip-top bag. Pull one out when the 3 p.m. slump hits—or, if you’re me, breakfast.
Variations and Substitutions:
-
Crunchy peanut butter: Because texture is joy.
-
Top with flaky sea salt: Game-changer. Salty sweet perfection.
-
Swap the graham crackers: Try crushed pretzels, vanilla wafers, or even gluten-free cookies.
-
Use dark or white chocolate: Totally different vibe, but still delicious.
-
Add a layer of mini marshmallows before the chocolate: You didn’t hear it from me… but wow.
Want To Save This Recipe?
What to Serve with No-Bake Peanut Butter Cup Bars?
-
Cold milk. Classic.
-
Black coffee. Balances the sweet.
-
Ice cream. Because obviously.
-
A spoonful of peanut butter on the side. Too much? Never.
-
A glass of wine. Yes, seriously. Try it.
Frequently Asked Questions:
Can I use natural peanut butter?
You can, but it’s riskier. It’s oilier and can cause the layers to separate. Stick with the regular creamy stuff if you want a clean cut.
Do I really have to refrigerate them?
Yes! The chocolate layer gets too soft at room temp. Unless you’re into chocolate fingers—which honestly, no judgment.
Can I double this recipe?
100% yes. Use a 9×13 pan and just double everything. Just maybe don’t double the number of people you share with.

So that’s the story of these No-Bake Peanut Butter Cup Bars. They’re fast, comforting, a little messy, and wildly good. Just like your favorite people, right?
If you try them, I wanna hear everything—especially if you tweak the recipe or, like me, end up eating them in your pajamas while hiding from your kids in the pantry.
You deserve dessert today. And if you ask me? These bars are it.
Keep the Flavor Coming – Try These:

No-Bake Peanut Butter Cup Bars
Ingredients
- ½ cup unsalted butter
- 1¾ cups powdered sugar
- 1 cup smooth peanut butter not natural-style
- ¾ cup graham cracker crumbs
- ¼ cup unsalted butter for chocolate topping
- ½ cup milk chocolate chips
Instructions
Prepare the Baking Dish
- Lightly butter the bottom and sides of an 8×8-inch square pan. Line the pan with a piece of parchment paper, allowing the paper to overhang two opposing sides. This overhang will assist with removing the bars once set. Butter the parchment as well for ease of removal.
Prepare the Peanut Butter Layer
- In a medium saucepan, melt ½ cup of unsalted butter over low heat. Once melted, remove from heat and whisk in the powdered sugar until fully incorporated and smooth. Add the peanut butter and graham cracker crumbs. Stir until the mixture is homogenous and smooth. Transfer the mixture into the prepared baking dish and spread it evenly using a spatula or the back of a spoon.
Prepare the Chocolate Topping
- In the same saucepan (wiped clean if necessary), melt ¼ cup of unsalted butter over low heat. Add the milk chocolate chips and stir continuously until nearly melted. Remove from heat and continue stirring until the mixture becomes completely smooth and glossy. Pour this mixture over the peanut butter layer, spreading evenly to form a smooth top layer.
Chill and Slice
- Refrigerate the assembled bars for at least 30 minutes, or until the chocolate layer is firm to the touch. Once chilled, remove the bars from the pan using the parchment overhang and transfer to a cutting board. Using a sharp knife or pizza cutter, slice into 16 equal squares. Serve chilled or allow to rest at room temperature for a few minutes before serving.
Notes
I’m Bitty, owner of nodashofgluten.com, where I share simple, delicious recipes for all tastes, including gluten-free. Check out my “About Me” page for more info!