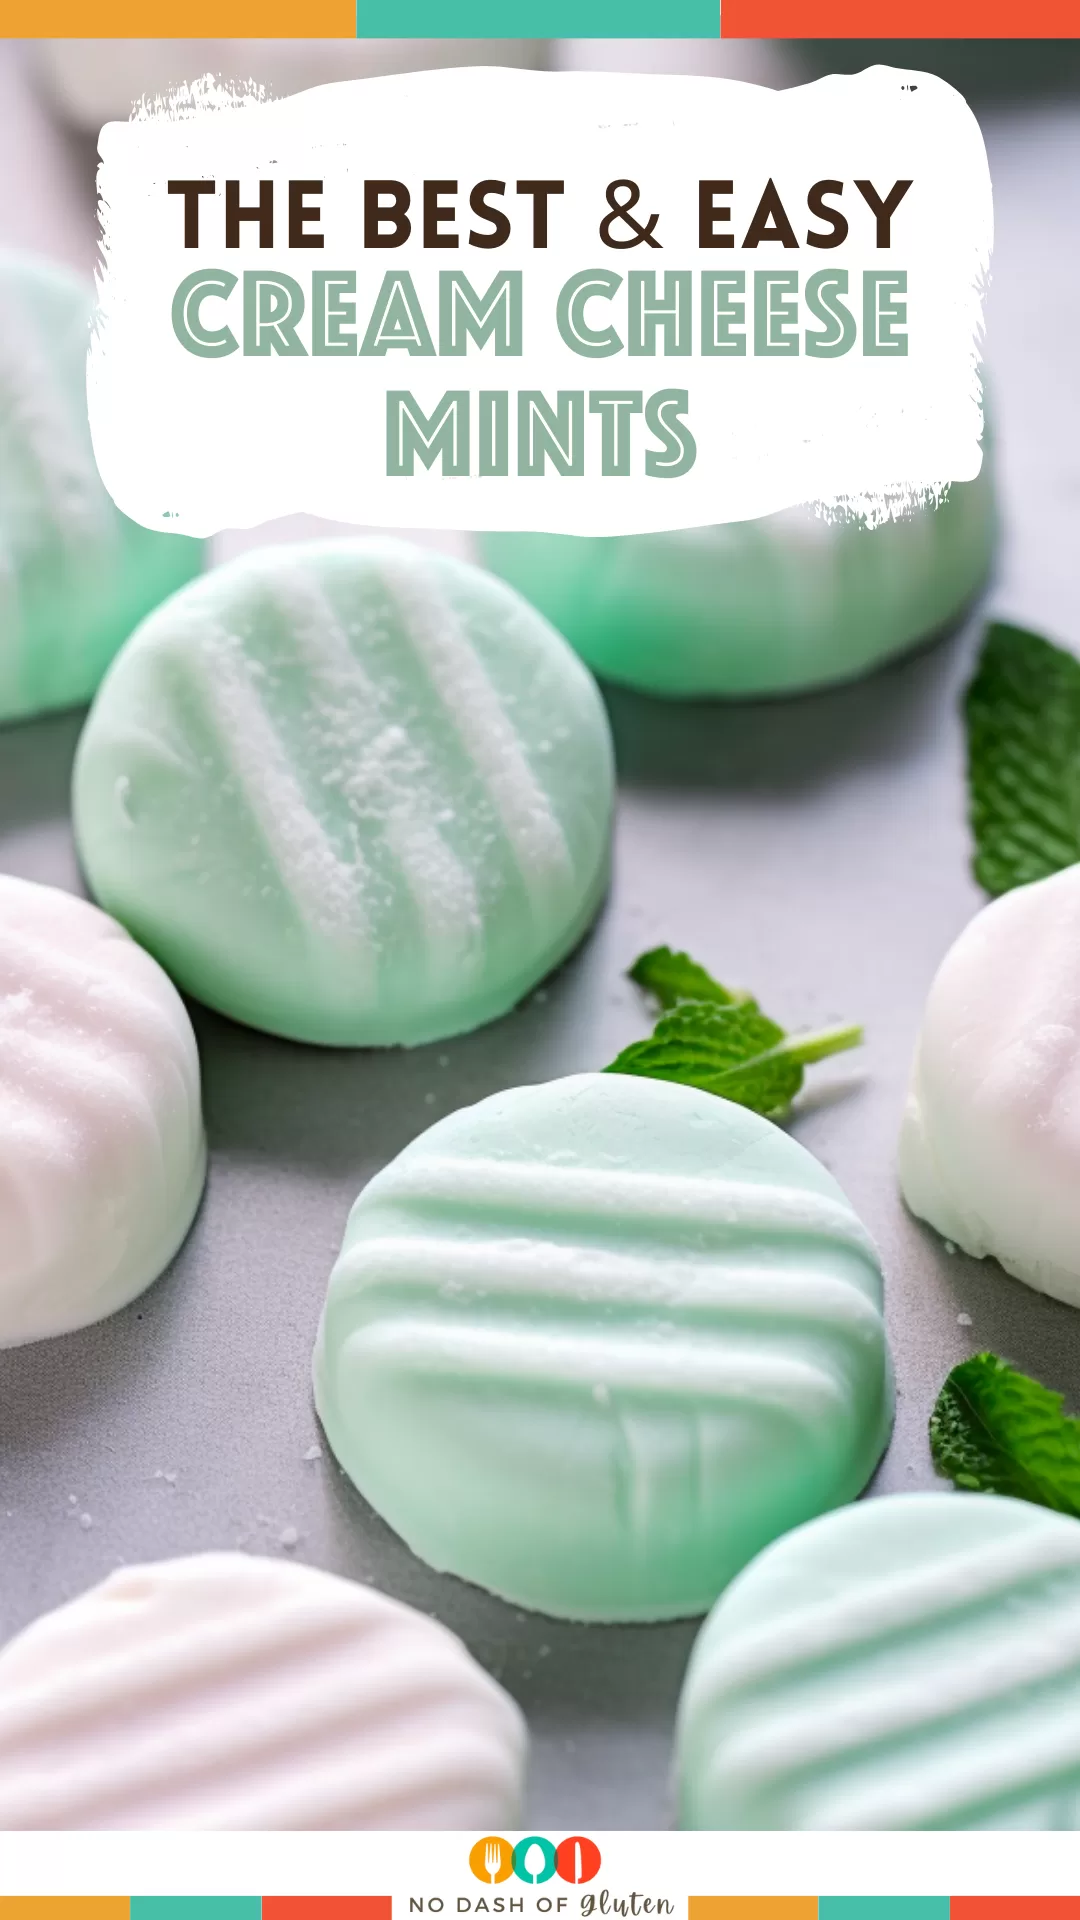
Whip up these easy Cream Cheese Mints with cream cheese, butter, powdered sugar, and peppermint for the perfect sweet treat—ideal for parties, holidays, or a simple snack!
Let me take you back for a second—family gatherings at Grandma’s house were legendary. There was always a spread that could feed the entire neighborhood, but my eyes? They were glued to one thing: the tiny pastel-colored Cream Cheese Mints tucked away on a crystal platter.

Remember it later!
Planning to try this recipe soon? Pin it for a quick find later!
Remember it later!
Planning to try this recipe soon? Pin it for a quick find later!
I’d try to sneak them before dinner (sometimes I won, sometimes Grandma caught me), but honestly, it was worth the risk every single time. When I asked her for the recipe as a teenager, she chuckled and handed me a handwritten card that said, “It’s easier than you think.”
And she was right. These Cream Cheese Mints aren’t just nostalgic; they’re incredibly simple to make and bring that same old-school charm to modern-day get-togethers.
Here’s a quick peek at what’s inside:
Table of content
Why You’ll Love This Cream Cheese Mints Recipe?
- No-Bake Wonder: No oven? No problem. This is all about mix, roll, and chill.
- Melt-in-Your-Mouth Goodness: Soft, creamy, and perfectly sweet with a refreshing peppermint pop.
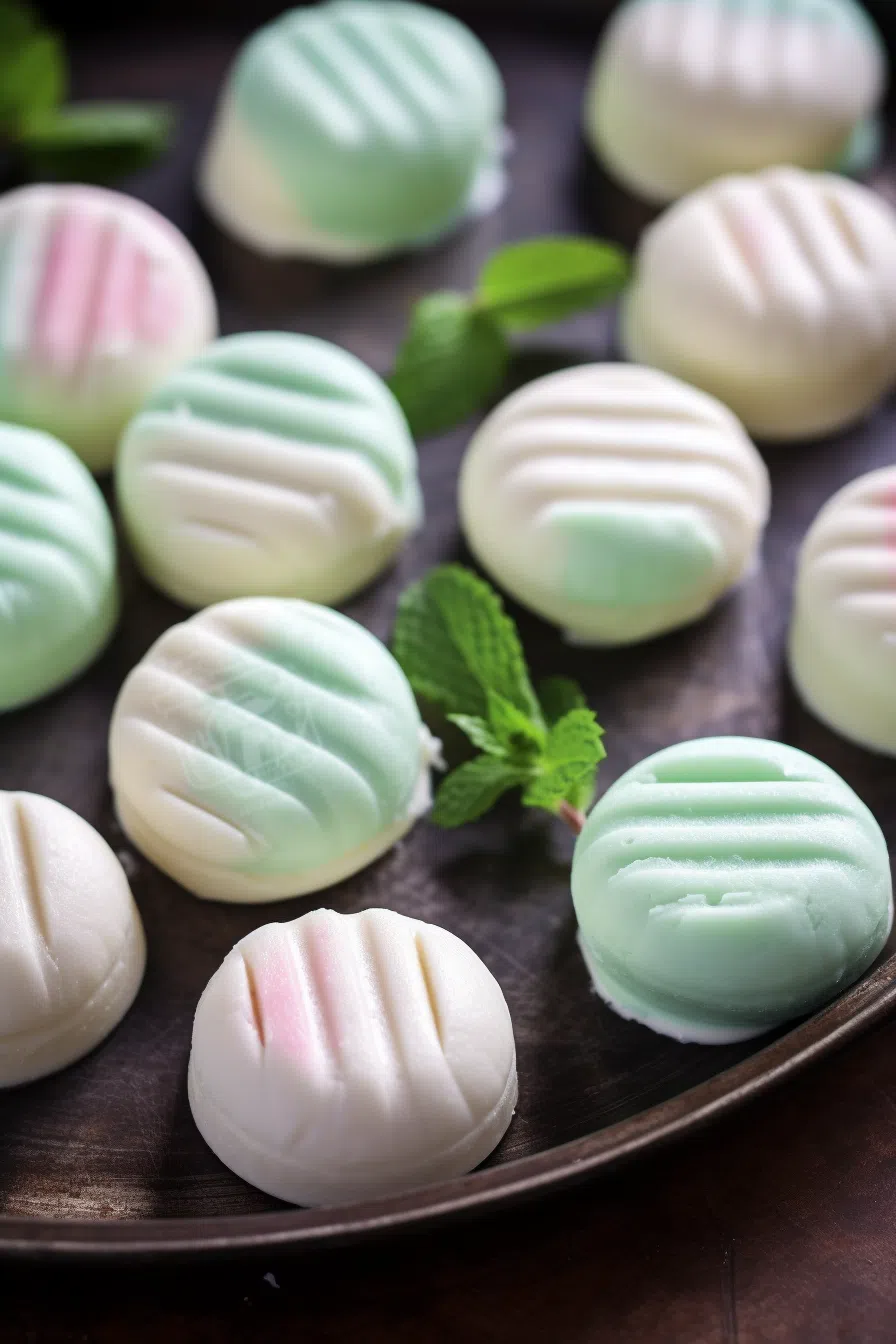
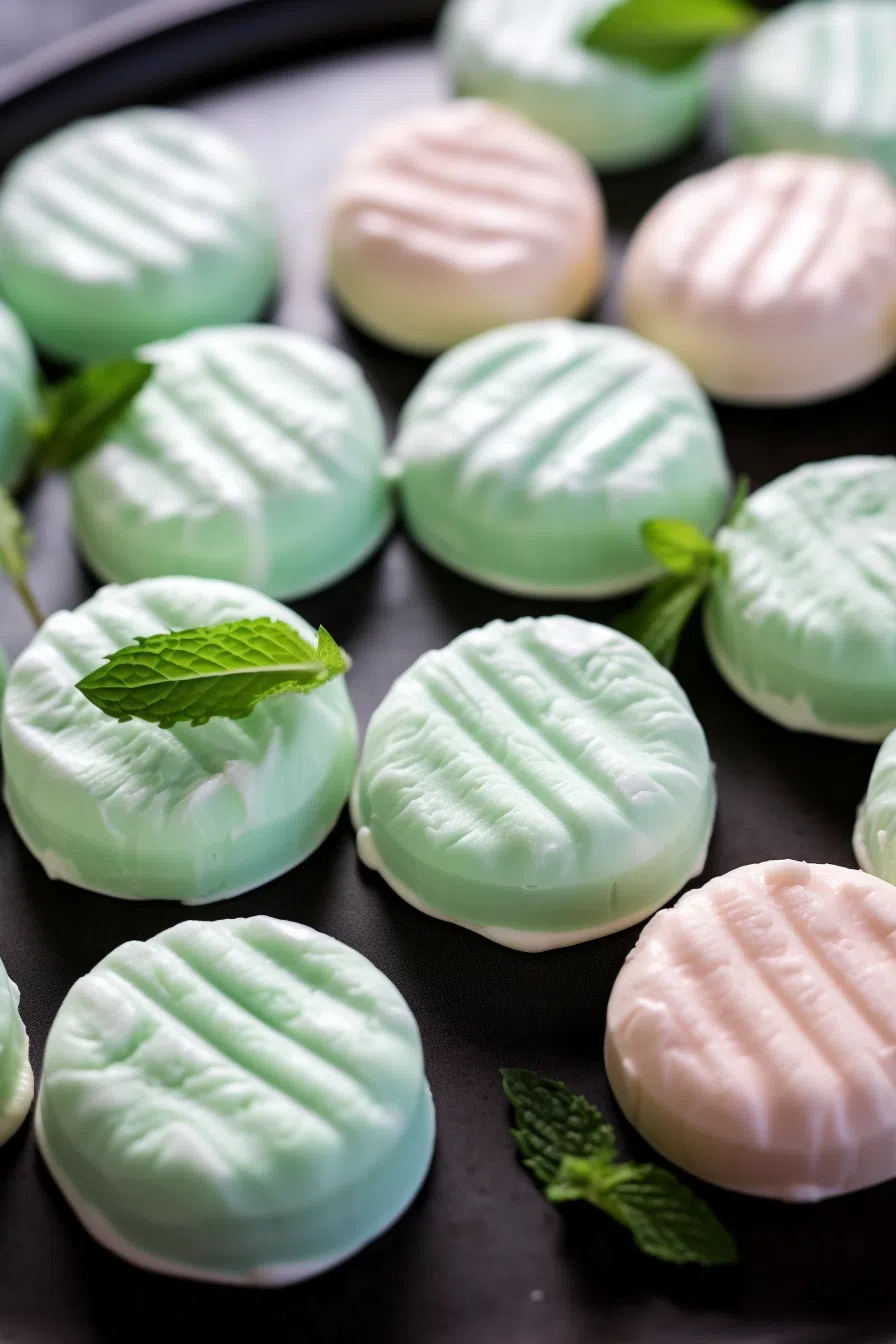
- Customizable for Any Occasion: Color them pink for Valentine’s Day, green for Christmas, or pastel for Easter.
- Party-Ready: Weddings, baby showers, cookie trays—you name it, these fit right in.
- Make-Ahead Friendly: Stash them in the fridge or freezer and pull them out when needed.
Ingredient Notes:
These Cream Cheese Mints come together with pantry staples and a few fun extras:
- Cream Cheese (4 oz, softened): The creamy base that gives these mints their signature melt-in-your-mouth texture.
- Salted Butter (1 tbsp, softened): Adds a buttery depth while balancing out the sweetness.
- Powdered Sugar (4 cups): The structure builder and sweetener. Plus, it makes them soft and fluffy.
- Peppermint Extract (½ tsp): Gives that classic minty flavor that makes these so refreshing.
- Vanilla Extract (⅛ tsp): Adds a soft, warm note that rounds out the peppermint.
- Food Coloring (Optional): Because why not make them festive? Think wedding pastels or bold reds and greens for the holidays.
Pro Tip: If the dough is sticky, just dust it with more powdered sugar until it’s the right consistency—think Play-Doh but tastier.
How To Make Cream Cheese Mints?
Step 1. The Creamy Base:
Start by making sure your cream cheese and butter are nice and soft (let them sit out for about 30 minutes if they’re too cold). Beat them together until smooth and creamy. This is your base—make it count.
Step 2. Sweeten It Up:
Gradually add 2 cups of powdered sugar to the creamy mixture. Pro tip? Add it slowly to avoid a snowstorm of sugar dust. Mix until smooth, then add in your peppermint and vanilla extracts. That’s when the magic starts to happen.
Step 3. More Sugar, More Structure:
Time to add the remaining 2 cups of powdered sugar. Mix until a soft, pliable dough forms—something that holds its shape but isn’t sticky. Still too soft? A bit more sugar will firm it right up.
Step 4. Add Some Color (If You Want):
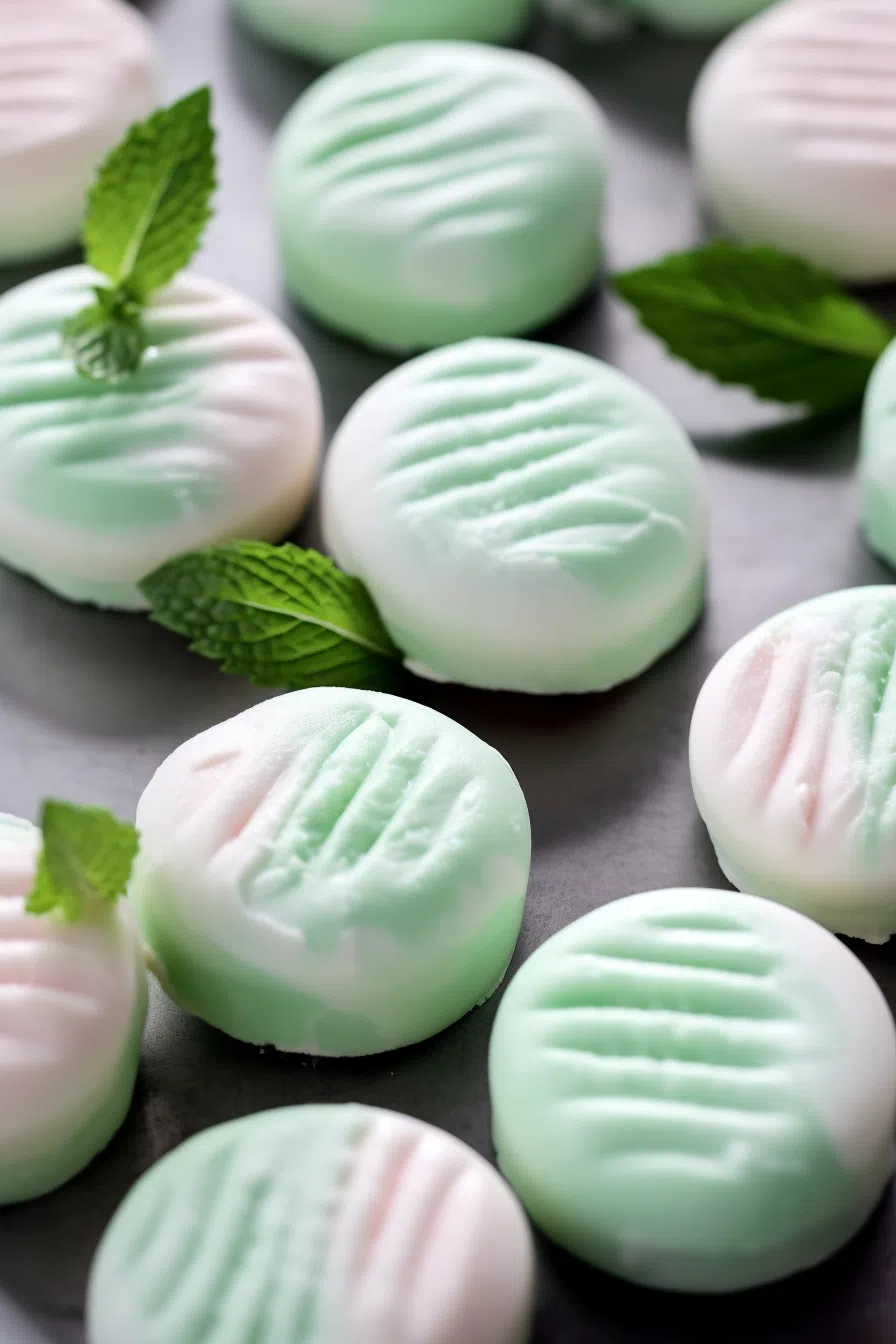
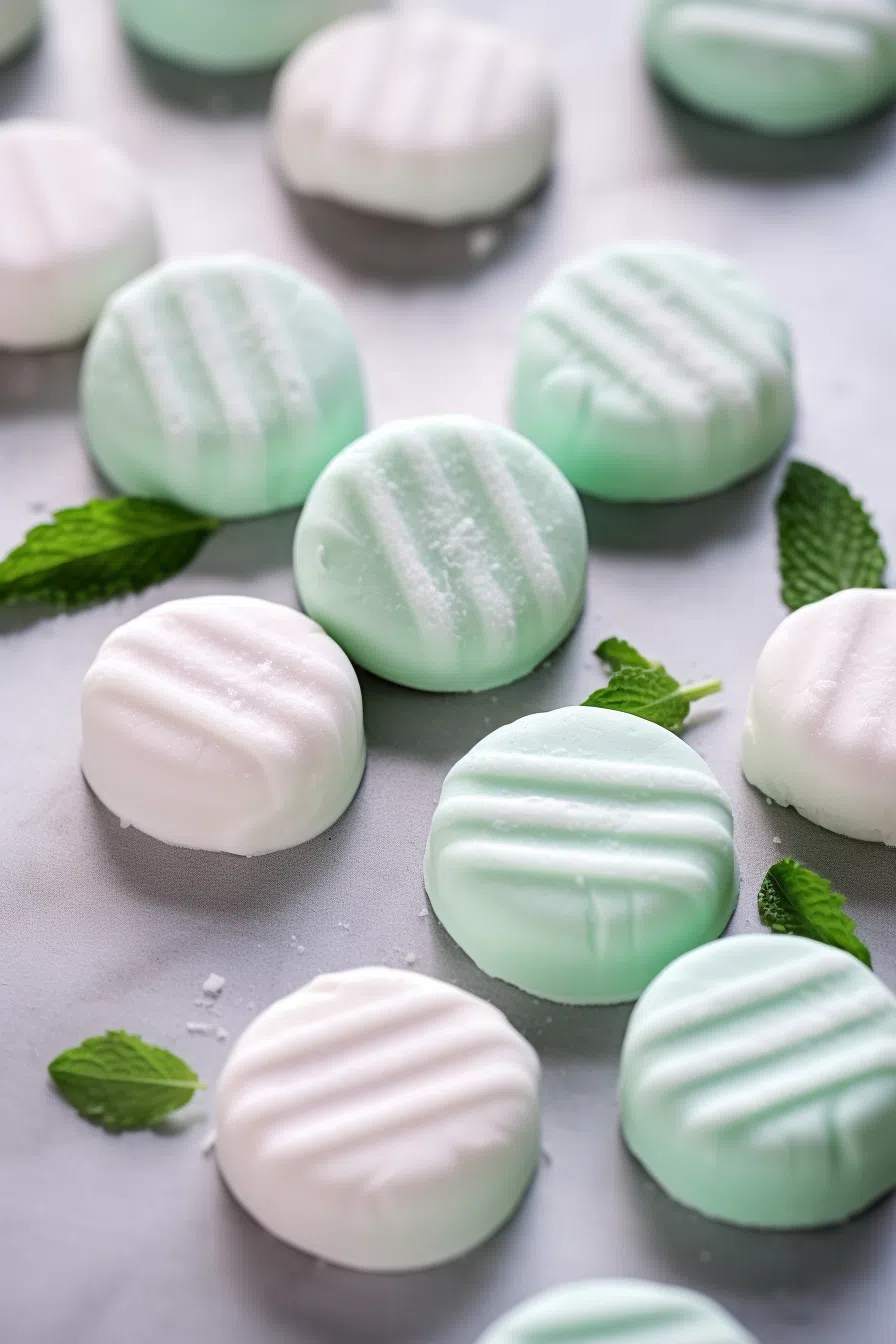
Feeling festive? Add a few drops of food coloring and mix it in. Or, divide the dough into sections and color each one differently. Pastels, neons, seasonal shades—get creative!
Step 5. Shape & Press:
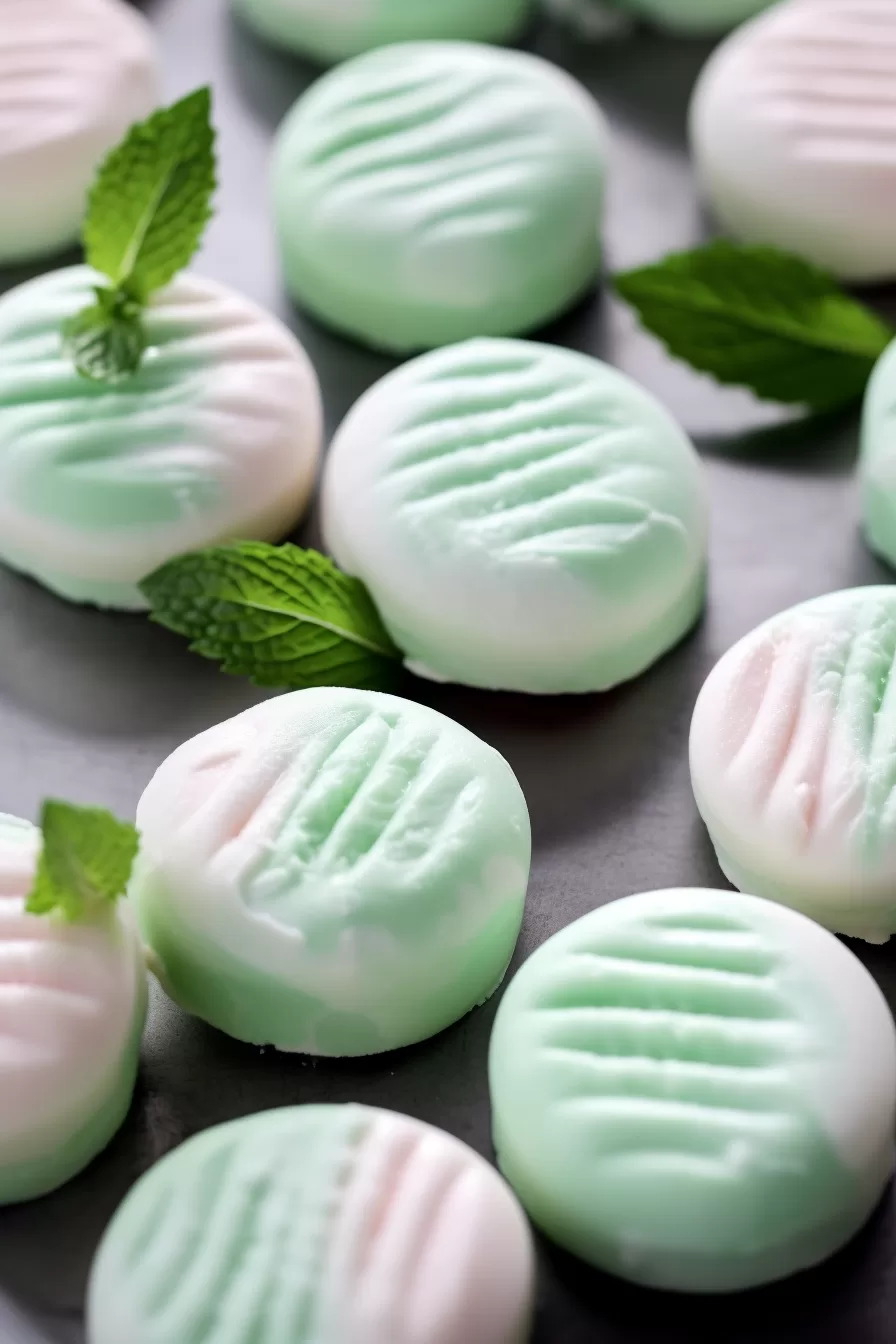
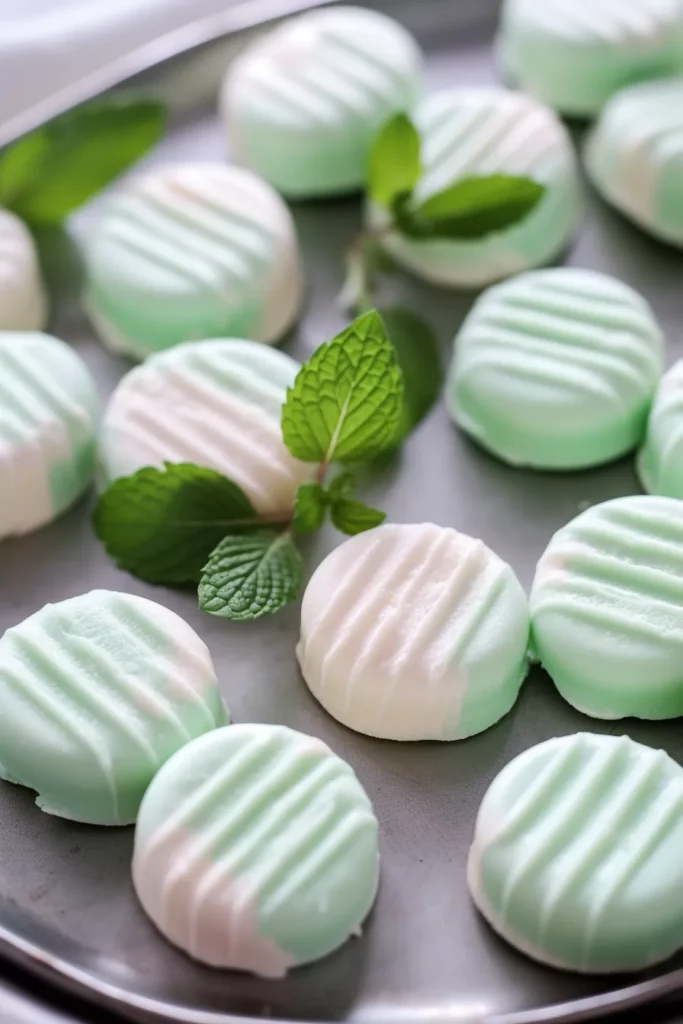
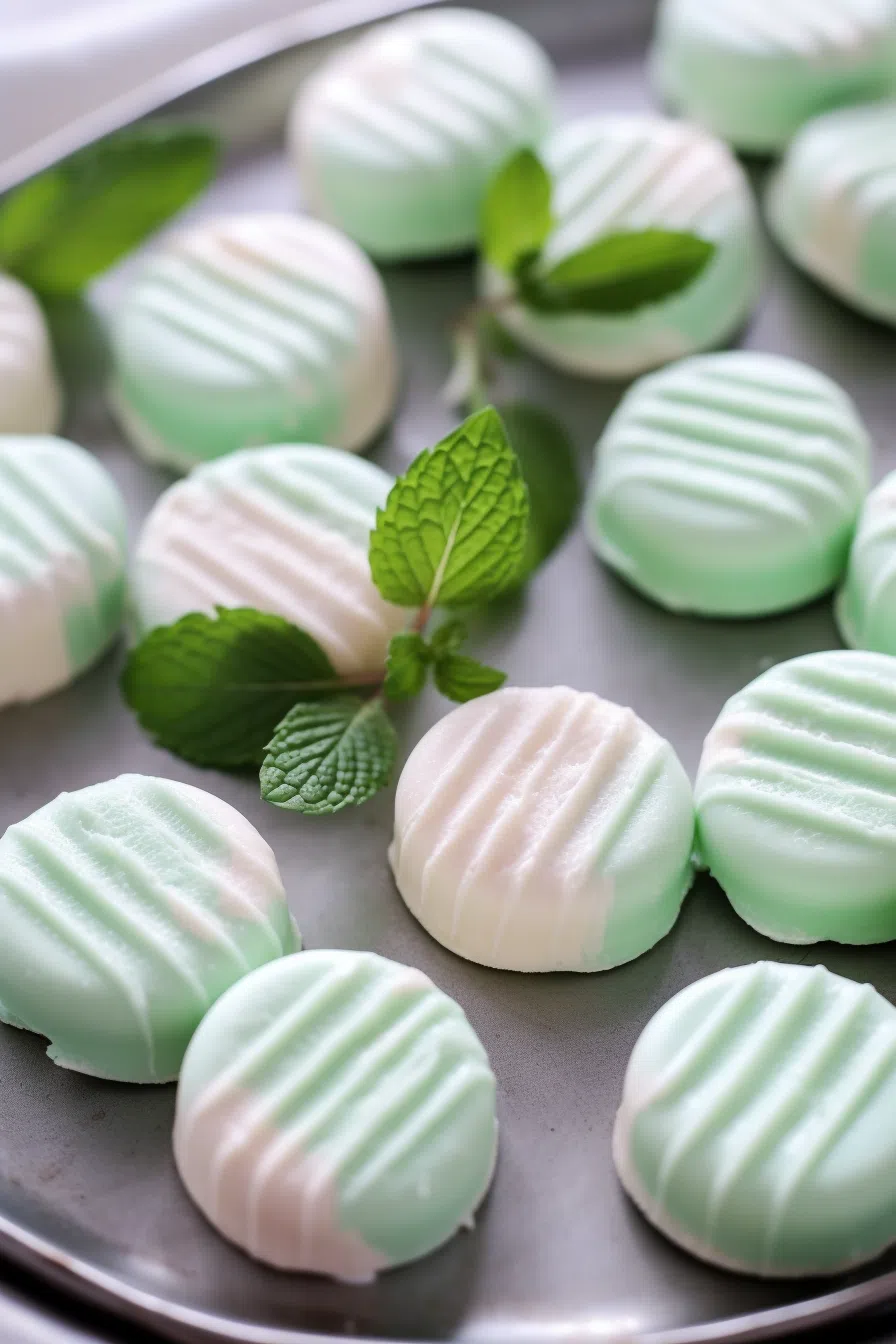
Roll teaspoon-sized portions of the dough into small balls. Place them on a wax-paper-lined tray. Use a fork dipped in powdered sugar to gently press down on each one, leaving that signature crisscross pattern.
Want To Save This Recipe?
Enter your email below and we'll send the recipe straight to your inbox.
Step 6. Let Them Dry:
Here’s where patience pays off. Let the mints dry at room temperature for about 3-4 hours until they’re firm but still soft inside. If you’re in a rush, a quick chill in the fridge helps too.
Step 7. Store & Enjoy:
Once dry, layer them in an airtight container with wax paper in between each layer. Pop them in the fridge for up to 2 weeks—or freeze for up to 3 months.
Storage Options:
- Fridge: Store in an airtight container for up to 2 weeks.
- Freezer: Freeze in a single layer before transferring to a container—good for 3 months.
- Room Temp: Safe on a party tray for a few hours, but pop extras back in the fridge to keep them fresh.
Variations and Substitutions:
- Lemon Zest Mints: Swap out peppermint for lemon extract and add some zest for a citrusy kick.
- Chocolate Mint: Mix in 1-2 tablespoons of cocoa powder for a chocolatey base.
- Holiday-Ready: Roll them in colored sanding sugar before drying for extra sparkle.
- Almond Flavor: Not into mint? Almond extract makes a sweet, nutty alternative.
- Strawberry Cream: Add strawberry extract and pink food coloring for a fruity twist.
What to Serve with Cream Cheese Mints?
- Holiday Platters: Brighten up your Christmas cookie tray.
- Wedding or Baby Showers: Match the colors to the theme—easy and elegant.
- Dessert Trays: Pair with brownies, cookies, and bite-sized pastries.
- After-Dinner Treat: A refreshing sweet bite post-meal.
Frequently Asked Questions:
My dough is too sticky. Help!
Just add more powdered sugar, a tablespoon at a time, until the dough feels like Play-Doh—soft but not sticky.
Can I use different flavors besides peppermint?
Absolutely! Lemon, almond, maple, or even cherry work great. Swap it in a 1:1 ratio.
How do I make them look extra festive?
Roll them in colored sugar, use themed food coloring, or even add edible glitter for some sparkle!
There you have it—Cream Cheese Mints that are nostalgic, easy to make, and absolutely addictive. So, whip up a batch, share a few (or not), and let me know how they turn out.
And hey, if you end up eating half the batch before your guests arrive? I’m not judging.
Remember it later!
Planning to try this recipe soon? Pin it for a quick find later!
Remember it later!
Planning to try this recipe soon? Pin it for a quick find later!
Keep the Flavor Coming – Try These:
Cream Cheese Mints
Ingredients
- 4 ounces 113 grams cream cheese, softened
- 1 tbsp salted butter softened
- 500 grams 4 c powdered sugar, plus additional as needed and for imprinting mints
- ½ tsp peppermint extract
- ⅛ tsp vanilla extract
- Food coloring optional
Instructions
- Make sure that the cream cheese and butter measuring 4 ounces and 1 tablespoon respectively are properly softened.
- In a bowl combine the cream cheese and butter. Use a mixer to beat them until they become smooth and well-mixed.
- While mixing at a low speed gradually add 2 cups of sugar to the mixture. Ensure that each addition is fully incorporated before adding more.
- Include ½ teaspoon of peppermint extract and ⅛ teaspoon of vanilla extract. Mix to distribute the flavors throughout the dough.
- Continue adding the remaining 2 cups of sugar while mixing at a low speed. Occasionally pause to scrape down the sides and bottom of the bowl. If the dough feels sticky add sugar until it reaches a consistency similar to play dough that is not sticky.
- If desired you can add food coloring in two ways; either mix it in with a mixer, for a uniform color or divide the dough into portions and knead different colors by hand for variety.
- Shape teaspoon portions of dough, into balls. Place them on a baking sheet lined with wax paper. Take a fork dipped in sugar and press it gently but firmly onto each mint to create an imprint.
- Let the mints dry naturally for a few hours, at room temperature until they become firm and not soft when touched.
- After they have dried, place the mints in a container with wax paper, between each layer to avoid them sticking together. Keep them in the refrigerator until you're ready to enjoy.
- Savor the Cream Cheese Mints you've made at home!
Notes

I’m Bitty, owner of nodashofgluten.com, where I share simple, delicious recipes for all tastes, including gluten-free. Check out my “About Me” page for more info!






One Response
I love this recipe for home made mints! Easy to make and tastes great! Followed it exactly!