
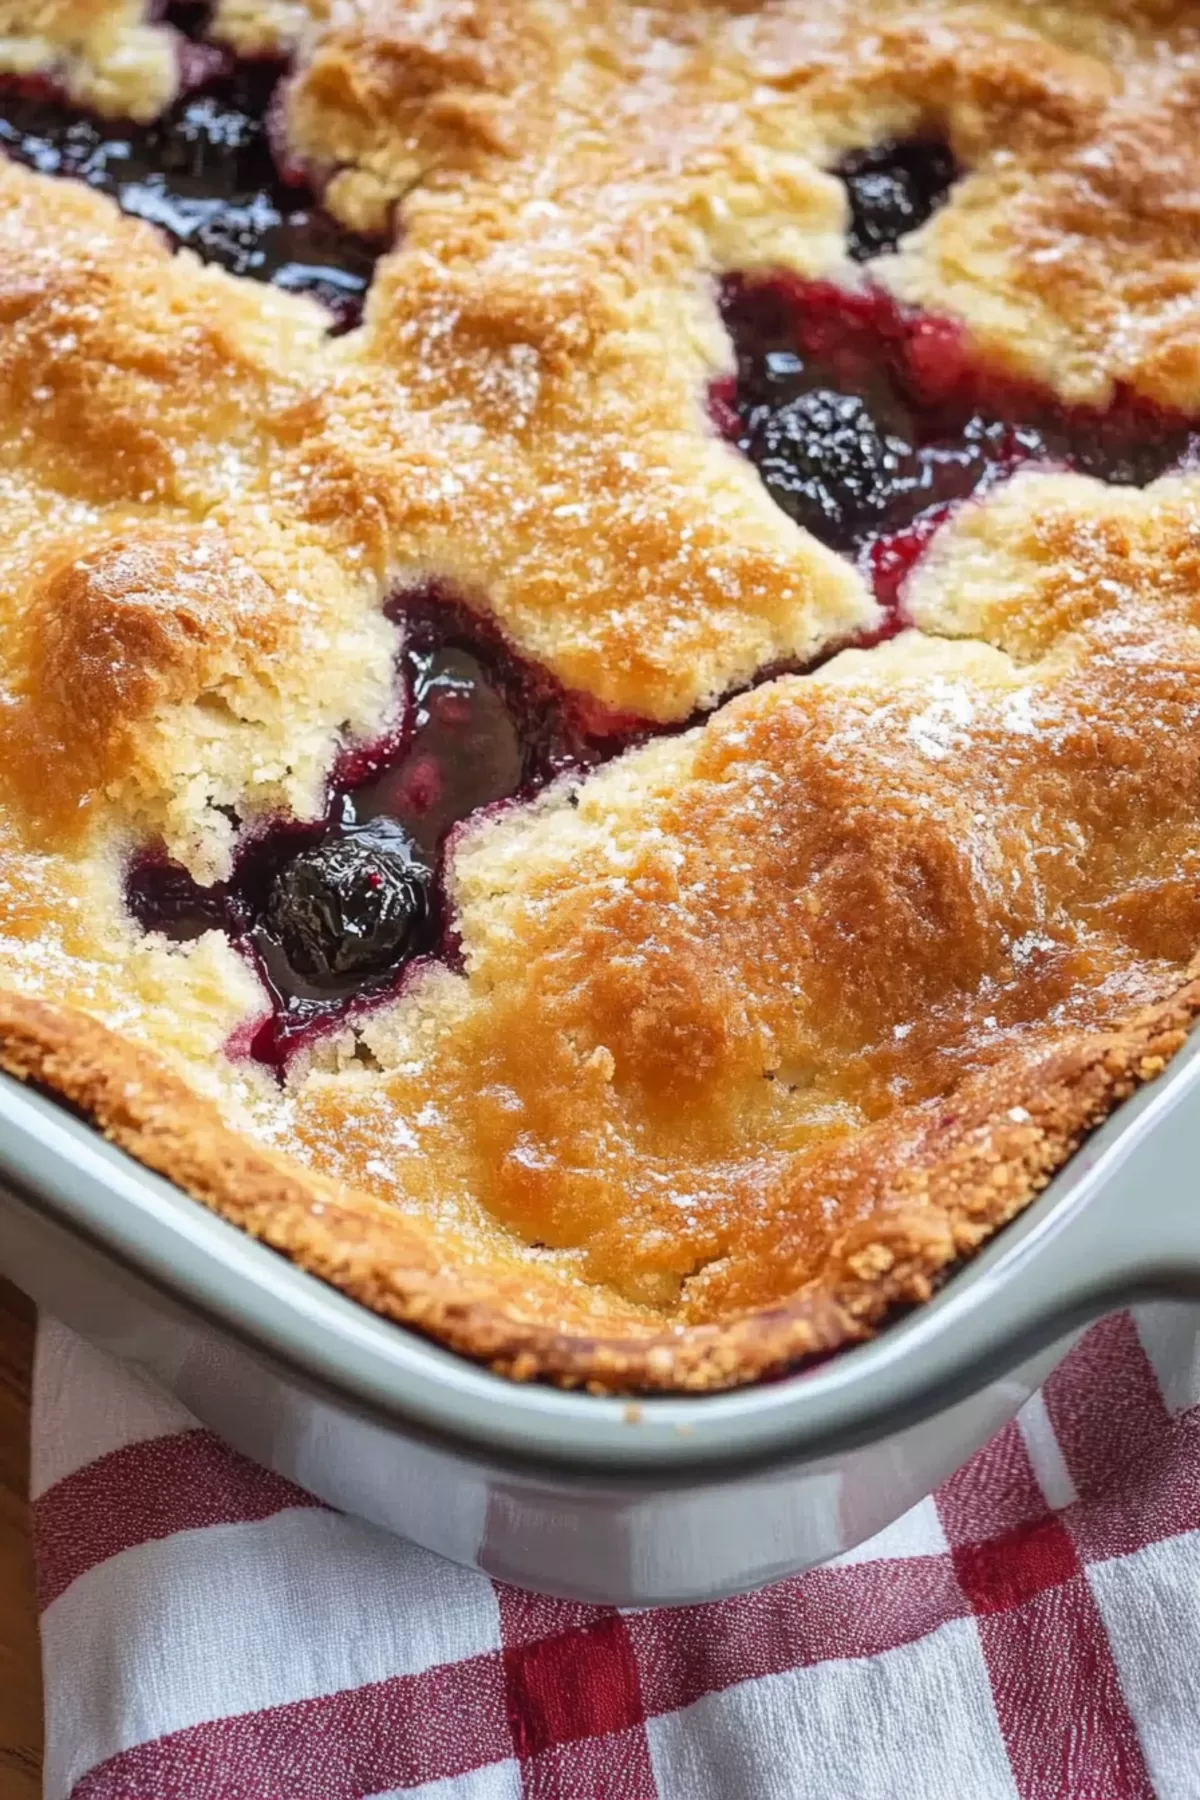
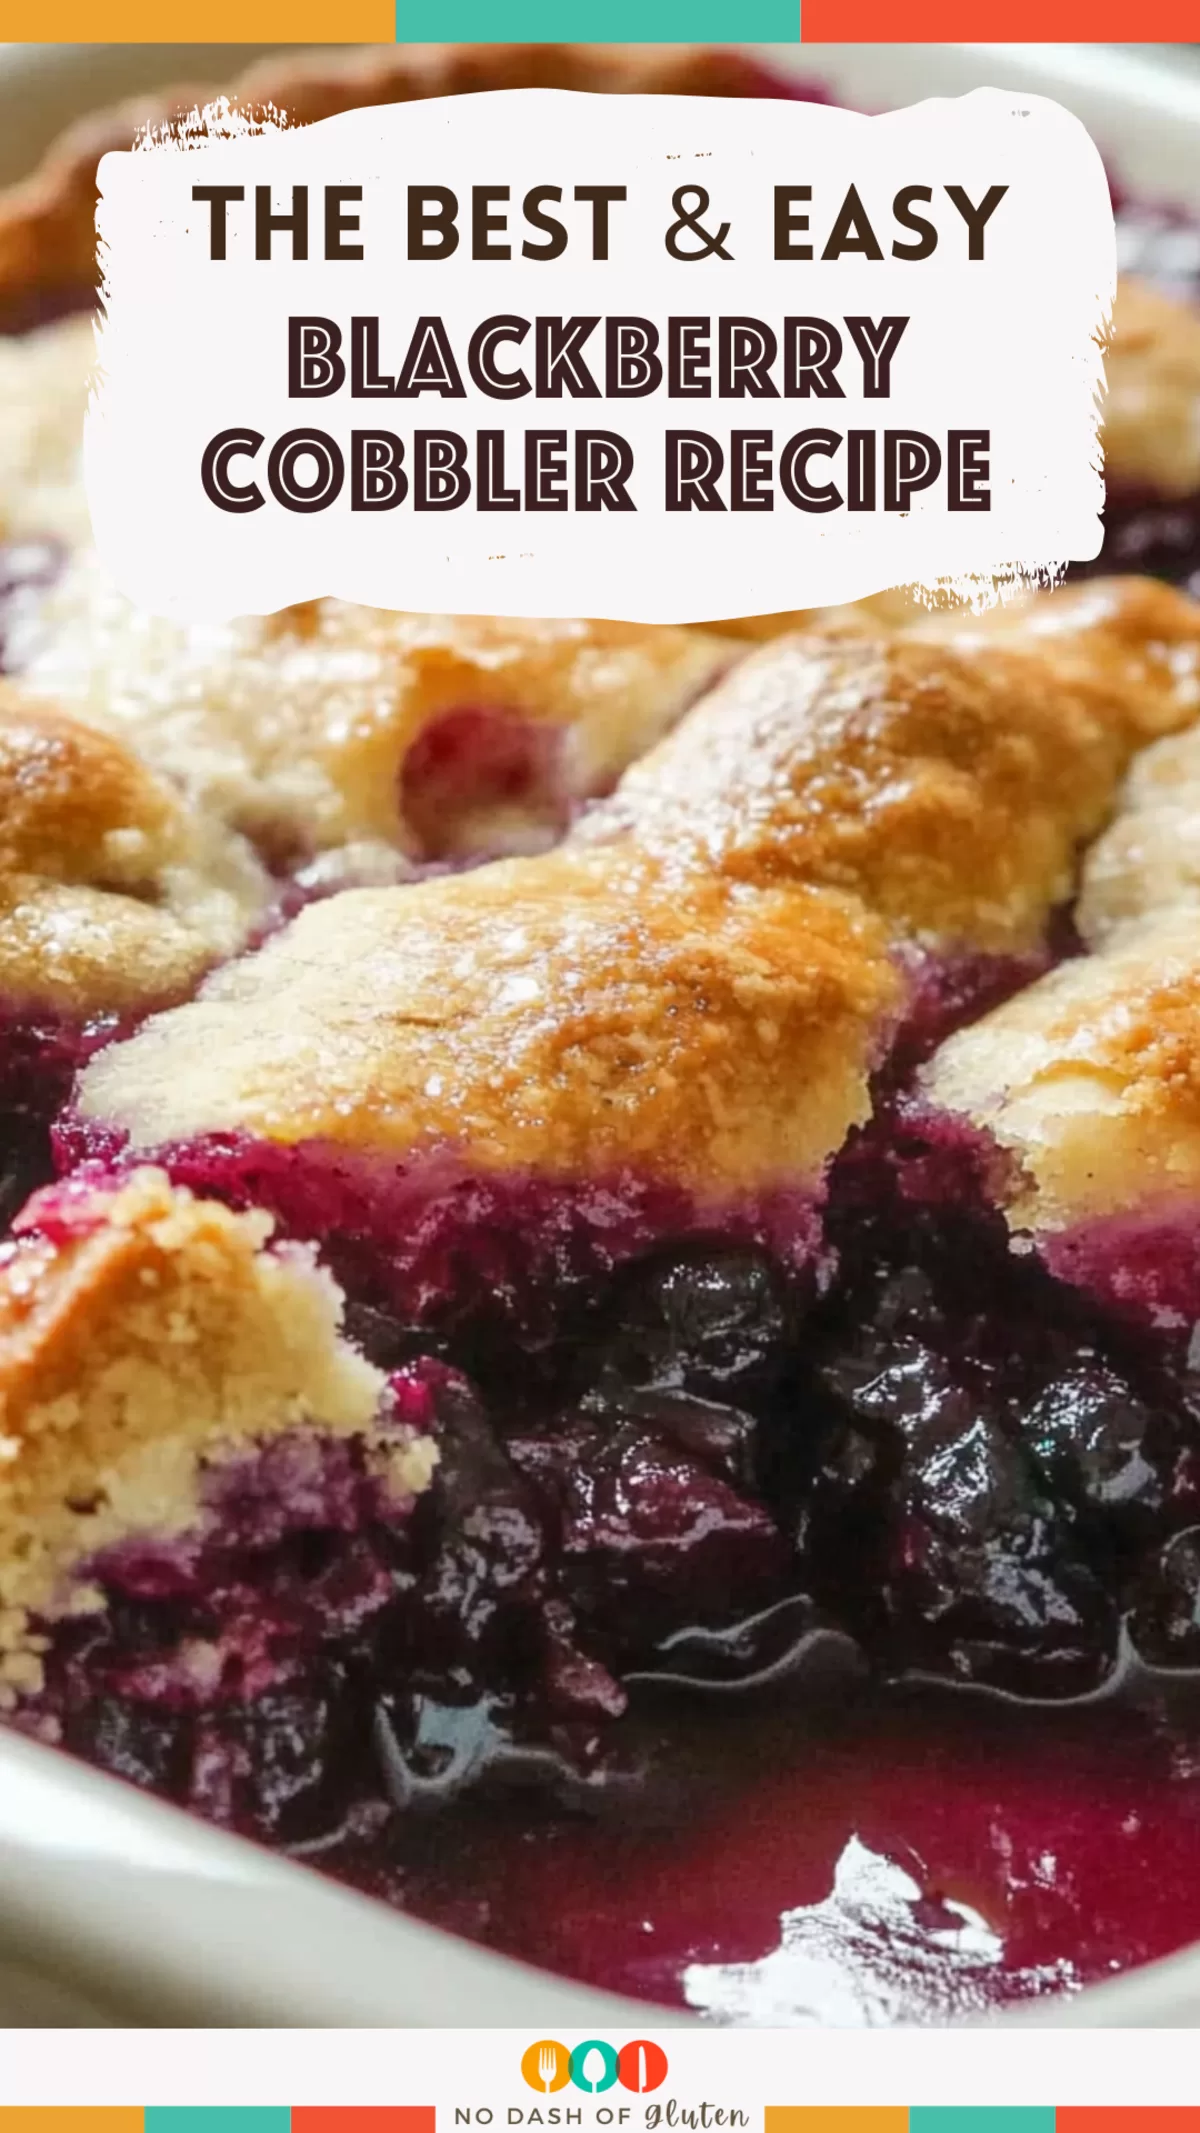
This Blackberry Cobbler Recipe uses blackberries, sugar, butter, flour, and eggs to create a golden, buttery topping that’s irresistibly good.
When I think of blackberry cobbler, I can’t help but be transported back to those summer afternoons of my childhood. My cousins and I would wander the edges of my grandma’s backyard, baskets in hand, picking blackberries while trying to avoid the thorns. The rule was simple: “Don’t eat too many before we bake!” But you know how that goes… at least half never made it into the basket.


Fast forward to today, and this recipe has become a staple in my own kitchen. It’s simple, sweet, and practically screams comfort. I love that it doesn’t require any fancy ingredients or tools—just a few pantry staples and fresh (or frozen!) blackberries. Every time I make it, I feel like I’m back at Grandma’s table, with the smell of warm berries and buttery crust filling the air.
And here’s the thing—this cobbler is foolproof. I’ve whipped it up on hectic weeknights, for potlucks, and even when last-minute guests showed up. It never disappoints. Plus, who can resist that golden crust rising around the juicy blackberries? It’s a dessert that feels like a hug in a baking dish.
Why You’ll Love This Blackberry Cobbler Recipe?
This isn’t just a cobbler; it’s a dessert that delivers all the feels. Here’s why:
- Unbelievably Simple: You can have this in the oven in under 10 minutes.
- Minimal Ingredients: No trips to specialty stores—just basic pantry items and berries.
- Crowd-Pleaser: Whether you’re serving it to friends, family, or just yourself (no judgment), everyone loves it.
- Versatile: Swap the blackberries for any fruit you’ve got on hand—it’s the little black dress of desserts.
- That Buttery Crust: Pouring the batter over melted butter creates a magical, golden crust that’s the stuff of dreams.
Ingredient Notes:
Before we dive into the recipe, let’s chat about what makes this cobbler so special:
- Blackberries: Fresh berries are amazing, but frozen works like a charm too. If they’re frozen, toss them in straight from the bag—no need to thaw.
- Self-Rising Flour: This is the secret weapon for that perfect cobbler texture. Don’t have any? Mix 1 cup of all-purpose flour with 1 1/2 teaspoons of baking powder and 1/2 teaspoon of salt—it works like a charm.
- Granulated Sugar: Divided between the batter and the berries, it keeps the cobbler sweet but not cloying.
- Butter: Melted and poured into the dish first, it creates that rich, buttery base we all love.
- Whole Milk: Gives the batter just the right consistency—rich but light.
- Vanilla Extract: Adds a subtle sweetness that complements the berries beautifully.
Pro Tip: If your berries are extra tart, sprinkle a tiny pinch of salt over them with the sugar to balance things out.
How To Make Blackberry Cobbler?
This recipe couldn’t be easier. You’ll have dessert ready in no time!
Step 1. Preheat and Prep
First, preheat your oven to 350°F. Pour the melted butter into an 8-inch square baking dish, letting it coat the bottom evenly. Trust me—starting with butter sets the stage for a golden, magical crust.
Step 2. Mix the Batter
In a medium bowl, beat together the sugar, melted butter, and egg until smooth. Add in the flour, baking powder, and salt, and mix just until combined. Spread this thick batter evenly into the prepared baking dish over the melted butter—no need to stir.
Step 3. Sweeten the Blackberries
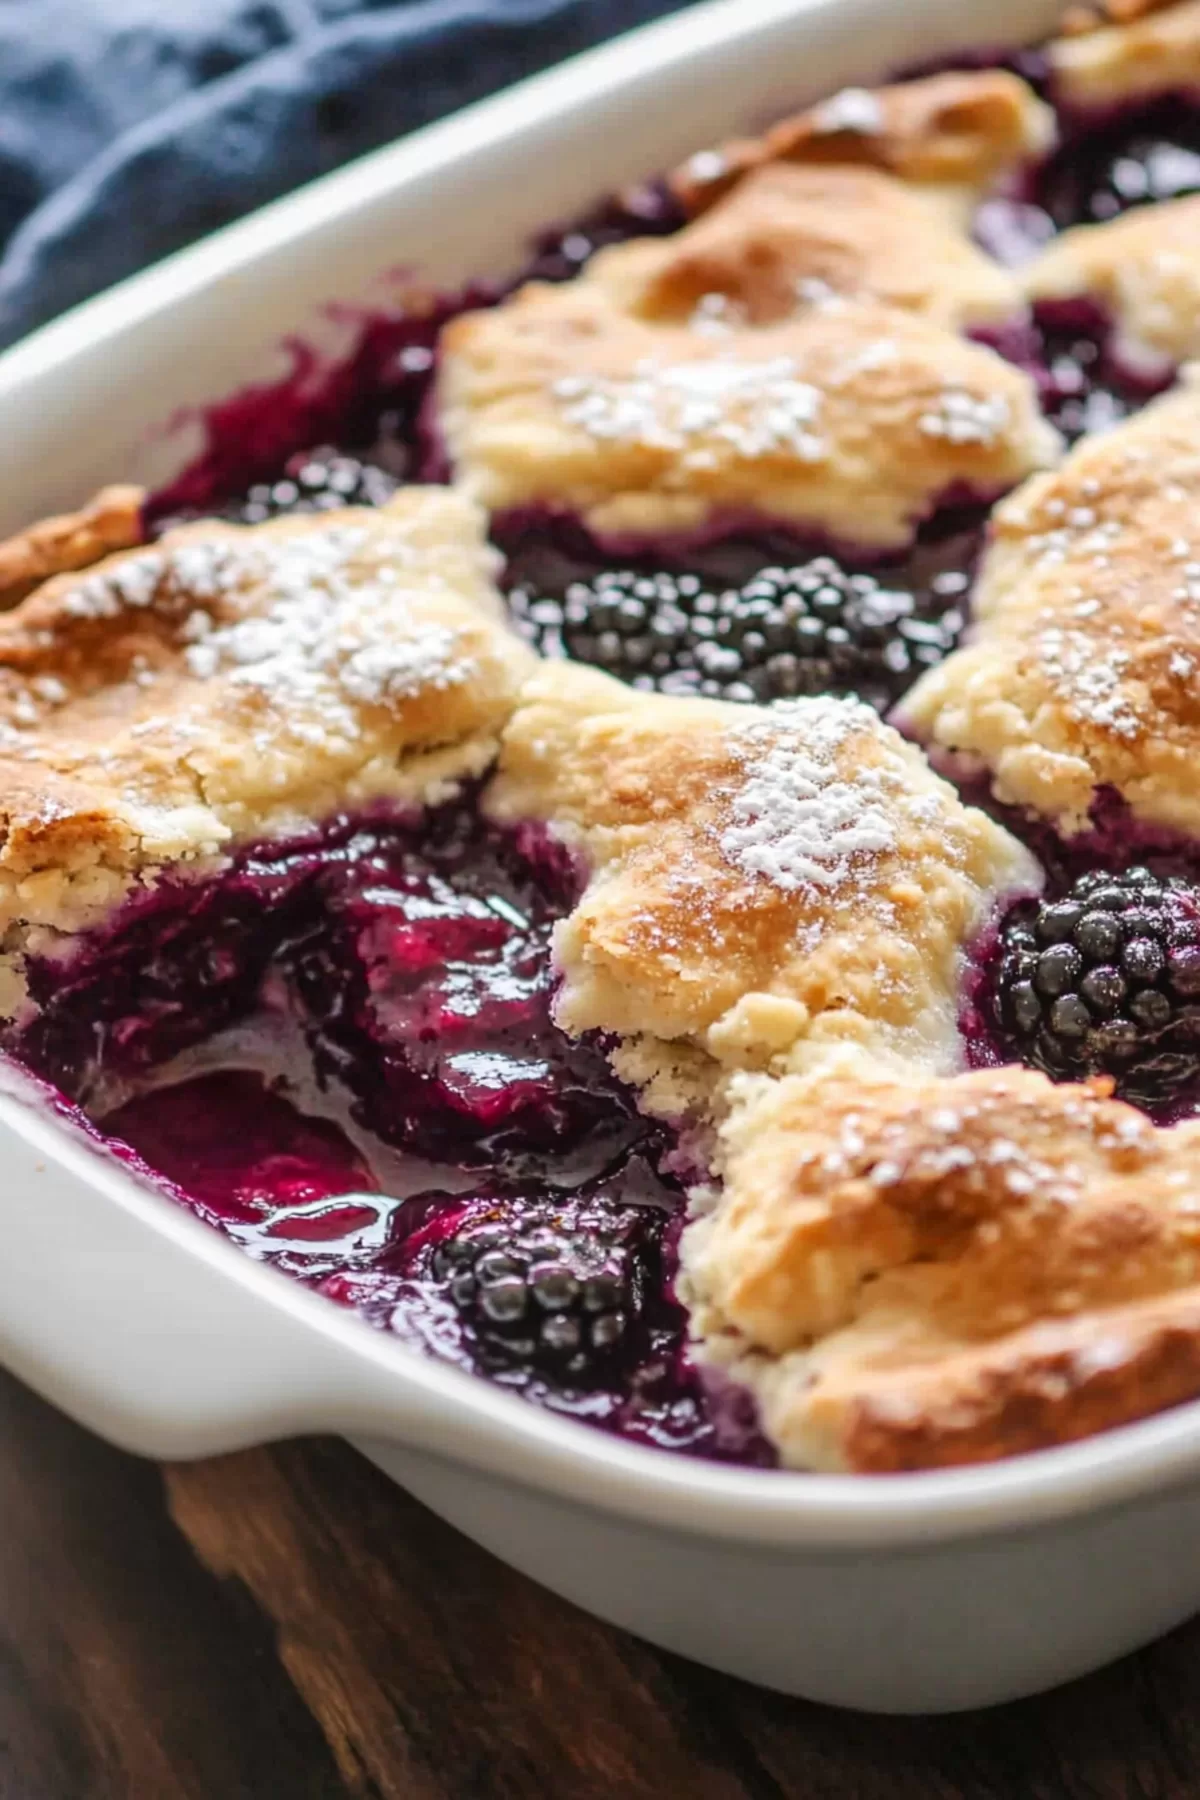
In a clean bowl, toss the blackberries with the remaining 1/2 cup of sugar. Spoon them evenly over the batter. Don’t stir—the berries will settle beautifully as the cobbler bakes.
Step 4. Bake
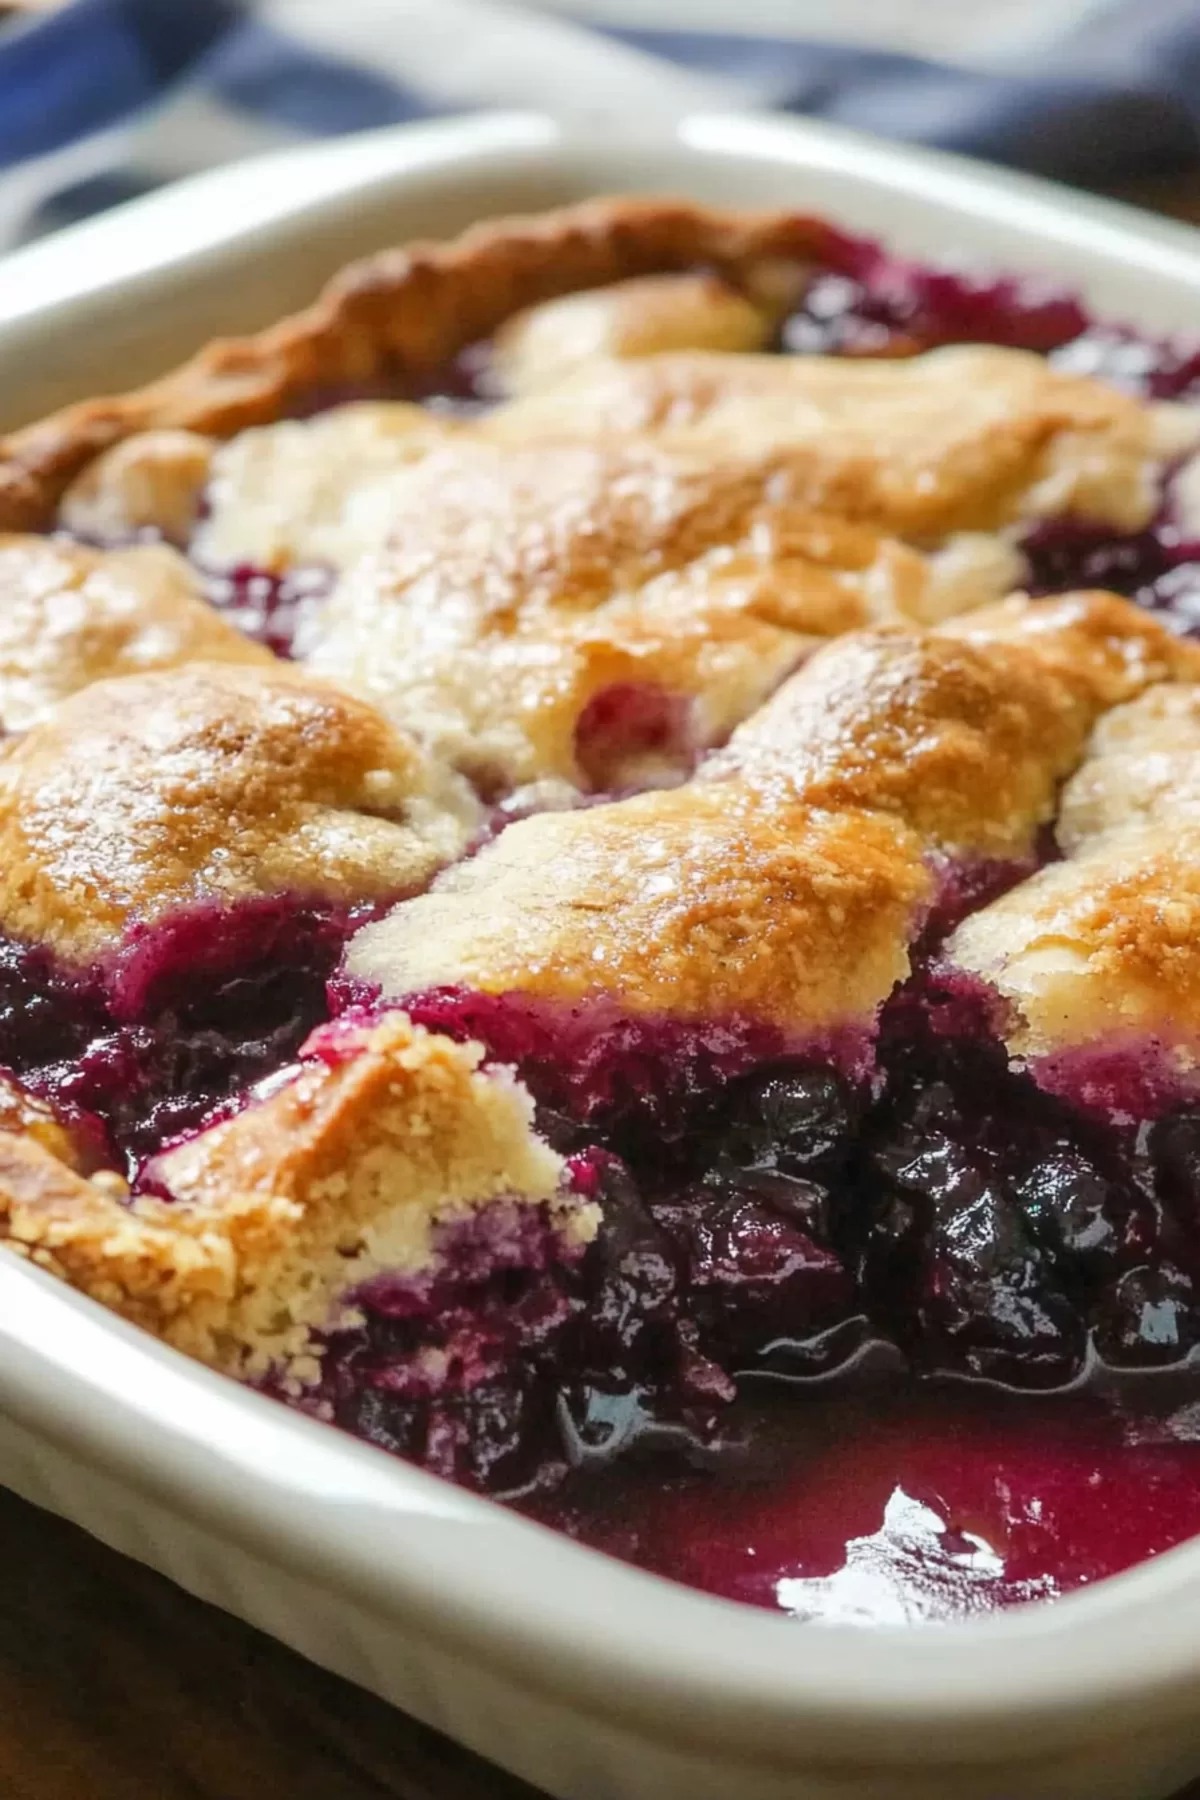
Pop the dish into the oven and bake for 50-60 minutes, or until the top is golden brown and the blackberries are bubbling. The smell alone will have you pacing in front of the oven.
Step 5. Cool and Serve
Let the cobbler cool for about 10 minutes before serving. Serve it warm, and if you’re feeling fancy, add a scoop of vanilla ice cream or a dollop of whipped cream.
Storage Options:
Here’s how to keep your cobbler fresh and delicious:
Want To Save This Recipe?
- Refrigerator: Store leftovers in an airtight container in the fridge for up to 3 days. Reheat individual servings in the microwave or pop the whole dish back into the oven to warm through.
- Freezer: Let the cobbler cool completely, then wrap tightly and freeze for up to 2 months. Thaw overnight in the fridge before reheating.
Variations and Substitutions:
This cobbler is versatile—here’s how you can switch it up:
- Try Different Berries: Blueberries, raspberries, or even a mix of berries work beautifully.
- Stone Fruits: Chopped peaches, nectarines, or plums are a great alternative.
- Add Some Spice: A dash of cinnamon or nutmeg in the batter adds a cozy, warm flavor.
- Gluten-Free: Use a gluten-free flour blend with baking powder and salt to mimic self-rising flour.
- Lower Sugar: Reduce the sugar slightly if your berries are already sweet.
What to Serve with Blackberry Cobbler?
Pair this dessert with one of these for an extra-special treat:
- Vanilla Ice Cream: The ultimate cobbler companion.
- Whipped Cream: Light, airy, and oh-so-delicious.
- Fresh Berries: Sprinkle a few on top for a burst of freshness.
- Hot Coffee or Iced Tea: A perfect way to balance the sweetness.
Frequently Asked Questions:
Can I use frozen blackberries?
Definitely! No need to thaw them—just toss with sugar and bake as usual.
What if I don’t have self-rising flour?
Easy fix! Mix 1 cup of all-purpose flour with 1 1/2 teaspoons of baking powder and 1/2 teaspoon of salt.
Can I make this ahead of time?
Absolutely. Bake it earlier in the day and reheat gently in the oven before serving.
So, what do you think? Ready to turn a handful of blackberries into something magical? Let me know how it goes—and don’t forget to share a slice with someone you love. Or just keep it all to yourself—I won’t judge!
Keep the Flavor Coming – Try These:
Blackberry Cobbler Recipe
Ingredients
For the filling, you'll need:
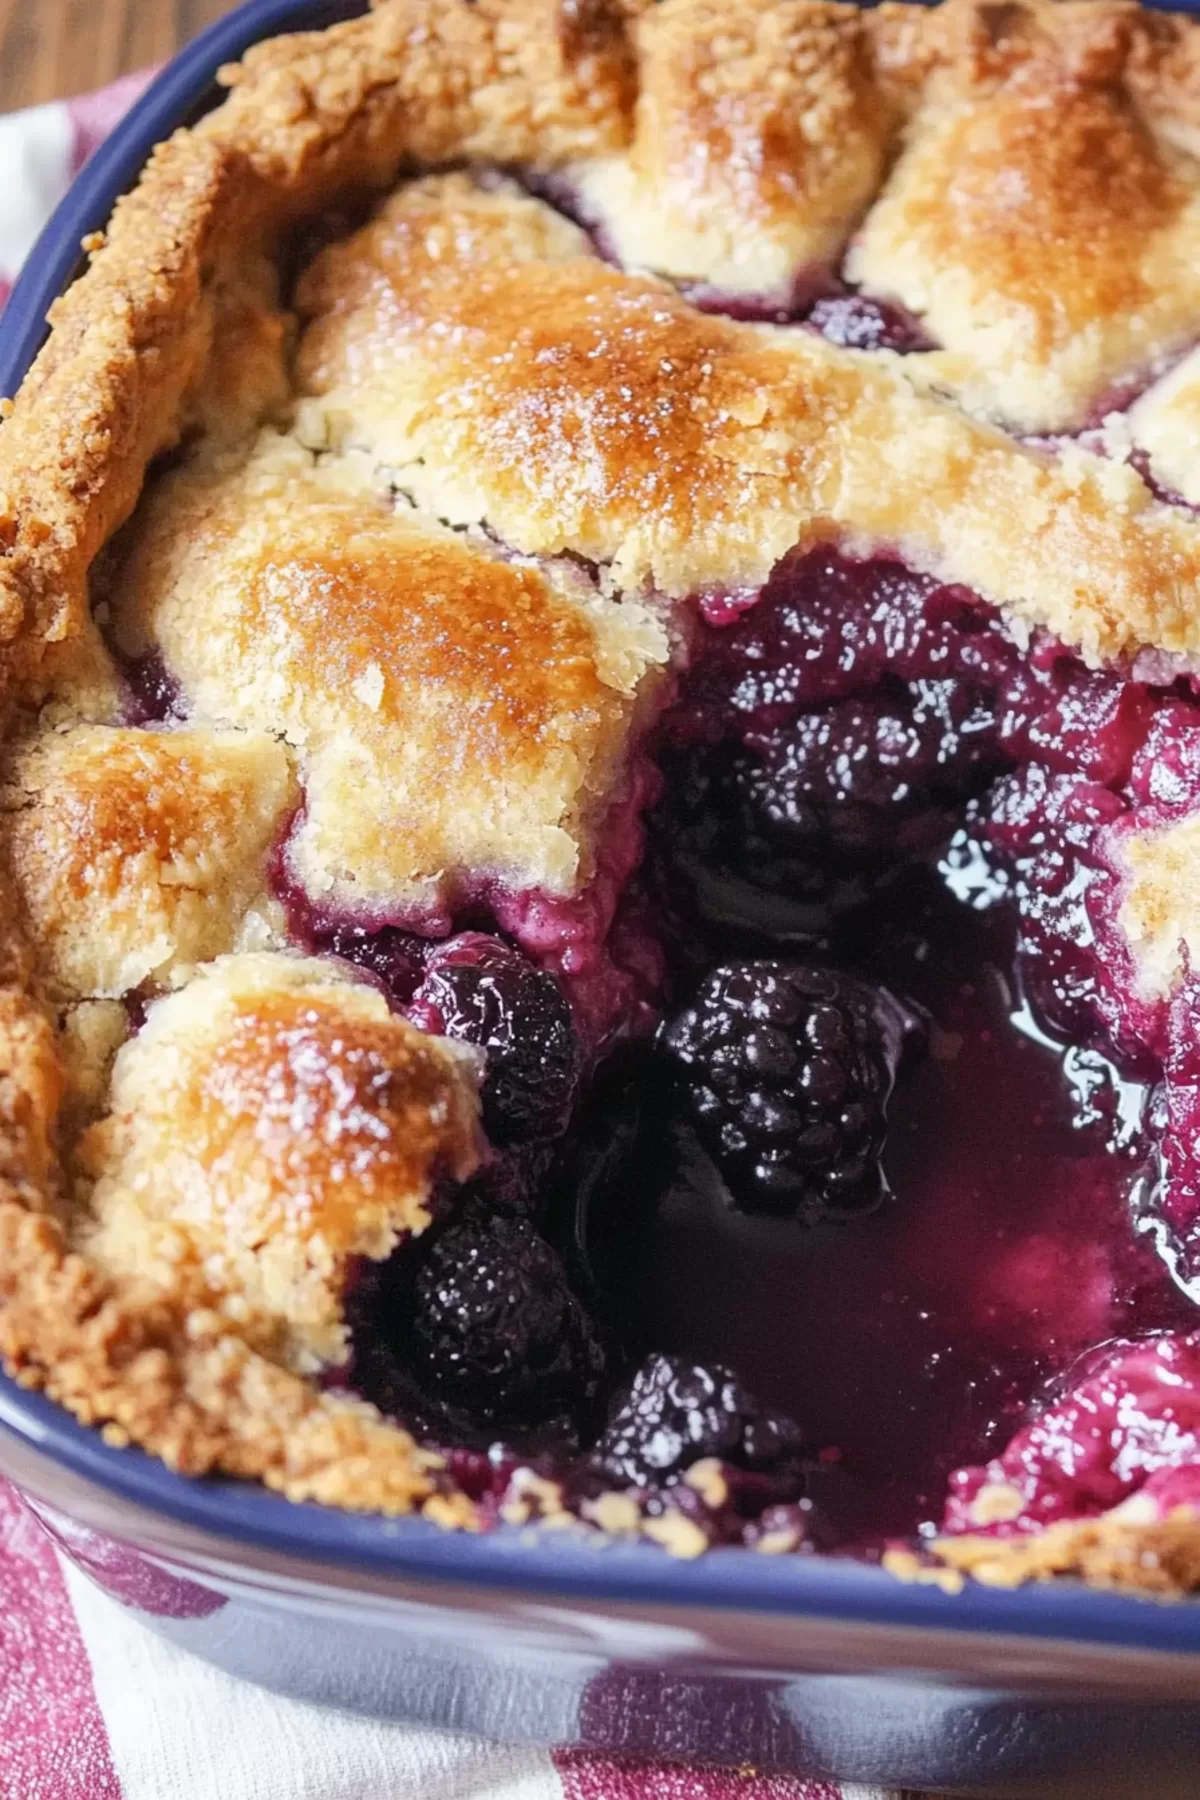
- 5 cups of fresh juicy blackberries
- 1/2 cup of white granulated sugar
- 1 teaspoon of pure vanilla extract
And for the topping:
- 1/2 cup or 1 stick of unsalted butter, melted
- 1 cup of white granulated sugar
- 1 egg
- 1 cup whole milk
- 1 cup of all-purpose flour
- 1 1/2 teaspoons of baking powder
- 1/4 teaspoon of salt
Instructions
- Start by preheating your oven to 350 degrees. Generously grease your deep-dish pie plate or 13x9 inch baking dish with some butter or cooking spray.
- In a medium bowl, whisk together the sugar and egg until smooth. Pour in the milk and stir until combined. Add the flour, baking powder, and salt, mixing just until no streaks of flour remain—don’t overmix. Finally, stir in the melted butter until you’ve got a smooth, pourable batter. Spread it evenly into your prepared baking dish, right over the melted butter. No need to stir, just let the magic happen in the oven.
- In a clean bowl, toss the blackberries with the remaining sugar and vanilla until they’re nicely coated. Gently spoon them evenly over the batter—don’t stir or press them in. As it bakes, the berries will sink just enough to mingle with the crust while still peeking through that golden top.
- Now comes the hard part – waiting! Bake it in your preheated oven for about 40-45 minutes. You'll know it's ready when the fruit is bubbly, and the crust has turned a beautiful golden color.
- The final touch? Serve it warm with a generous scoop of vanilla ice cream on top. Trust me, it doesn't get any better than this!
Notes
- Gluten-Free All-Purpose Flour: Substitute the regular flour with a gluten-free all-purpose flour blend. Look for one that substitutes on a 1:1 ratio for regular flour. Brands like Bob's Red Mill or King Arthur Flour have reliable gluten-free blends.
- Xanthan Gum: If your gluten-free flour blend doesn't already contain it, you might want to add a bit of xanthan gum to your mixture. This ingredient helps to bind gluten-free baked goods and make them less crumbly. Usually, 1/4 to 1/2 teaspoon would be enough for this recipe.
Nutrition
I’m Bitty, owner of nodashofgluten.com, where I share simple, delicious recipes for all tastes, including gluten-free. Check out my “About Me” page for more info!

19 Responses
This was absolutely delicious! It was plenty sweet. I think cutting back on the sugar a bit wouldn’t hurt the flavor and would be a bit healthier. Can’t wait to try some different fruits with this recipe! This will be my go to cobbler recipe from now on!
Thank you Kay for your review, Make sure to share with us some pictures next time 🙂
Just a question..what substitution could I use for the milk
Hi Melinda, I use whole milk in my cobbler for that rich texture, but you can absolutely swap it for buttermilk, Greek yogurt thinned with a splash of water, or even heavy cream if you want it extra decadent; they all work beautifully and give you slightly different results, so go with what you have on hand!
Pulled this together this morning before I left for an appointment. Which and easy and delicious!
Can this be made with frozen blackberries?? If so please explain. Thank you.
Hi Susie! Yes, you can absolutely use frozen blackberries for this recipe. Just add them in frozen—no need to thaw—then toss them with the sugar and bake as directed. They’ll release a bit more juice as they bake, but it still turns out beautifully every time.
– Bitty
Hi, the recipe notes mentions milk but there is no milk listed in the ingredients. Please help.
Hi KK, thanks so much for pointing that out! Yes, the recipe does include milk—it’s listed in the ingredient list and used when mixing the batter. I’ve made sure everything matches now so it’s less confusing. Really appreciate you catching that!
– Bitty
Absolutely delicious. My husband went back for seconds❤️ This will be my only recipe for bb cobbler.😀
Hi Linda,
That makes me so happy to hear! I’m thrilled it was such a hit—and second helpings are always the best kind of compliment! 🥰 So glad this cobbler earned a permanent spot in your kitchen. Thanks for sharing!
– Bitty
In one place you say berries go on top of batter, in another you say spread batter over berries. Which is it??
Thanks for catching that! The berries should go on top of the batter. I’ve updated the recipe so it’s clear—once you spread the batter into the dish, spoon the sugared berries evenly over it before baking.
2/19/26 I made this cobbler today. I followed the recipe exactly as stated, and it actually tastes very good.The berries were slightly tart, but the crust, which was sweet helped to blend the flavors. The cobbler is not overly sweet. It’s a perfect blend of sweet and tart.
Under instructions #3 says stir in melted butter, then it says pour over melted butter. Can you help me as I’m trying this for the first time. 😊
Hi Jamie! Great question — the wording there is definitely confusing, so you’re not alone 😊
Here’s the correct way:
You don’t pour melted butter twice.
The melted butter is simply mixed into the batter, then the batter is poured into the baking dish.
So step #3 should read like this:
Mix the sugar and egg, then add the milk. Stir in the flour, baking powder, and salt. Finally, mix in the melted butter until smooth. Pour the batter into the prepared dish. Then spoon the sugared blackberries on top without stirring.
The magic of this cobbler is that everything layers itself while baking — no mixing once it’s in the dish.
You’re going to love this one… it’s one of those “how is this so easy but so good?” desserts 🍓
In the directions it says to mix the butter in the batter, but then it says to pour the batter on top of the butter. Which is it? Mix it in the batter or am I melting it in the baking dish and pouring batter on top? Thank you! I can’t wait to make this!
Hi Christina! Great question; I can see how that might seem confusing at first. You melt the butter and pour it into the baking dish first to create that magical golden crust on the bottom, then you make the batter separately (which includes melted butter mixed in), and spread that batter over the butter already in the dish. The two butters work together to create that irresistible golden, buttery topping. You’ve got this!
Hi Lynette, thank you so much for the kind words! You’re absolutely right to ask for clarity—I use 1/2 cup of melted butter poured into the baking dish first to create that golden base, and then another 1/2 cup goes into the batter itself. The first 1/2 cup creates the magic crust, so don’t skip it! I hope you love it as much as I do.