

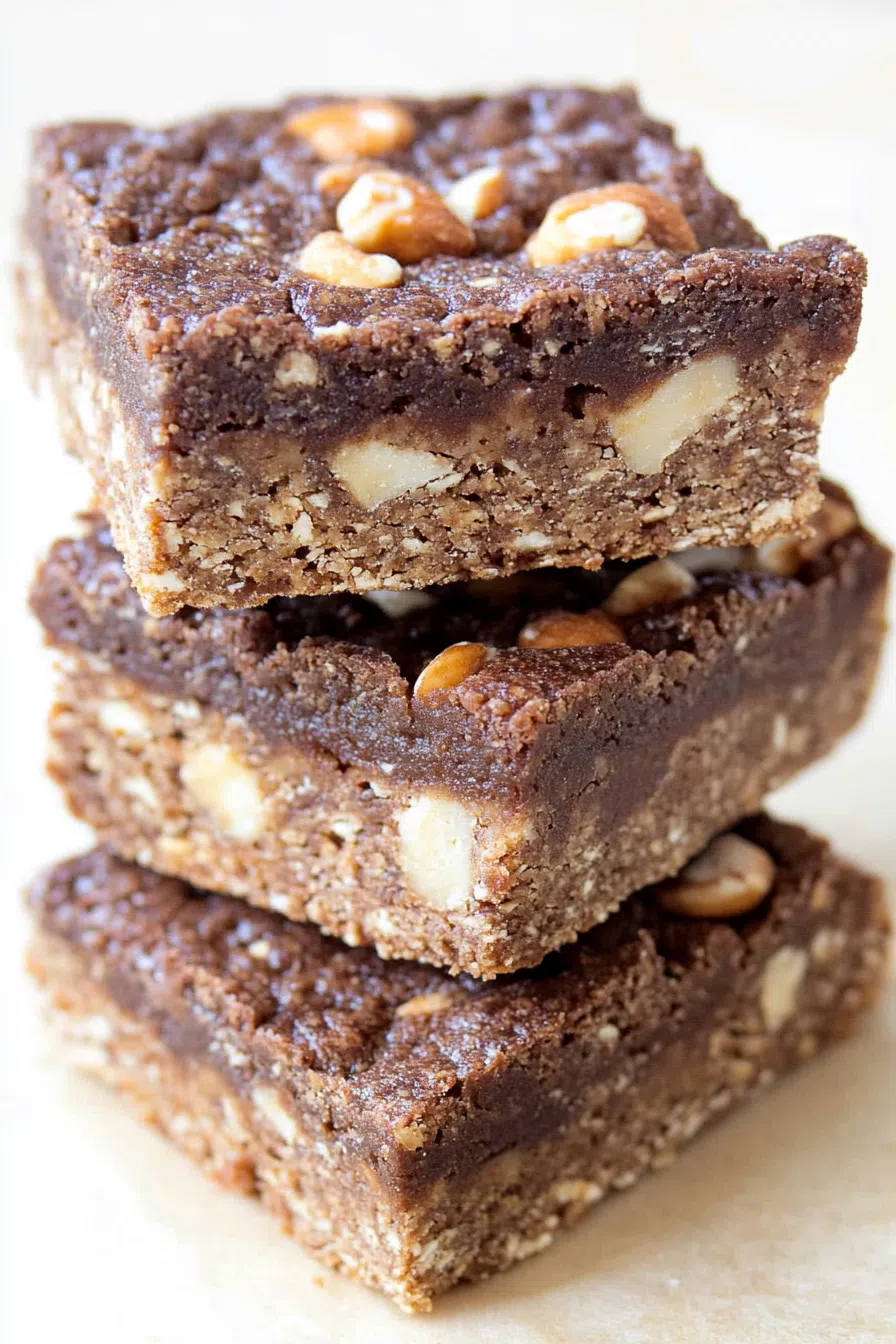
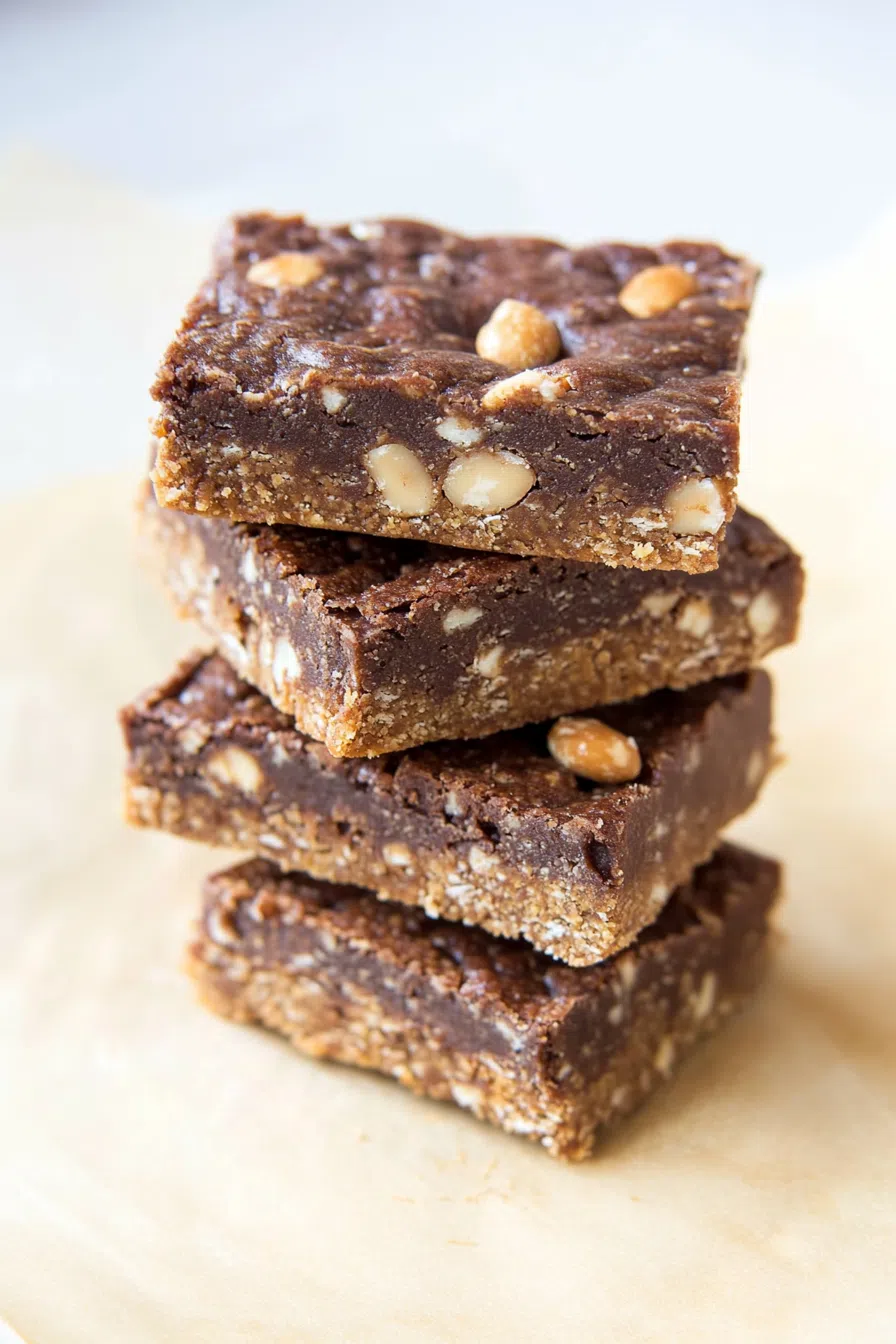
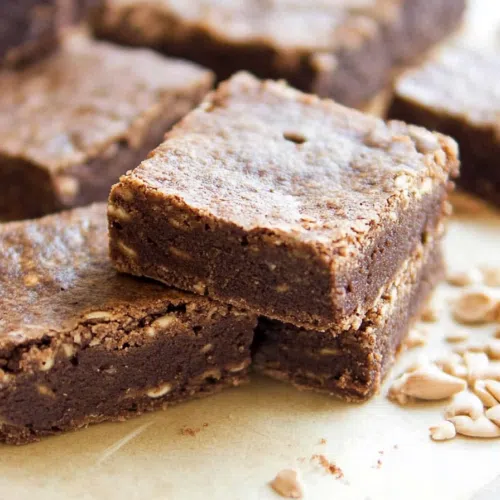
This Baked Protein Bar Recipe is a low-carb, sugar-free snack made with peanut butter, coconut flour, cocoa powder, and protein powder—perfect for a post-workout boost or an on-the-go pick-me-up!
Let’s be honest—store-bought protein bars are kind of a scam. They cost a fortune, they’re packed with questionable ingredients (what even is “isolated soy crisps”?), and half the time, they taste like a stale rice cake coated in sadness.
I used to buy them anyway. Convenience, right? But one day, after taking a bite of a particularly dry, chalky bar and questioning all my life choices, I decided to try making my own. I figured, How hard could it be?


Turns out—not hard at all. And the best part? These homemade protein bars are actually delicious. They’re soft, fudgy, full of peanut butter goodness, and made with real ingredients. No weird additives, no overpriced nonsense—just a solid, satisfying snack that actually keeps you full.
Now, I keep a stash of these in my fridge at all times, and I haven’t touched a store-bought protein bar since. If you’re ready to break free from the overpriced protein bar industry (dramatic, but true), you need to try this recipe.
Why You’ll Love This Baked Protein Bar Recipe?
- Super easy to make. No fancy equipment, no confusing steps—just mix, bake, and enjoy.
- Soft, chewy, and fudgy. No dry, gritty texture here!
- Packed with protein and healthy fats. The perfect fuel for workouts or snack attacks.
- Naturally low-carb and sugar-free. So you can enjoy them guilt-free.
- Way more affordable than store-bought. Make a whole batch for less than the price of one fancy bar.
- Customizable! Swap ingredients, add mix-ins, or adjust sweetness to fit your taste.
Ingredient Notes:
Everything in this recipe has a purpose, and when they all come together? Magic.
Base Layer:
- Peanut Butter (½ cup / 130g, unsweetened, soft) – The glue that holds everything together, adding creaminess and flavor.
- Coconut Flour (1½ tbsp) – Absorbs moisture and gives structure.
- Protein Powder (1 tbsp) – A little extra protein boost to keep you full.
- Granulated Sweetener (1½ tbsp) – Balances the flavors without adding sugar.
Top Layer:
- Peanut Butter (½ cup / 130g, soft) – Because one layer of peanut butter wasn’t enough.
- Cocoa Powder (1 tbsp, unsweetened) – Adds a rich, chocolatey flavor without extra sugar.
- Granulated Sweetener (1½ tbsp) – Sweetens things up naturally.
- Protein Powder (1 tbsp) – Because more protein = more gains.
- Coconut Flour (1½ tbsp) – Keeps everything nicely held together.
How To Make Baked Protein Bar?
Step 1: Preheat & Prep
- Set your oven to 175°C / 350°F.
- Line an ovenproof dish with
parchment paper so the bars don’t stick.
Step 2: Mix the Layers
- In one bowl, mix all the base layer ingredients. Use a fork to combine, then knead with your hands until smooth.
- In another bowl, do the same with the top layer ingredients.
Step 3: Layer & Press
- Press the base layer evenly into your prepared baking dish.
- Spread the top layer over it, pressing gently to smooth it out.
- The mixture should fit into a 5×6 inch space (but honestly, just eyeball it—it’s fine).
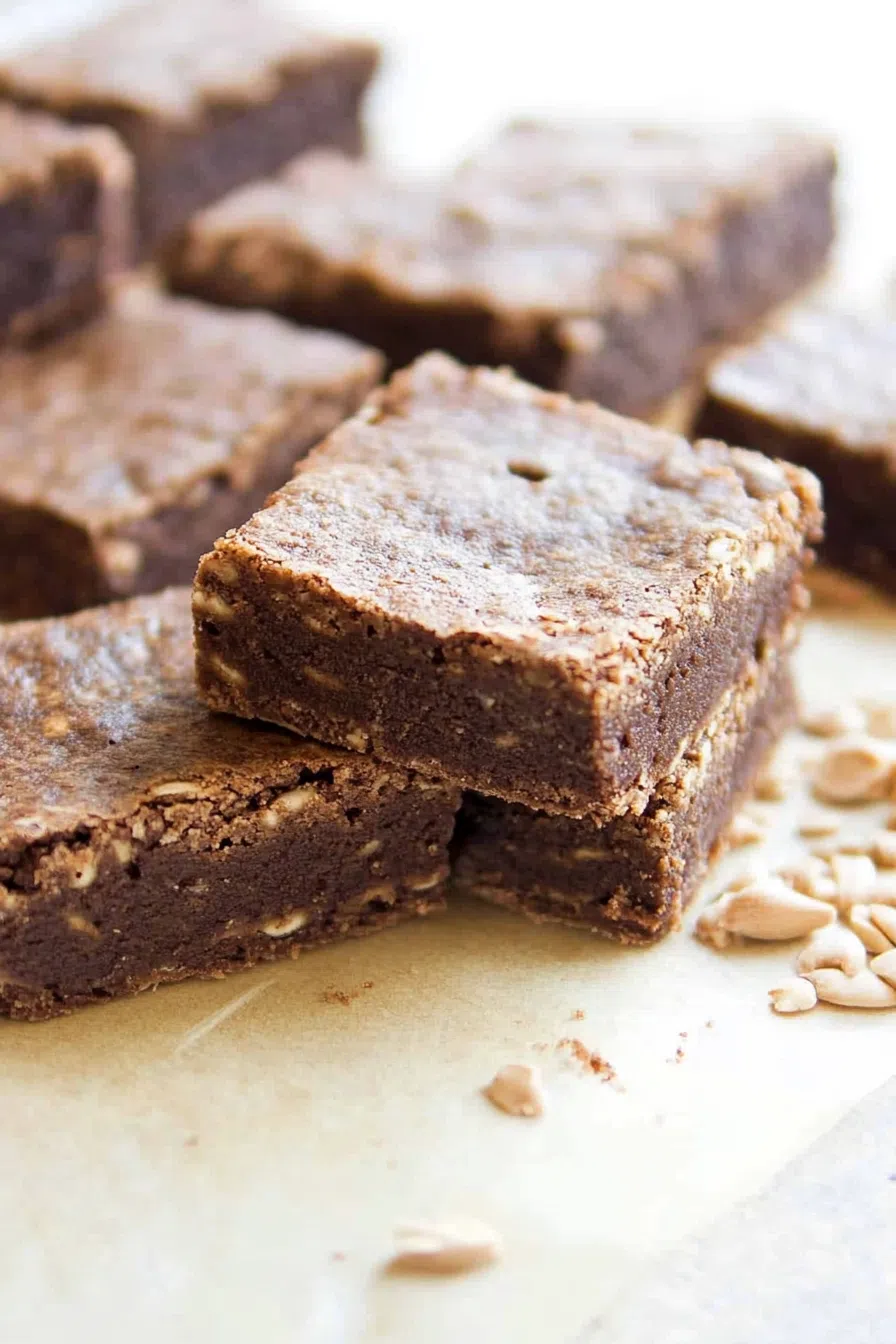
Step 4: Bake & Cool
- Bake for about 25 minutes, or until the top is set and slightly golden at the edges.
- Remove from the oven and let cool completely before slicing (trust me, it’s worth the wait).
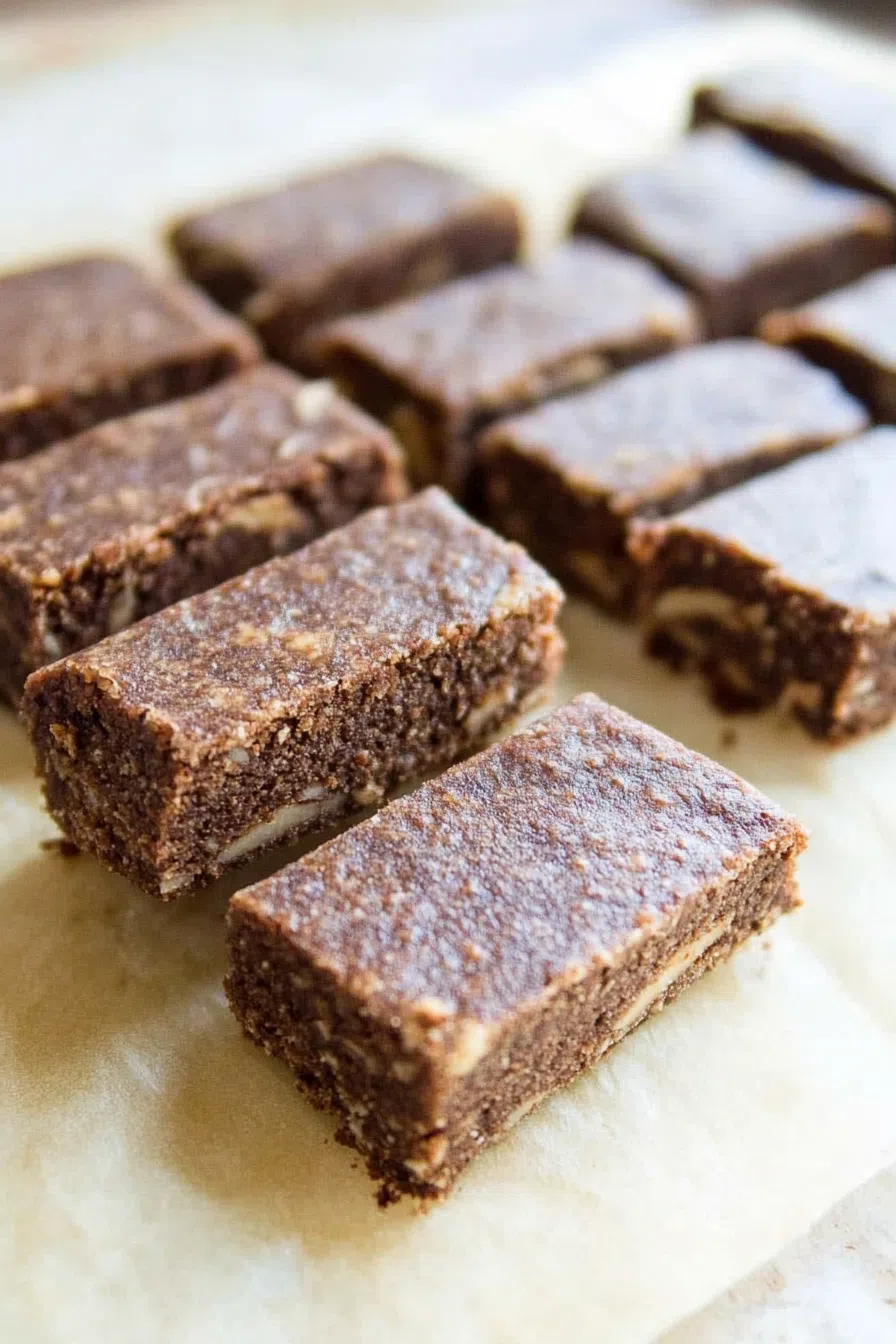
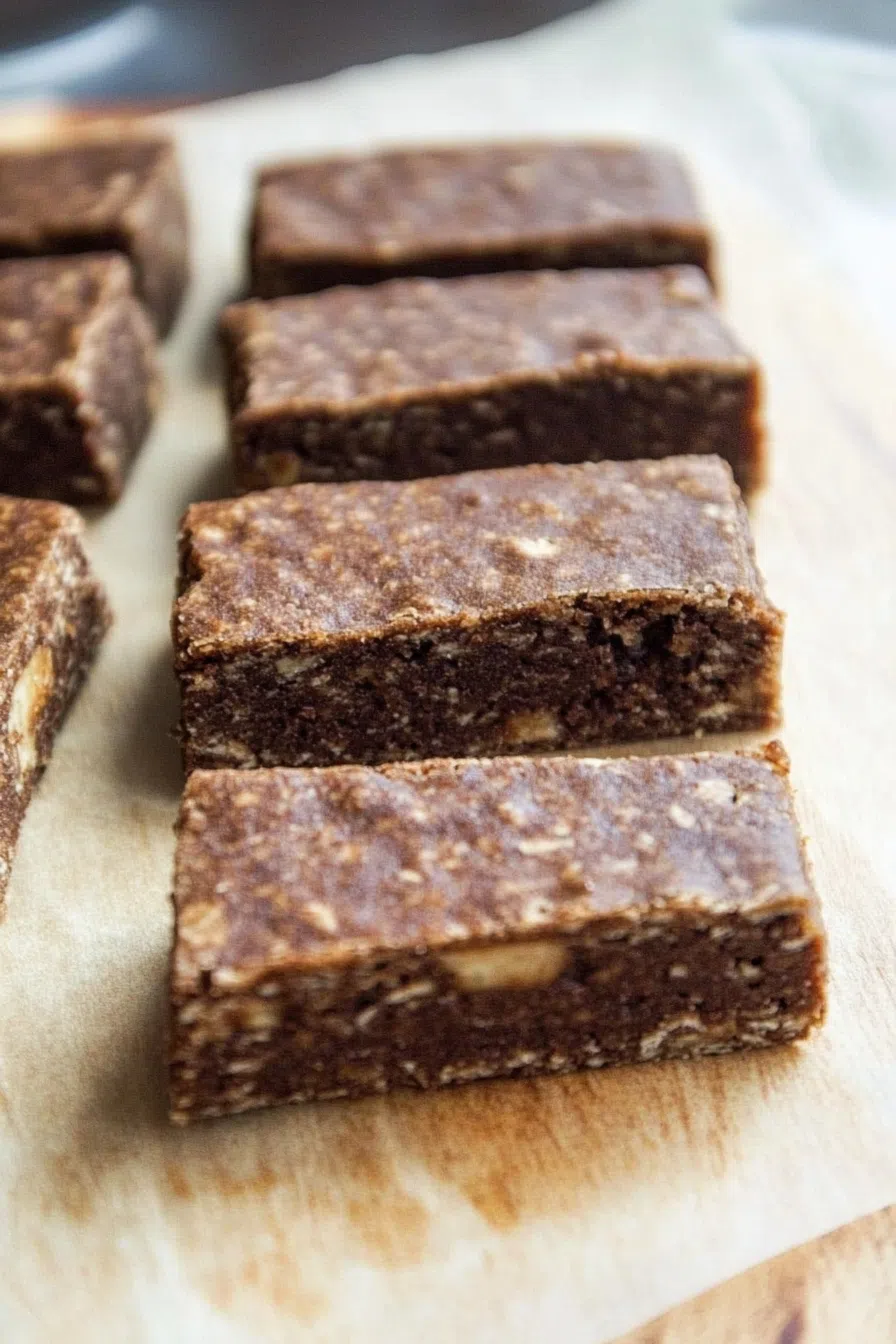
Step 5: Slice & Enjoy!
- Cut into bars or squares, and dig in!
Storage Options:
- Room Temperature: Keep in an airtight container for up to 3 days.
- Fridge: Store for up to a week—they stay extra chewy and fudgy this way.
- Freezer: Freeze individually wrapped bars for up to 3 months. Just thaw for a few minutes before eating.
Variations and Substitutions:
These bars are already delicious, but you can make them even better with a few tweaks:
Want To Save This Recipe?
- Swap the peanut butter. Almond butter, cashew butter, or sunflower seed butter all work great.
- Use a flavored protein powder. Chocolate or vanilla protein powder adds extra depth.
- Add mix-ins. Chopped nuts, shredded coconut, or sugar-free chocolate chips take these to the next level.
- Make them crunchier. Sprinkle crushed peanuts or cacao nibs on top before baking.
- Dairy-free? Use plant-based protein powder instead of whey.
What to Serve with Baked Protein Bar?
These bars are great solo, but if you want to take your snack game up a notch, try pairing them with:
- A hot cup of coffee or matcha. Peanut butter + caffeine? A match made in heaven.
- A smoothie. Blend up banana, almond milk, and spinach for a power breakfast combo.
- Greek yogurt. Crumble a bar on top for a protein-packed parfait.
- A drizzle of melted dark chocolate. Because why not?
Frequently Asked Questions:
Can I use almond flour instead of coconut flour?
Yes! Just double the amount since coconut flour is more absorbent.
What kind of protein powder works best?
Any kind! Whey makes them extra soft, while plant-based protein gives a denser texture.
Do these taste like store-bought protein bars?
Nope—they taste way better! No artificial flavors, no weird aftertaste, just pure peanut butter goodness.
So, Are You Making These or What?
If you’re tired of spending money on protein bars that taste meh, this Baked Protein Bar Recipe is about to change your snack game.
Try a batch, stash them in your fridge, and let me know—did they totally beat the store-bought ones for you, too?
Keep the Flavor Coming – Try These:
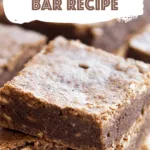
Baked Protein Bar Recipe
Ingredients
Base Layer:
- ½ cup 130g peanut butter (unsweetened, softened)
- 1 ½ tablespoons coconut flour
- 1 tablespoon protein powder
- 1 ½ tablespoons granulated sweetener
Top Layer:
- ½ cup 130g peanut butter (softened)
- 1 tablespoon unsweetened cocoa powder
- 1 ½ tablespoons granulated sweetener
- 1 tablespoon protein powder
- 1 ½ tablespoons coconut flour
Instructions
Preheat the Oven:
- Preheat the oven to 175°C (350°F). Line a small baking dish with parchment paper to prevent sticking.
Prepare the Base Layer:
- In a mixing bowl, combine the peanut butter, coconut flour, protein powder, and sweetener. Mix with a fork until well incorporated, then knead the mixture with your hands to form a smooth dough.
Prepare the Top Layer:
- In a separate bowl, mix the softened peanut butter, cocoa powder, sweetener, protein powder, and coconut flour. Stir until a thick, cohesive mixture forms.
Assemble the Layers:
- Spread the base layer evenly in the prepared baking dish, pressing it firmly into place. Gently spread the top layer over the base, smoothing it with a spatula to create an even surface.
Bake:
- Place the dish in the preheated oven and bake for 25 minutes, or until the top layer is set and slightly golden around the edges.
Cool and Slice:
- Remove from the oven and allow the bars to cool completely before slicing. This will ensure a firmer texture and cleaner cuts. Once cooled, slice into bars or squares as desired.
Notes
I’m Bitty, owner of nodashofgluten.com, where I share simple, delicious recipes for all tastes, including gluten-free. Check out my “About Me” page for more info!

2 Responses
Hi Bitty,
I like the recipe as I am looking for a baked protein bar so that they keep a little fresher than the usual no bake ones. I was wondering if I could substitute oat flour for the coconut flour and maple syrup for the sweetener you use?
Hello Chris,
Yes, you can substitute oat flour for coconut flour, but keep in mind that oat flour absorbs moisture differently. You might need to adjust the amount of liquid in the recipe to compensate for this. As for swapping maple syrup for the granulated sweetener, that should work fine as well, though you may need to reduce the amount of liquid in the recipe slightly to account for the added moisture from the syrup.
Happy baking! Let me know how it turns out!