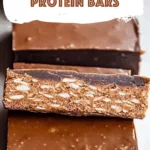
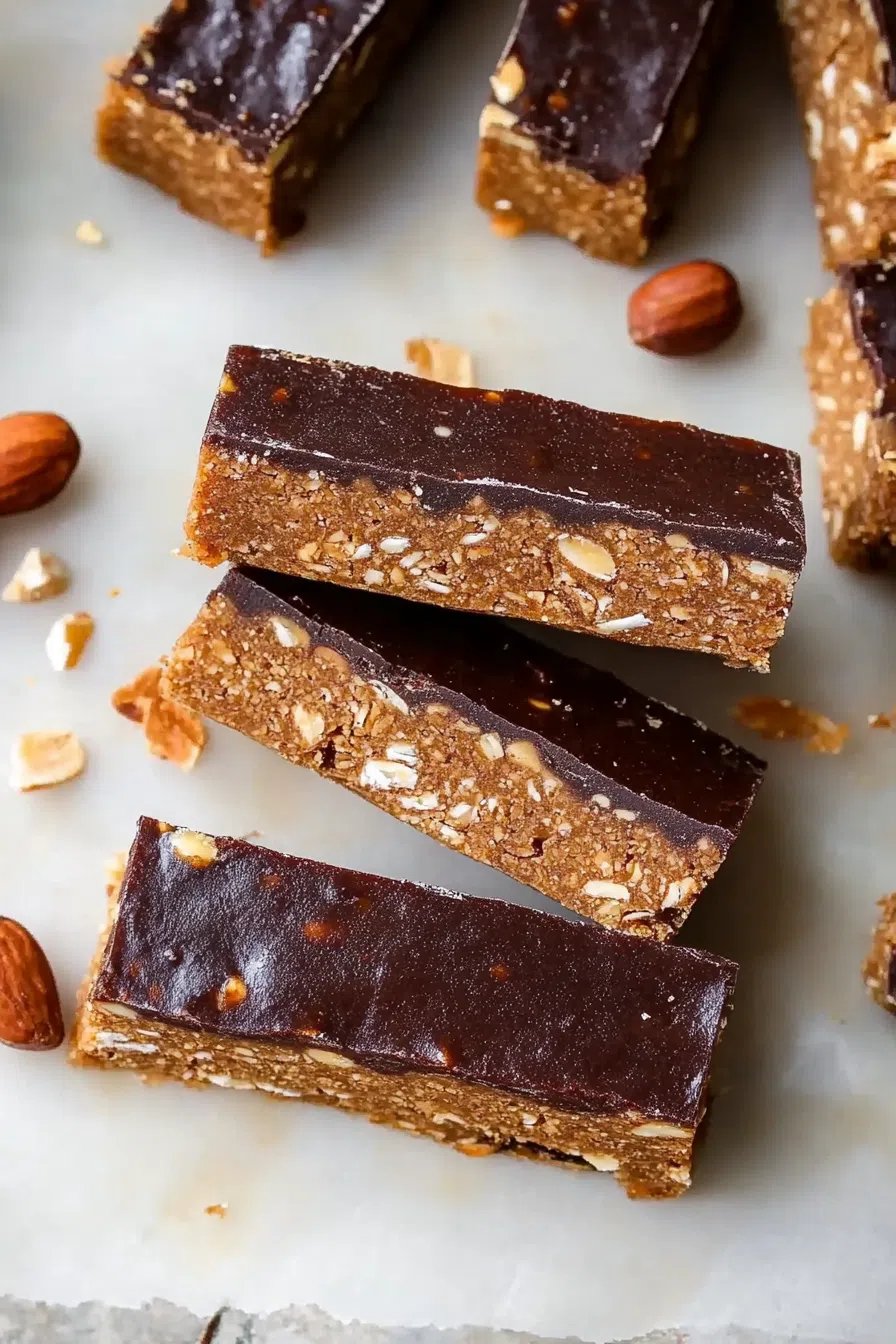
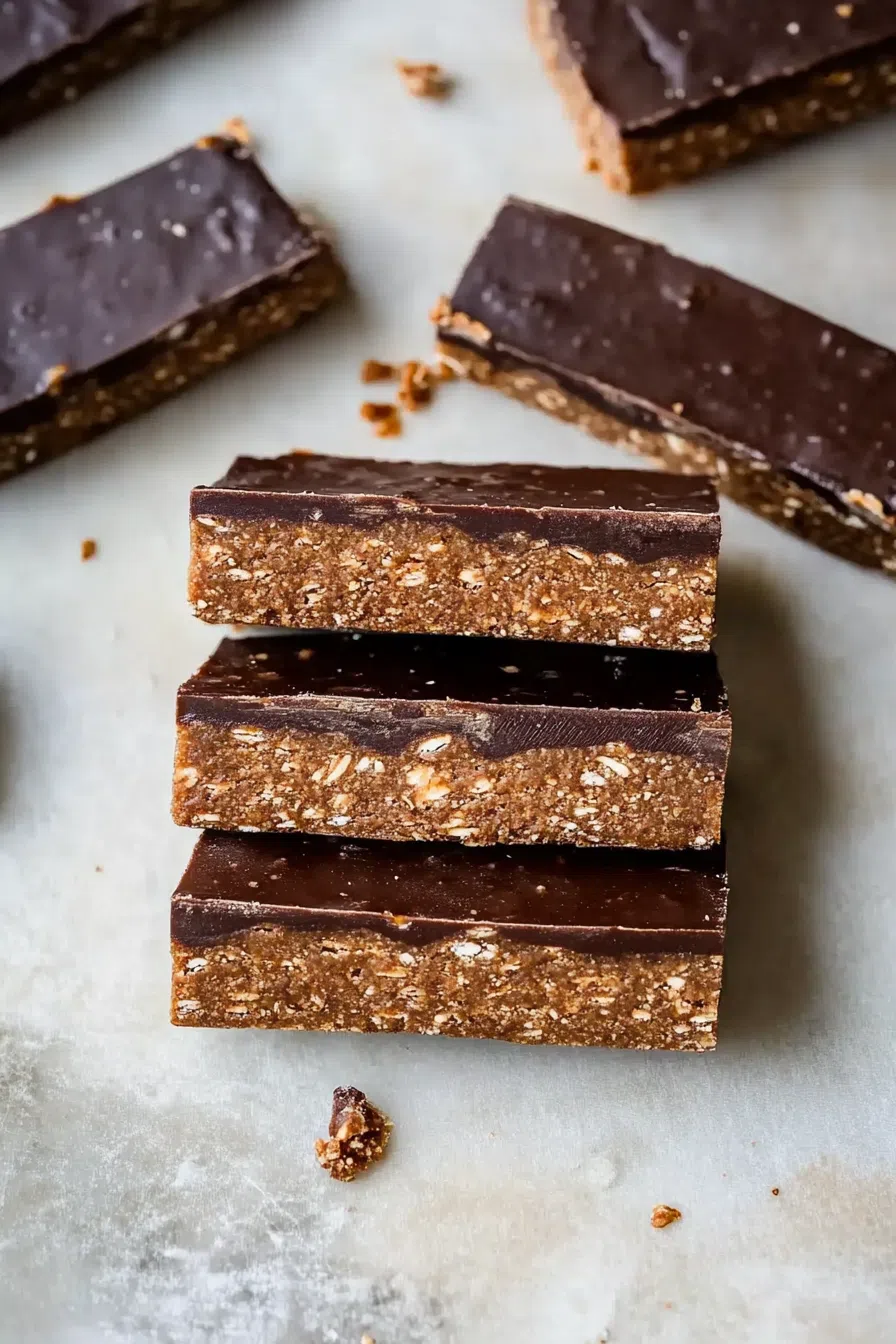
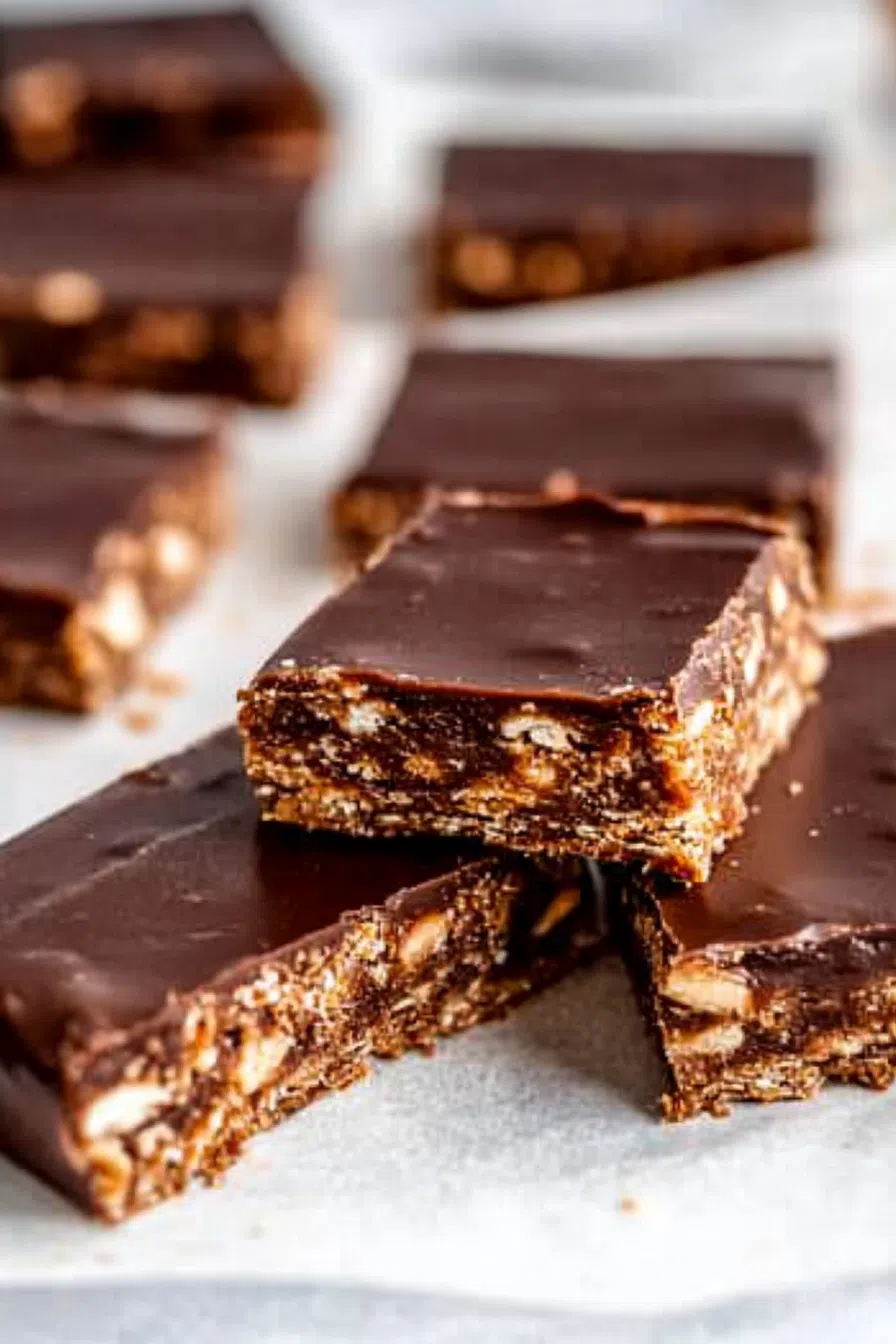
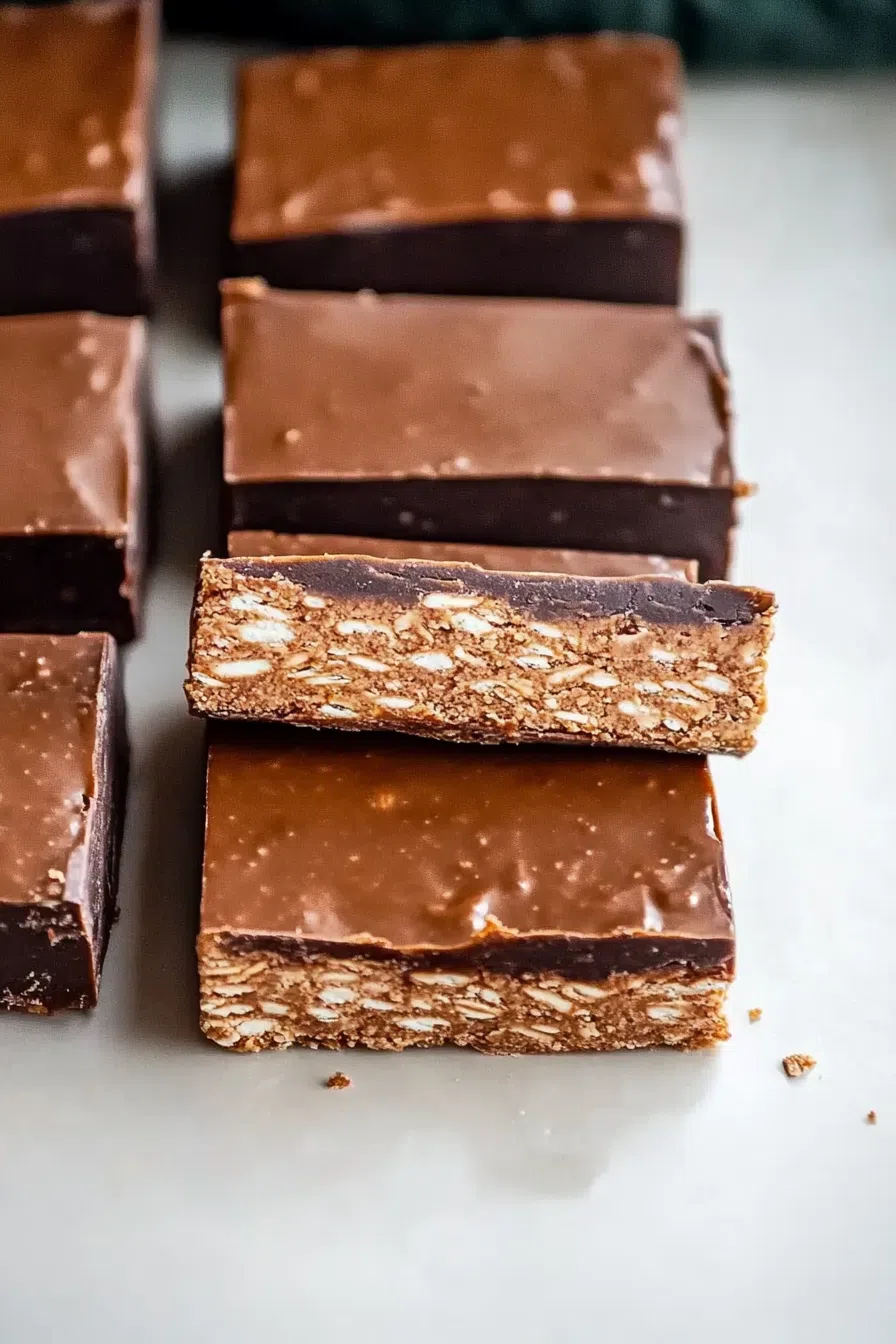
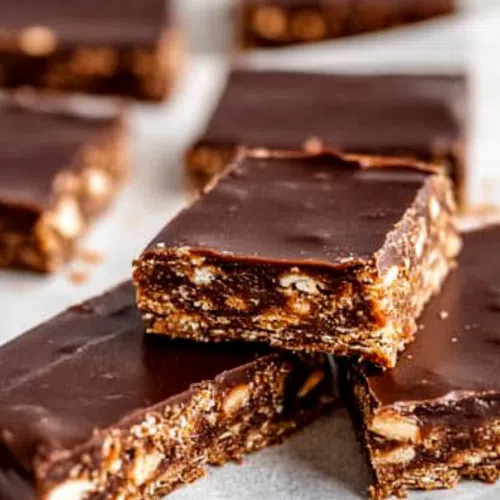
No-bake Vegan Gluten-Free Protein Bars packed with peanut butter, maple syrup, coconut flour, and dark chocolate. 8.5g of protein in each!


Okay, real talk—snack time is sacred in my house. But let’s be honest, grabbing a store-bought protein bar sometimes feels like biting into cardboard… with a sprinkle of sadness. Ever been there? One lazy Sunday afternoon (the kind where you’re still in PJs at 3 PM—no shame), I had one of those snack emergencies. You know the drill: you want something sweet, a little salty, protein-packed, but also… kinda healthy?
I peeked into the pantry, spotted my trusty jar of peanut butter, and thought, “Can I make my own protein bars? Ones that actually taste good?” Fast-forward 20 minutes later, and voilà—these Vegan Gluten-Free Protein Bars were born. Soft, chewy, layered with a dark chocolate topping, and best of all? No oven drama.
Why You’ll Love This Vegan Gluten Free Protein Bars Recipe?
- No-Bake Magic – Literally zero baking involved. Stir, press, chill, eat.
- 8.5g Plant-Based Protein – Because snacks should do something for you.
- Vegan & Gluten-Free – Friendly for all your friends (and their diets).
- Naturally Sweetened – Maple syrup brings the sweet, minus the guilt.
- Perfect for Meal Prep – One batch = snack time sorted for days.
Ingredient Notes:
This recipe keeps it simple and pantry-friendly. Here’s what you’ll need:
- Peanut Butter: The drippier, the better. Skip the added sugar or oils.
- Maple Syrup: The perfect natural sweetener with that hint of caramel flavor.
- Vanilla Protein Powder: Adds the bulk and keeps you full for longer.
- Almond Flour & Coconut Flour: A dynamic duo that makes the texture spot-on.
- Coconut Oil: Helps hold everything together and adds richness.
- Dark Chocolate: Because you deserve chocolate in your protein bar.
- Vanilla Extract: Just a splash for that bakery-style flavor.
Pro Tip: Not vibing with peanut butter? Almond or cashew butter is a great swap!
How To Make Vegan Gluten Free Protein Bars?
Step 1. Get the Pan Ready
Line an 8-inch square pan with
Step 2. Dry Ingredients First
In a mixing bowl, whisk together your vanilla protein powder, almond flour, and 3 tablespoons of coconut flour. Set it aside—this is your dry base.
Step 3. Mix the Wet Stuff
In another bowl, combine peanut butter, maple syrup, melted coconut oil, and vanilla extract. If your peanut butter is on the thicker side, pop it in the microwave for about 20-30 seconds to make it more pourable.
Step 4. Bring It All Together
Pour the wet ingredients into the dry. Start mixing with a spatula, but honestly, you’ll probably end up using your hands—don’t be shy! If the dough feels too crumbly, add a teaspoon more coconut oil. Too sticky? Sprinkle in more coconut flour.
Step 5. Press Into the Pan
Scoop the dough into your prepared pan and press it down firmly. Think of it like a protein-packed Play-Doh moment—flatten that top!
Want To Save This Recipe?
Step 6. Make It Rain Chocolate
Melt the dark chocolate and coconut oil together (I go for the microwave method—20-second bursts, stir, repeat). Pour it over the pressed dough and tilt the pan to get a nice, even layer.
Step 7. Chill Time
Refrigerate for at least 1 hour (or toss it in the freezer for a speedy 10-minute set). Once the chocolate’s hardened, cut into 16 squares.
Storage Options:
- Fridge: Airtight container, up to 5 days.
- Freezer: Keep them frozen for up to 3 months. Just thaw at room temp for an hour before snacking.
Variations and Substitutions:
- Nut-Free? Use sunflower seed butter instead of peanut butter.
- Want More Crunch? Add chia seeds, hemp hearts, or crushed almonds.
- Switch Up the Protein: Chocolate protein powder gives major “Reese’s vibes.”
- No Maple Syrup? Agave or brown rice syrup works too (though honey is fab if you’re not strictly vegan).
What to Serve with Vegan Gluten Free Protein Bars?
- Morning Coffee: That chocolate-peanut butter combo? Unreal.
- Smoothies: Add one as a sidekick for an extra protein boost.
- Yogurt Bowls: Crumble a bar over plant-based yogurt with berries.
Frequently Asked Questions:
Can I use oat flour instead of almond flour?
Yep! It’ll be a bit heartier in texture, but still delicious.
My dough’s too crumbly—what do I do?
A drizzle of extra melted coconut oil or even a splash of almond milk will bring it together.
Is the chocolate topping a must?
Technically no, but… come on. It’s the cherry on top.

So, what do you think? Are you about to become that person who always has homemade protein bars in the fridge? Give it a try, and let me know how yours turn out! Got a fun twist? I want to hear it. Happy snacking, friends!
Keep the Flavor Coming – Try These:

Vegan Gluten Free Protein Bars
Ingredients
For the Protein Bars:
- ¾ cup unsalted peanut butter preferably drippy, without added sugar or oil
- ½ cup maple syrup
- 1 cup vanilla protein powder
- 3 tablespoons almond flour
- 3 to 4 tablespoons coconut flour
- 1 teaspoon vanilla extract
- 2 tablespoons coconut oil melted
For the Chocolate Topping:
- 3 ounces dark chocolate 85% cocoa preferred
- 1 teaspoon coconut oil
Instructions
Prepare the Pan:
- Line an 8-inch square baking pan with parchment paper, lightly greased with coconut oil. This ensures easy removal of the bars once set.
Combine the Dry Ingredients:
- In a medium mixing bowl, whisk together the vanilla protein powder, almond flour, and 3 tablespoons of coconut flour. Set aside.
Mix the Wet Ingredients:
- In a separate bowl, combine the peanut butter, maple syrup, melted coconut oil, and vanilla extract. Stir until a smooth and cohesive mixture forms. If the peanut butter is thick, microwave it for 20-30 seconds to achieve a drippy consistency.
Form the Dough:
- Gradually add the wet ingredients to the dry mixture. Stir initially with a spatula, then use your hands to knead the dough until it forms a soft, moldable consistency. If the dough feels too dry, add an additional teaspoon of melted coconut oil. If too wet, incorporate the extra tablespoon of coconut flour.
Press into the Pan:
- Transfer the dough into the prepared baking pan. Press it firmly and evenly across the bottom using a spatula to create a flat surface.
Prepare the Chocolate Topping:
- In a microwave-safe bowl, melt the dark chocolate and coconut oil together in 20-second intervals, stirring between each session until smooth.
Top the Bars:
- Pour the melted chocolate mixture over the pressed dough. Tilt the pan gently to spread the chocolate evenly across the surface.
Chill and Set:
- Refrigerate the bars for at least 1 hour, or place them in the freezer for 10 minutes to speed up the setting process.
Slice and Serve:
- Once the chocolate has solidified, remove the bars from the pan and slice them into 16 even squares.
Notes
I’m Bitty, owner of nodashofgluten.com, where I share simple, delicious recipes for all tastes, including gluten-free. Check out my “About Me” page for more info!