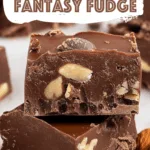
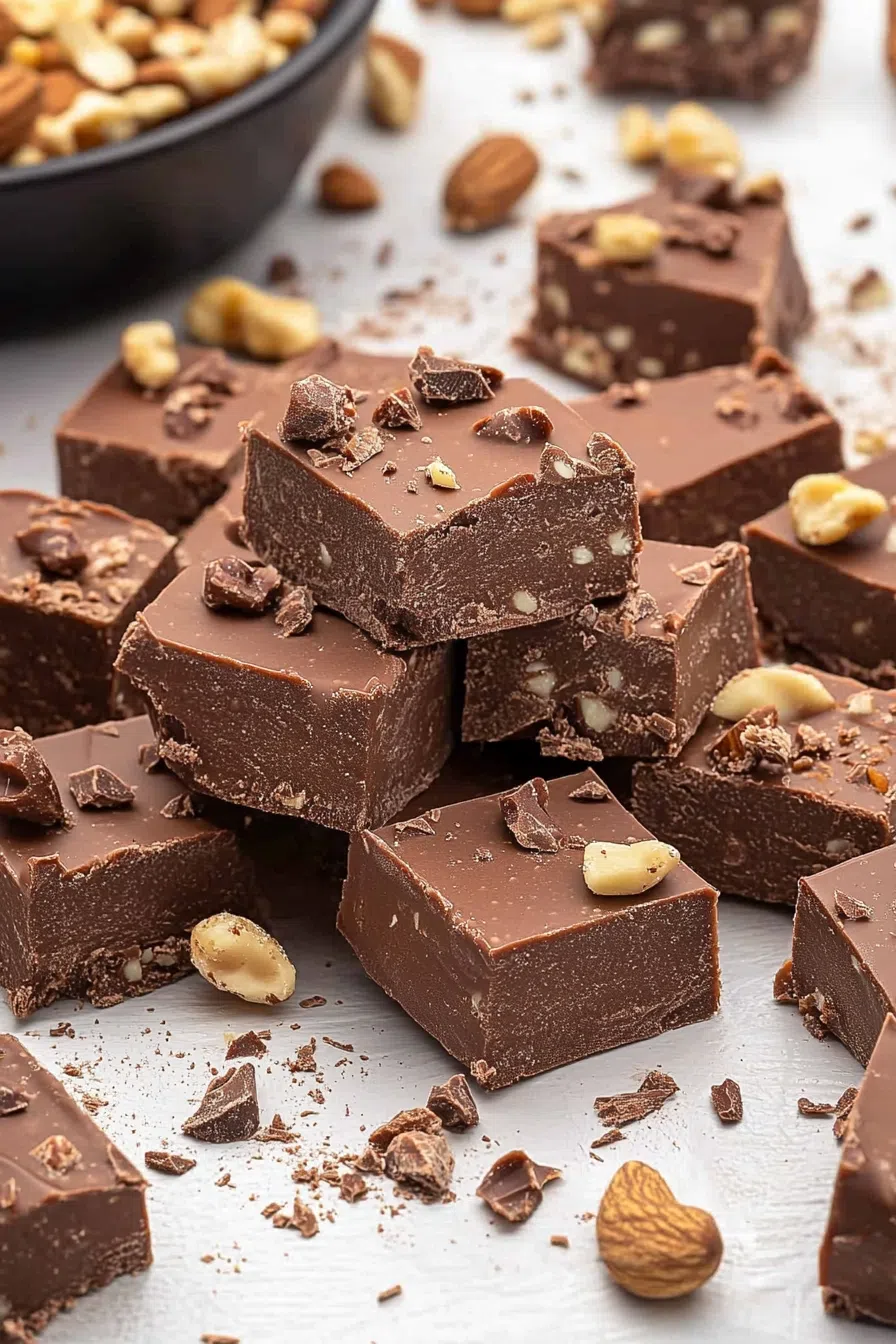
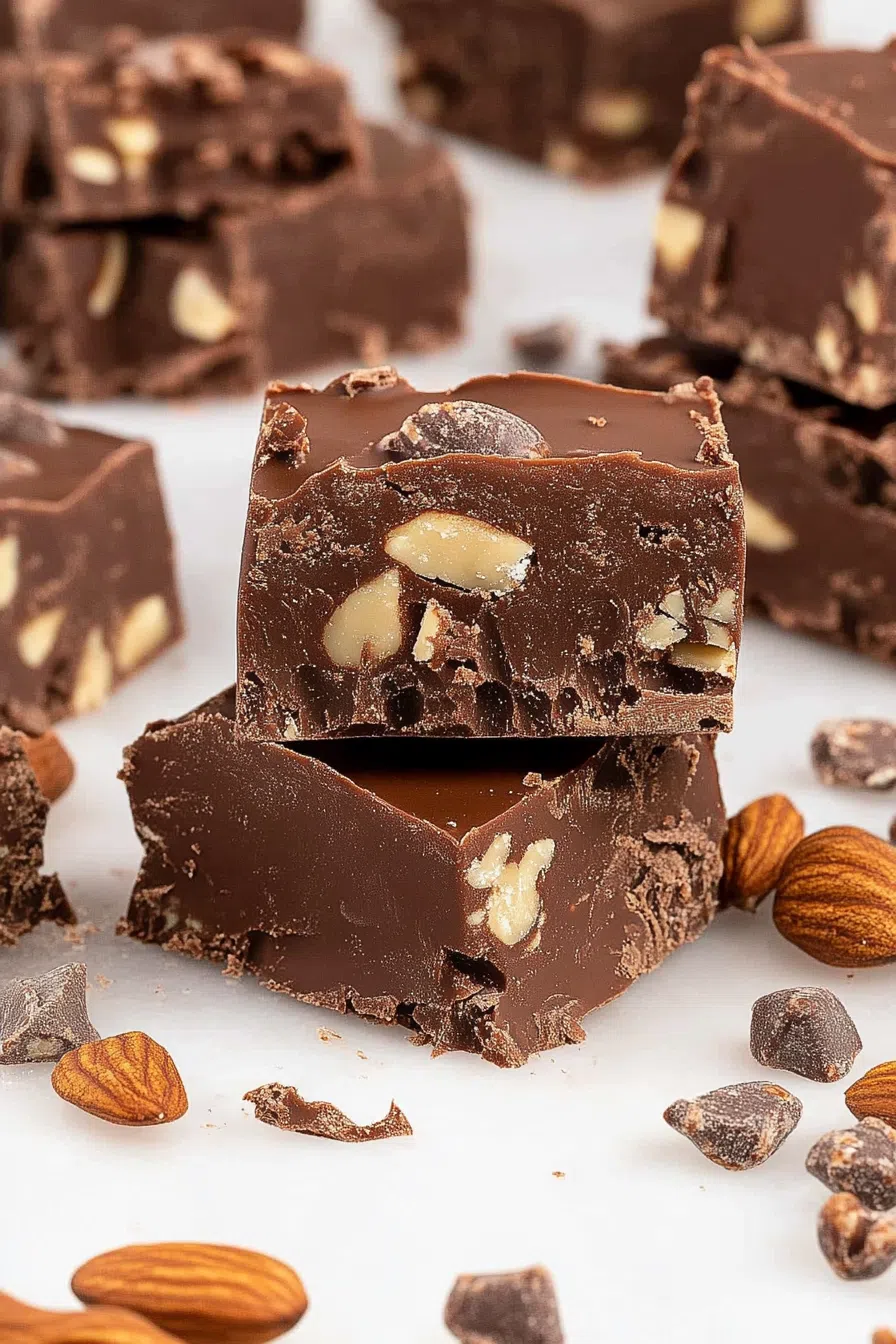
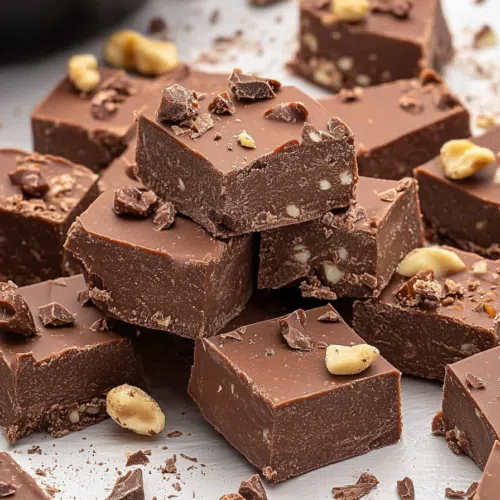
Creamy chocolate fudge loaded with marshmallow creme, semisweet chocolate chips, and crunchy walnuts. The Original Fantasy Fudge recipe we all know and love!


Okay, let’s take a little walk down memory lane here. Picture this: it’s the early ‘90s, I’m maybe nine years old, standing on a chair in my grandma’s kitchen, wearing an apron three sizes too big. There’s the smell of melted chocolate in the air, a wooden spoon I could barely hold, and me, thinking I’m helping… but really, I’m sneaking tastes of fudge when no one’s looking. Sound familiar?
This wasn’t just any fudge. Nope. This was The Original Fantasy Fudge. You know the one—the recipe from the back of the marshmallow creme jar? The one they changed later (and yes, I have opinions about that). But this version? This is the OG recipe. The one that’s creamy and chocolatey, with just the right amount of walnuts for crunch. It’s practically a holiday tradition in my family… and now, maybe it’ll be one in yours too.
Why You’ll Love This The Original Fantasy Fudge Recipe?
First off, let’s be real—this fudge is basically foolproof. It doesn’t require a candy thermometer (which, if you’ve ever tried to use one without burning something, you’ll appreciate). It comes out smooth every time, thanks to the marshmallow creme doing its magic. And hello? Three pounds of chocolatey goodness? Yes, please.
- It’s rich, chocolatey, and super creamy—the marshmallow creme keeps it silky.
- It makes a big batch, so there’s plenty to share (or not, no judgment).
- It’s nostalgia in every bite. One taste and I’m 9 years old again.
- It’s great for gifting! If you don’t eat it all first.
- Easy enough for beginners. No candy thermometer drama. Just stir, pour, and wait… if you can.
Ingredient Notes:
Here’s what you’ll need to make this Fantasy Fudge recipe, and a few things I’ve learned after making it way too many times.
- 3 cups of white sugar – Yep, it’s a lot. That’s why it’s fudge and not… salad.
- ¾ cup butter (or margarine) – I’m firmly on team butter. It makes it richer. But hey, Grandma swore by margarine and hers was still killer.
- ⅔ cup evaporated milk – This is NOT the same as sweetened condensed milk. Ask me how I know.
- 12 oz semisweet chocolate chips – You can play around with dark chocolate, but semisweet is the classic move here.
- 7 oz jar marshmallow creme – This is the secret weapon. Don’t skip it. Don’t substitute.
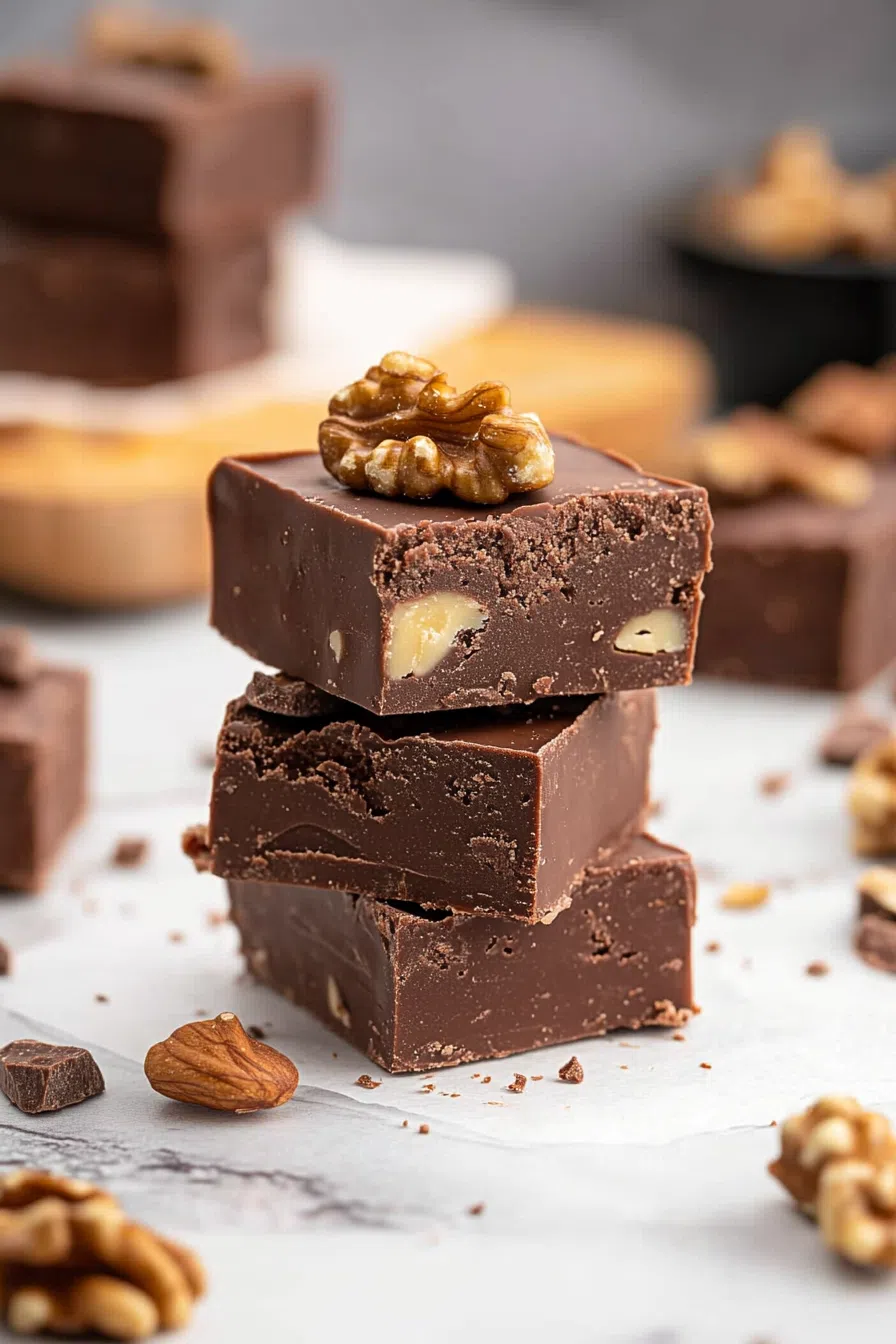
- 1 cup chopped walnuts – Totally optional, but they add texture and a little nutty contrast. If you hate nuts, leave them out. No biggie.
- 1 tsp vanilla extract – You don’t need much, but it rounds out the flavor in a subtle, “oh hey!” kind of way.
How To Make The Original Fantasy Fudge?
Put on some music. Roll up your sleeves. It’s fudge time!
Step 1: Prep the Pan
Grease a 9×13-inch pan. Or do what I do: line it with
Step 2: Boil the Sugar, Butter, and Milk
In a big saucepan (heavy-bottomed if you’ve got it), mix the sugar, butter, and evaporated milk. Medium heat. Stir it constantly—this is an arm workout. Once it hits a full boil, set a timer for 5 minutes. Stir like you mean it. You’re dissolving sugar and keeping things smooth.
Step 3: Melt the Chocolate
Take the pan off the heat and dump in your chocolate chips. Stir until melted and smooth. You’ll be tempted to taste it now. I say go for it… carefully.
Step 4: Add Marshmallow Creme
Scoop out the marshmallow creme and mix it in. This is the moment where it starts getting glossy and thick and you’ll want to eat it straight from the pot (I won’t judge if you do).
Step 5: Stir in Walnuts and Vanilla
Add your chopped walnuts and vanilla extract. Stir, stir, stir.
Step 6: Spread It Out
Pour the fudge into your prepared pan. Smooth out the top with a spatula (licking the spatula afterward is totally fine).
Want To Save This Recipe?
Step 7: Cool It
Now, the hardest part—waiting. Let it sit at room temp for at least an hour. If you’re impatient like me, you might pop it in the fridge, but give it time to set up before cutting.
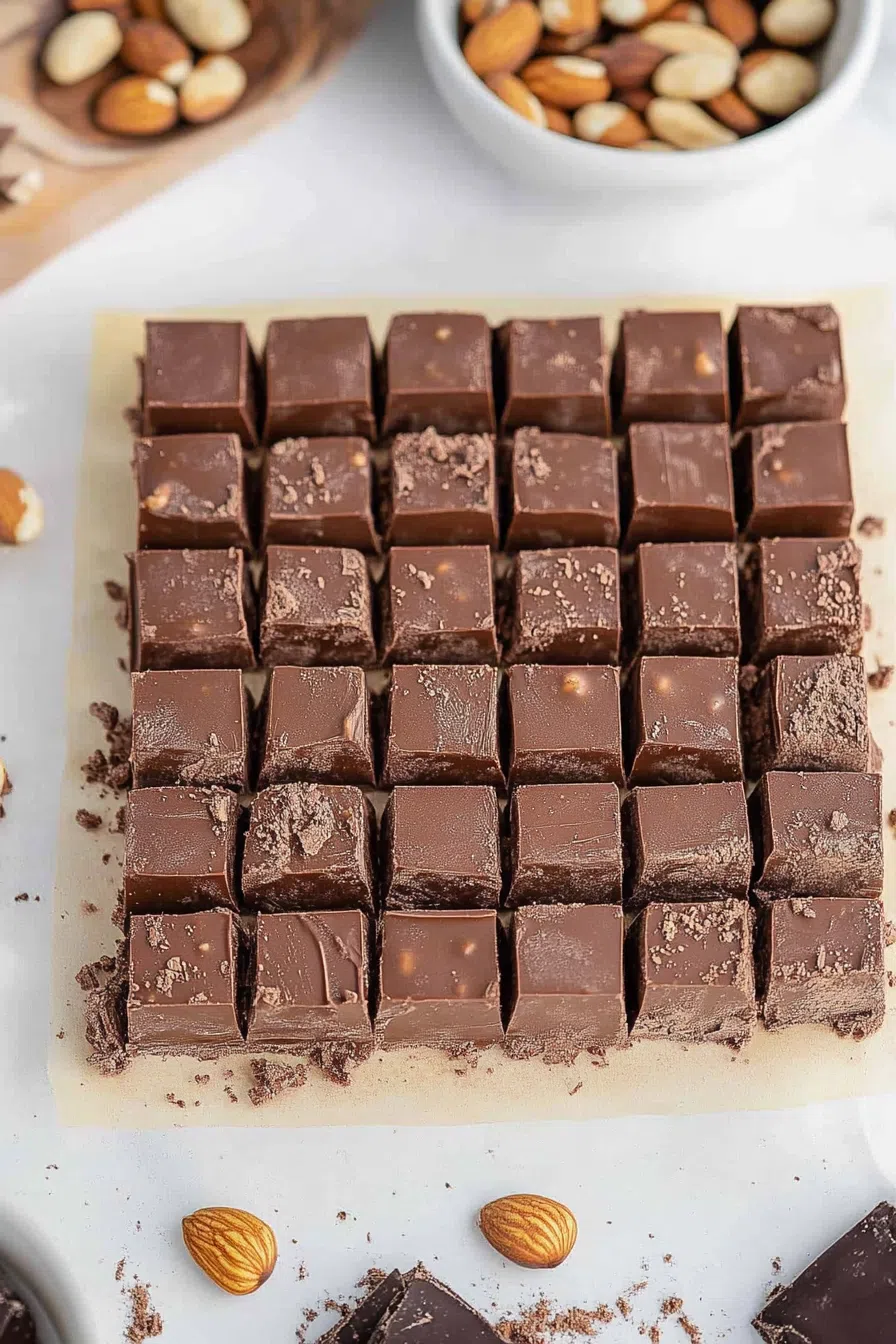
Step 8: Slice and Enjoy
Cut it into squares. Share with friends. Or don’t. I’m not here to tell you what to do.
Storage Options:
This stuff keeps like a dream… if it lasts that long.
- Room Temp: Airtight container, up to a week.
- Fridge: 2 weeks or more. Pro tip: cold fudge has a fantastic bite.
- Freezer: Wrap individual pieces in wax paper and freeze in a Ziploc. Good for up to 3 months. I like sneaking one straight from the freezer!
Variations and Substitutions:
Feeling adventurous? Here are a few swaps I’ve tried (some successfully, some… well, let’s focus on the wins).
- Nuts: Pecans, almonds, or hazelnuts instead of walnuts. Or skip them entirely.
- Chocolate: Dark chocolate chips or a mix of milk and semisweet. White chocolate if you’re feeling wild.
- Add-ins: Crushed candy canes for a peppermint vibe. Peanut butter swirled in? Yes, please.
- Extracts: Almond extract gives it a totally different twist. Go easy—start with half a teaspoon.
What to Serve with The Original Fantasy Fudge?
Because fudge is fabulous on its own… but why stop there?
- Coffee or espresso – Balance out the sweetness.
- A glass of cold milk – Old-school, but it works.
- Vanilla ice cream – Cut a small piece of fudge and pop it on top. You’re welcome.
- A holiday cookie tray – Add this to your next cookie exchange and watch it disappear.
Frequently Asked Questions:
Can I double the recipe?
Sure can! Just make sure you have a big enough pot… and maybe a second pan. This stuff multiplies fast.
Why did my fudge turn grainy?
Most likely, the sugar didn’t dissolve completely, or you stopped stirring. It happens! Still tastes great, though.
Can I make this ahead of time?
Absolutely. Make it a week or two ahead. Freeze it if you need more time.
And there you have it, my friends—The Original Fantasy Fudge, just like Mom and Grandma made. If you whip up a batch, I wanna hear all about it. Did you go classic, or try a twist? Got a family fudge story? Drop me a comment. I’m all ears (and taste buds)!
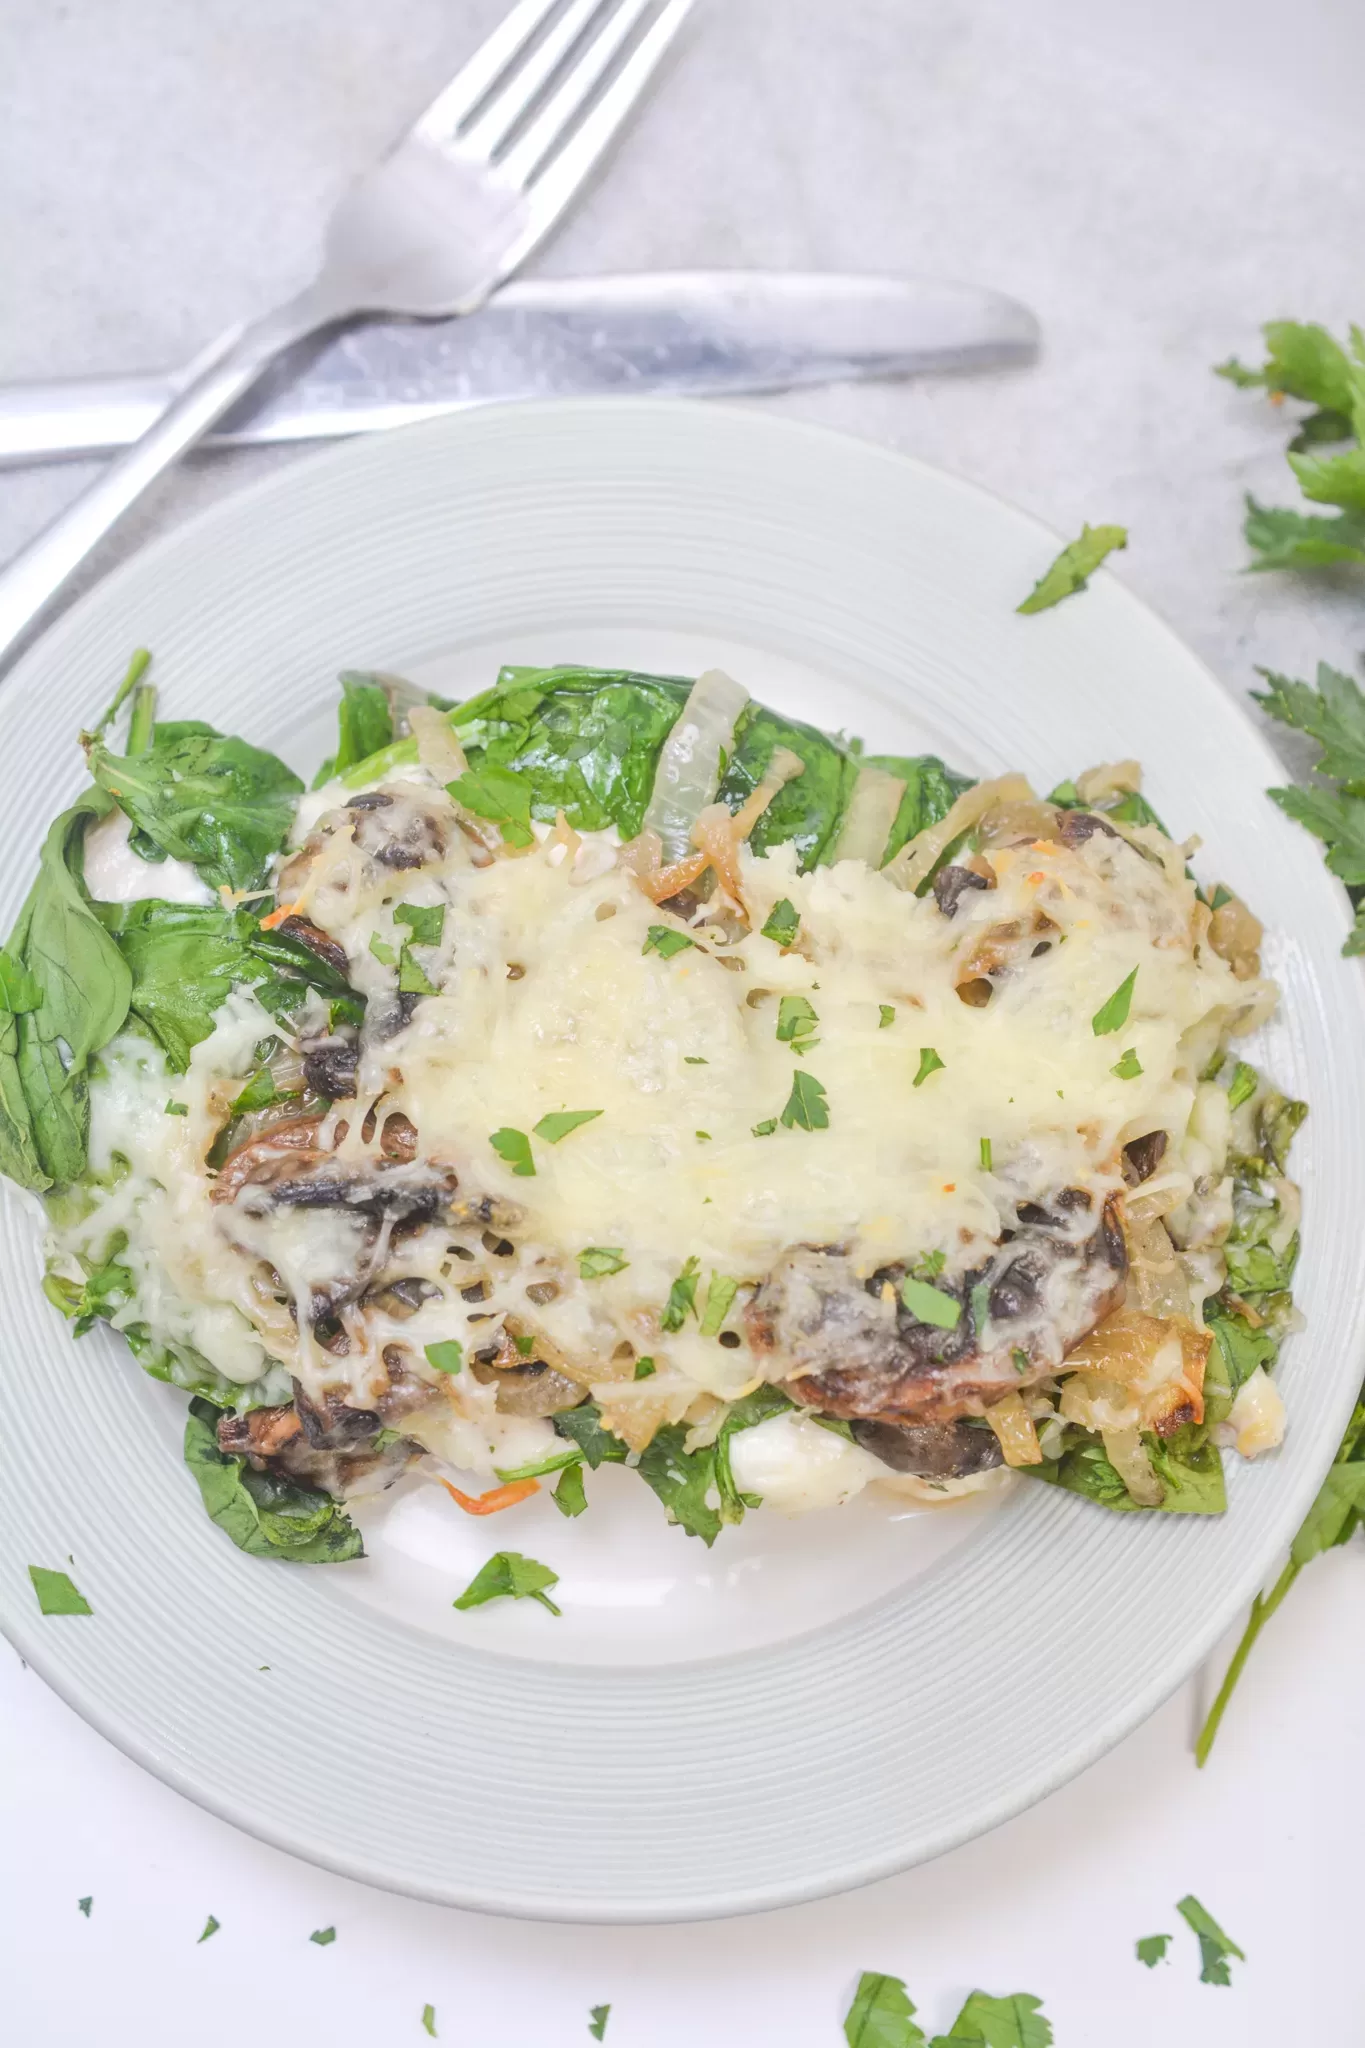
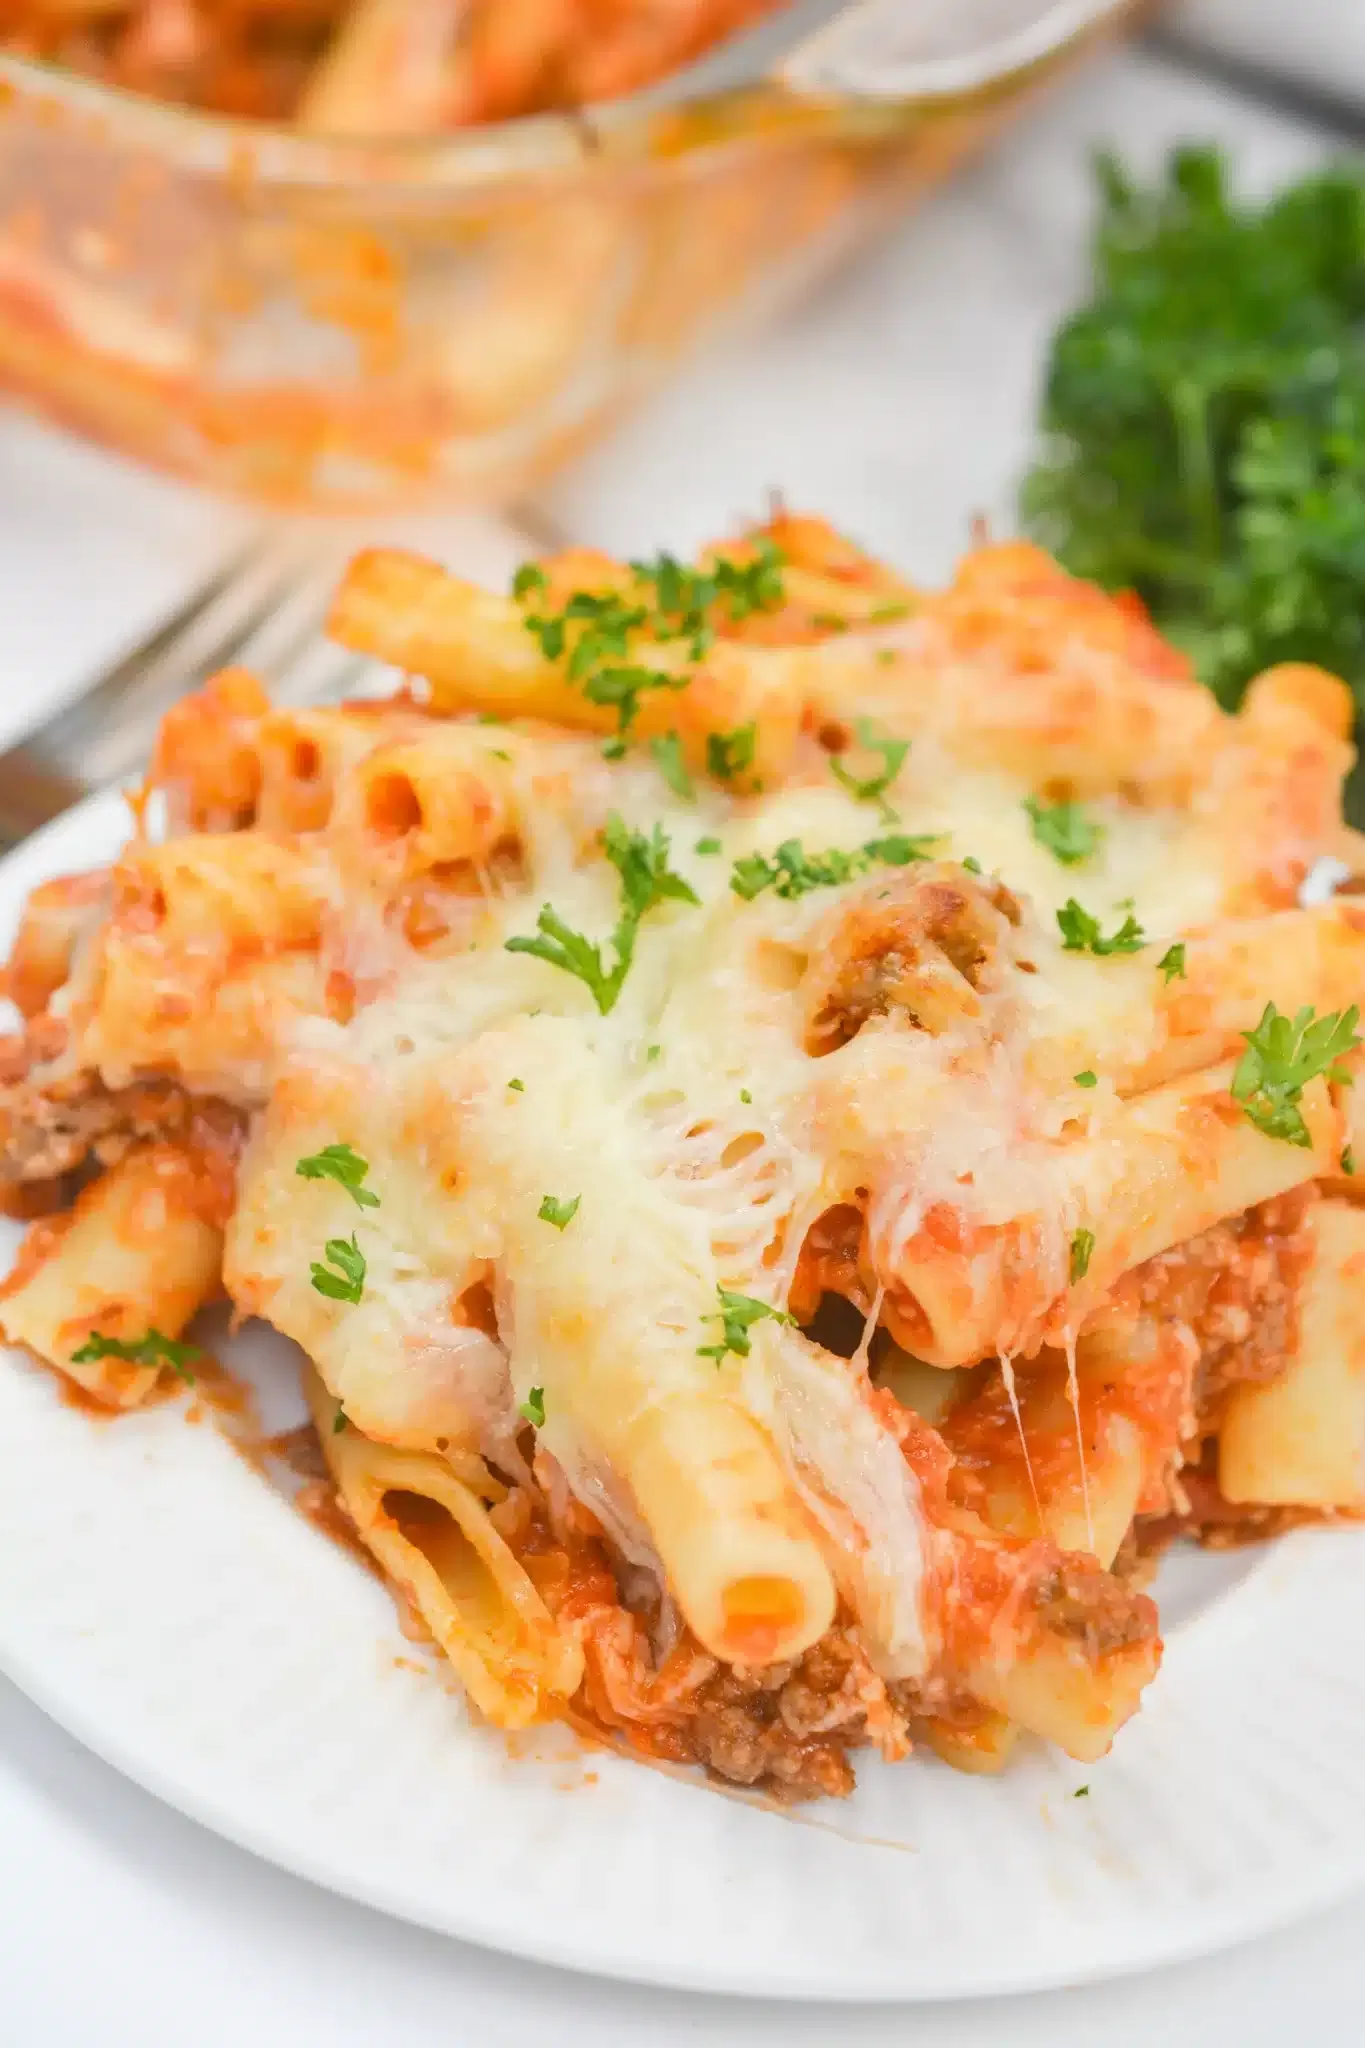
Keep the Flavor Coming – Try These:
The Original Fantasy Fudge
Ingredients
- 3 cups granulated white sugar
- ¾ cup unsalted butter or margarine
- ⅔ cup evaporated milk
- 12 ounces semisweet chocolate chips
- 7 ounces marshmallow creme
- 1 cup chopped walnuts
- 1 teaspoon pure vanilla extract
Instructions
Prepare the Pan:
- Grease a 9x13-inch rectangular baking dish thoroughly. Set aside.
Combine Sugar, Butter, and Milk:
- In a large, heavy-bottomed saucepan, combine the granulated sugar, unsalted butter, and evaporated milk. Place over medium heat and stir constantly until the sugar dissolves and the mixture reaches a rolling boil.
Boil the Mixture:
- Continue boiling the mixture for exactly 5 minutes, stirring continuously to prevent scorching.
Incorporate Chocolate Chips:
- Remove the saucepan from heat. Immediately add the semisweet chocolate chips to the hot mixture. Stir until the chocolate has completely melted and the mixture is smooth and well combined.
Add Marshmallow Creme:
- Fold in the marshmallow creme, ensuring it is thoroughly incorporated into the mixture. This step will create a silky, creamy texture.
Stir in Walnuts and Vanilla:
- Add the chopped walnuts and pure vanilla extract. Stir until evenly distributed throughout the fudge mixture.
Pour into Prepared Pan:
- Transfer the fudge mixture into the greased baking dish. Use an offset spatula to spread it evenly and smooth the surface.
Cool and Set:
- Allow the fudge to cool at room temperature for a minimum of 1 hour or until completely set. Once firm, cut into squares and serve.
Notes
- Use a gluten-free brand of semisweet chocolate chips, as some may be processed in facilities that handle gluten.
- Verify that the marshmallow creme is gluten-free by checking the label (many brands are naturally gluten-free but confirm to be certain).
- Confirm that the evaporated milk, butter, and vanilla extract are gluten-free certified.
By following these precautions, this fudge can be safely enjoyed by those following a gluten-free diet.
I’m Bitty, owner of nodashofgluten.com, where I share simple, delicious recipes for all tastes, including gluten-free. Check out my “About Me” page for more info!