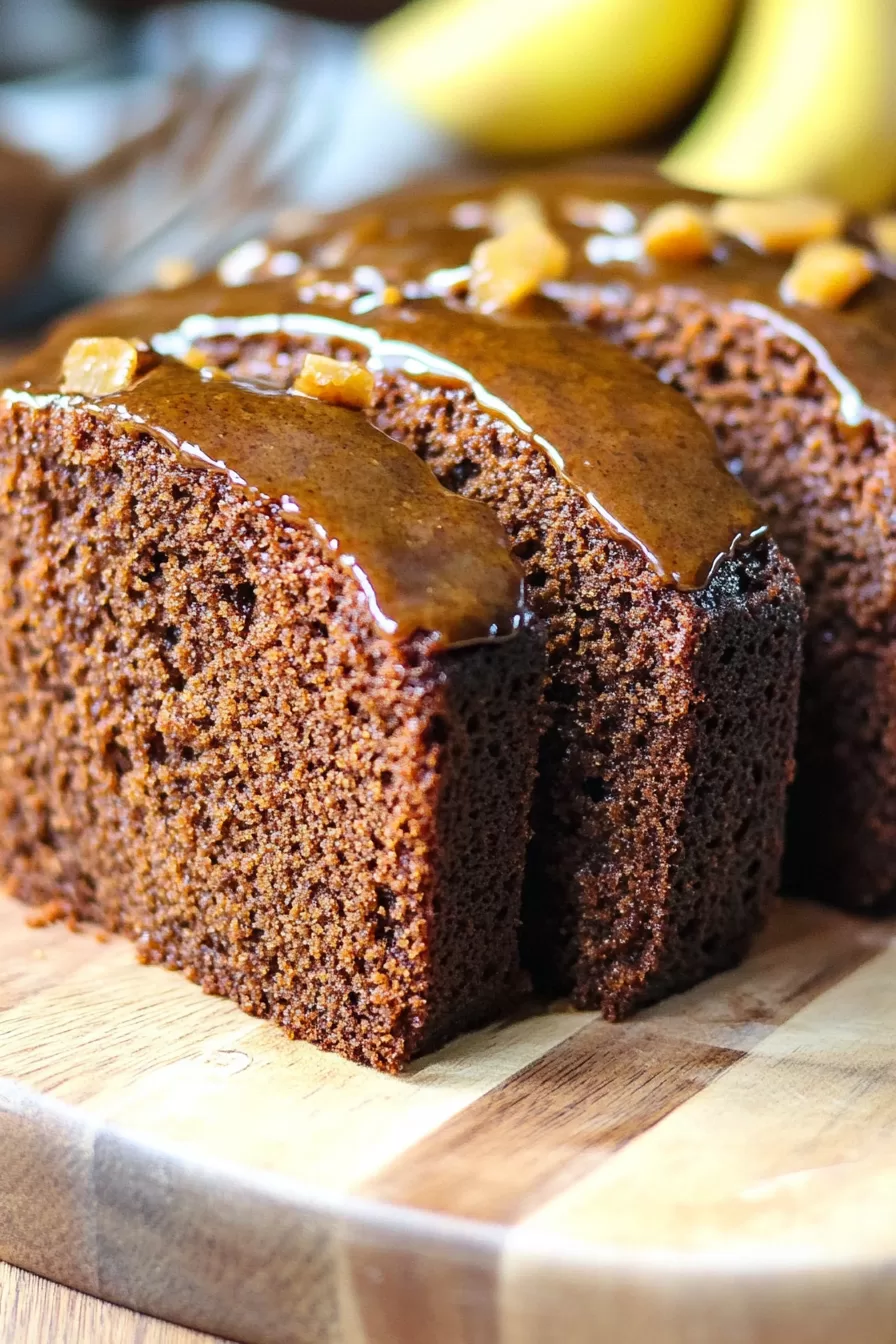
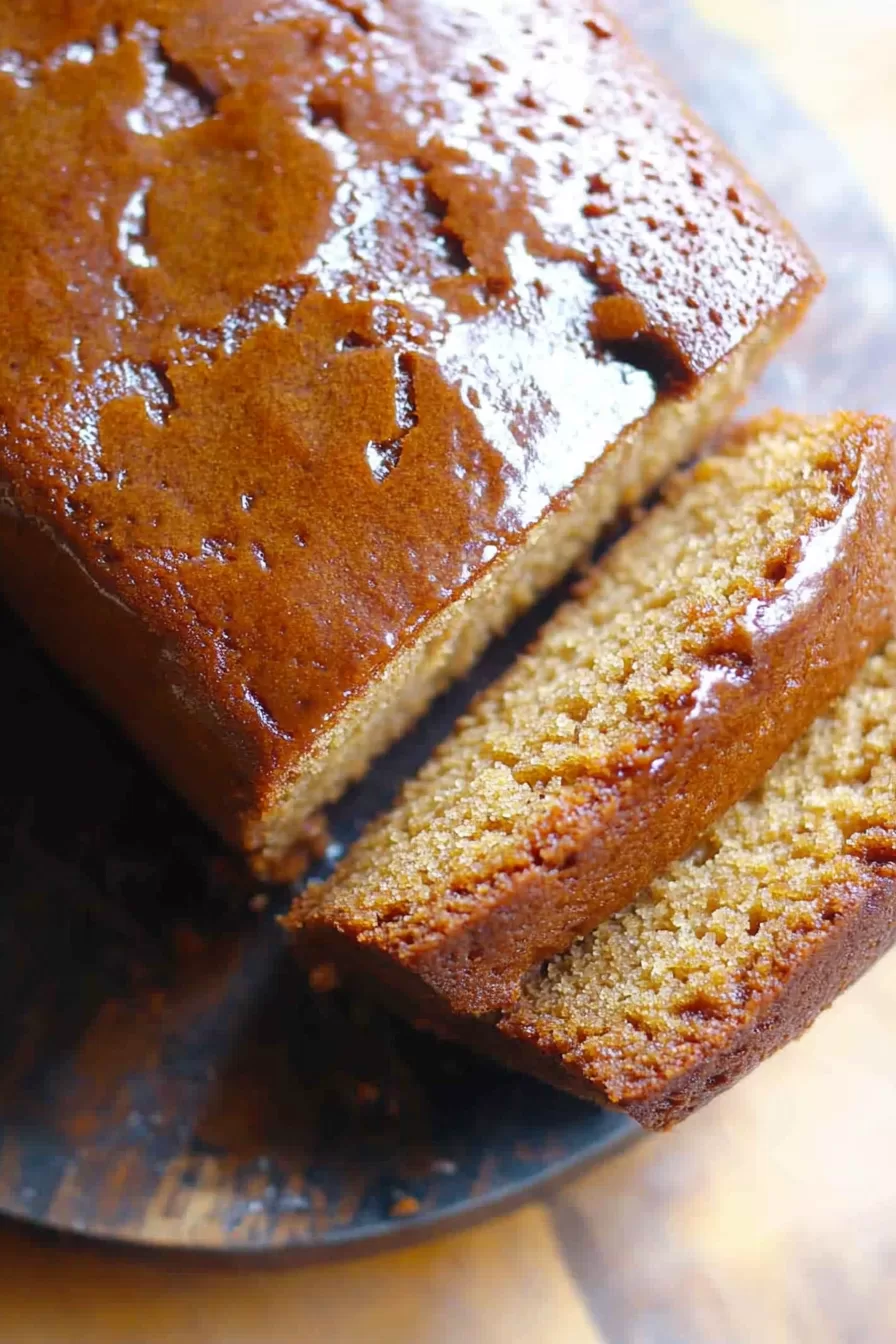
Sticky Jamaican Ginger Cake – You know those recipes that instantly remind you of someone or someplace? For me, this Sticky Jamaican Ginger Cake Recipe takes me straight back to my grandmother’s kitchen. She wasn’t Jamaican, but boy, could she bake a mean ginger cake. The spices would fill the whole house, and she’d always insist on cutting me a slice while it was still warm—sticky glaze and all.
Years later, during a trip to Jamaica, I found something that brought those memories rushing back. It was a slice of ginger cake from a little bakery tucked into the corner of a bustling market. The first bite was like a time machine—it had that same bold ginger flavor, the perfect level of stickiness, and just enough spice to make you feel all warm and fuzzy inside.

Remember it later!
Planning to try this recipe soon? Pin it for a quick find later!
Remember it later!
Planning to try this recipe soon? Pin it for a quick find later!
When I got home, I couldn’t stop thinking about it. I had to recreate it. After a few attempts (one involving a glaze disaster that somehow ended up on the ceiling), I finally nailed it. And now? This cake is my favorite for lazy Sundays, cozy evenings, or whenever I need a little edible nostalgia.
Here’s a quick peek at what’s inside:
Table of content
Why You’ll Love This Sticky Jamaican Ginger Cake Recipe?
- It’s unapologetically bold: The ginger flavor doesn’t hold back, but it’s balanced perfectly with sweetness.
- The texture is everything: Moist, sticky, and just the right amount of dense.
- Smells like heaven: Your whole house will smell like a cozy spice-filled hug.
- Simple yet impressive: It’s easy enough for a casual afternoon but fancy enough to serve at a holiday dinner.
- Gets better with time: Honestly, it’s even better on day two (if you can wait that long).
Ingredient Notes:
Let’s talk about the stars of this Sticky Jamaican Ginger Cake Recipe:
- Flour: The sturdy base that holds everything together without being heavy.
- Ground ginger: The main event. It’s warm, spicy, and essential for that bold flavor.
- Mixed spice: This blend of cinnamon, nutmeg, and allspice adds depth.
- Molasses: The magic behind the stickiness. It also gives the cake a rich, slightly smoky flavor.
- Maple syrup: Adds sweetness with a subtle caramel vibe.
- Candied ginger: Chewy little nuggets of spicy-sweet joy in every bite.
- Butter: Keeps the cake rich and moist.
- Milk and egg: The classic duo that brings everything together.
How To Make Sticky Jamaican Ginger Cake?
This cake isn’t complicated, but each step adds to the magic. Here’s how you do it:
Step 1: Preheat and Prep
Preheat your oven to 350°F. Grease a standard loaf pan or line it with
Step 2: Mix the Dry Ingredients
In a large bowl, sift together the flour, ground ginger, mixed spice, cinnamon, baking soda, and salt. Yes, sifting feels old-school, but it’s worth it to avoid clumps of spice.
Step 3: Make the Sugar Mixture
In a small saucepan, combine the molasses, maple syrup, brown sugar, and butter. Heat over medium, stirring constantly until the sugar dissolves. Don’t boil it—you’re going for a smooth, glossy mixture that smells amazing.
Step 4: Combine Wet and Dry
Pour the sugar mixture into your bowl of dry ingredients. Stir gently until everything is just combined. The batter will be thick, but don’t overmix—it’s okay if it looks a little lumpy.
Step 5: Add the Final Touches
Slowly stir in the milk, beaten egg, and finely chopped candied ginger. These additions bring the batter together and give the cake its signature texture.
Step 6: Bake to Perfection
Pour the batter into your prepared loaf pan, smoothing the top with a spatula. Bake for 50–55 minutes, or until a toothpick inserted in the center comes out clean. Let it cool in the pan for about 10 minutes before transferring it to a wire rack.
Step 7: Glaze It
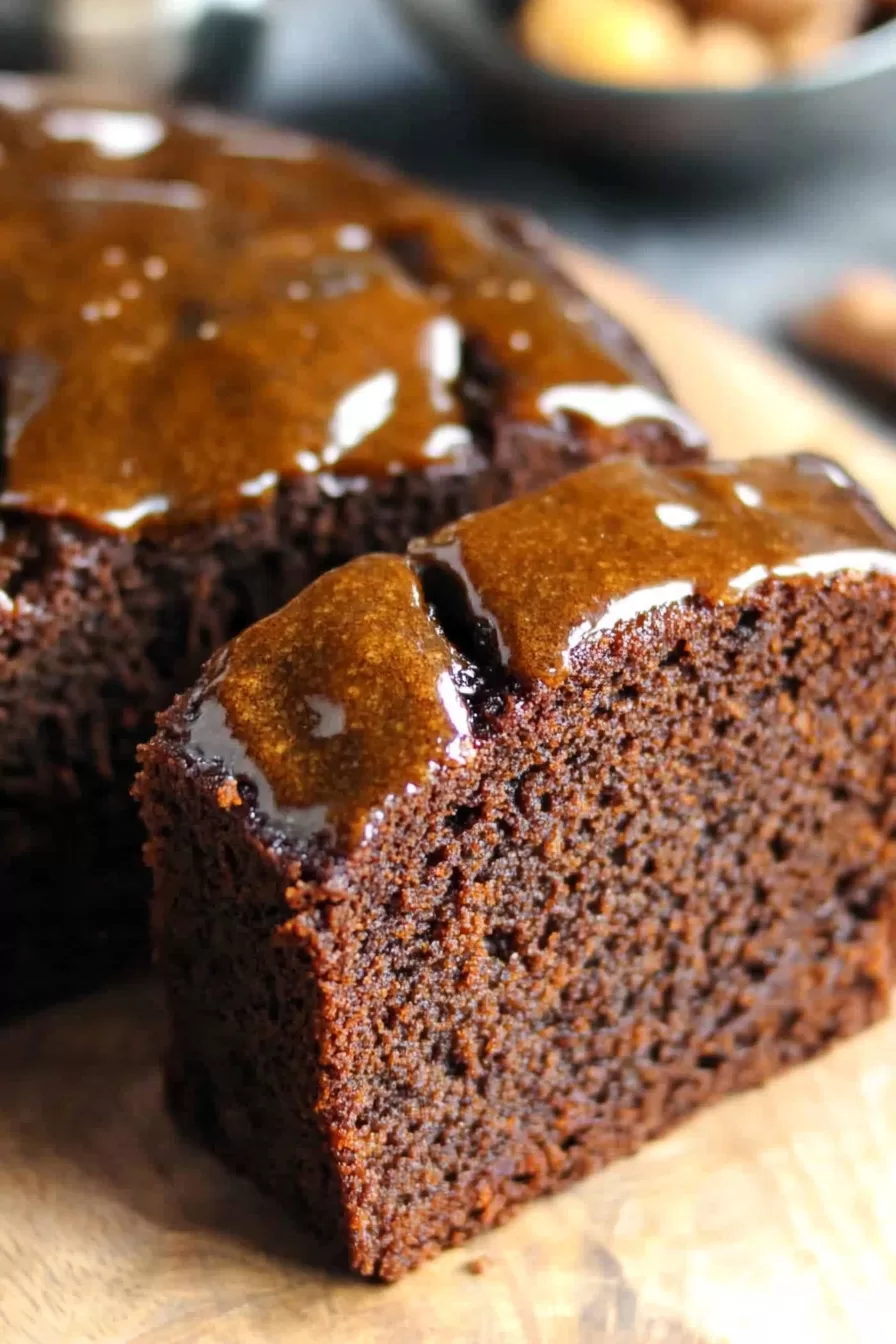
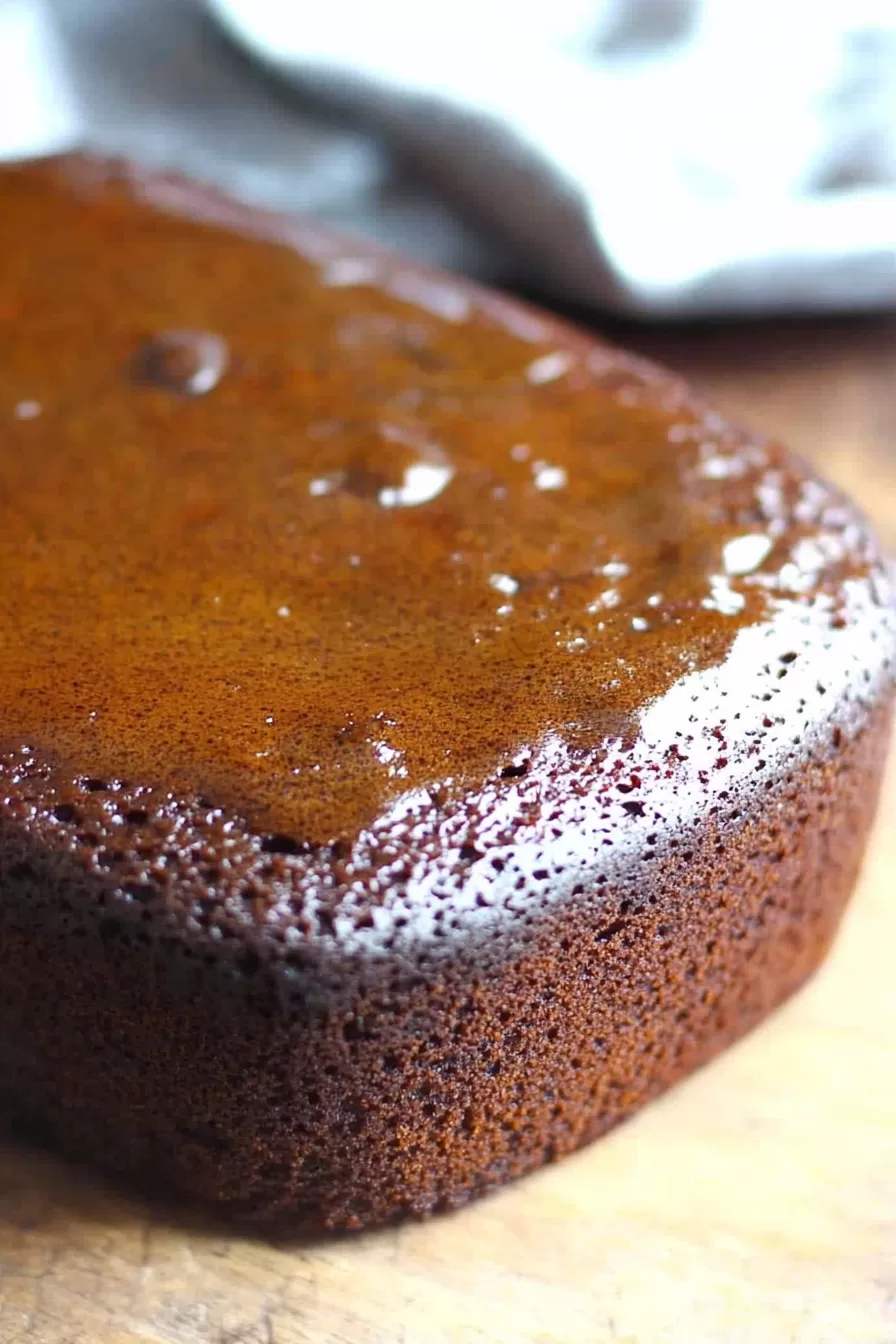
While the cake cools, make the glaze. Microwave the corn syrup for 15–20 seconds, then stir in the brown sugar until smooth. Drizzle the glaze over the cooled cake, letting it seep into every crevice. It’s sticky, sweet perfection.
Storage Options:
- Room temperature: Wrap the cake tightly in plastic wrap or store it in an airtight container for up to 3 days.
- Refrigerator: Extend its life to about a week by refrigerating. Bring it to room temp before serving.
- Freezer: Slice the cake, wrap each piece individually in plastic wrap, and freeze for up to 3 months. Thaw overnight before enjoying.
Variations and Substitutions:
Want to make this recipe your own? Here are some ideas:
Want To Save This Recipe?
Enter your email below and we'll send the recipe straight to your inbox.
- Add crunch: Stir in chopped walnuts or pecans for a bit of texture.
- Swap the sweeteners: Use honey or golden syrup instead of maple syrup for a slightly different flavor.
- Boost the spice: Add a pinch of cloves or nutmeg for an extra kick.
- Make it gluten-free: Substitute the flour with a 1:1 gluten-free baking mix.
What to Serve with Sticky Jamaican Ginger Cake?
This cake is delightful on its own, but pair it with one of these for an even better experience:
- Whipped cream: Light and fluffy, it balances the rich flavors perfectly.
- Vanilla ice cream: Because warm cake and cold ice cream are a match made in heaven.
- Hot drinks: Serve with coffee, tea, or even a spiced chai latte for the ultimate cozy treat.
- Fruit compote: A side of warm apple or pear compote adds a fresh, fruity contrast.
Frequently Asked Questions:
Can I make this cake ahead of time?
Absolutely! In fact, the flavors deepen after a day or two, making it even better.
What if I don’t have mixed spice?
No problem—use a mix of cinnamon, nutmeg, and allspice. It’ll work beautifully.
How do I keep the cake moist?
Don’t overbake it! Also, storing it tightly wrapped or in an airtight container helps lock in the moisture.
So, what do you think? Ready to give this Sticky Jamaican Ginger Cake Recipe a try? It’s warm, spicy, and everything you didn’t know you needed in a cake. Let me know how yours turns out—I’d love to hear your thoughts! And hey, save me a slice, okay?
Remember it later!
Planning to try this recipe soon? Pin it for a quick find later!
Remember it later!
Planning to try this recipe soon? Pin it for a quick find later!
Keep the Flavor Coming – Try These:
Ingredients
For the Cake:
- 2 cups all-purpose flour
- 4 teaspoons ground ginger
- 2 teaspoons mixed spice or pumpkin pie spice
- 1 teaspoon cinnamon
- 1 teaspoon baking soda
- 1 teaspoon salt
- 5 tablespoons molasses
- ¼ cup maple syrup
- ½ cup brown sugar
- ½ cup unsalted butter 1 stick
- ½ cup milk
- 1 large egg
- ½ cup candied ginger finely chopped
For the Glaze:
- 1 tablespoon corn syrup
- 1 tablespoon brown sugar
Instructions
Preheat and Prepare the Pan
- Preheat the oven to 350°F (175°C). Grease a standard loaf pan or line it with parchment paper to ensure easy removal.
Mix the Dry Ingredients
- In a large mixing bowl, sift together the all-purpose flour, ground ginger, mixed spice, cinnamon, baking soda, and salt. Set aside.
Create the Wet Mixture
- In a small saucepan, combine the molasses, maple syrup, brown sugar, and butter. Heat over medium heat, stirring continuously, until the sugar is fully dissolved. Do not let the mixture boil.
Combine Wet and Dry Ingredients
- Slowly pour the warm sugar mixture into the bowl of dry ingredients. Stir gently until the batter is just combined.
Incorporate Final Ingredients
- Add the milk, beaten egg, and finely chopped candied ginger to the batter. Mix until everything is well incorporated, being careful not to overmix.
Transfer to the Pan and Bake
- Pour the batter into the prepared loaf pan, smoothing the top with a spatula. Bake in the preheated oven for 50–55 minutes, or until a toothpick inserted into the center comes out clean.
Prepare the Glaze
- While the cake cools slightly, prepare the glaze. Microwave the corn syrup for 15–20 seconds to warm it. Stir in the brown sugar until fully dissolved.
Glaze and Serve
- Once the cake has cooled in the pan for 10 minutes, transfer it to a wire rack. Drizzle the prepared glaze over the top, allowing it to seep into the cake. Serve warm or at room temperature.
Notes

I’m Bitty, owner of nodashofgluten.com, where I share simple, delicious recipes for all tastes, including gluten-free. Check out my “About Me” page for more info!


