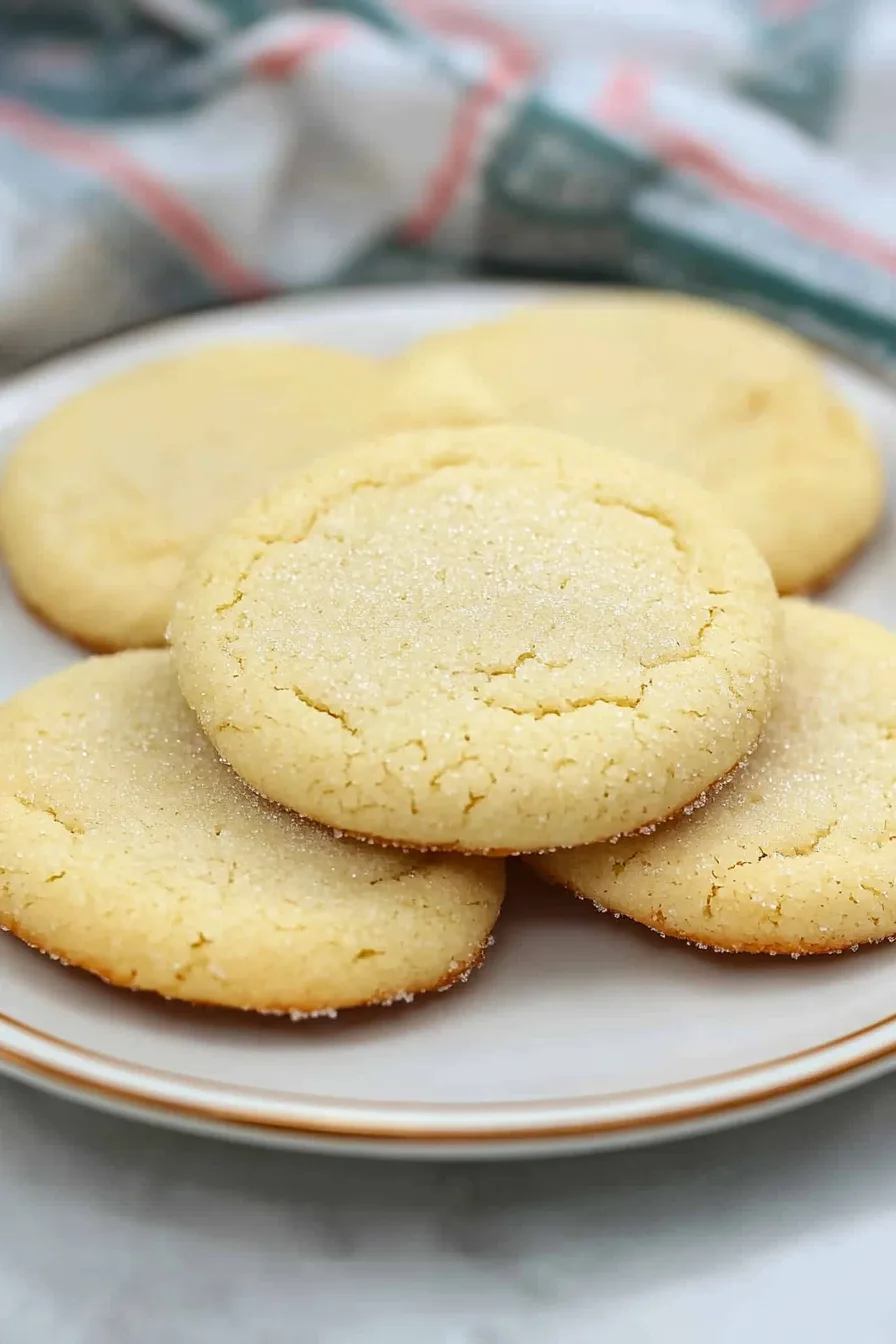
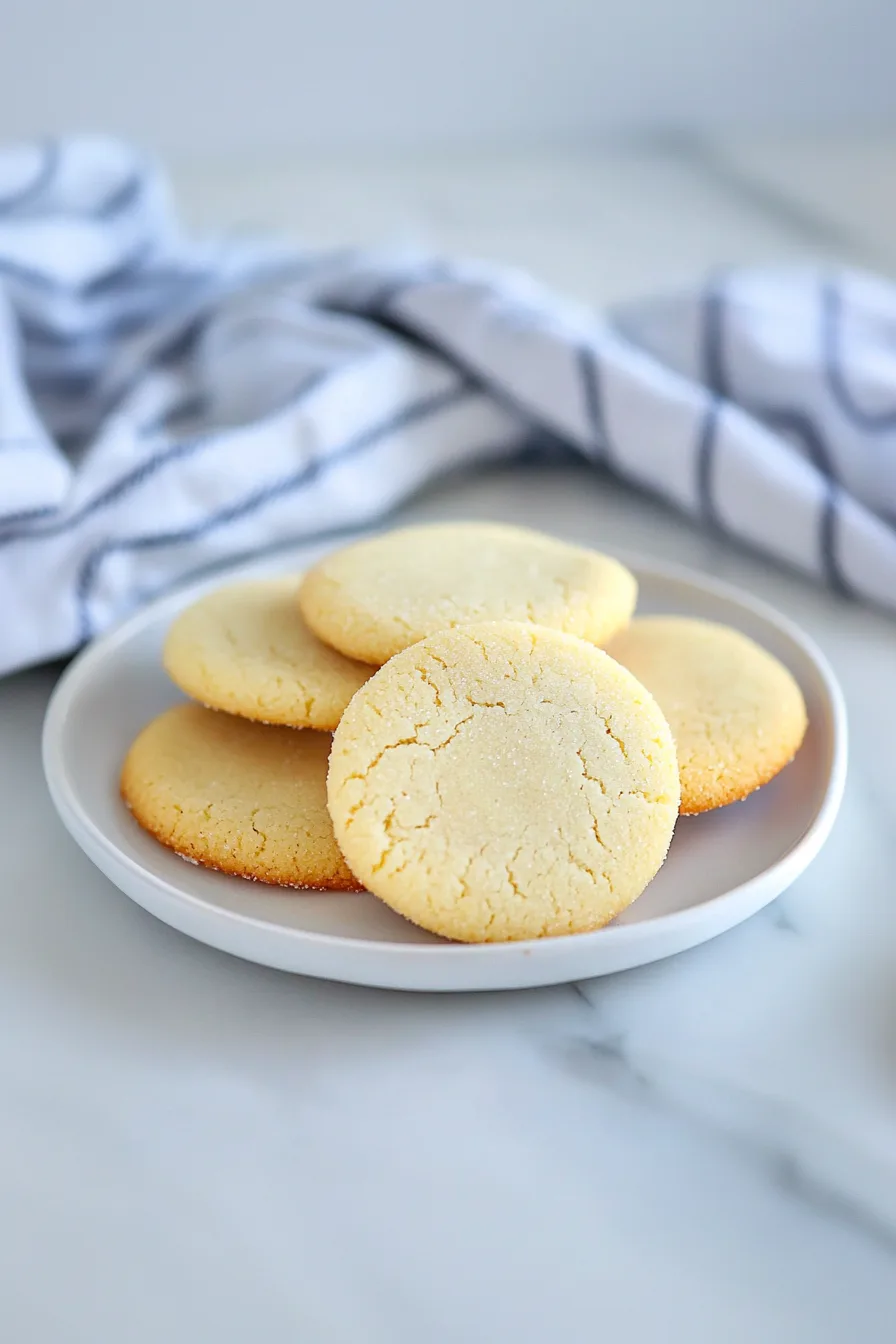
Soft, buttery, and unapologetically imperfect — this Smash Sugar Cookie Recipe is simple, sweet, and a little rebellious in the best way.
You know how some recipes are born out of total chaos? This one was. It started on one of those afternoons where everything just felt… off. I was tired, the kitchen was a mess, and my kid had managed to tape the TV remote to the fridge (don’t ask). I wasn’t trying to bake anything fancy—just something comforting. Something that felt like home but didn’t require three mixing bowls and the patience of a saint.


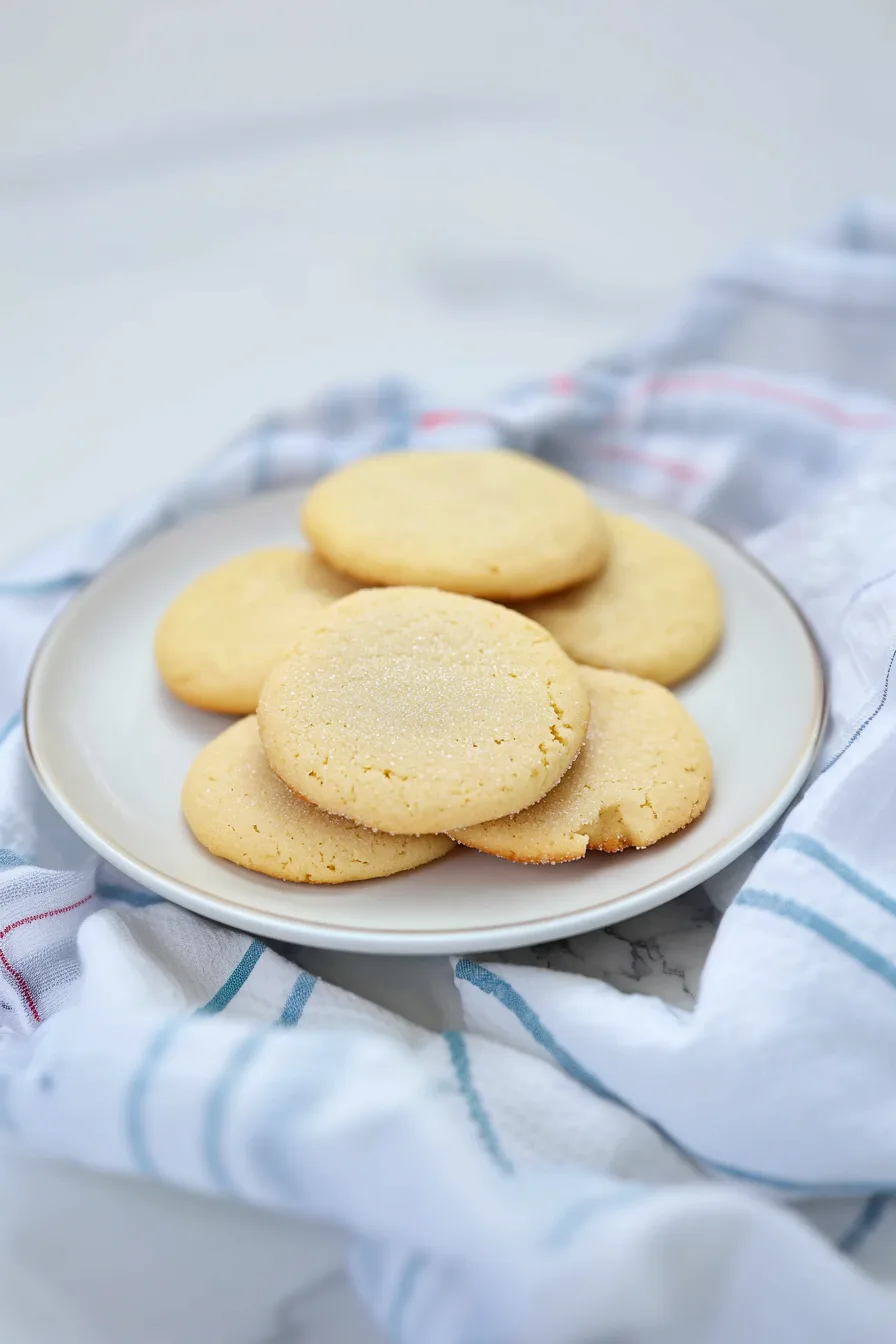
So I pulled out the basics—flour, sugar, butter—and figured I’d wing it. As I started rolling the dough into neat little balls, I just stopped. For no reason at all, I grabbed a glass and smashed one flat. Like, full-on cookie rebellion. It felt good—kind of therapeutic actually. And when those cookies came out of the oven? Golden edges, soft middles, sparkly with sugar. My husband walked in, took a bite, and said, “These look like cookies that don’t follow the rules.” He wasn’t wrong.
That was the moment the Smash Sugar Cookie Recipe became a thing in my kitchen. And honestly? I’ve been smashing cookies (and occasionally stress) ever since.
Why You’ll Love This Smash Sugar Cookie Recipe?
These cookies are the punk rockers of the baking world. No perfect shapes, no delicate icing, no stress. They’re simple, loud, and ridiculously good. The edges have that subtle crunch, the centers stay soft, and every bite tastes like sugar, butter, and a little bit of rebellion.
They’re also the kind of cookie that doesn’t require perfection—which, if we’re being honest, is kind of refreshing. You don’t need to chill overnight, use special tools, or make them look “Instagram pretty.” Just make the dough, roll, smash, bake, done. It’s the kind of recipe you make when you want something real.
And if you’re having one of those days where the world feels a little too much? Smashing cookie dough flat with a glass might just be the best therapy money can buy.
Ingredient Notes:
Okay, let’s talk ingredients—the good stuff. Nothing fancy, but every piece plays its part.
-
Butter – Go with the real deal, unsalted and soft. Margarine just doesn’t hit the same.
-
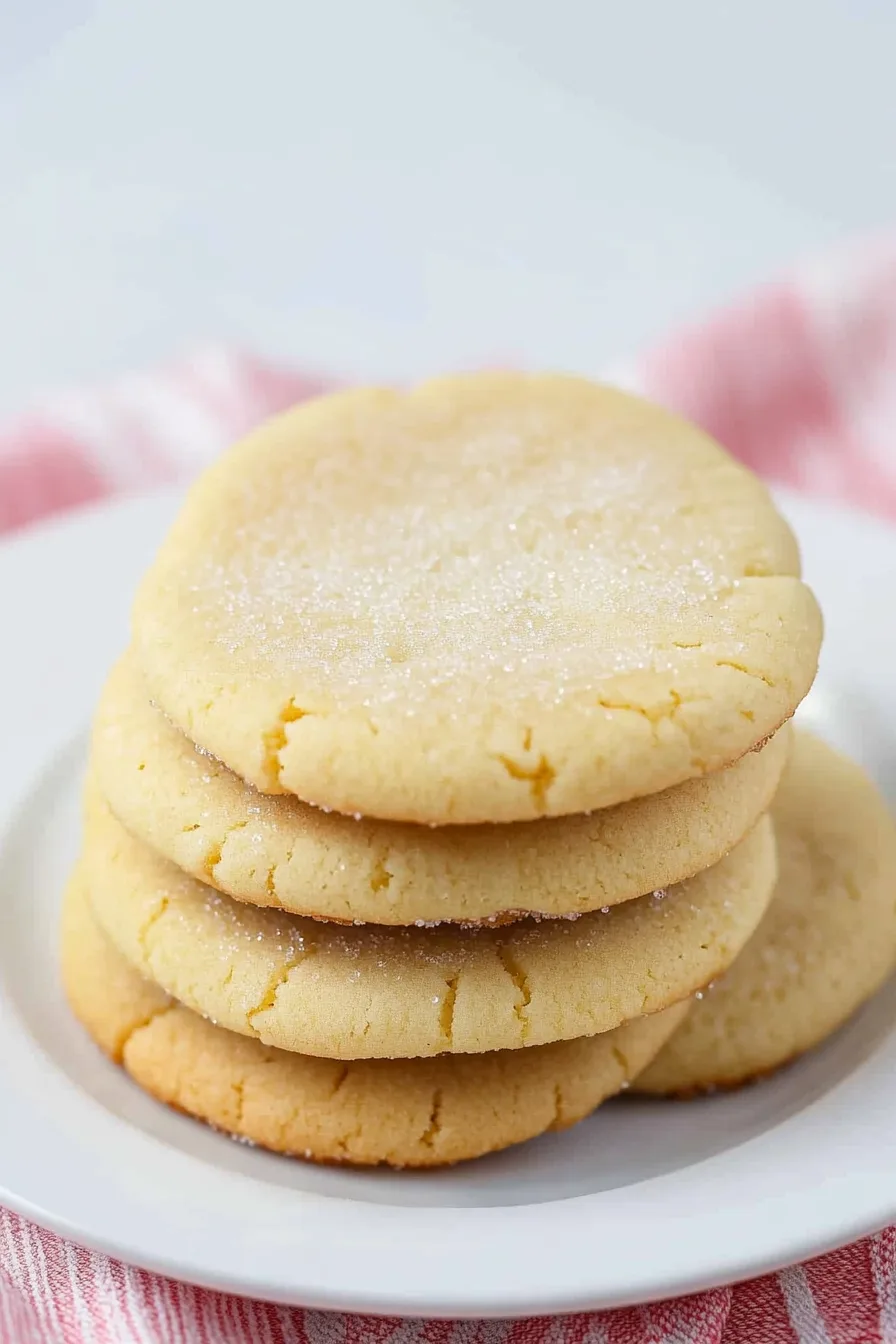
Sugar – Granulated sugar gives you those crisp edges and soft, chewy centers. Plus, rolling the dough in sugar adds that sparkly finish that just makes me happy.
-
Egg – One egg does all the heavy lifting here. Simple but necessary.
-
Vanilla Extract – Use the real thing if you can. It’s like the soul of the cookie.
-
Almond Extract (Optional) – Totally optional, but it adds this warm, nostalgic note that feels like the holidays.
-
Flour – Regular all-purpose works best. It’s sturdy but still gives that soft texture.
-
Salt – Just a little, but don’t skip it—it makes the sweet parts pop.
-
Baking Powder – Helps them puff up slightly before collapsing into that perfect, crinkly top.
I’ve made these with what I had on hand—off-brand butter, store-brand sugar, you name it—and they still turn out amazing. These cookies don’t judge you for using what’s in your pantry.
How To Make Smash Sugar Cookie?
Alright, grab your mixer (or a big wooden spoon if you’re old school), and let’s do this.
Step 1: Cream the Butter and Sugar
Beat the butter and 1 cup of sugar until it’s light and fluffy—like, visibly lighter. This takes a few minutes, and yeah, it’s worth it. Add the egg, vanilla, and almond extract (if you’re feeling fancy). It’ll smell like heaven.
Step 2: Mix in the Dry Ingredients
In another bowl, whisk together your flour, salt, and baking powder. Slowly add this to the butter mixture until it comes together. Don’t overmix! We’re baking cookies, not building furniture. The dough should be soft and just a bit sticky.
Step 3: Scoop and Chill
Roll the dough into 1½-inch balls and toss them in sugar. Place them close together on a parchment-lined baking sheet and pop that tray into the freezer for 30 minutes. Yes, it’s important. Chilling keeps the dough from spreading too much—plus, it gives you time to clean up (or scroll TikTok, no judgment).
Step 4: Smash ‘Em!
Preheat your oven to 400°F. Space the dough balls a few inches apart on a baking sheet. Grab a flat-bottomed glass or measuring cup and gently press each ball down until it’s about 2½ to 3 inches wide. They’ll crack a little—that’s the good part. If they’re too firm to press, let them sit for a couple minutes.
Step 5: Bake and Cool
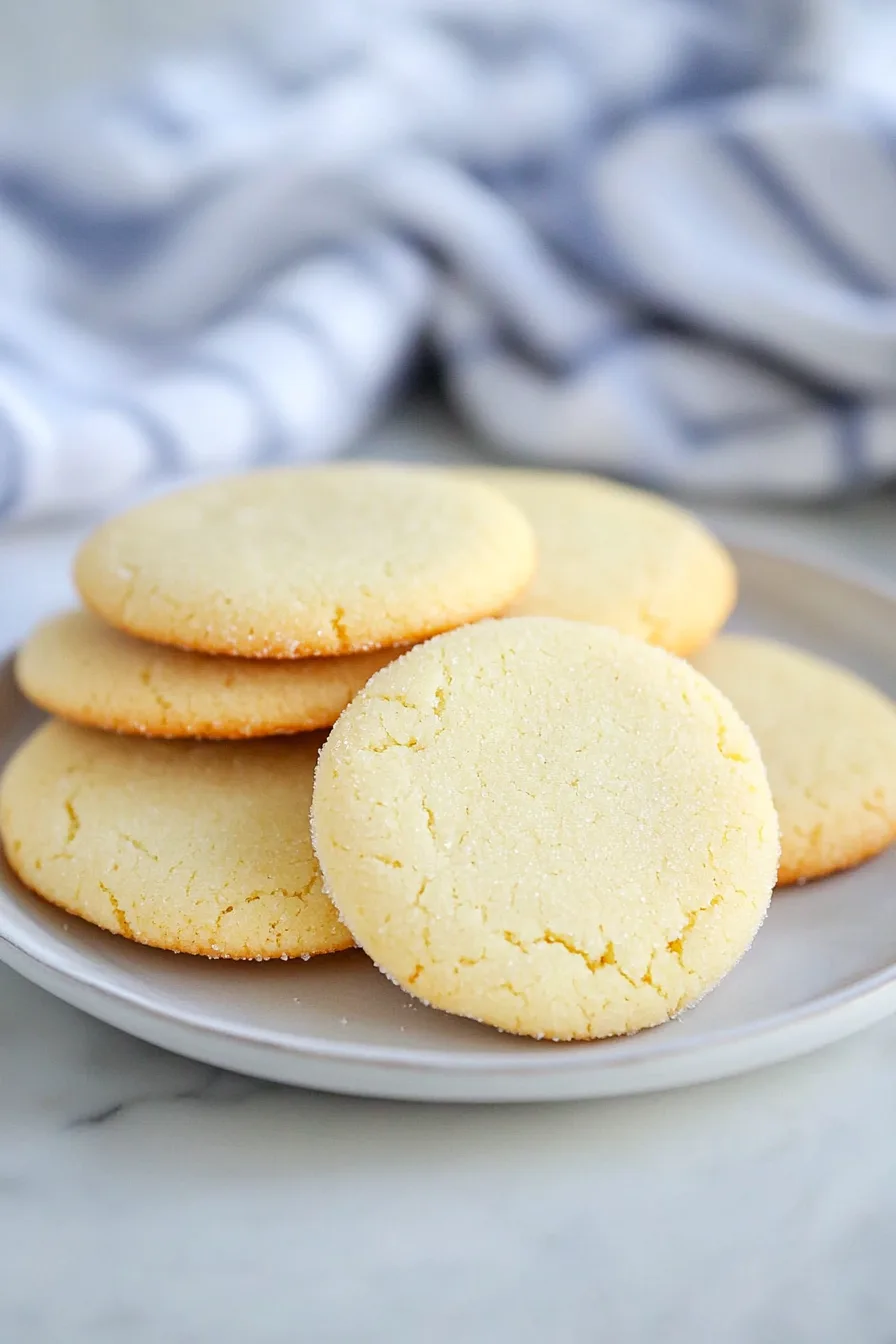
Bake for 8–10 minutes, swapping trays halfway through. You’re aiming for golden edges and soft centers. When you take them out, they’ll still look a little underdone—but that’s the secret. Let them cool for a few minutes on the tray. (Or don’t. I’ve burned my mouth more than once. Worth it every time.)
Want To Save This Recipe?
Storage Options:
Assuming these cookies last long enough to store, you can keep them in an airtight container for up to three days. They stay soft and chewy. You can also freeze them—baked or unbaked—for up to three months. When baking from frozen, just give them a few extra minutes. I like to stash a few dough balls in the freezer for “emergency cookie situations.” (Tell me I’m not the only one who has those.)
Variations and Substitutions:
This Smash Sugar Cookie Recipe is basically a blank canvas. Here’s how you can make it your own:
-
Add some sparkle: Roll them in colored sugar for holidays or birthdays.
-
Add citrus zest: A little lemon or orange zest gives them a sunshiney twist.
-
Go brown sugar: Swap half the white sugar for brown for deeper flavor.
-
Make it gluten-free: Use a 1:1 gluten-free flour blend that includes xanthan gum.
Honestly, once you make these once, you’ll start dreaming up your own versions.
What to Serve with Smash Sugar Cookie?
Cookies this good deserve good company.
-
Coffee: Hot, iced, whatever. It’s the perfect bitter-sweet combo.
-
Milk: Classic. Cold milk and a warm cookie is pure happiness.
-
Ice Cream: Sandwich a scoop between two cookies and call it dessert nirvana.
-
Friends: Because smashing cookies alone is fine—but smashing them with friends? Way more fun.
Frequently Asked Questions:
Why do I need to chill the dough?
Because if you don’t, they’ll flatten out into sad pancakes. Chilling keeps them thick, soft, and chewy.
Can I make smaller cookies?
Sure! Just bake them for a little less time. But I’ll warn you—they disappear faster that way.
Why didn’t mine get that pretty cracked top?
Your dough might’ve been too warm, or your oven wasn’t fully preheated. Try chilling longer next time and make sure your oven’s actually hot when you start.
These Smash Sugar Cookies aren’t fancy or fussy—they’re sweet, buttery, and a little rebellious. The kind of cookie you make when you’re tired of perfect. They remind me that sometimes, life (and baking) is better when you stop overthinking and just smash the dough. So go on—try it, make a mess, and eat a few warm right off the tray. You’ve earned it.
Keep the Flavor Coming – Try These:
Smash Sugar Cookie Recipe
Ingredients
- 1 cup 2 sticks unsalted butter softened
- 2 cups 400 g granulated sugar divided
- 1 large egg
- 2 teaspoons vanilla extract
- 1/4 teaspoon almond extract optional
- 2 1/2 cups 325 g all-purpose flour
- 1/2 teaspoon salt
- 1/4 teaspoon baking powder
Instructions
Prepare the Dough Base:
- In the bowl of a stand mixer fitted with the paddle attachment, or in a large mixing bowl with a hand mixer, combine the softened butter and 1 cup of sugar. Begin mixing on low speed to incorporate, then increase to medium speed and beat for 4 to 5 minutes, or until the mixture appears pale and fluffy.
Incorporate Wet Ingredients:
- Add the egg, vanilla extract, and almond extract (if using). Beat for 1 to 2 minutes, pausing once or twice to scrape down the sides of the bowl, ensuring that all ingredients are fully integrated.
Combine the Dry Ingredients:
- In a separate mixing bowl, whisk together the flour, salt, and baking powder. Gradually add the dry mixture to the creamed butter mixture, mixing on low speed only until the flour is just combined. Avoid overmixing to preserve the cookies’ soft texture.
Form and Chill the Dough:
- Pour the remaining 1 cup of sugar into a shallow bowl. Line a rimmed baking sheet with parchment paper that fits inside your freezer. Using a 1-ounce cookie scoop or a heaping tablespoon, shape the dough into balls approximately 1 1/2 inches in diameter. Roll each ball in sugar, then place them closely together on the prepared baking sheet. Transfer to the freezer and chill for 30 minutes.
Preheat the Oven:
- While the dough chills, preheat the oven to 400°F (200°C). Arrange the oven racks in the upper and lower thirds. Line two additional baking sheets with parchment paper.
Flatten (“Smash”) the Cookies:
- Once the dough has chilled, divide the cookie dough balls between the prepared baking sheets, leaving 3 inches of space between each to allow for spreading. Using the flat bottom of a drinking glass or measuring cup, press down gently on each dough ball until it measures approximately 2 1/2 to 3 inches across.
- If the dough feels too firm to flatten, allow it to rest at room temperature for 2–3 minutes before pressing. Should any cracks appear, simply press the edges back together gently.
Bake:
- Bake the cookies for 5 minutes, then rotate and swap the baking sheets between the racks. Continue baking for an additional 3 to 5 minutes, or until the edges are lightly golden and the centers are just set.
Cool and Serve:
- Remove the cookies from the oven and allow them to rest on the baking sheets for 3–5 minutes before transferring them to a wire rack to cool completely. Serve once cooled or store for later enjoyment.
Notes
I’m Bitty, owner of nodashofgluten.com, where I share simple, delicious recipes for all tastes, including gluten-free. Check out my “About Me” page for more info!