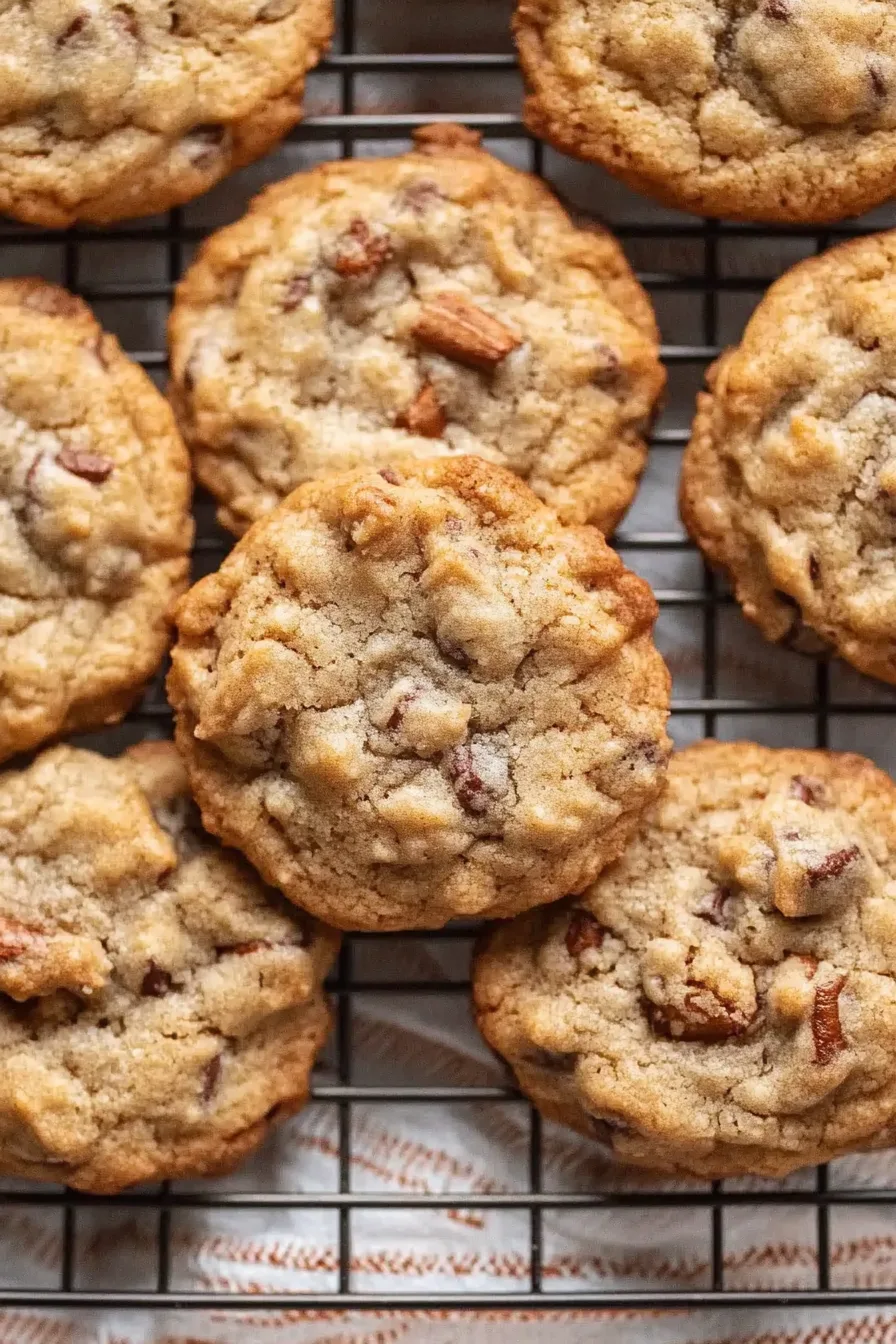
Chewy, spiced, and filled with dates and walnuts—these Hermit Cookies are the cozy, old-fashioned treat you didn’t know you needed.
You ever stumble on something by accident and it just… sticks? That’s how I found Hermit Cookies. I was on this foggy Maine road trip a few years ago—the kind where you’re bundled up in layers, your coffee keeps going cold too fast, and every small-town bakery looks like it’s hiding something wonderful. I ducked into one of those tiny seaside bakeries, mostly just to thaw out my fingers, and saw a jar labeled “Hermits.”


At first, I laughed. “Hermits? Like the people who live in cabins?” The baker just grinned and said, “They keep well enough for hermits.” And that was that. I bought one, bit in, and I swear the world slowed down for a second. It was chewy, spicy, full of dates and toasted walnuts, and tasted like something from an old storybook. No frosting, no frills, just warmth and comfort.
When I got home, I couldn’t shake it. I tried recreating that cookie three times—okay, maybe five—until I nailed it. Now, every time I bake them, I can almost hear the ocean and smell that mix of salt air and cinnamon. Funny how food does that, right?
Why You’ll Love This Hermit Cookies Recipe?
These Hermit Cookies aren’t fancy. They don’t sparkle or beg for attention, and maybe that’s why I love them so much. They’re humble, but they hit. Soft and chewy in the middle, golden on the edges, full of warm spices like cinnamon and nutmeg that make your kitchen smell like October. The kind of smell that makes people wander in asking, “What’s baking?”
And honestly, these cookies feel a little timeless. They remind me of my grandmother’s kitchen—the one with the old tin of flour always on the counter and a handwritten recipe card tucked in a drawer somewhere. Hermit Cookies are the kind of treat you make when you want to slow down, when you want something real. Plus, they’re easy. You mix, scoop, and bake. No fuss, no fancy equipment, just pure comfort.
Ingredient Notes:
You don’t need anything you don’t already have in your pantry, which is part of their charm. They’re simple, but every ingredient has its little moment to shine.
-
All-purpose flour – The foundation. Don’t overdo it or your cookies might come out dense.
-
Baking soda – Keeps them light but chewy.
-
Salt – Tiny amount, big impact.
-
Cinnamon, nutmeg, allspice, cloves – This combo is basically fall in cookie form. Smells incredible.
-
Butter – Real, unsalted butter. Margarine just won’t give you the same flavor.
-
Light brown sugar – That deep, caramel sweetness that makes these taste like a cozy sweater feels.
-
Egg & vanilla extract – The glue that holds everything together.
-
Milk – Just enough to keep the dough soft and tender.
-
Chopped dates – Sweet, chewy, and a little sticky—basically nature’s candy.
-
Toasted walnuts – A crunchy contrast that makes each bite interesting.

How To Make Hermit Cookies?
Alright, let’s bake together. This recipe’s pretty straightforward, but the details make all the difference.
Step 1: Preheat the oven.
Set it to 400°F (200°C) and line two baking sheets with parchment paper. I know, parchment feels optional, but it’s a lifesaver. Less cleanup, more cookies.
Step 2: Mix the dry stuff.
In a medium bowl, whisk your flour, baking soda, salt, and all the warm spices together. The smell? Unreal. Like every fall candle wishes it could smell this good.
Step 3: Cream the butter and sugar.
In a large mixing bowl, beat the butter and brown sugar until it’s fluffy and light—around 4 minutes. It should look like frosting you want to stick your finger in (and you probably will, it’s fine). Then add the egg and vanilla, and beat again until smooth.
Step 4: Add the milk.
Pour in the milk and mix just until it’s all incorporated. The dough might look a bit soft here—that’s okay. You’re doing great.
Step 5: Combine and fold.
Now add your dry ingredients to the wet mixture and fold it all together until there’s no more visible flour. Gently stir in the chopped dates and walnuts. The dough will be thick and sticky, but that’s exactly how it should be.
Step 6: Scoop and bake.
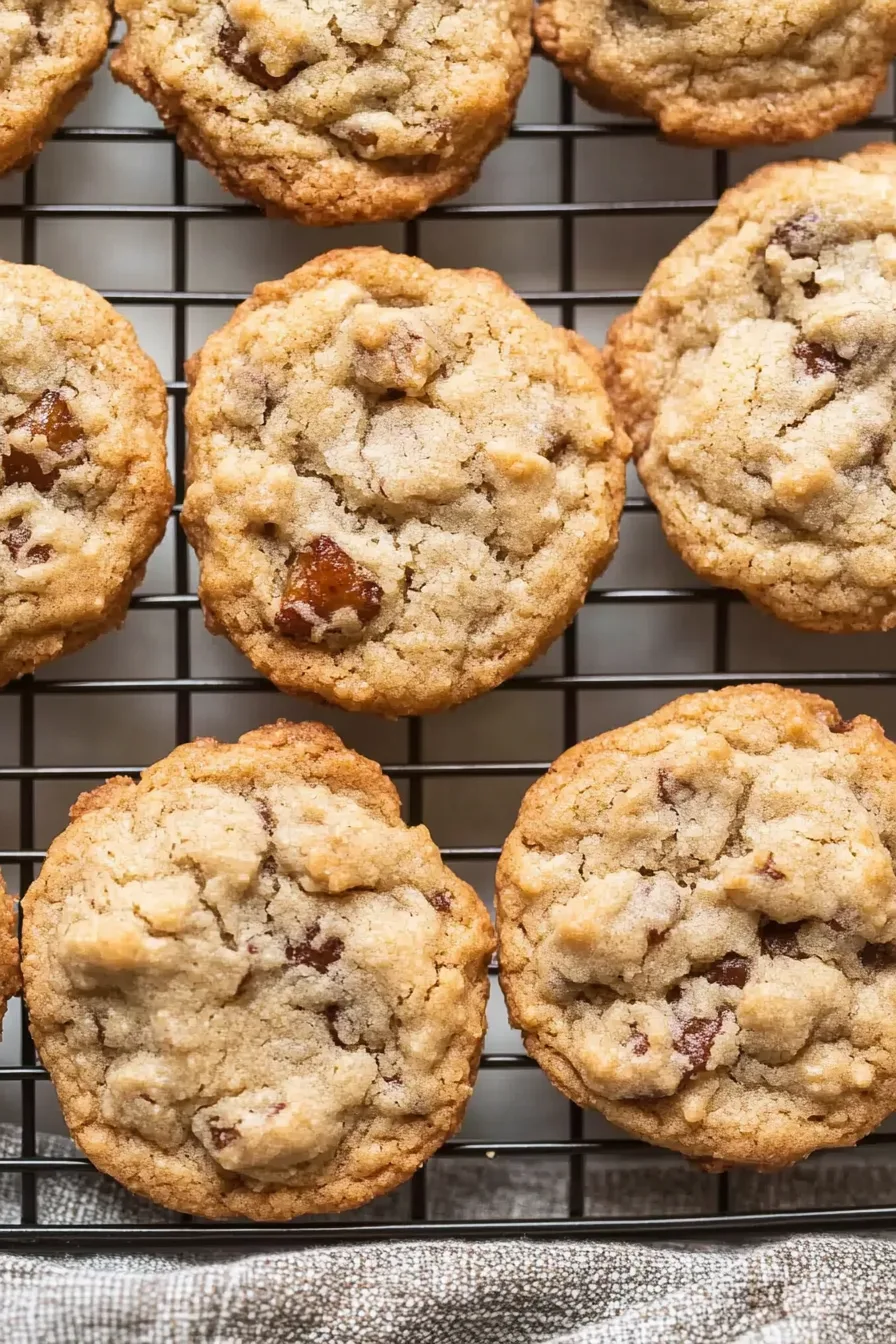
Use about 2 tablespoons of dough per cookie. Space them out about 3 inches apart—these babies spread a little. Bake for 10–12 minutes, rotating your trays halfway through so everything bakes evenly. You’re looking for golden edges and soft centers.
Step 7: Cool and try (not) to eat them all.
Let them cool for at least 5 minutes before transferring to a rack. But honestly, if you grab one warm with your bare hands and burn your tongue a bit? Worth it. Every time.

Want To Save This Recipe?
Storage Options:
Here’s the fun part—these cookies actually get better with time. You can store them in an airtight container on the counter for up to five days, and the flavors just deepen as they sit. By day two, the spices blend into something even richer and cozier. I almost like them more the next day… though that requires not eating them all on day one, which, good luck.
You can also freeze them, baked or unbaked. Baked cookies freeze beautifully for up to three months. For unbaked dough, just scoop it onto a tray, freeze until solid, and stash the balls in a bag. Future you will be so grateful.
Variations and Substitutions:
I’m all about making recipes work with what you’ve got, and these Hermit Cookies are flexible like that.
-
No dates? Use raisins, figs, or even dried cranberries.
-
Nut allergy? Leave out the walnuts—these cookies don’t mind.
-
Add chocolate. I know, not traditional, but a handful of dark chocolate chips takes them somewhere magical.
-
Gluten-free? A 1:1 gluten-free baking flour blend works perfectly.
-
Zest it up. A bit of orange or lemon zest adds a bright twist that plays so well with the spices.
Basically, you can’t mess these up. They’re forgiving like an old friend.

What to Serve with Hermit Cookies?
You don’t really need to serve Hermit Cookies with anything—they’re kind of perfect solo—but if you want to level up your snack situation:
-
Coffee or tea: They’re practically made for dunking.
-
Milk: Classic combo, no explanation needed.
-
Vanilla ice cream: Warm cookies + cold ice cream = life-changing.
-
Friends: Okay, optional, but sharing makes them taste even better (or so I’ve heard).
Frequently Asked Questions:
Why are they called “Hermit Cookies”?
Apparently because they keep so well—like something a hermit could stash away and snack on later. Which… fair enough.
Can I make the dough ahead of time?
Yes! You can chill it for a day or freeze it for months. Just let it soften before baking.
My cookies came out dry—what happened?
You probably added a touch too much flour. It happens to all of us. Spoon and level your flour instead of scooping it straight from the bag.
These Hermit Cookies are old-fashioned in the best way—simple, cozy, and full of heart. They’re the kind of cookies that don’t need icing or fancy decorations to impress. They just are.
So if you’re craving something that smells like autumn and tastes like home, try these. Maybe you’ll bake them on a rainy afternoon with a mug of coffee nearby, or maybe at midnight because you couldn’t sleep. Either way, you’ll end up with a warm kitchen and a plate of cookies that make life feel a little slower, a little softer.
And hey, if you burn your tongue on the first one, you’re doing it right.
Keep the Flavor Coming – Try These:

Hermit Cookies
Ingredients
- 2 cups 240 g all-purpose flour
- 1/2 teaspoon baking soda
- 1/2 teaspoon kosher salt
- 1/2 teaspoon ground cinnamon
- 1/4 teaspoon ground nutmeg
- 1/4 teaspoon ground allspice
- 1/4 teaspoon ground cloves
- 1/2 cup 113 g unsalted butter softened
- 1 cup 213 g light brown sugar
- 1 large egg
- 1 teaspoon vanilla extract
- 1/4 cup 60 ml milk
- 1 1/2 cups 225 g chopped dates
- 3/4 cup 85 g toasted chopped walnuts
Instructions
Prepare the Oven:
- Preheat the oven to 400°F (200°C). Arrange the oven racks in the upper and lower thirds of the oven. Line two baking sheets with parchment paper to prevent sticking.
Combine the Dry Ingredients:
- In a medium mixing bowl, whisk together the flour, baking soda, salt, cinnamon, nutmeg, allspice, and cloves until well blended. Set aside.
Cream the Butter and Sugar:
- In a large mixing bowl, beat the butter and brown sugar using a hand mixer on medium speed (or a stand mixer fitted with the paddle attachment) until light and fluffy, approximately 4–5 minutes.
Incorporate the Egg and Vanilla:
- Add the egg and vanilla extract to the butter mixture, beating until the mixture becomes smooth and creamy, about 1 minute.
Add the Milk:
- Reduce the mixer speed to low and pour in the milk, mixing just until incorporated. The batter should have a soft and slightly creamy consistency.
Add the Dry Ingredients:
- Gradually add the prepared dry mixture to the wet ingredients, folding gently with a rubber spatula until no visible streaks of flour remain. Avoid overmixing to maintain a tender cookie texture.
Fold in the Dates and Walnuts:
- Add the chopped dates and toasted walnuts to the dough and fold until evenly distributed. The dough will be thick and slightly sticky.
Portion the Dough:
- Using a medium cookie scoop or a spoon, portion about 2 tablespoons of dough per cookie. Place each portion onto the prepared baking sheets, leaving about 3 inches of space between each cookie to allow for spreading.
Bake:
- Bake both trays simultaneously for 10–12 minutes, rotating and swapping the pans halfway through the baking time. The cookies should puff slightly, the edges should turn golden brown, and the centers should appear set.
Cool:
- Remove the cookies from the oven and allow them to rest on the baking sheets for 5 minutes before transferring to a wire rack to cool completely. Once cooled, store in an airtight container for up to 5 days.
Notes
I’m Bitty, owner of nodashofgluten.com, where I share simple, delicious recipes for all tastes, including gluten-free. Check out my “About Me” page for more info!