
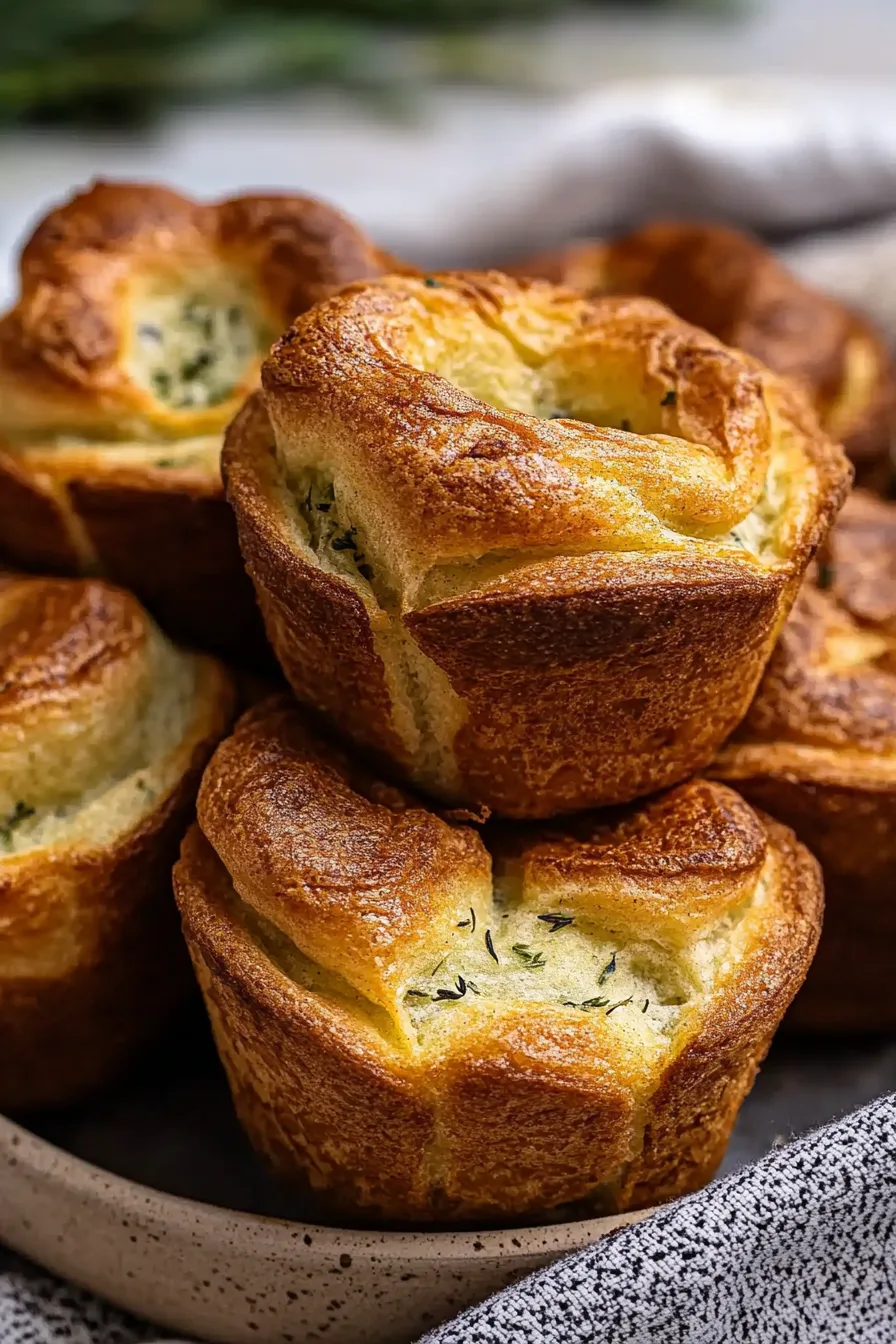
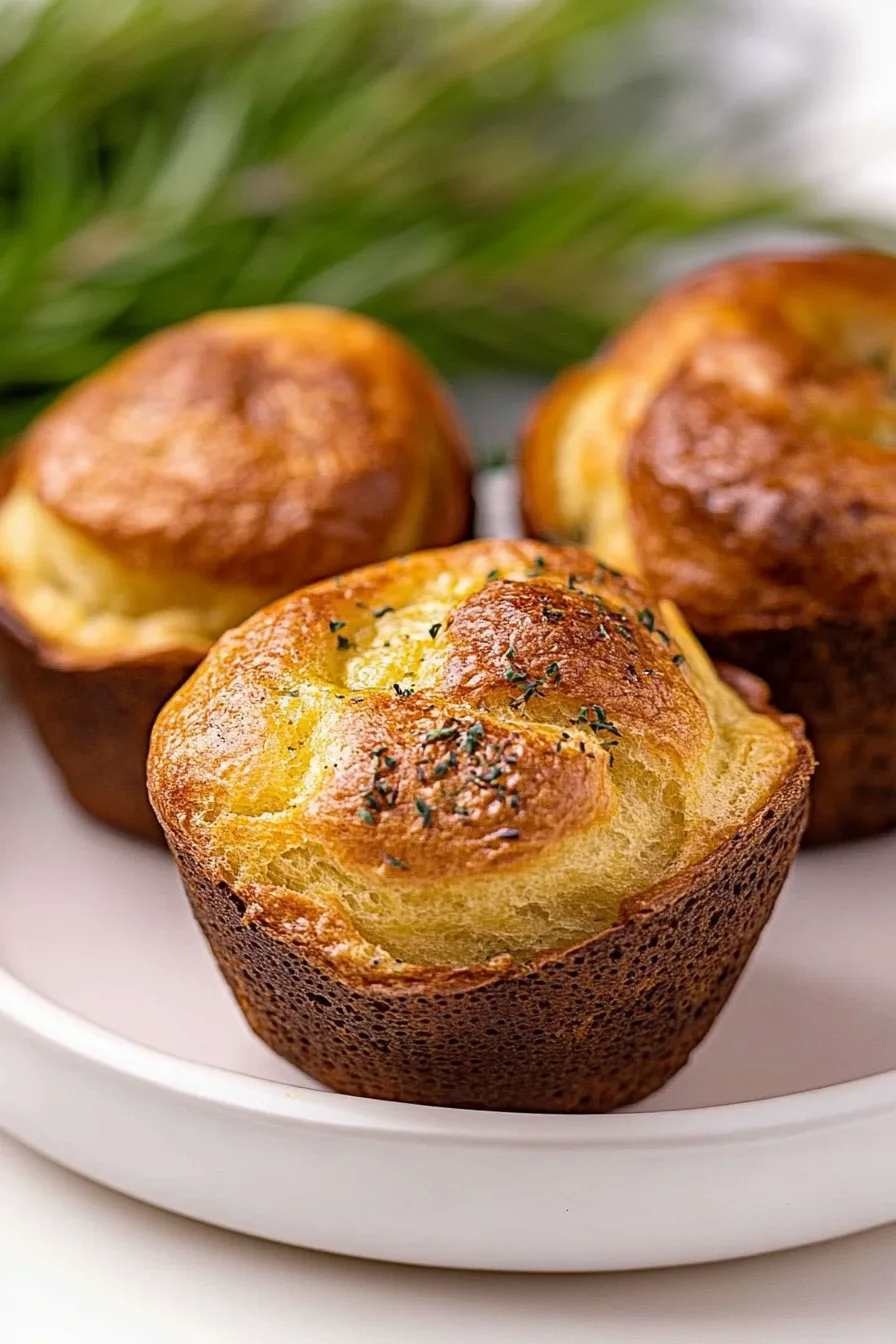
This Popovers Recipe makes golden, airy rolls—crispy outside, tender inside—with just eggs, milk, flour, and butter. Simple and irresistible!
There’s this memory I can’t shake—the first time I ever had a popover. It wasn’t planned. I’d been on this random weekend trip to Maine a few years ago, where every street smelled like chowder, sea salt, and butter. I ducked into this little café on a windy afternoon, mostly because I needed to thaw out my fingers, and the woman behind the counter slid a basket toward me with this weirdly tall, puffy thing inside.
It looked like a cross between a dinner roll and a muffin that got ideas above its station. I tore it open, steam poured out, and I swear I felt my life get at least 10% better in that moment. The inside was so light—like biting into a buttery cloud—and the outside had this perfect crispness that made the tiniest crackling sound when you broke it apart.


So of course, I came home obsessed. I must’ve made about ten batches in two weeks trying to recreate it. Half of them collapsed. One batch came out pale and sad, like a deflated balloon. My husband tried to act supportive but quietly switched to cereal. But then, one Sunday morning, the magic happened. The batter puffed, the tops browned, and for the first time, they tasted exactly like the ones I remembered from that café by the water.
Now, whenever I make this Popovers Recipe, it feels a bit like traveling back to that cozy corner café. Only this time, I’m in fuzzy socks and my own kitchen smells like butter and victory.
Why You’ll Love This Popovers Recipe?
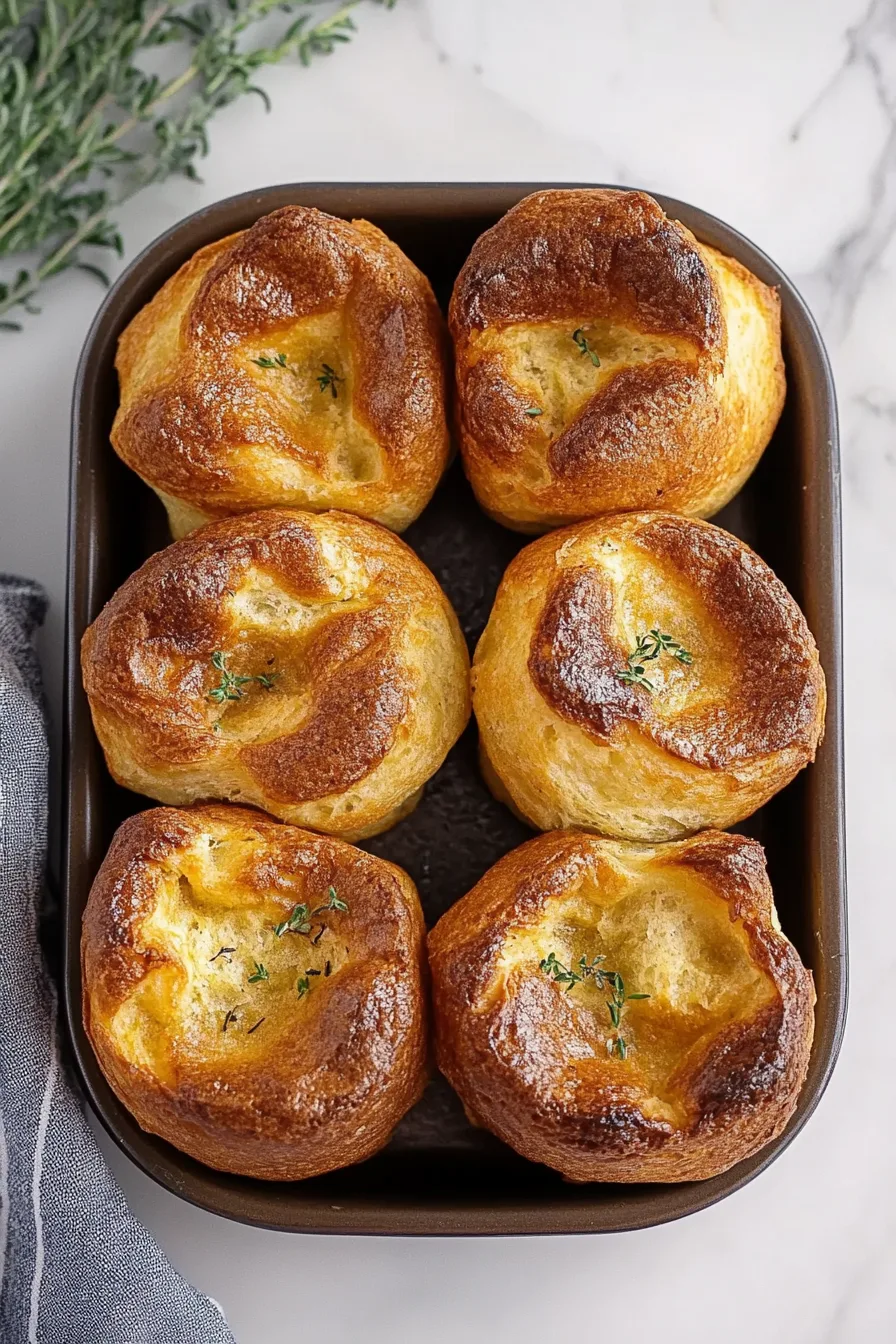
Here’s the thing about popovers—they’re sneaky. You see the name and think, “Oh, that’s fancy. Probably complicated.” But no. They’re the simplest, most low-effort way to look like a kitchen genius. Just a handful of ingredients, a muffin tin, and a hot oven, and boom—you’ve got golden, puffed-up rolls that look straight out of a bakery window.
This Popovers Recipe gives you the best of both worlds: crisp, golden outsides and soft, custardy centers that practically melt in your mouth. The smell alone is dangerous—it’s like butter and warmth had a baby. And they’re so versatile. Breakfast? Perfect with jam. Dinner? Gorgeous next to roast chicken or soup. Late-night snack? Don’t judge me; they’re good cold too.
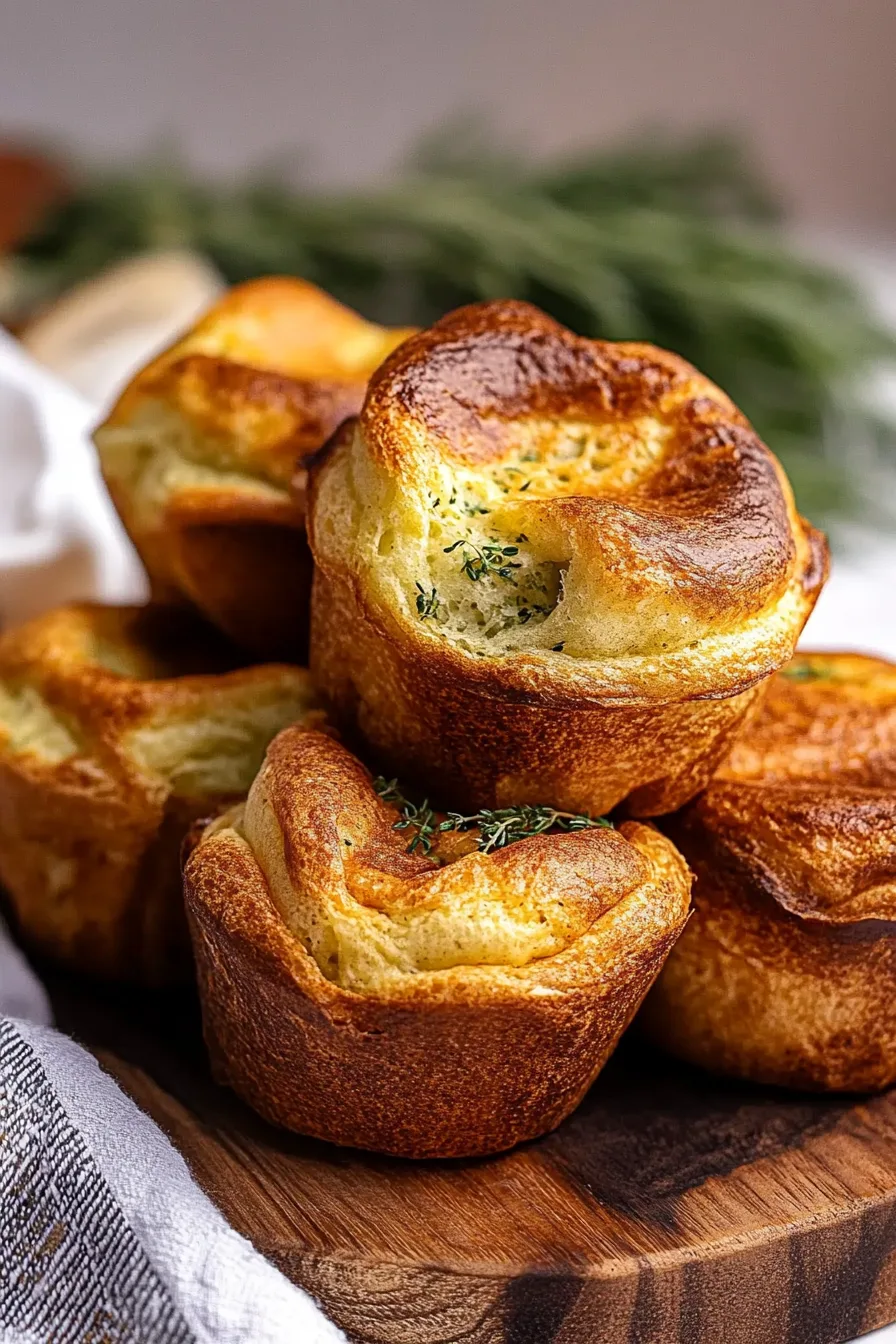
And the best part? Watching them rise. There’s something so oddly satisfying about peeking through the oven door (after the first 20 minutes, of course) and seeing those airy little towers puff up like they’re showing off.
Ingredient Notes:
Here’s the thing about this Popovers Recipe—the ingredients are simple, but how you treat them matters.
-
Eggs: Warm them up first! I dunk mine in a bowl of warm water for 10 minutes while the oven heats up. Cold eggs are the enemy of a good rise.
-
Milk: Whole milk makes them rich, but I’ve used 2% when that’s all I had, and they still came out great. Just make sure it’s warm—straight from the fridge will sabotage your popovers.
-
All-purpose flour: Nothing fancy here. Just don’t overmix it, or you’ll lose the airiness.
-
Butter: Unsalted and melted. It’s the flavor backbone.
-
Salt and sugar: They’re minor players but vital. Together, they balance everything out so it’s not bland or overly sweet.
I once tried adding an extra spoonful of sugar by accident, and honestly? It wasn’t bad. So, I guess even the mistakes can be delicious.
How To Make Popovers?
Making this Popovers Recipe is one of those things that feels fancy but secretly couldn’t be easier.
Step 1: Preheat the oven.
425°F—no excuses. The oven has to be blazing hot. That’s what creates the steam that makes popovers puff like little clouds. Generously butter your muffin tin, even between the cups. I mean it. Butter like you’re getting paid for it.
Step 2: Warm up your ingredients.
Popovers hate the cold. Warm eggs, warm milk—that’s the secret. If you start with everything cozy and room temp, they’ll rise higher and crisp better.
Step 3: Blend the batter.
I use a blender because it’s fast and foolproof, but a whisk works too. Combine eggs, milk, salt, sugar, and flour until smooth and frothy. Then stir in the melted butter. The batter should be thin, almost like crepe batter. If it’s too thick, add a splash more milk.
Step 4: Fill and bake.
Pour the batter into the muffin cups—fill them about 2/3 full. Pop them into the oven, then walk away. No peeking. Seriously. The steam trapped inside is what makes them rise, and if you open the door, they’ll collapse faster than my motivation on a Monday morning.
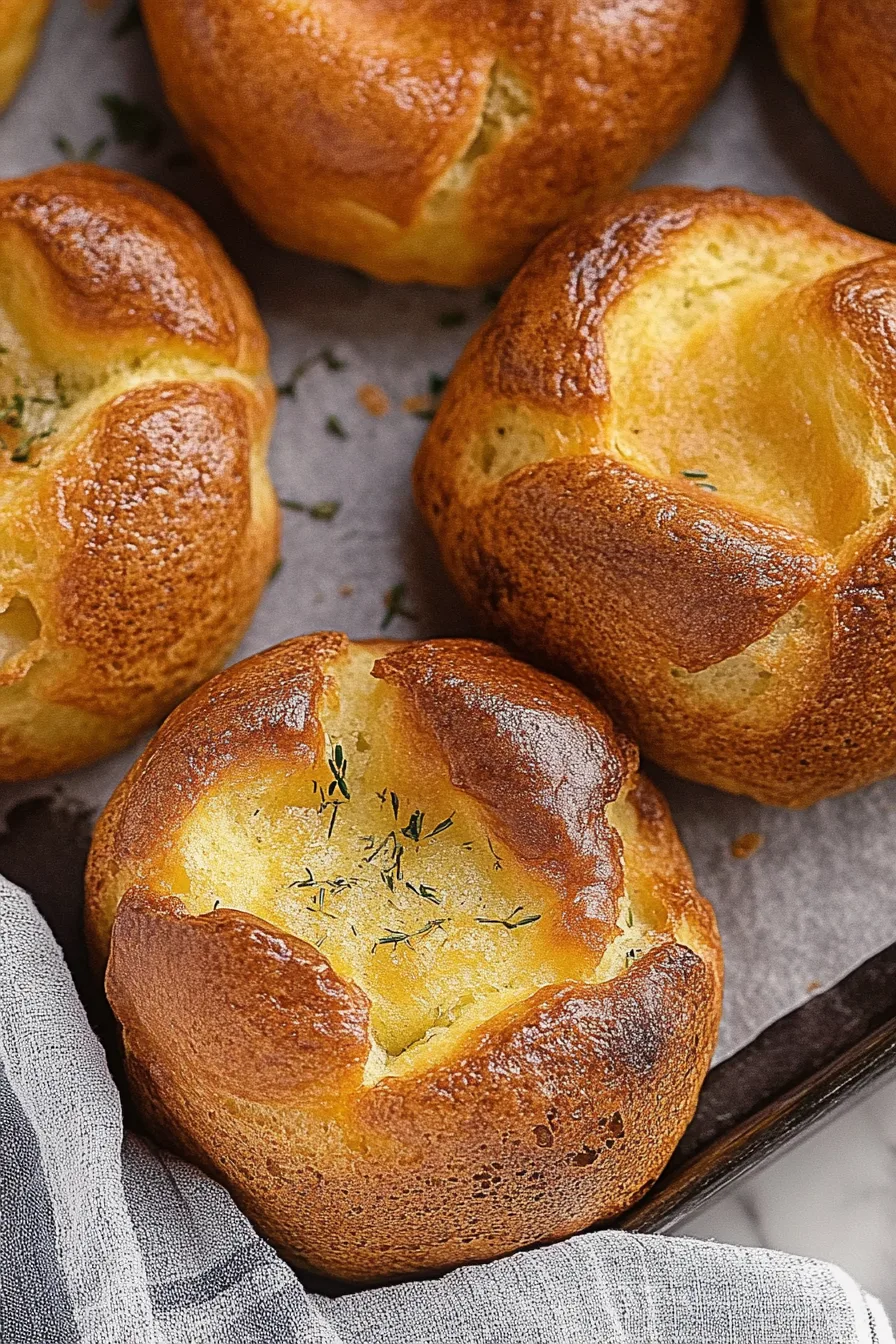
After 20 minutes, lower the oven to 350°F and bake for another 8–10 minutes until they’re golden and majestic.
Step 5: Serve immediately.
The moment you pull them out, serve them hot. They’re crispy, hollow, and steamy inside—basically heaven in carb form. Slather them in butter, jam, or even a drizzle of honey if you’re feeling fancy.
Storage Options:
Truth be told, popovers are best the second they come out of the oven. Like, grab one, burn your fingers a little, and don’t look back. But if you somehow manage to have leftovers, store them in an airtight container for up to two days.
Want To Save This Recipe?
To reheat, pop them in a 350°F oven for about 5 minutes. They’ll crisp up again like new. Don’t microwave them unless you enjoy eating rubber balloons—just trust me on that one.
And yes, you can freeze them! Wrap them tightly, freeze up to 2 months, then reheat directly from frozen. They won’t be quite as puffed, but still absolutely delicious.
Variations and Substitutions:
Once you’ve nailed this classic Popovers Recipe, you can absolutely play around with it.
-
Cheddar Popovers: Add a handful of sharp cheddar or parmesan to the batter. Perfect for soup nights.
-
Herb Popovers: Stir in rosemary, thyme, or chives for a savory twist that smells incredible.
-
Sweet Cinnamon Popovers: Sprinkle cinnamon sugar inside the batter or dust on top after baking. Amazing for breakfast or dessert.
-
Dairy-Free Version: Swap in almond or oat milk and use plant-based butter. They’ll still puff up beautifully.
I even tried a version once with garlic butter brushed on top—10/10 would recommend if you’re into buttery chaos.
What to Serve with Popovers?
Popovers are basically the social butterflies of the bread world. They go with everything.
-
Breakfast: Hot from the oven with butter and raspberry jam. Add a side of scrambled eggs and call it a good morning.
-
Dinner: They’re perfect next to roast chicken, beef stew, or any cozy soup.
-
Holiday Feasts: These always steal the show next to turkey and gravy at Thanksgiving.
-
Dessert: Slice them open, fill with whipped cream and strawberries, and pretend you’re eating a fancy pastry.
They’re light, fluffy, and just fancy enough to make any meal feel special without trying too hard.
Frequently Asked Questions:
Why didn’t my popovers rise?
The oven probably wasn’t hot enough, or your ingredients were too cold. Also—be honest—did you peek?
Can I make the batter ahead of time?
You can, but fresh is best. If you do prep it early, refrigerate for up to an hour and whisk before using.
Do I need a popover pan?
Nope. A regular muffin tin works perfectly fine. A popover pan just gives them a taller, show-off shape.
The thing I love most about this Popovers Recipe is how something so simple can feel special. It’s the kind of recipe that makes your kitchen smell like comfort and your table feel a little fancier than usual. And even if your first batch flops (because let’s be real, it might), you’ll still end up with something buttery and warm—and that’s never a bad thing.
So, next lazy weekend, preheat your oven, whisk up that batter, and watch the magic happen. And when those golden beauties puff up, take a second to just stand there and smile. You made popovers. Real ones. Now pass the butter.
Keep the Flavor Coming – Try These:


Popovers Recipe
Ingredients
- Butter for greasing the muffin tin
- 3 large eggs
- 1 cup milk skim, 2%, or whole
- 1/2 teaspoon salt
- 1 teaspoon sugar
- 1 cup all-purpose flour
- 3 tablespoons unsalted butter melted
Instructions
Preheat the Oven:
- Adjust the oven rack to the lower third position and preheat to 425°F (220°C). Generously grease the bottoms, sides, and the spaces between the cups of a standard muffin tin with butter. Proper greasing ensures that the popovers release easily after baking.
Warm the Ingredients:
- To bring the ingredients to room temperature, place the eggs in a bowl of hot water for about 10 minutes. Warm the milk in the microwave for 30 seconds or on the stovetop until it is comfortably warm to the touch. Using warm ingredients is essential for achieving proper rise and texture.
Prepare the Batter:
- In a blender or large mixing bowl, combine the eggs, milk, salt, sugar, and flour. Blend (or whisk) until the mixture is smooth and slightly frothy. Add the melted butter and continue mixing until fully incorporated. The batter should be thin and lump-free.
Fill the Muffin Cups:
- Pour the prepared batter into the greased muffin cups, filling each one slightly more than halfway full. The batter will rise significantly during baking, so avoid overfilling.
Bake the Popovers:
- Place the muffin tin on the lower rack of the oven and bake for 20 minutes at 425°F (220°C) without opening the oven door. Maintaining consistent heat and steam is crucial for the popovers to rise properly.
- After 20 minutes, reduce the oven temperature to 350°F (175°C) and continue baking for an additional 8–10 minutes, or until the popovers are golden brown and crisp.
Serve Immediately:
- Remove the pan from the oven and carefully release the popovers from the tin. Serve them warm, ideally straight from the oven, with butter, honey, or jam.
Notes
I’m Bitty, owner of nodashofgluten.com, where I share simple, delicious recipes for all tastes, including gluten-free. Check out my “About Me” page for more info!

