
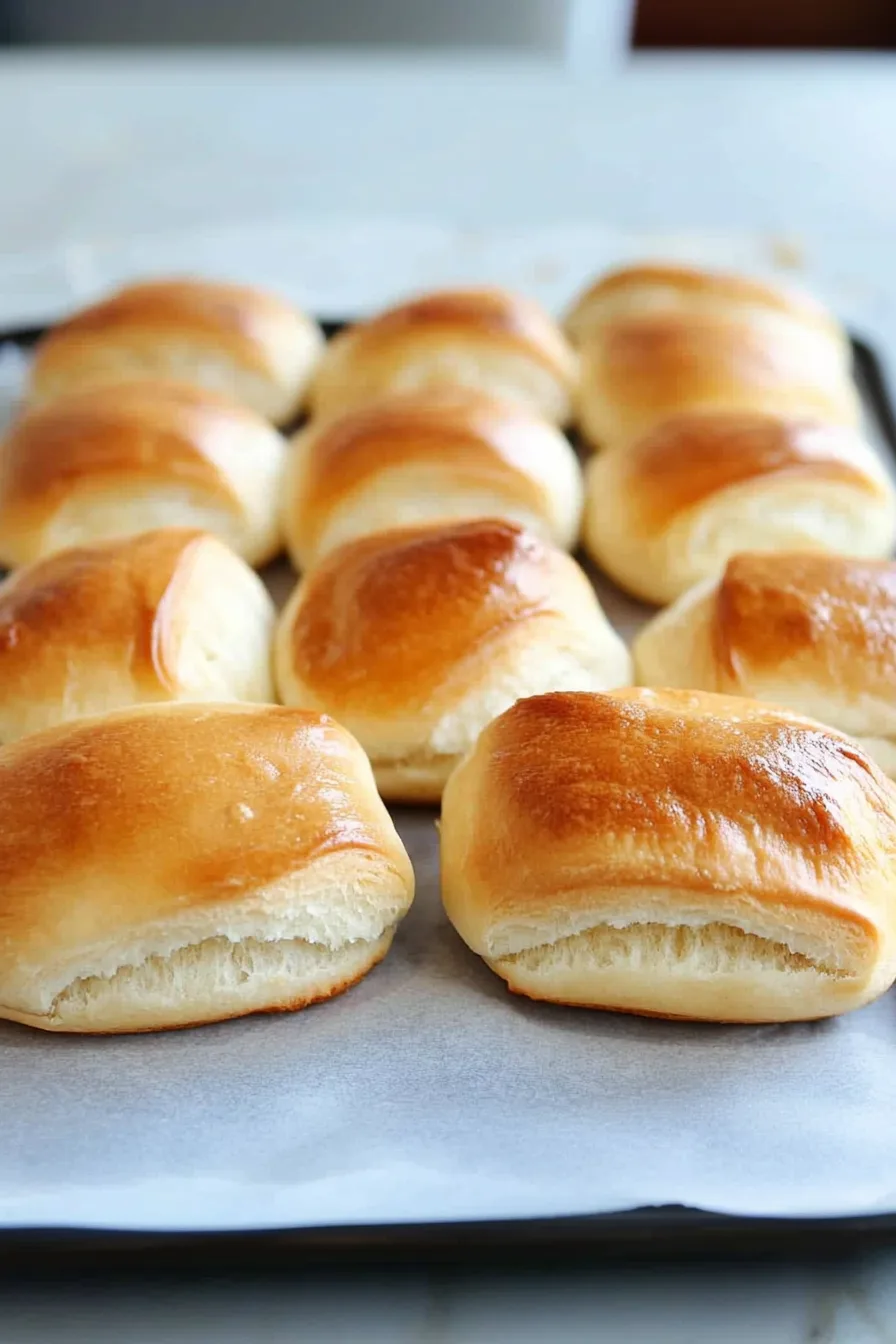
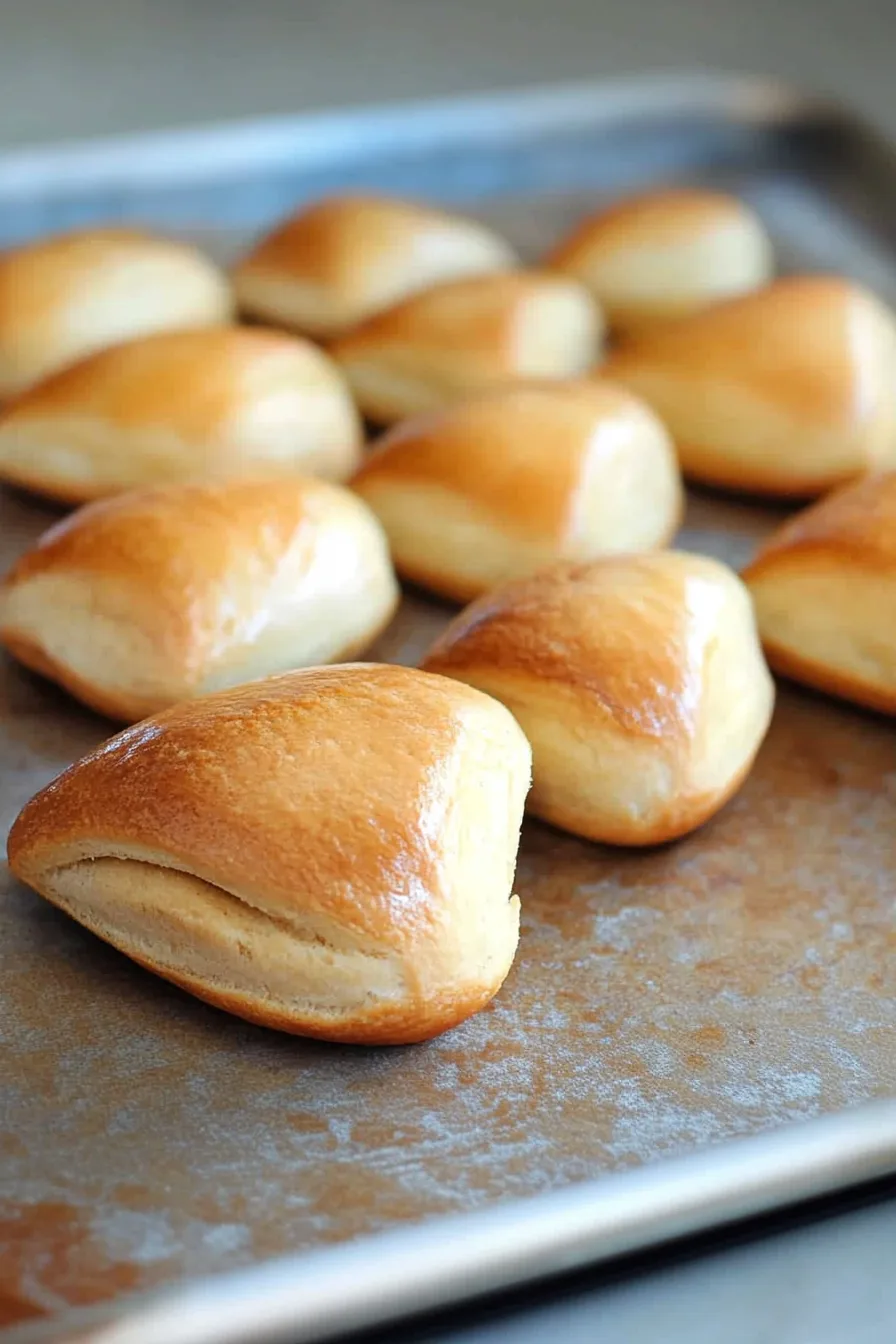
Soft, buttery Parker House Dinner Rolls made with milk, yeast, sugar, and flour—fluffy, golden, and totally irresistible for any meal.
I still remember the first time I made these Parker House Dinner Rolls—and honestly, it felt like a small personal victory. You know that sense of calm when everything in the kitchen just works? Yeah, this was not one of those times at first. It was Thanksgiving, the kitchen was chaos, the dog was eyeing the turkey, and I had this wild idea that I’d make homemade rolls “for fun.”
I’d read about Parker House rolls in a magazine—the kind of old-school recipe from the fancy Boston hotel that supposedly changed bread forever. The photo showed these perfect golden rolls with glossy tops, stacked high on a silver platter. I thought, “How hard could it be?” (Ha.) The first batch looked like something between a hockey puck and a deflated biscuit. My husband diplomatically called them “dense.” I called them tragic.


But the second time—oh, the second time—they came out of the oven puffed and buttery and smelling like heaven. I pulled one apart, steam rising, and I swear it was like a choir started singing somewhere. My mom was standing behind me, sneaking one off the tray before dinner, and she said, “You could sell these.” That’s how I knew I’d done it right.
Ever since, these rolls have been a holiday staple in my house. They’re simple, reliable, and the kind of thing that makes people close their eyes when they take a bite. You’ll see what I mean.
Why You’ll Love This Parker House Dinner Rolls Recipe?
Let’s just be honest—there’s something deeply comforting about warm, homemade bread. And these Parker House Dinner Rolls? They’re the ultimate comfort food in carb form. Soft on the inside, golden and buttery on the outside, they’re everything a dinner roll should be.
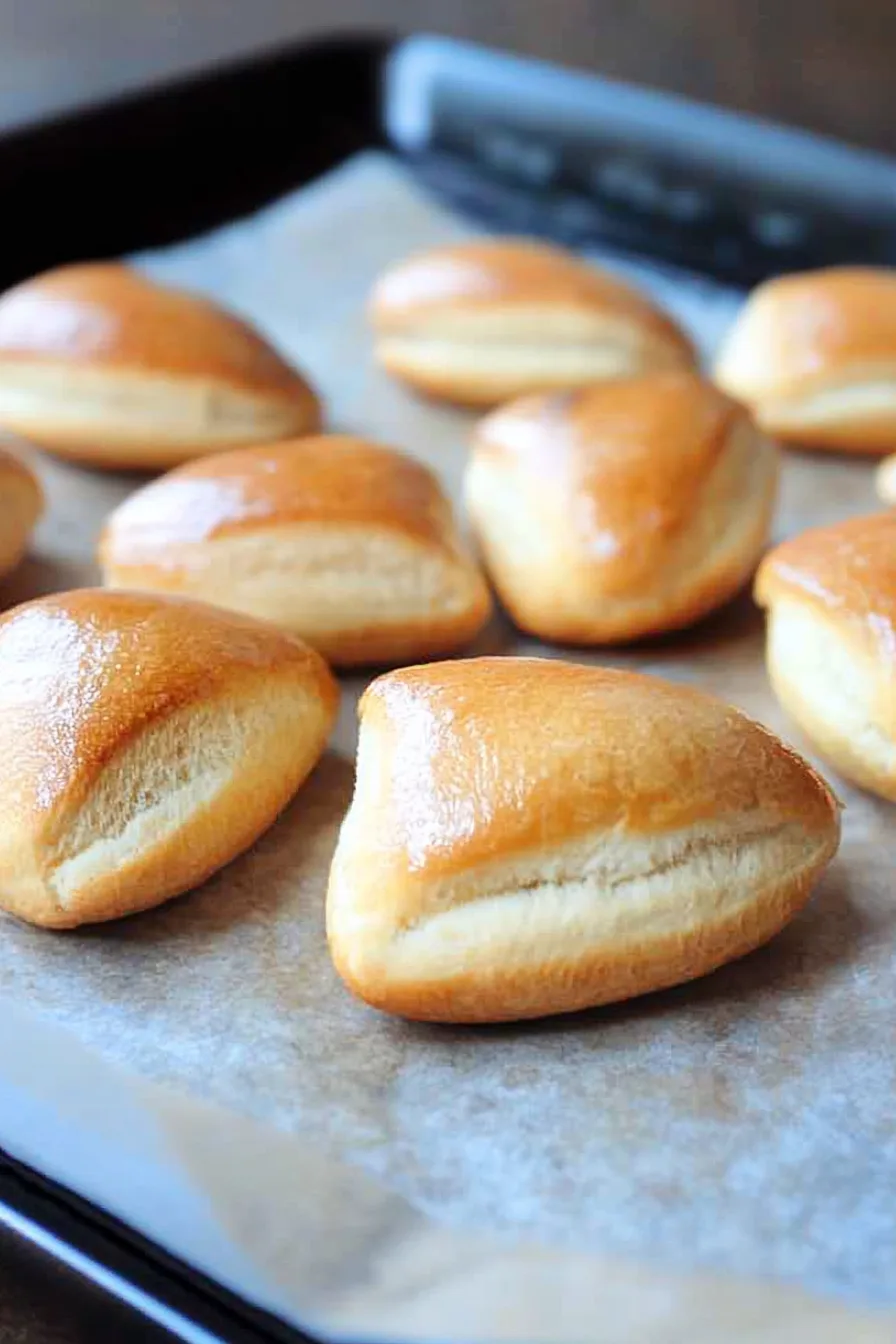
The beauty of this recipe is that it’s forgiving. It only needs one rise (hallelujah), which means less waiting and more eating. They’re simple enough for a weeknight dinner but fancy enough to sit proudly on your holiday table. Plus, that signature fold in the middle? It’s not just pretty—it gives the rolls their iconic pull-apart layers that make them so addictive.
Also, can we talk about the smell? There’s nothing quite like the scent of yeasted dough baking in butter. It’s the kind of smell that makes people wander into the kitchen pretending they’re “just checking on you.”
Ingredient Notes:
Here’s what you’ll need—and maybe a few little secrets that make these rolls so good.
-
Active dry yeast: Make sure it’s fresh! If it’s been sitting in your pantry since last Christmas, grab a new packet.
-
Warm water: The perfect temperature is like a baby’s bath—warm, not hot. Too hot, and the yeast taps out.
-
Whole milk: Gives the dough richness and makes it extra soft.
-
Unsalted butter: There’s butter in the dough and more brushed on top. Basically, it’s a love letter to butter.
-
Sugar: A touch of sweetness that helps activate the yeast and balances the salt.
-
Salt: The backbone of flavor—don’t skip it, ever.
-
All-purpose flour: Regular flour works beautifully here. You can add a bit more if your dough feels too sticky, but soft is what we’re going for.
Pro tip: Keep a little extra melted butter nearby for brushing. Trust me, once you start brushing, it’s hard to stop.
How To Make Parker House Dinner Rolls?
Making these rolls is easier than it looks. I promise. Just take it step by step—and maybe play some music while you knead.
Step 1: Dissolve the yeast.
Sprinkle your yeast over warm water in a large bowl and let it sit for five minutes. It’ll start to bubble up, kind of like it’s waking from a nap. That’s when you know it’s ready to party.
Step 2: Warm the milk mixture.
In a small saucepan, combine milk, butter, sugar, and salt. Warm it over low heat until the butter melts and the milk feels cozy to the touch. (If it’s too hot, let it cool a bit. We’re encouraging yeast here, not committing yeast murder.)
Step 3: Mix the dough.
Add the milk mixture to your yeast bowl and stir until combined. Add two cups of flour and mix—expect some lumps; that’s fine. Then add more flour, a cup at a time, until the dough is soft and pulls away from the sides of the bowl.
Step 4: Knead, baby, knead.
Turn the dough onto a floured surface and knead it for about five minutes. It should feel smooth and elastic, like playdough that got an upgrade. You’ll feel it come together in your hands—it’s weirdly satisfying.
Step 5: Let it rise.
Lightly oil a bowl, place your dough in it, and turn it so it’s coated. Cover with a towel and set it somewhere warm for about an hour. I usually pop mine on top of the fridge or near a sunny window. It doesn’t need to double, just puff up nicely.
Step 6: Shape the rolls.
Once it’s risen, punch the dough down (very therapeutic, by the way). Roll it out to about 1/4-inch thick. Use a round cutter to make circles, then press a crease down the middle with the back of a butter knife. Brush each with melted butter, fold them over, and press the edges lightly to seal.
Step 7: Bake to golden perfection.
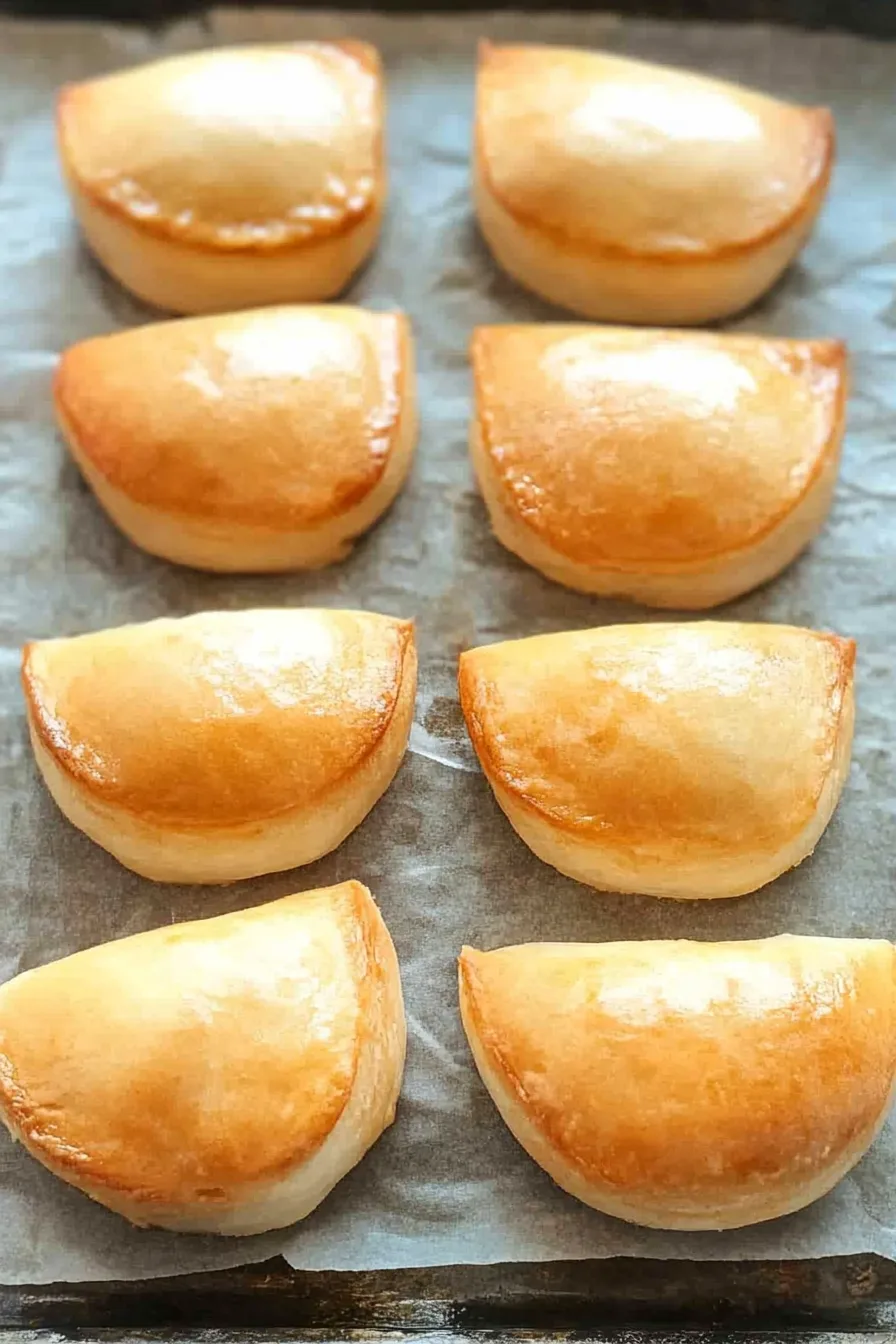
Place them on parchment-lined baking sheets, leaving a little space between each roll. Brush again with—you guessed it—butter. Bake at 425°F for about 15–18 minutes, until golden and puffed.
Step 8: The finishing touch.
Right when they come out of the oven, brush them with even more butter. (I know, I know, it sounds like a lot, but this is not a time to be stingy.)
Want To Save This Recipe?
Storage Options:
These rolls are best eaten fresh out of the oven—warm, soft, and glistening with butter—but if you somehow have leftovers, store them in an airtight container at room temperature for up to three days.
To reheat, wrap them in foil and warm in the oven at 325°F for about 8 minutes. You can also freeze them! Once cooled, stash them in a freezer-safe bag, and when you need them, just bake straight from frozen. They’ll taste freshly made, no one will know.
Variations and Substitutions:
Once you’ve nailed the classic Parker House Dinner Rolls, you can absolutely get creative.
-
Garlic herb butter: Stir in minced garlic and chopped parsley or thyme into your melted butter before brushing. It’ll make your kitchen smell like an Italian restaurant in the best way.
-
Cheesy rolls: Sprinkle shredded cheddar or parmesan inside the fold before baking. Heaven.
-
Sweet rolls: Add a bit more sugar to the dough and brush the tops with honey butter for brunch.
-
Whole wheat version: Swap half the flour for whole wheat. They’ll be slightly denser but still delicious.
What to Serve with Parker House Dinner Rolls?
I mean, these rolls go with everything. They’re like the friend who gets along with everyone at the party.
-
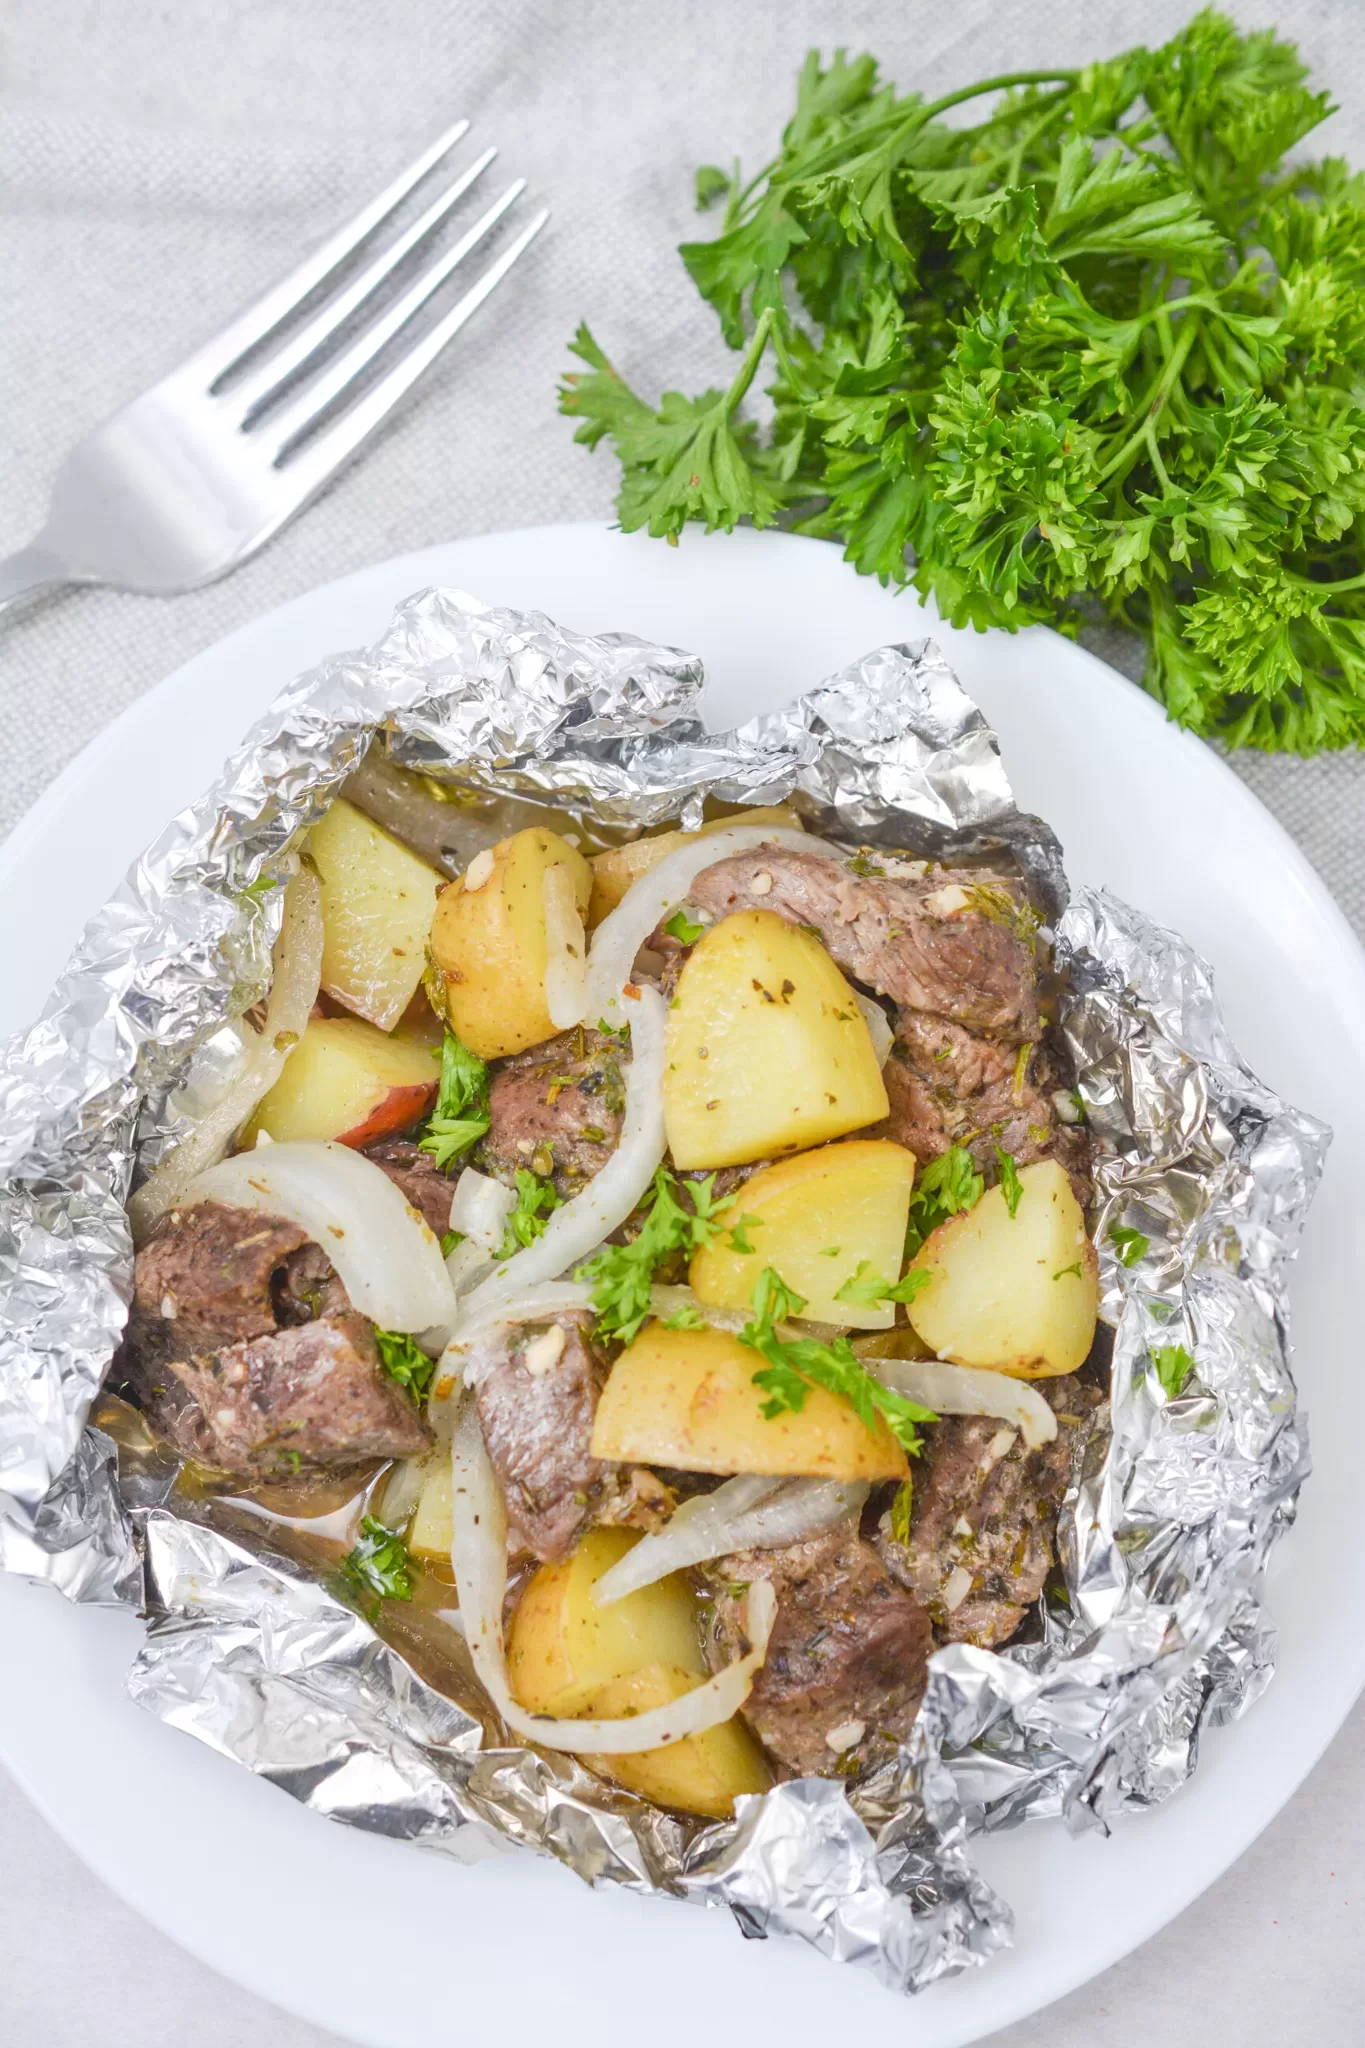
Holiday dinners: Turkey, ham, prime rib—these rolls fit right in.
-
Soup and stew: Dip one into beef stew or creamy chicken soup. Trust me.
-
Breakfast sandwiches: Slice them open, add scrambled eggs, cheese, maybe a little bacon.
-
Brunch boards: Serve them with jam, butter, and honey.
Honestly, you could serve them with just a stick of butter and a dream and no one would complain.
Frequently Asked Questions:
Can I make the dough ahead of time?
Yes! You can make it the day before, let it rise once, then refrigerate overnight. Bring it to room temperature before shaping.
Can I use instant yeast?
Absolutely. Just skip the proofing step and add it directly to the flour.
Do I have to use butter three times?
Okay, technically no. But also… yes. That’s what makes Parker House rolls, well, Parker House rolls.
There’s something about making these Parker House Dinner Rolls that just feels like home. Maybe it’s the smell of butter browning in the oven, or the way the dough feels warm and alive under your hands. Or maybe it’s because these rolls always seem to bring people together—family, friends, whoever happens to wander into the kitchen.
They’re not perfect every time (mine still occasionally come out uneven), but that’s part of the charm. So go ahead, flour your counter, make a mess, and bake up a batch. And when you take that first bite—soft, golden, buttery perfection—you’ll understand why this recipe has been passed down for generations.
Now go on—make these Parker House Dinner Rolls. And if you burn the first batch? Welcome to the club. We’ve all been there.
Keep the Flavor Coming – Try These:
Parker House Dinner Rolls
Ingredients
- 2 1/4 teaspoons 1 envelope active dry yeast
- 3 tablespoons lukewarm water
- 1 1/2 cups 355ml whole milk
- 3 tablespoons unsalted butter cut into chunks
- 3 tablespoons sugar
- 2 teaspoons salt
- 4 1/2 cups 630g all-purpose flour plus more if needed
- 6 tablespoons unsalted butter melted, for brushing the rolls
Instructions
Dissolve the Yeast:
- In a large mixing bowl, sprinkle the yeast over the lukewarm water and allow it to sit for approximately 5 minutes until dissolved and foamy. This step activates the yeast and ensures the rolls rise properly.
Prepare the Milk Mixture:
- In a small saucepan, combine the milk, 3 tablespoons of butter, sugar, and salt. Warm over low heat until the butter has melted and the milk feels comfortably warm to the touch. Avoid overheating; if the mixture becomes too hot, let it cool slightly before use.
Combine the Wet and Dry Ingredients:
- Stir the yeast mixture gently, then pour in the milk mixture while stirring continuously until smooth. Add 2 cups of flour and mix until nearly smooth, leaving just a few small lumps. Gradually add more flour, one cup at a time, until a soft dough forms. The dough should be pliable but not sticky.
Knead the Dough:
- Transfer the dough to a floured surface. Knead gently for several minutes until smooth and elastic, adding small amounts of flour as necessary. This develops the gluten and gives the rolls their signature fluffy texture.
First Rise:
- Lightly grease a clean bowl with a small amount of vegetable oil. Place the dough into the bowl, turning it once so all sides are coated. Cover with plastic wrap or a clean damp towel and allow to rise in a warm, draft-free location for about 1 hour, or until the dough becomes soft and puffy (it does not need to double in size).
Preheat the Oven:
- Preheat the oven to 425°F (220°C). Line two large baking sheets with parchment paper.
Shape the Rolls:
- Punch down the risen dough to release air. Transfer it to a lightly floured work surface and roll it out to approximately 1/4-inch thickness. If the dough resists rolling, let it rest for a few minutes before continuing.
- Using a 2 1/2-inch round biscuit or cookie cutter, cut the dough into circles. Dip the cutter in flour as needed to prevent sticking and cut as closely together as possible. Using the back of a butter knife, press a light crease down the center of each round. Brush each piece with melted butter, then fold it in half along the crease to form a half-moon shape. Press gently to seal the edges.
- Arrange the rolls on the prepared baking sheets, leaving about 2 inches between each one. Brush with additional melted butter.
Bake the Rolls:
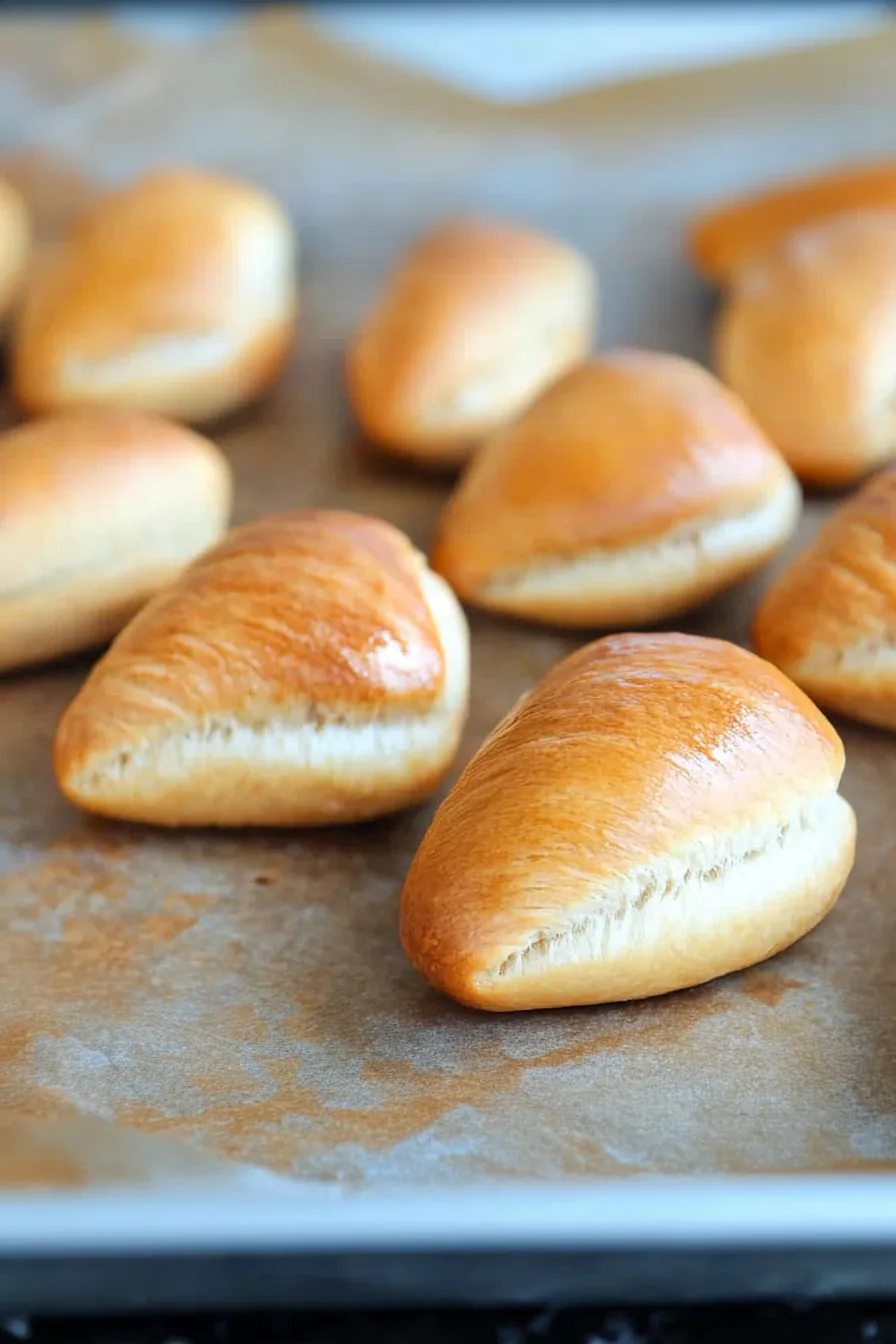
- Bake the rolls for 15–18 minutes, rotating the trays halfway through for even baking. The rolls are done when puffed, golden brown, and slightly crisp at the edges.
Serve:
- Remove from the oven and immediately brush the tops with the remaining melted butter for a rich, glossy finish. Serve warm or at room temperature.
Notes
I’m Bitty, owner of nodashofgluten.com, where I share simple, delicious recipes for all tastes, including gluten-free. Check out my “About Me” page for more info!

