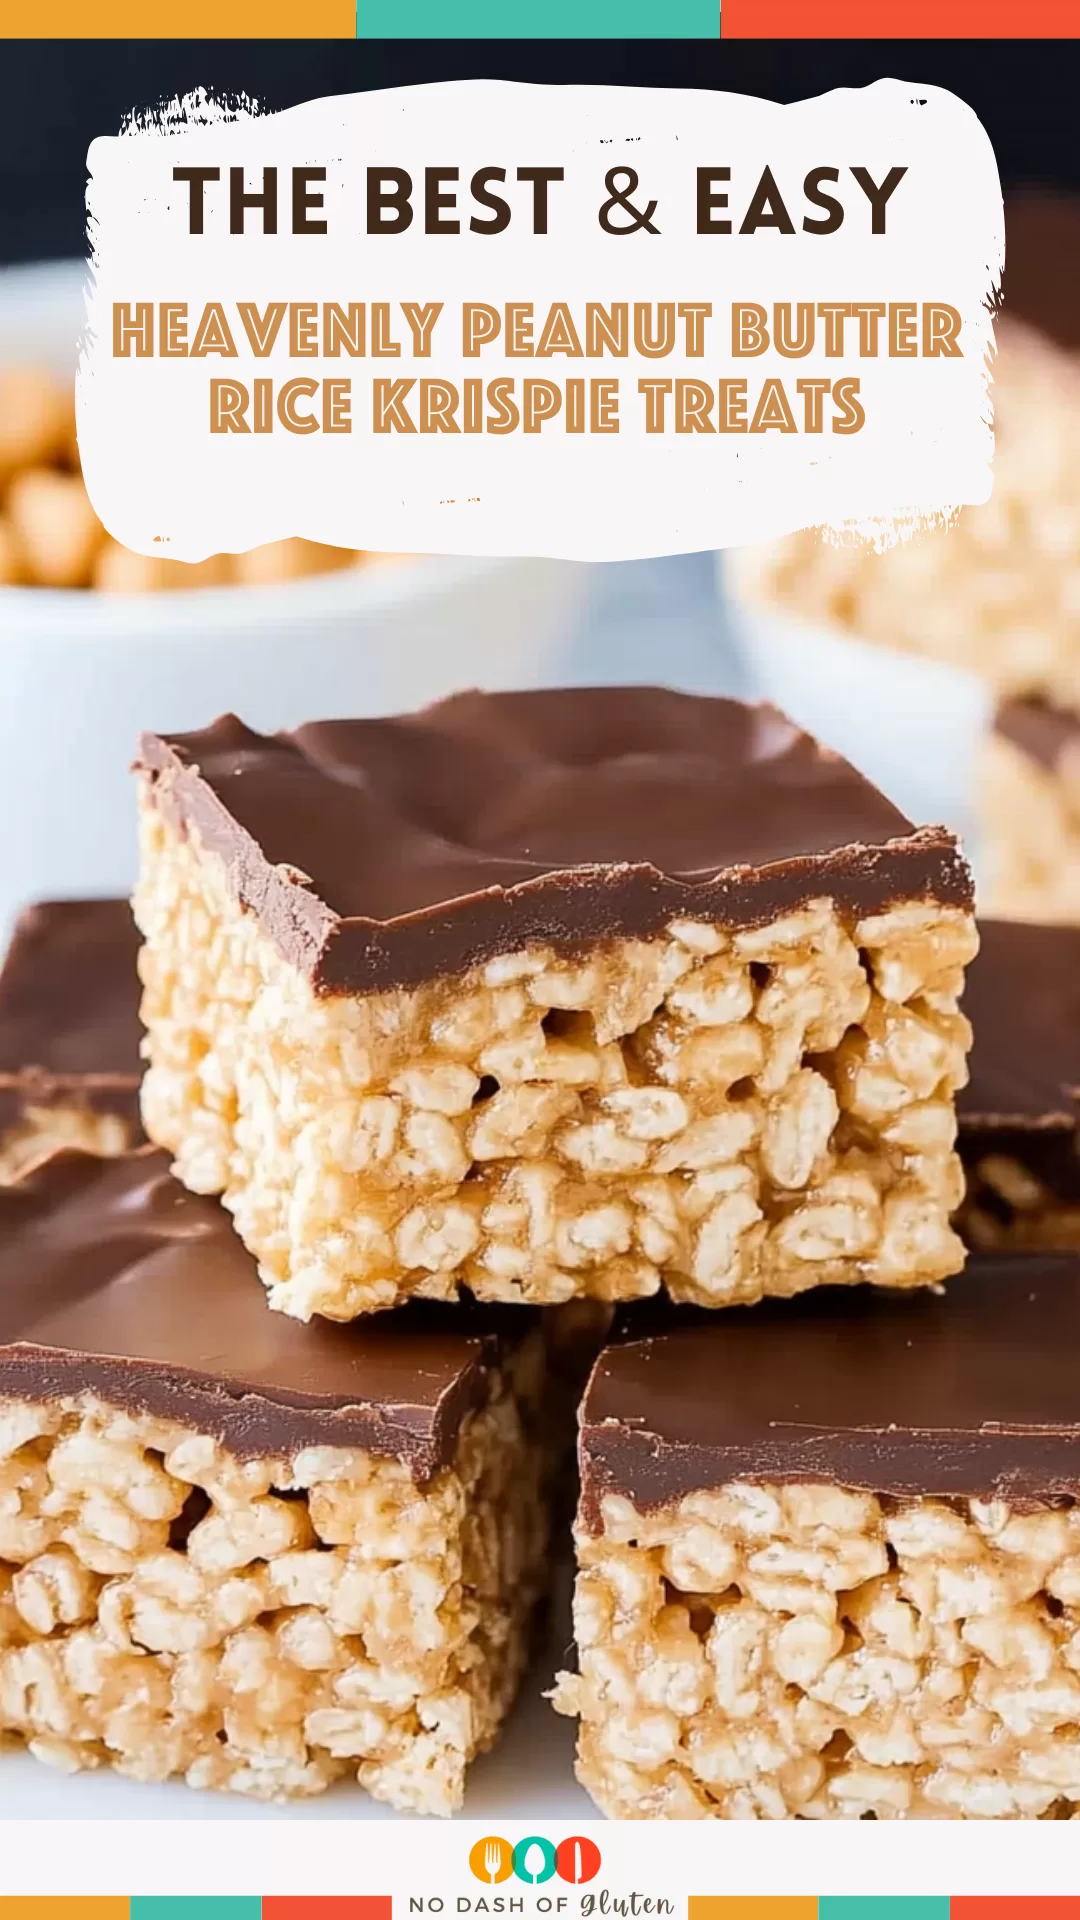
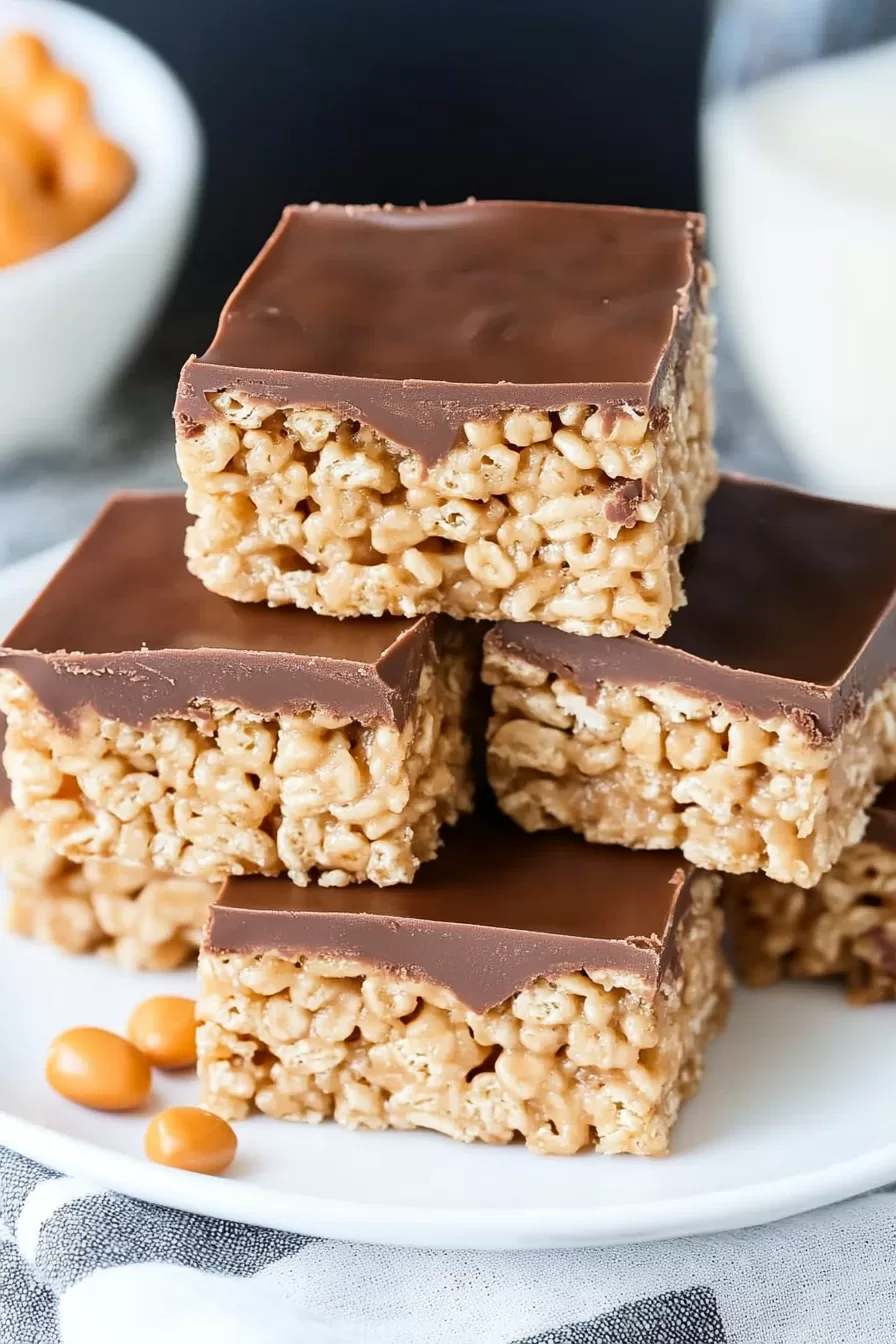
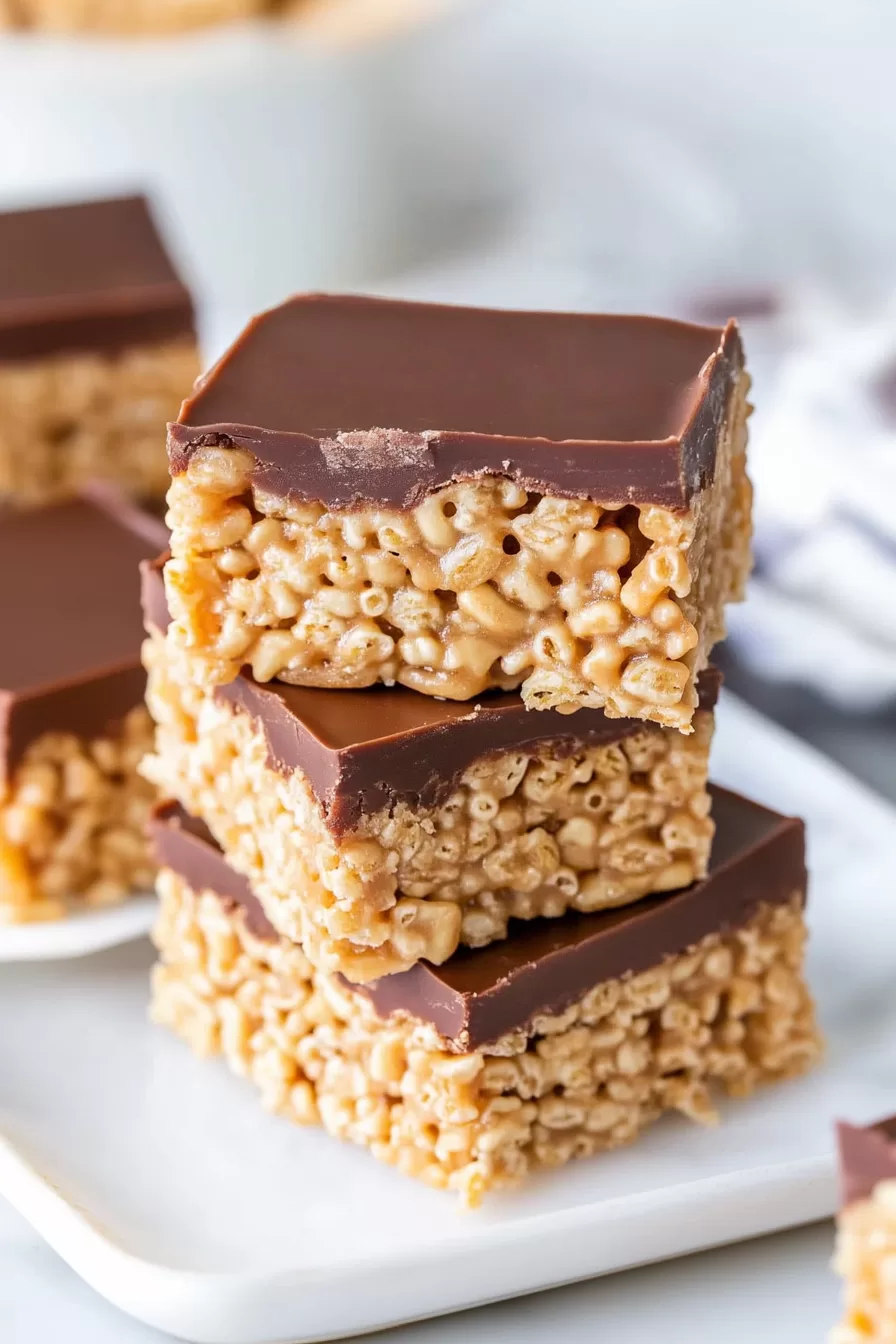
Peanut Butter Rice Krispie Treats: Marshmallows, peanut butter, crispy Rice Krispies, and a rich chocolate topping. Easy to make and so addictive!
There’s just something about Peanut Butter Rice Krispie Treats that takes me straight back to childhood. My mom used to make these for every school bake sale, and let me tell you, they sold out every single time. I’d sneak into the kitchen, hoping to snag a piece before they were packed up, but Mom always seemed to catch me mid-bite. Her trick? Leaving the “ugly” edge pieces out just for me.


Fast forward to now, and I’m carrying on the tradition—ugly edges and all. The first time I made these for my kids, I half-expected them to prefer cookies or brownies. Nope. They went nuts for them. It’s the peanut butter, I think. There’s just something magical about that creamy, nutty flavor paired with gooey marshmallows and crunchy cereal.
And don’t even get me started on the chocolate drizzle. It’s like the finishing touch that turns a humble snack into something downright irresistible. Whether I’m making them for a potluck or just a Tuesday treat, these never fail to make people smile. And let’s be honest—what more can you ask for from dessert?
Why You’ll Love This Peanut Butter Rice Krispie Treats Recipe?
Here’s why Peanut Butter Rice Krispie Treats are about to become your new favorite:
- No-Bake Simplicity: No oven, no stress—just quick, easy deliciousness.
- Perfect Combo of Textures: Gooey, crunchy, creamy, and chewy all in one bite.
- Crowd-Pleasing Flavor: Peanut butter and chocolate—does it get any better?
- Kid-Friendly: From helping stir to sneaking marshmallows, it’s a recipe kids love to make (and eat).
Ingredient Notes:
Let’s break down the magic behind this recipe:
- Unsalted Butter: Adds richness and keeps the marshmallows from sticking to the pan.
- Mini Marshmallows: The glue that holds everything together. Fresh marshmallows make all the difference!
- Smooth Peanut Butter: The creamy base that makes these treats so irresistible. Chunky works too if you’re feeling adventurous.
- Rice Krispies: Classic and essential. Their crispiness is what makes each bite so satisfying.
- Chocolate Chips: A sweet, melty layer that takes these treats to the next level.
- Vegetable Oil: Just a little for a glossy chocolate drizzle that looks as good as it tastes.
Pro Tip: If your marshmallows are a little stale, microwave them with a damp paper towel to bring back their fluffiness.
How To Make Peanut Butter Rice Krispie Treats?
Making these treats is as easy as pie—actually, way easier than pie. Here’s how:
- Prep Your Pan
Grease a 9×13-inch pan with butter or non-stick spray. Trust me, this step will save you a world of sticky frustration later. - Melt the Marshmallow Mixture
In a large saucepan, melt the butter, peanut butter, and marshmallows over low heat. Stir constantly—it’s like a mini arm workout, but worth it. When the mixture is smooth and gooey, you’re ready for the next step. - Mix in the Rice Krispies
Take the saucepan off the heat and immediately add the Rice Krispies. Stir quickly, making sure every piece is coated in that marshmallowy goodness. It’s a little messy, but isn’t that half the fun? - Press Into the Pan
Pour the mixture into your greased pan and press it down evenly. Pro tip: Spray your hands or spatula with non-stick spray to avoid the dreaded sticky fingers. - Melt the Chocolate
In a microwave-safe bowl, melt the chocolate chips in 30-second intervals, stirring between each one. Once they’re smooth, stir in the vegetable oil for that shiny, professional-looking finish. - Drizzle and Set
Pour the melted chocolate over the Rice Krispie layer, spreading it evenly. Let it sit at room temperature for about 2 hours, or speed things up by popping it in the fridge. - Slice and Enjoy
Once the chocolate is set, slice into squares and dig in. Don’t forget to taste-test (for quality control, of course).
Storage Options:
Here’s how to keep your treats fresh (if they last that long):
- Room Temperature: Store in an airtight container for up to 5 days. Layer with
parchment paper to avoid sticking. - Refrigerate: Keep them in the fridge for up to a week if your kitchen gets warm.
- Freeze: Wrap individual squares in plastic wrap, then store in a freezer bag. They’ll stay good for up to a month!
Variations and Substitutions:
Feeling creative? Try these twists:
- Crunchy Peanut Butter: Adds a little extra texture to every bite.
- Dark Chocolate: For a richer, slightly less sweet topping.
- Add-Ins: Mix in mini M&Ms, sprinkles, or chopped nuts for fun variations.
- Nut-Free Version: Swap the peanut butter for sunflower seed butter to make it allergy-friendly.
Want To Save This Recipe?
What to Serve with Peanut Butter Rice Krispie Treats?
These treats are perfect on their own, but here’s how to elevate them:
- Hot Cocoa: Because nothing says cozy like chocolate and marshmallows.
- Ice Cream Sundaes: Crumble a square over vanilla ice cream for a game-changing dessert.
- Afternoon Coffee: Sweet, crunchy, and the perfect pick-me-up.
Frequently Asked Questions:
Can I use chunky peanut butter?
Absolutely! It adds a bit of texture and makes the treats even more satisfying.
Why didn’t my treats hold their shape?
Make sure your marshmallows are fresh, and don’t skimp on pressing the mixture into the pan.
Can I make these ahead of time?
Definitely. They’ll stay fresh for up to 5 days at room temperature or a week in the fridge.
So, what do you think? Are you ready to whip up a batch of Peanut Butter Rice Krispie Treats? Whether you’re sharing them with friends or keeping them all to yourself (no judgment!), I promise they’ll be a hit. Let me know how they turn out—and if you add your own twist, I’d love to hear about it!
Keep the Flavor Coming – Try These:
Heavenly Peanut Butter Rice Krispie Treats
Ingredients
- 1/4 cup equivalent to 4 tablespoons of unsalted butter
- 1 10- ounce bag of mini marshmallows roughly around 5 cups
- 1/2 cup or 8 tablespoons of smooth peanut butter
- A hearty 6 cups of Rice Krispie cereal
- About 1 1/3 cups or an 8-ounce bag of chocolate chips
- Lastly don't forget 2 teaspoons of vegetable oil
Instructions
- Step 1: Initiate your baking endeavor by tenderly greasing a 9x13-inch pan with butter or a dash of non-stick cooking spray. This is our insurance against stickiness!
- Step 2: In the welcoming warmth of a large saucepan, allow the unsalted butter, mini marshmallows, and peanut butter to coalesce into a delicious melange. Keep the flame low, and your stirring gentle. Patience is our secret ingredient here.
- Step 3: As soon as they've intertwined into a harmonious blend, bid the heat adieu. It's now time to introduce the Rice Krispies to the mix, stir until every piece is covered with our marshmallow-peanut butter concoction.
- Step 4: Now comes the pressing task. Gently persuade the combined mixture into your prepped pan. A friendly piece of advice: a spritz of non-stick cooking spray on your hands can be your best ally against the sticky situation!
- Step 5: Now, let's awaken the chocolate. House the chocolate chips in a medium-sized heatproof bowl and provide them with a series of 45-second holidays in the microwave. We're using medium power here, not high or standard. Stir in between each session to ensure they melt uniformly.
- Step 6: As the chocolate chips surrender to the warmth and start melting, stir them until they've become a luscious river of chocolate. It's now time for the vegetable oil to dive in, ensuring our chocolate attains a glossy sheen.
- Step 7: With elegance, cascade this glossy chocolate river over the awaiting bars. Allow nature to do its work as it hardens at room temperature - roughly a waiting game of 2 hours.
- Step 8: With a sharp knife, carve out neat squares, and don't forget to house any remaining ones in an airtight container at room temperature.
- And there you have it, a step-by-step guide to creating your own heavenly Peanut Butter Rice Krispie Treats. Happy baking!
Notes
I’m Bitty, owner of nodashofgluten.com, where I share simple, delicious recipes for all tastes, including gluten-free. Check out my “About Me” page for more info!