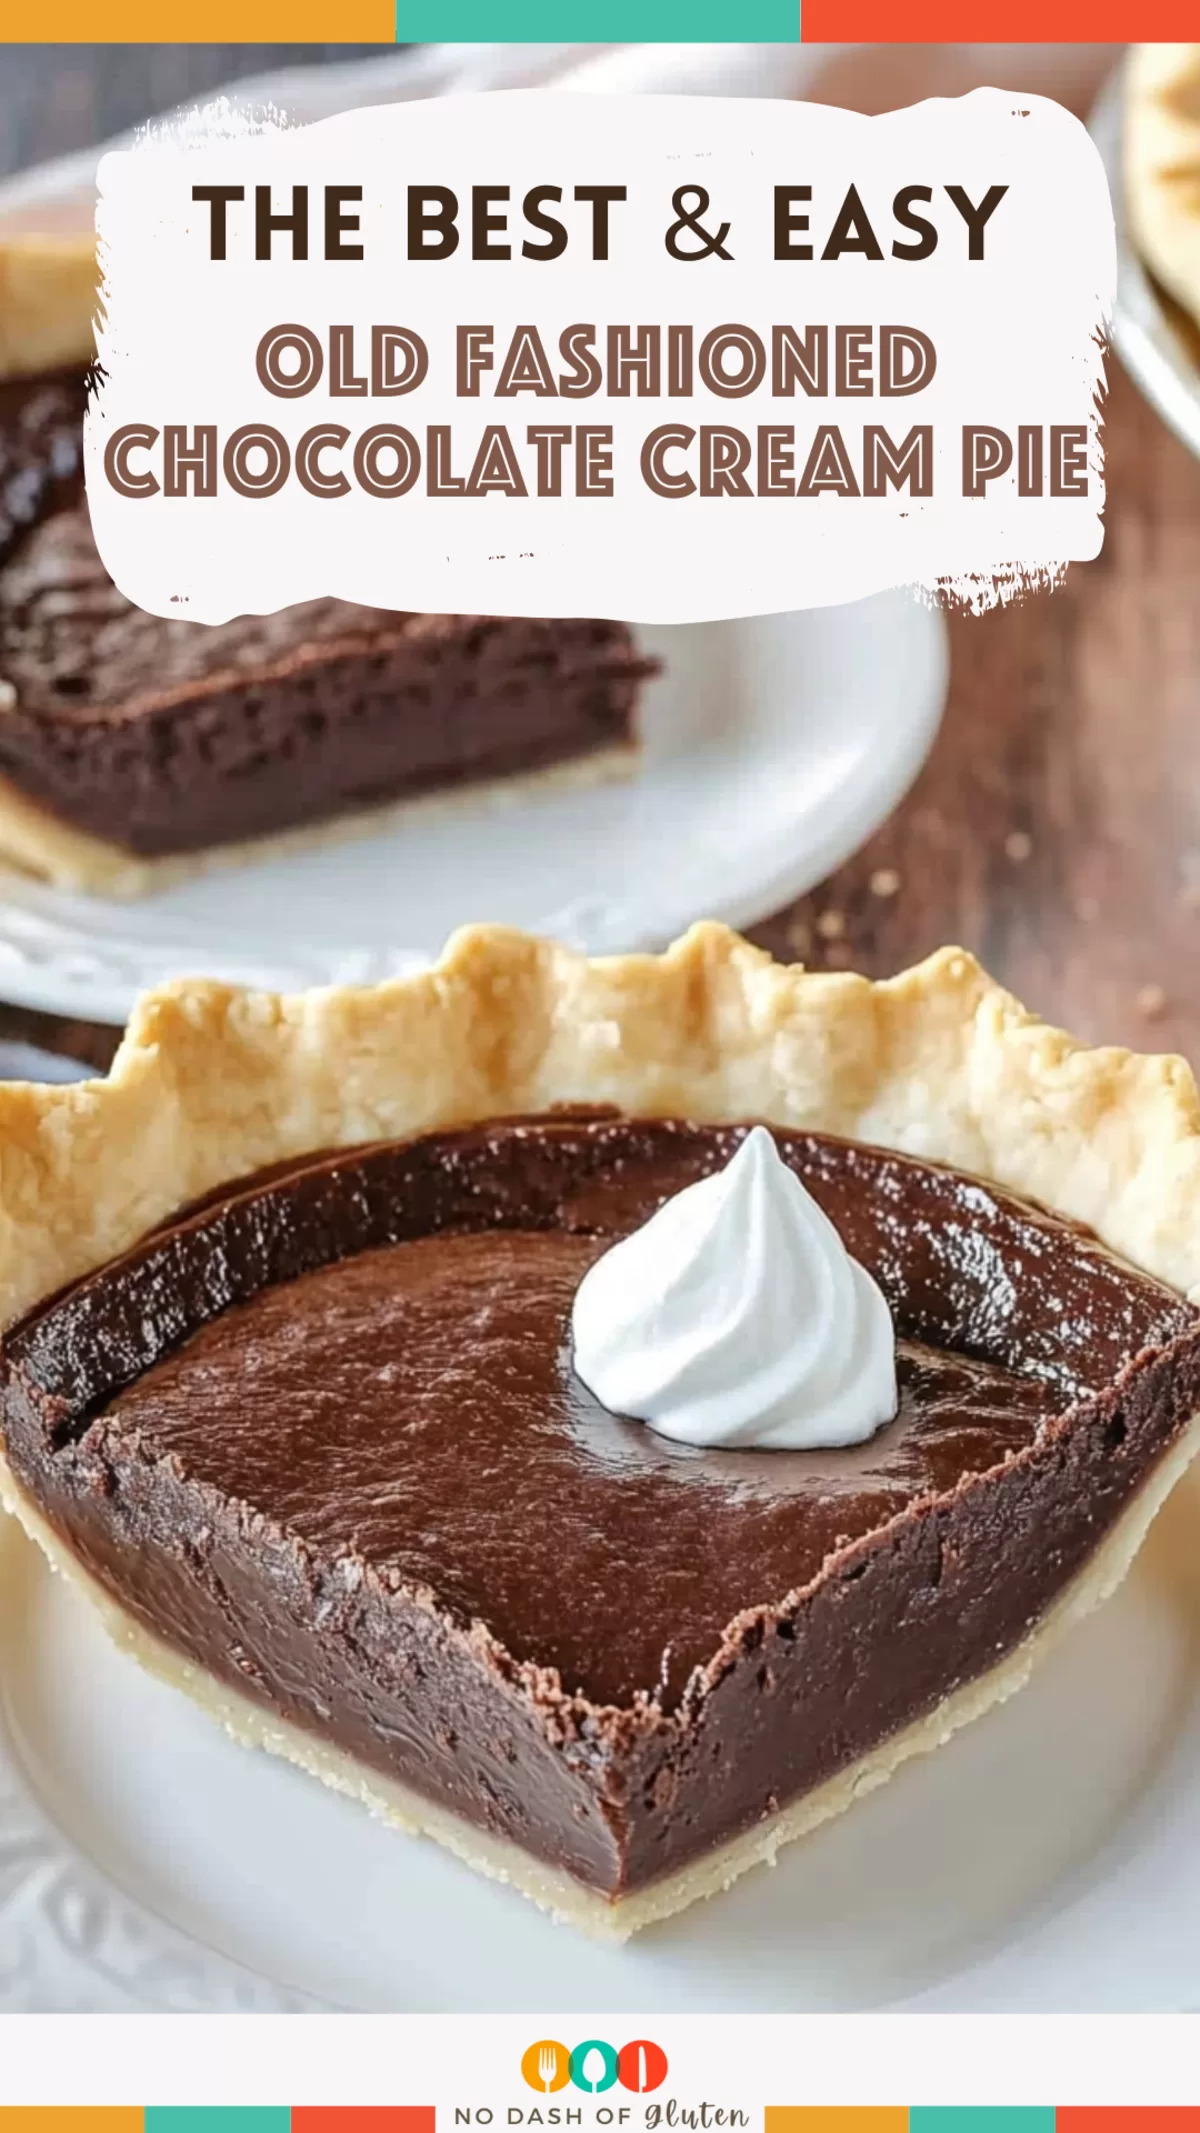
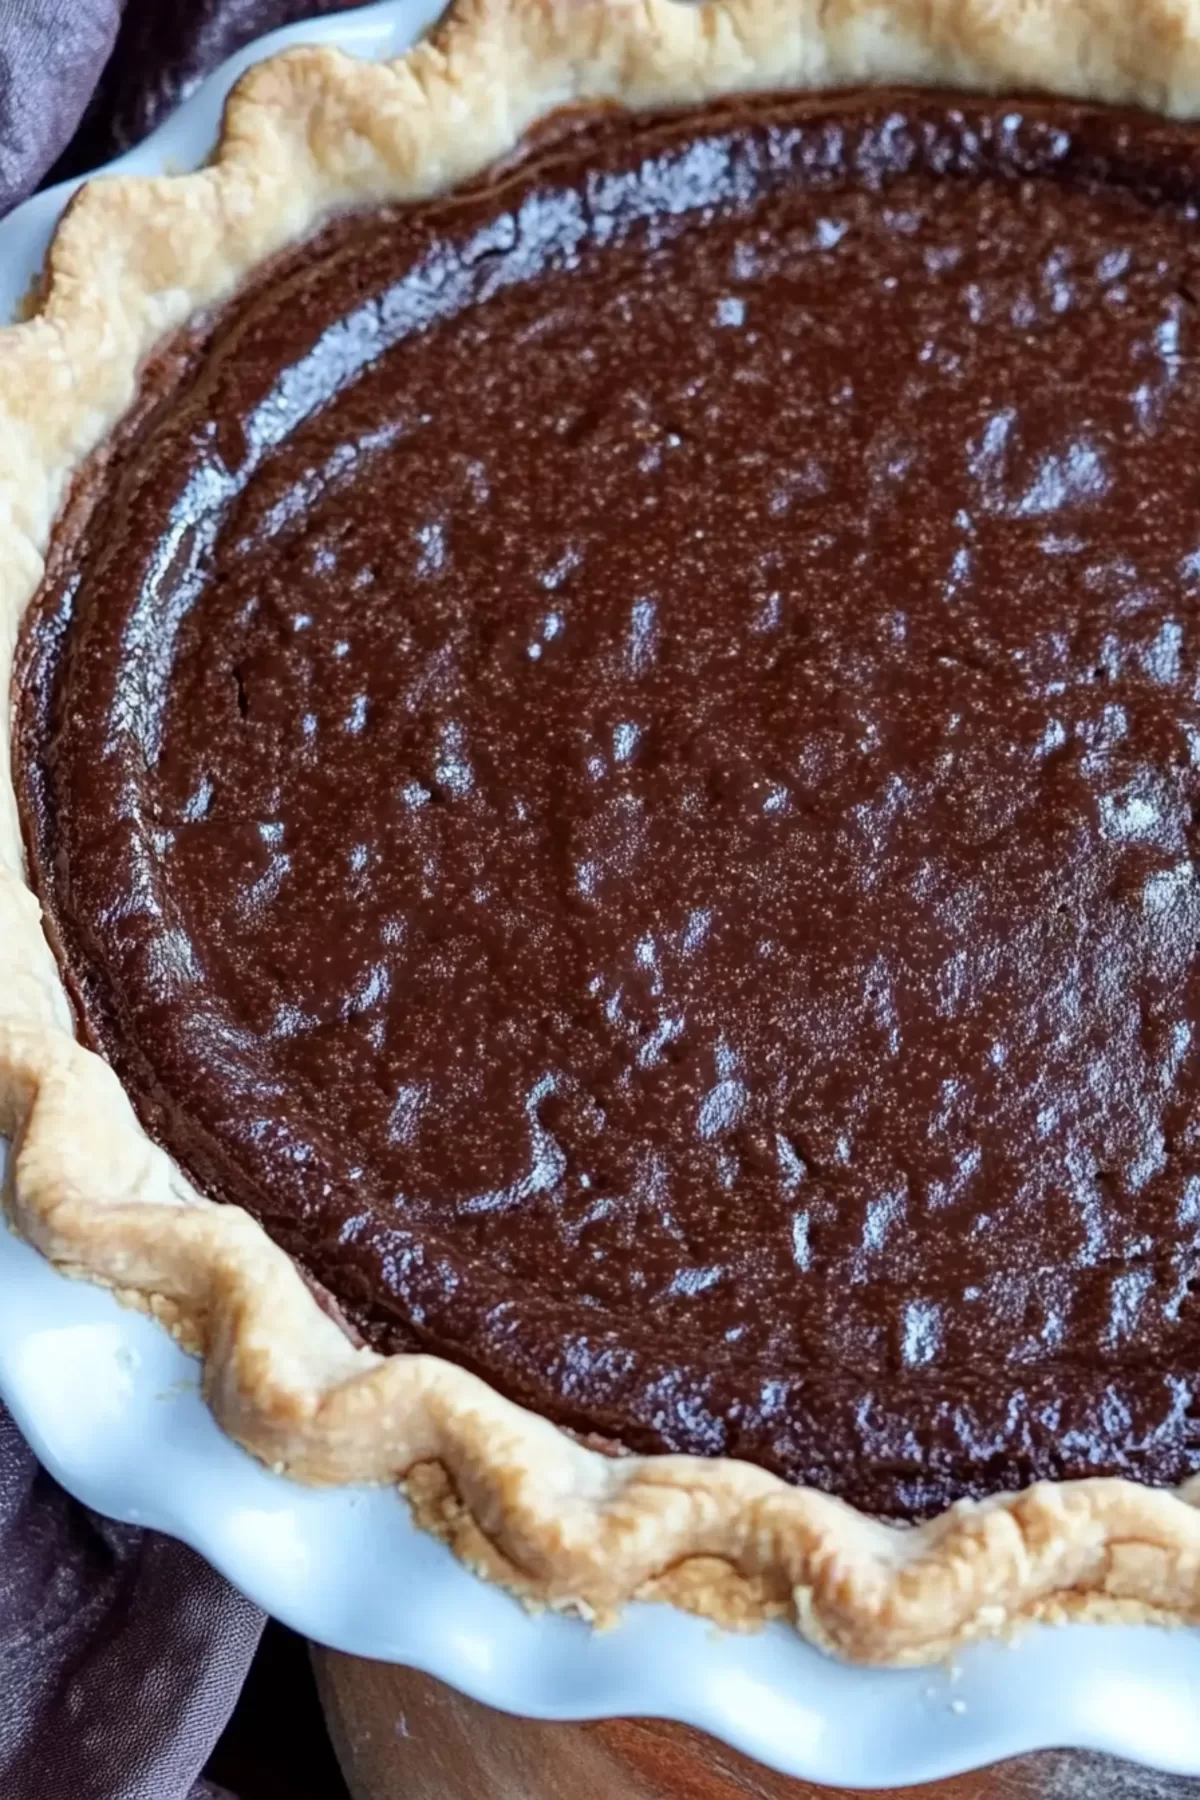
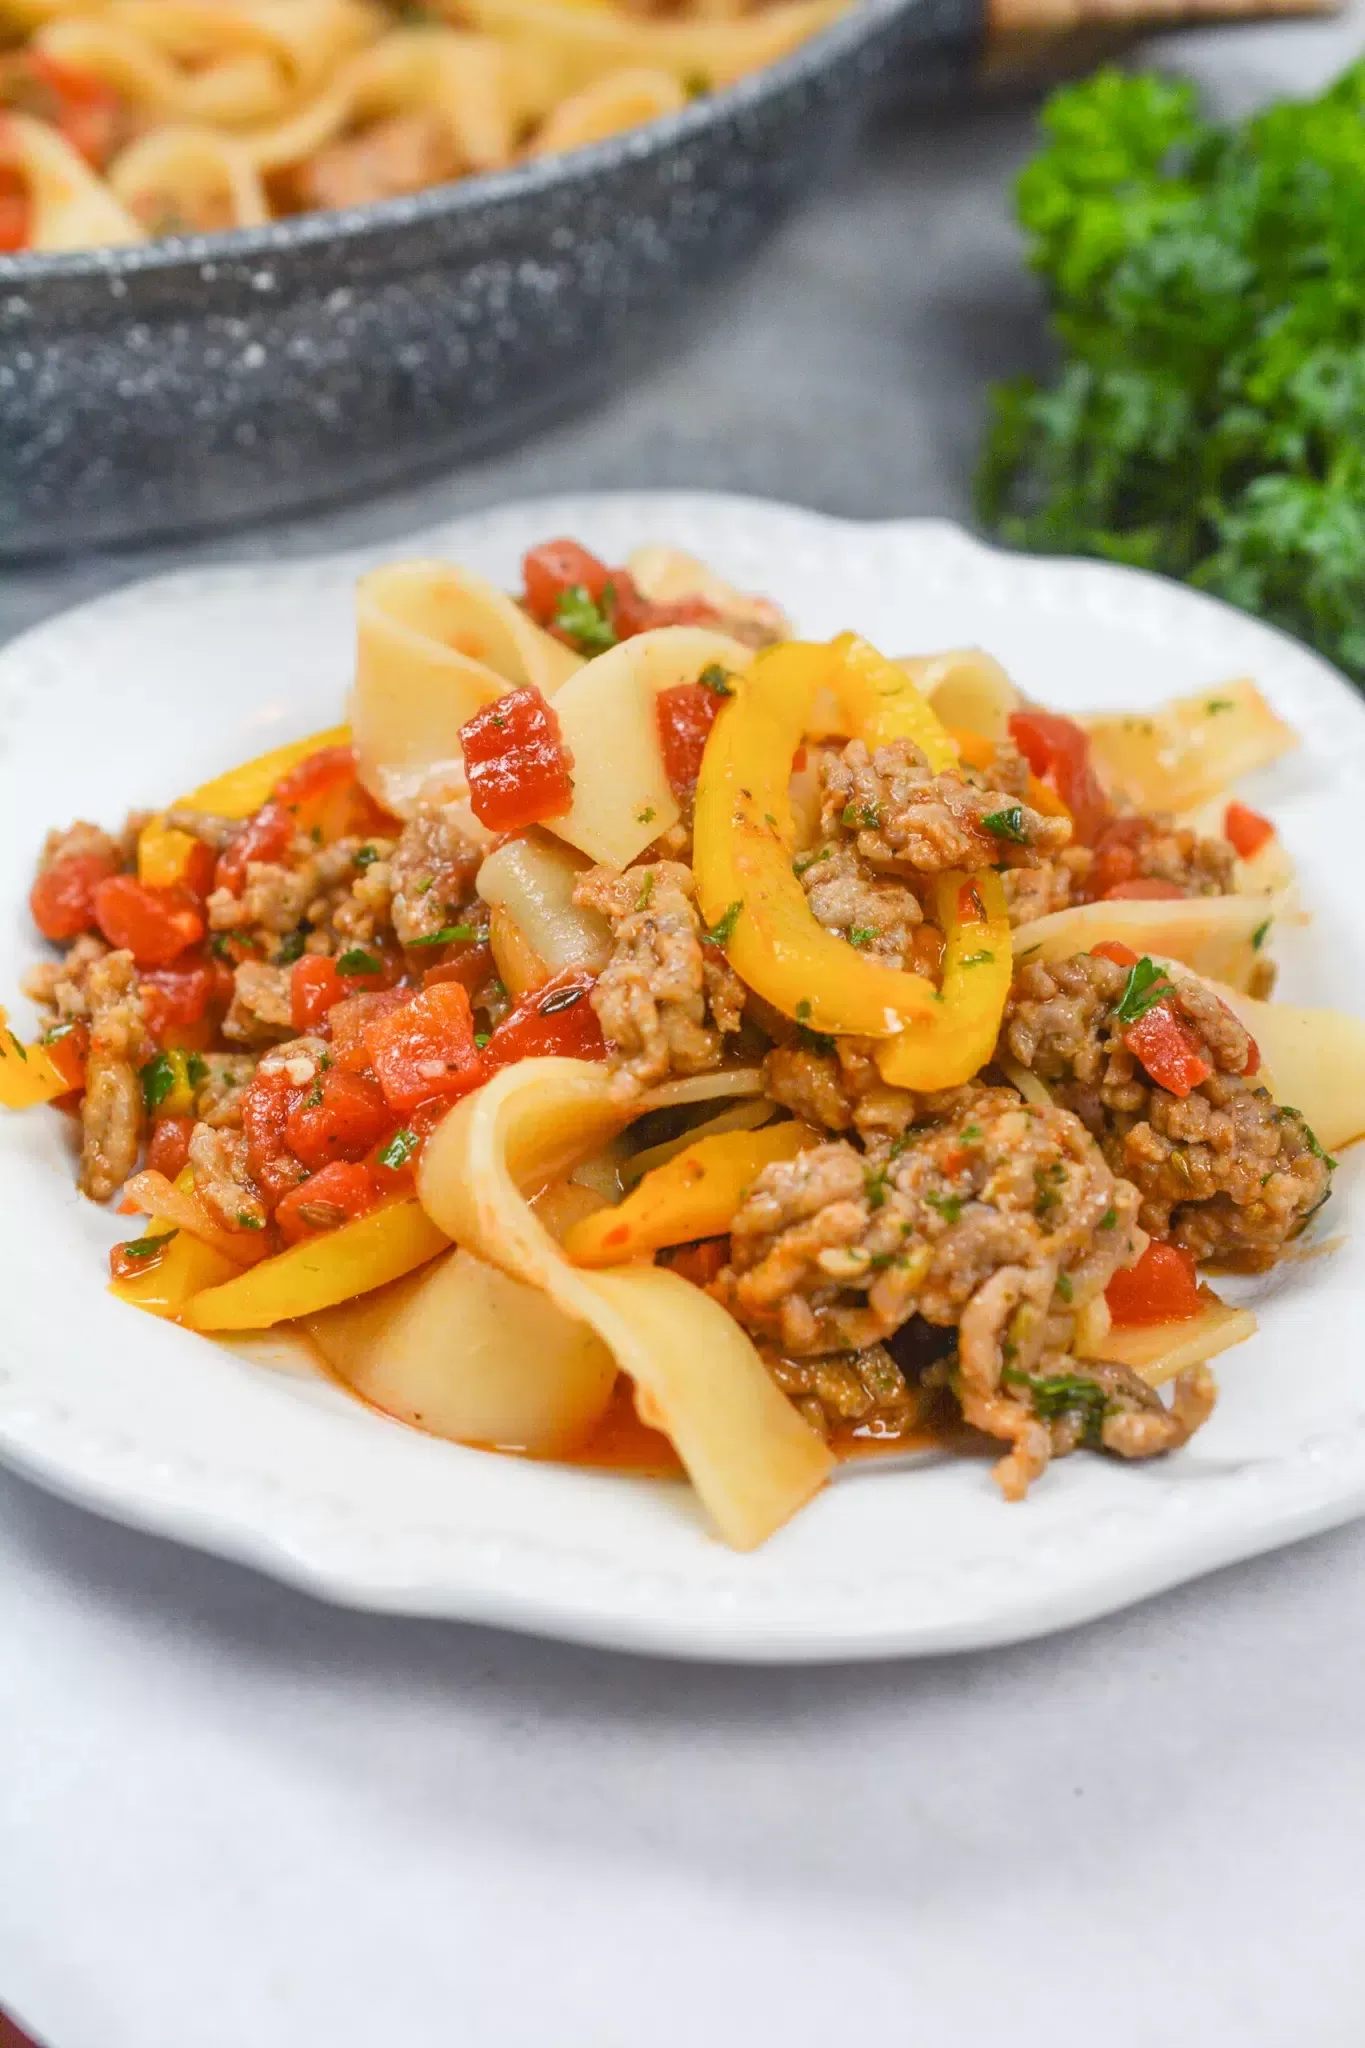
Rich cocoa, creamy milk, and vanilla come together in this Old Fashioned Chocolate Cream Pie—pure comfort in every bite.
Have you ever tasted something that instantly takes you back? For me, that’s this Old Fashioned Chocolate Cream Pie. Every bite feels like a time machine to Sunday afternoons at my grandma’s house. She always had a knack for making simple desserts feel like a celebration.

Remember it later!
Planning to try this recipe soon? Pin it for a quick find later!
Remember it later!
Planning to try this recipe soon? Pin it for a quick find later!
Grandma’s chocolate cream pie wasn’t just dessert; it was the event. The sound of her whisk clinking against the saucepan, the aroma of cocoa filling the kitchen, and that first silky, chocolatey bite—it’s etched in my memory. As a kid, I’d hover around her, impatiently asking, “Is it done yet?” only to be handed the spoon to scrape out whatever filling was left in the pot (which, let’s be honest, was the best part).
The first time I attempted this pie on my own, I thought, How hard can it be? Answer: harder than I thought. I whisked like a maniac, got cocoa on my shirt, and my filling was way too thick (pro tip: don’t crank the heat up to “get it done faster”). But when I finally nailed it, oh my goodness—it was like Grandma was right there with me. Now, this pie has become a staple in my house, especially when I’m craving something classic and comforting.
Here’s a quick peek at what’s inside:
Table of content
Why You’ll Love This Old Fashioned Chocolate Cream Pie Recipe?
- It’s a Classic: This isn’t some trendy dessert that’ll be forgotten next year—it’s timeless.
- Simple Ingredients, Big Flavor: Just a few pantry staples come together to create something magical.
- Silky Smooth Texture: That creamy filling against the flaky crust? Absolute perfection.
- Customizable Toppings: Whipped cream, meringue, or even a sprinkle of chocolate curls—you do you.
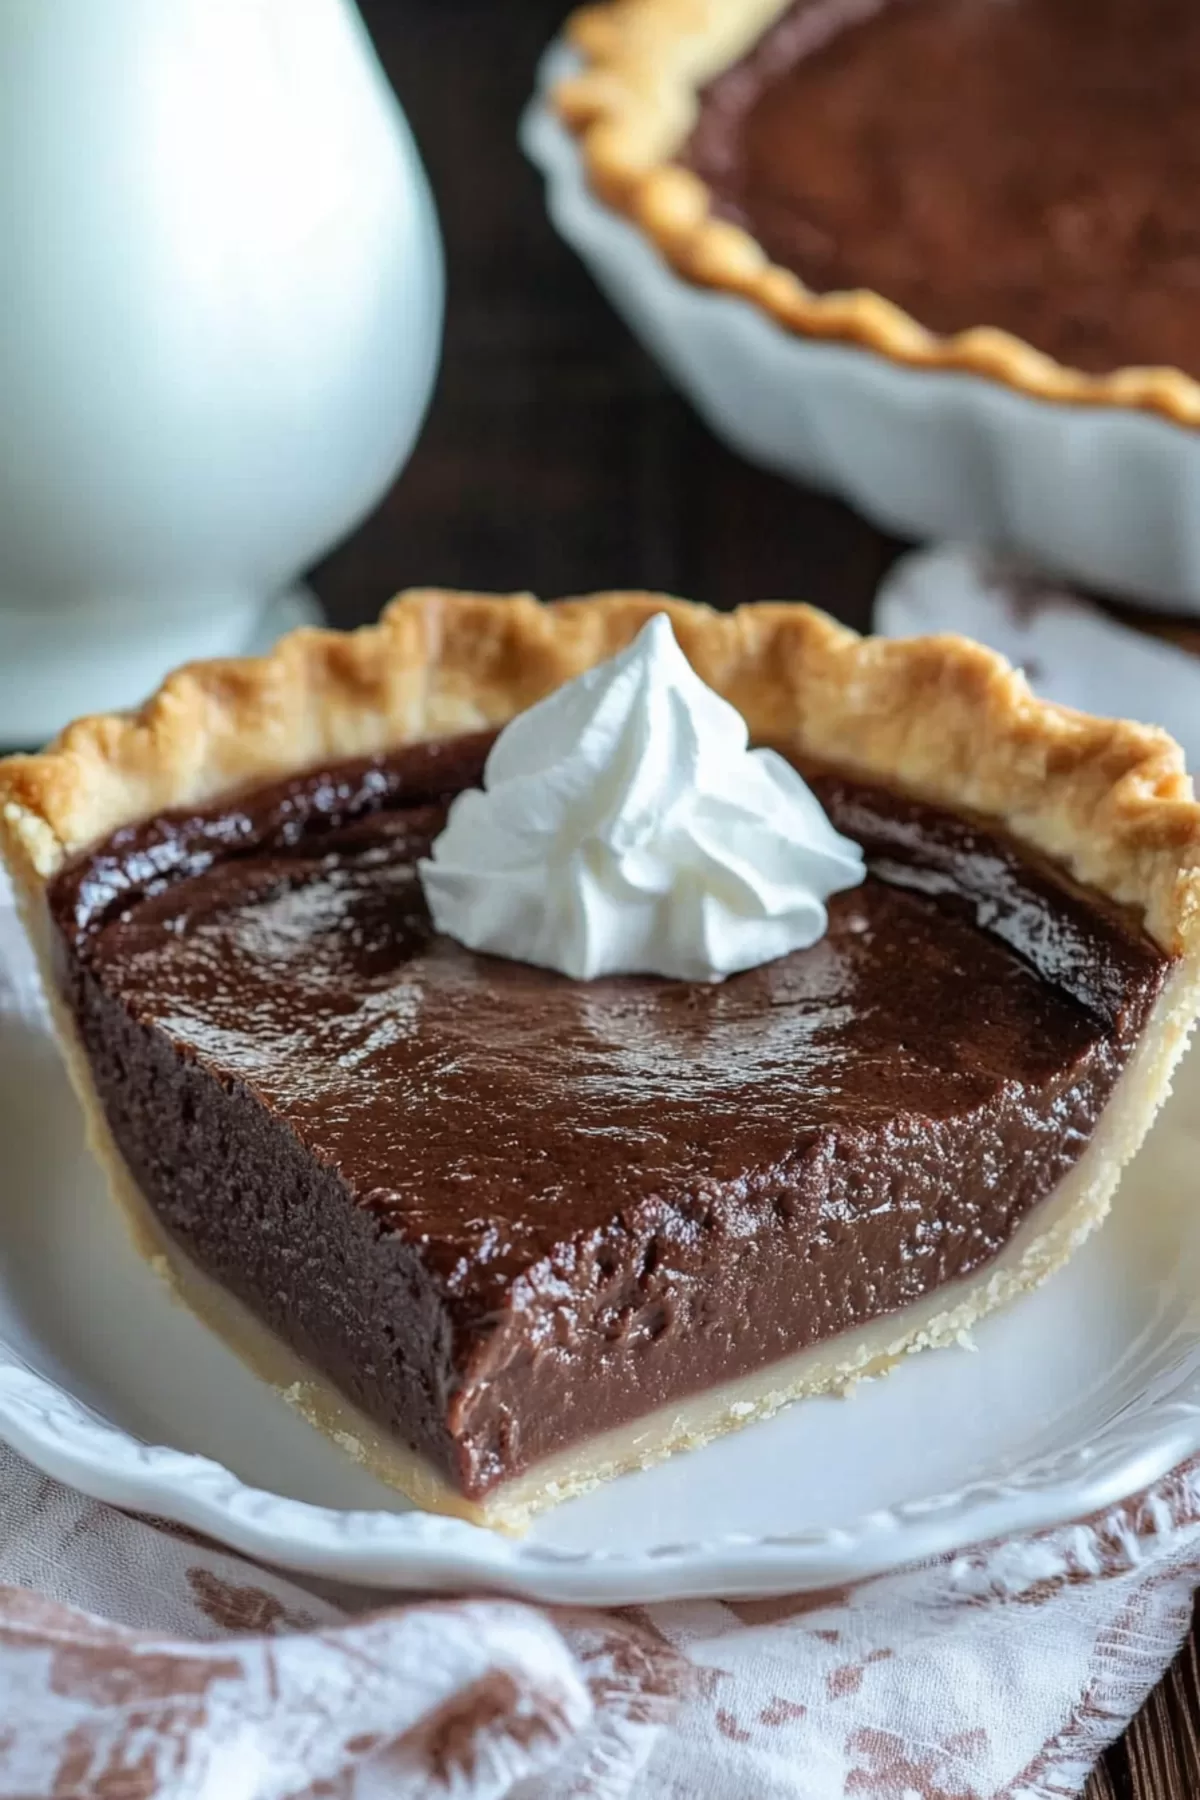
Ingredient Notes:
Here’s the lineup and why each one matters:
- Cornstarch: This is your thickening superstar. Without it, you’re left with chocolate soup—not the vibe we’re going for.
- Cocoa Powder: Use the good stuff here. A quality cocoa powder makes a noticeable difference.
- Egg Yolks: These add richness and help the filling set. And hey, save the whites for meringue if you’re feeling fancy.
- Granulated Sugar: Sweet but not overly sweet—it’s all about balance.
- Whole Milk: Creamy, smooth, and essential for that velvety texture. (You could use 2%, but why?)
- Vanilla Extract: It’s like the little black dress of desserts—subtle but essential.
- Prebaked Pie Shell: Store-bought is fine, but if you’re feeling ambitious, a homemade crust takes this to the next level.
How To Make Old Fashioned Chocolate Cream Pie?
This pie may look fancy, but it’s actually pretty straightforward. Let’s get started:
- Prep Your Crust
If you’re going the store-bought route, prebake it according to the package instructions. If you’re making it from scratch, bake it ahead of time so it’s ready to hold that luscious filling. - Mix the Dry Ingredients
In a medium saucepan, whisk together the cornstarch, cocoa powder, sugar, and a pinch of salt. Starting with the dry ingredients helps prevent lumps later. - Add the Wet Ingredients
Whisk in the egg yolks until smooth. Slowly pour in the milk while stirring constantly. This step is where things can get messy—so go slow and steady. - Cook the Filling
Place the saucepan over medium heat and keep whisking. The mixture will start to thicken after about 10-15 minutes. When it’s thick enough to coat the back of a spoon, you’re good to go. Stir in the vanilla extract for that final flavor boost. - Pour and Chill
Pour the warm filling into your prebaked pie shell. Smooth the top with a spatula, then pop it in the fridge to set for at least 4 hours (overnight is even better). - Top and Serve
Right before serving, top your pie with whipped cream, meringue, or even a dusting of cocoa powder. Slice it up and savor every bite.
Storage Options:
Here’s how to keep your pie fresh (assuming there’s any left):
- Refrigerate: Store in an airtight container or cover tightly with plastic wrap. It’ll stay good for up to 4 days, but let’s be real—it won’t last that long.
- Freezing: Cream pies don’t freeze well because the filling can separate. If you’re determined, freeze individual slices and thaw them in the fridge before serving.
Variations and Substitutions:
Want to mix things up? Here are some ideas:
- Go Dark Chocolate: Use dark cocoa powder for a richer, more intense flavor.
- Gluten-Free Option: Swap the pie crust for a gluten-free version.
- Add a Twist: Stir in a pinch of cinnamon or espresso powder for a little extra oomph.
- Graham Cracker Crust: For a sweeter, crunchier alternative to the classic pastry crust.
Want To Save This Recipe?
Enter your email below and we'll send the recipe straight to your inbox.
What to Serve with Old Fashioned Chocolate Cream Pie?
This pie is a showstopper on its own, but pairing it with the right sidekick can make it even better:
- Whipped Cream: Light and fluffy—it’s a no-brainer.
- Fresh Berries: Strawberries or raspberries add a tart contrast to the rich chocolate.
- Ice Cream: A scoop of vanilla or coffee ice cream takes this dessert to another level.
- Coffee or Tea: Because what’s better than dessert with a warm drink?
Frequently Asked Questions:
Can I use a store-bought crust?
Absolutely! No judgment here—it saves time and still tastes amazing.
How do I avoid lumps in the filling?
Whisk, whisk, whisk! And make sure your dry ingredients are fully combined before adding the wet ones. Low and slow heat is key.
Can I make this pie ahead of time?
Yes! In fact, it’s better to make it a day in advance so the filling has plenty of time to set.
What about you? Ready to whip up this Old Fashioned Chocolate Cream Pie and bring a little nostalgia to your table? Let me know how it turns out—or if you end up eating a slice straight from the fridge at midnight (no judgment here, I’ve done it too).
Remember it later!
Planning to try this recipe soon? Pin it for a quick find later!
Remember it later!
Planning to try this recipe soon? Pin it for a quick find later!
Keep the Flavor Coming – Try These:
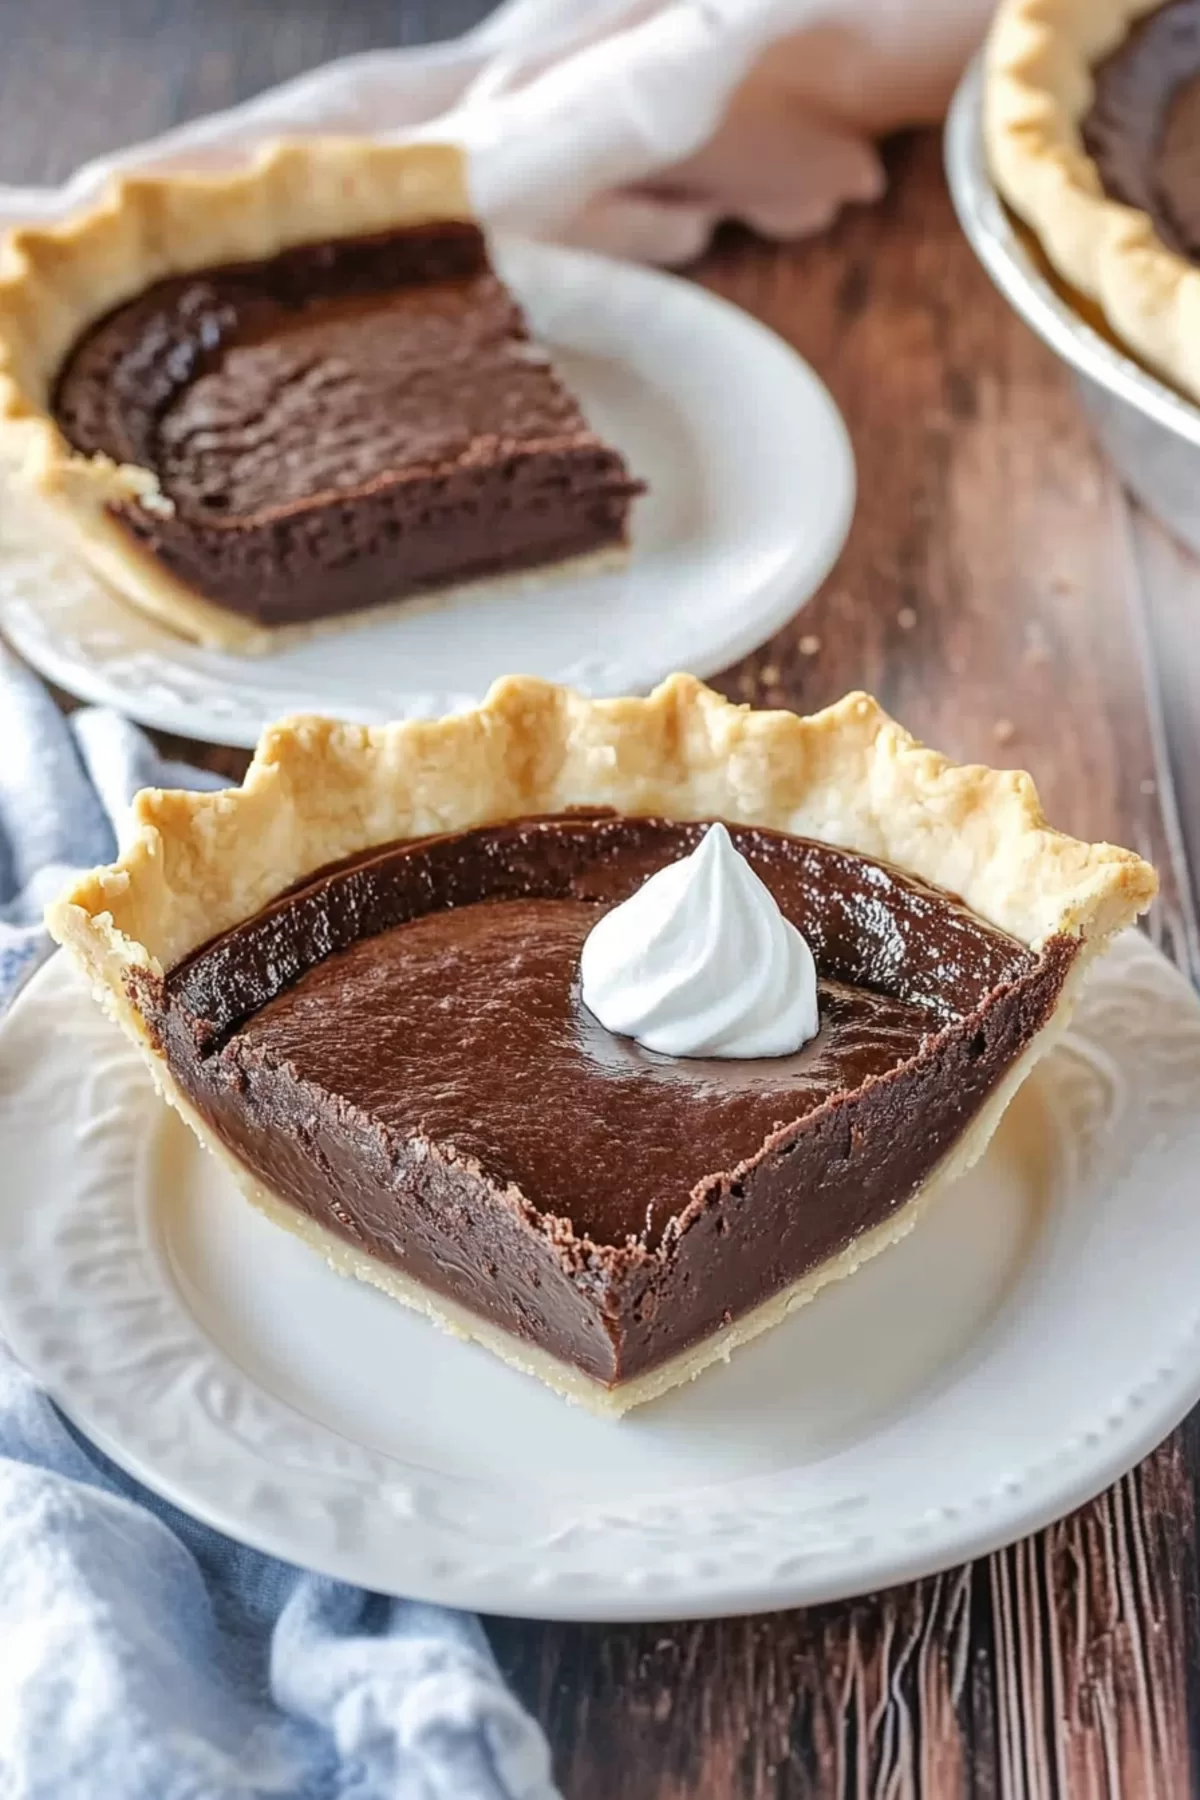
Old Fashioned Chocolate Cream Pie
Ingredients
- 1 prebaked pie shell 8 or 9 inch
- ½ cup cornstarch
- ½ cup cocoa powder
- 3 egg yolks
- 1 ½ cups granulated sugar
- ¼ teaspoon salt
- 2 cups whole milk
- 1 teaspoon vanilla extract
- ¼ teaspoon salt
Instructions
- In a saucepan set over medium-high heat whisk together ½ cup of cornstarch, ½ cup of cocoa powder, 1 ½ cups of granulated sugar and a pinch of salt.
- Combine the 3 egg yolks, with the mixture and whisk until it becomes smooth and well blended.
- While continuously stirring gradually pour in 2 cups of milk. Keep the heat gentle as you blend all the ingredients together.
- As the mixture starts to thicken up add in 1 teaspoon of vanilla extract to enhance its flavors.
- Stir patiently and consistently for about 10 to 15 minutes until the mixture reaches a smooth consistency.
- Once it's thick enough to coat the back of a spoon remove it from heat.
- Pour this velvety mixture into a pie shell measuring either 8 or 9 inches. Make sure to distribute it for deliciousness.
- Refrigerate your pie for several hours so that it can set and chill perfectly.
- To add a touch of delightfulness top your creation, with whipped cream or meringue before serving.
- Savor every bite of your Old Fashioned Chocolate Cream Pie while enjoying how its flavors perfectly capture the essence of traditions.
Notes

I’m Bitty, owner of nodashofgluten.com, where I share simple, delicious recipes for all tastes, including gluten-free. Check out my “About Me” page for more info!


