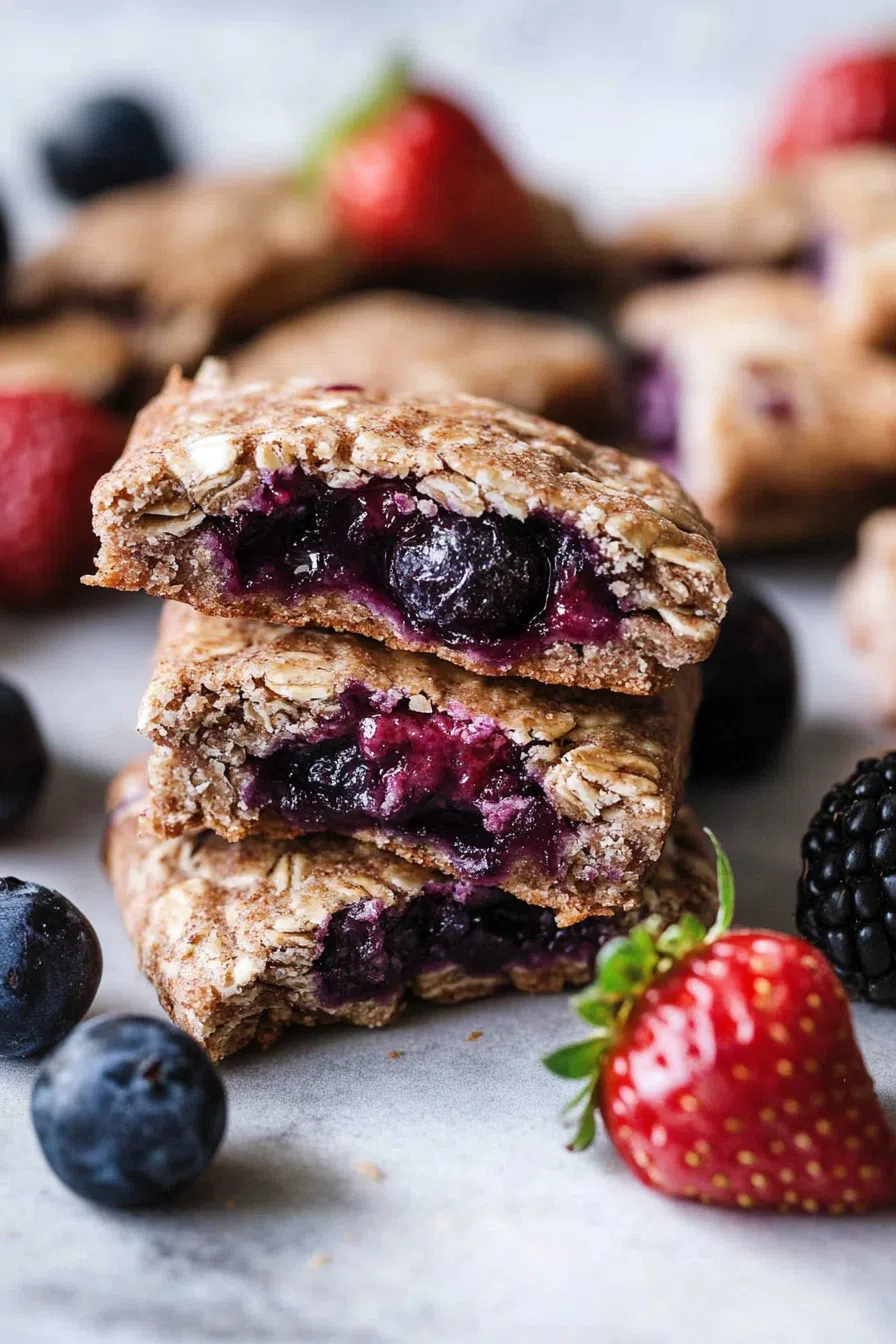
This Nutrigrain Bar Recipe is made with oats, whole wheat flour, honey, and jam for a soft and chewy snack. Ditch the store-bought version and make these easy, homemade bars instead!
You ever take a bite of something and suddenly feel like you’re 10 years old again, sitting at the kitchen table before school, stuffing your face while your mom yells, “Hurry up or you’ll miss the bus!”? That’s exactly what these homemade Nutrigrain bars do for me.
Growing up, I lived for those boxed fruit-filled bars. They were soft, sweet, and made me feel like I was eating dessert for breakfast—basically kid heaven. But as an adult? I looked at the ingredients and, uh… let’s just say, they aren’t exactly the wholesome snack I thought they were.


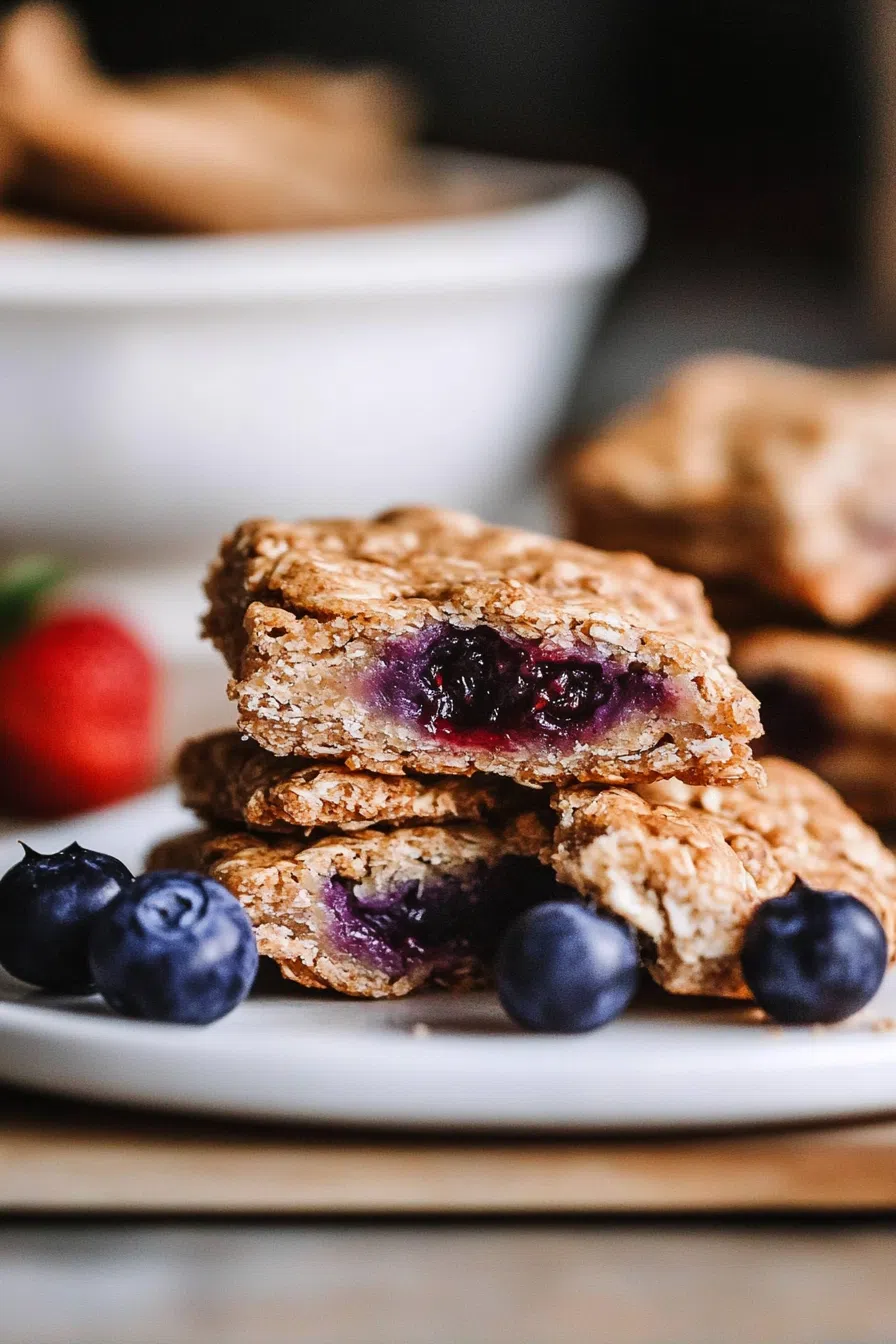
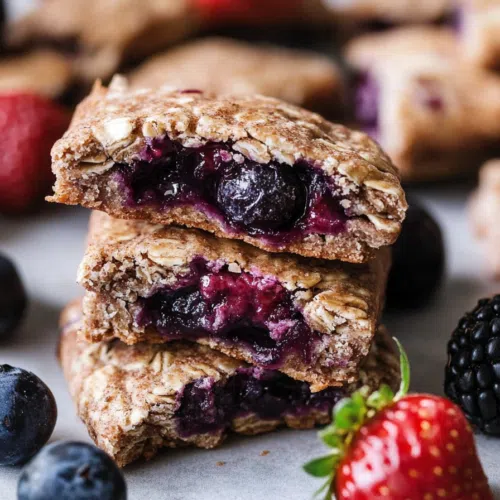
So, naturally, I had to make my own. And let me tell you—these homemade Nutrigrain bars? Next level. Soft, chewy, packed with real fruit and whole grains, and way better than anything you’ll find in a wrapper. Plus, they’re ridiculously easy to make, and you can switch up the flavors however you like.
If you’re ready to bring back those childhood vibes—but with real ingredients—you’ve gotta try these!
Why You’ll Love This Nutrigrain Bar Recipe?
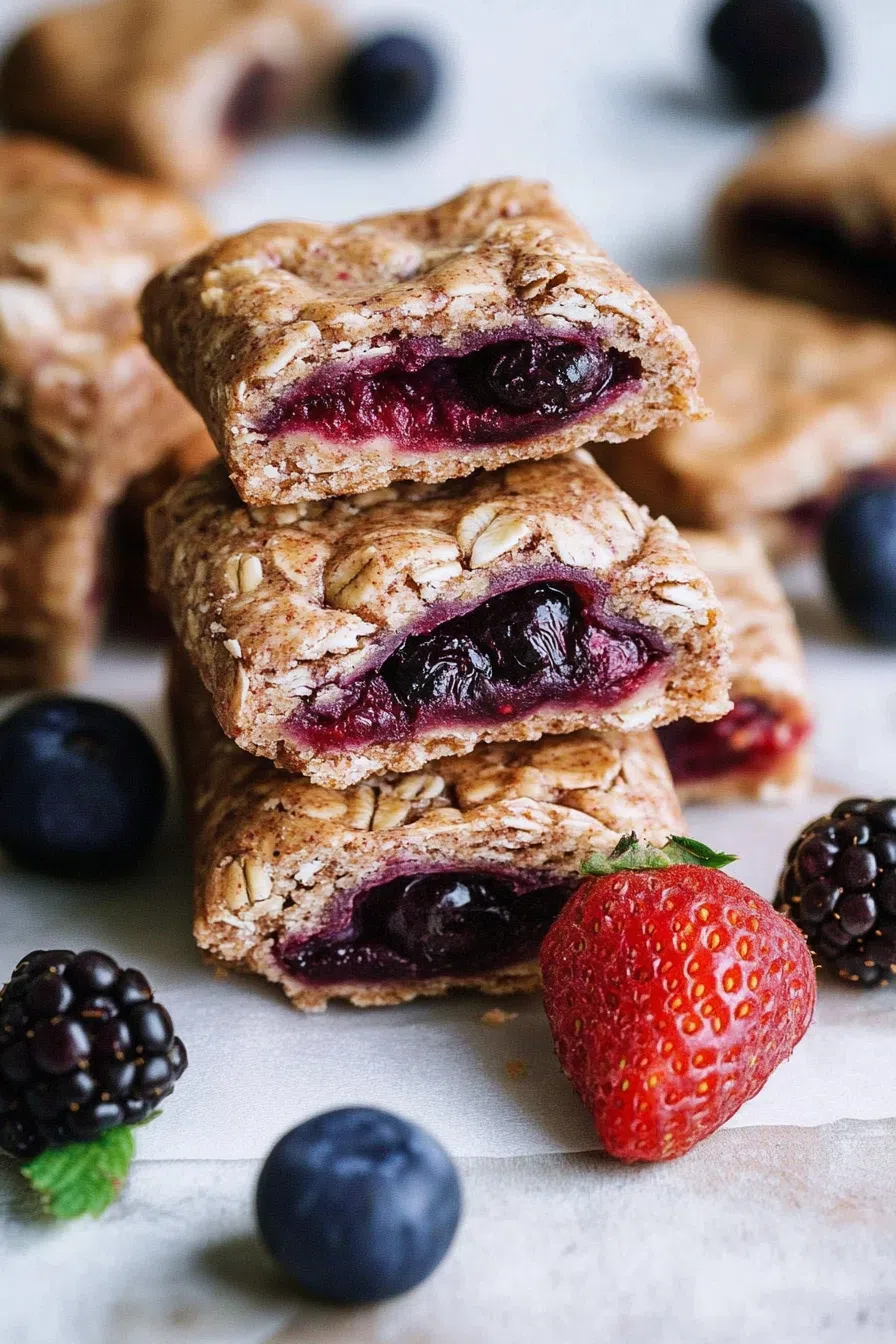
- Soft, chewy, and packed with real fruit
- No artificial preservatives or funky ingredients
- Totally customizable—use any jam or filling
- Perfect for meal prep—make a batch and snack all week
- Nostalgic, but better!
Ingredient Notes:
Every ingredient here plays a role in making these bars soft, flavorful, and just the right amount of chewy. Here’s the breakdown:
- Whole Wheat Flour – Adds heartiness and keeps things wholesome.
- Old-Fashioned Oats – The secret to that perfect chewy texture.
- Cinnamon & Salt – Enhances the flavors and balances out the sweetness.
- Cold Unsalted Butter – The key to making these bars soft but sturdy.
- Egg Yolks – Helps bind everything together.
- Greek Yogurt – Adds moisture so the bars don’t dry out.
- Honey – A natural sweetener that keeps things just sweet enough.
- Vanilla Extract – Because vanilla makes everything better.
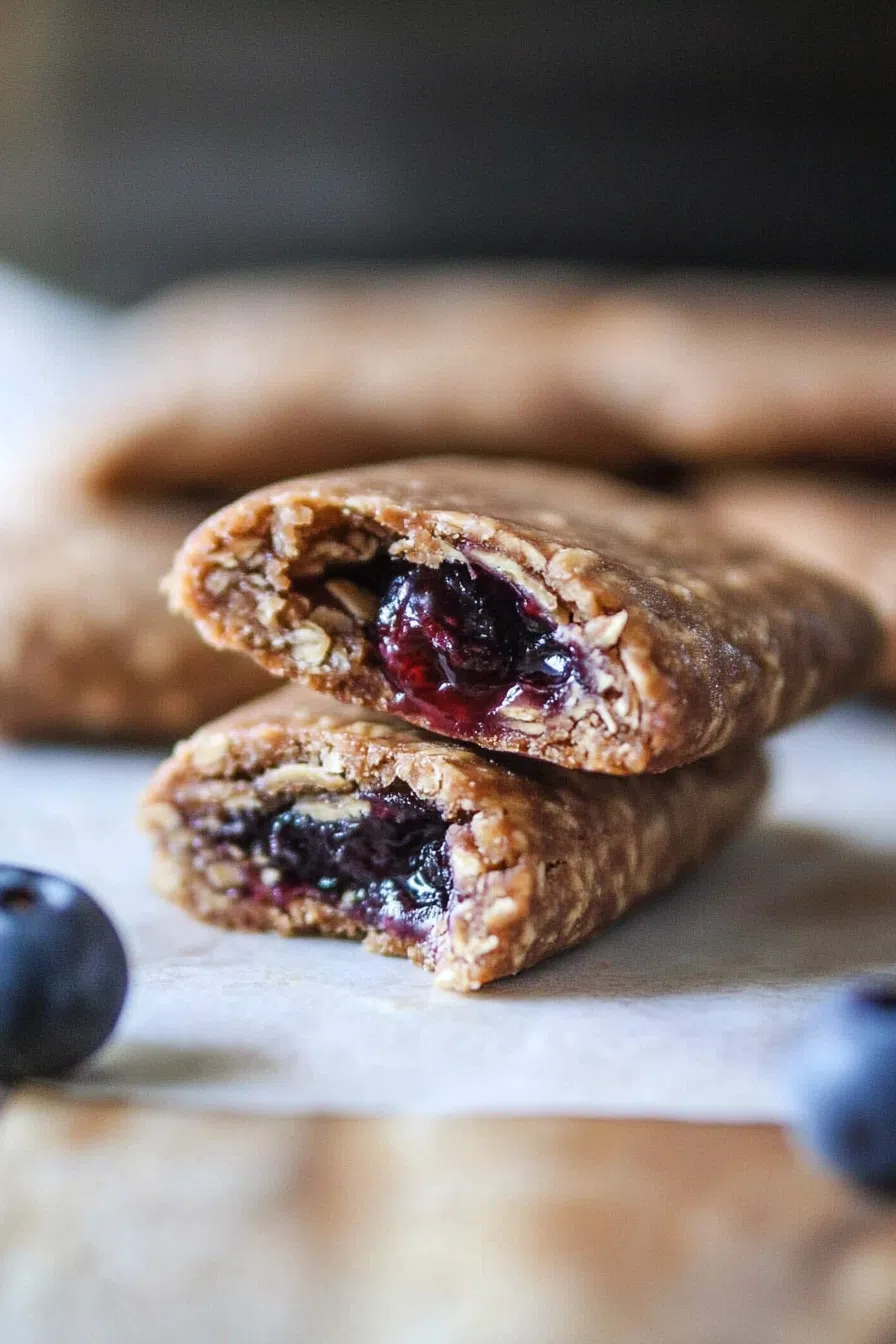
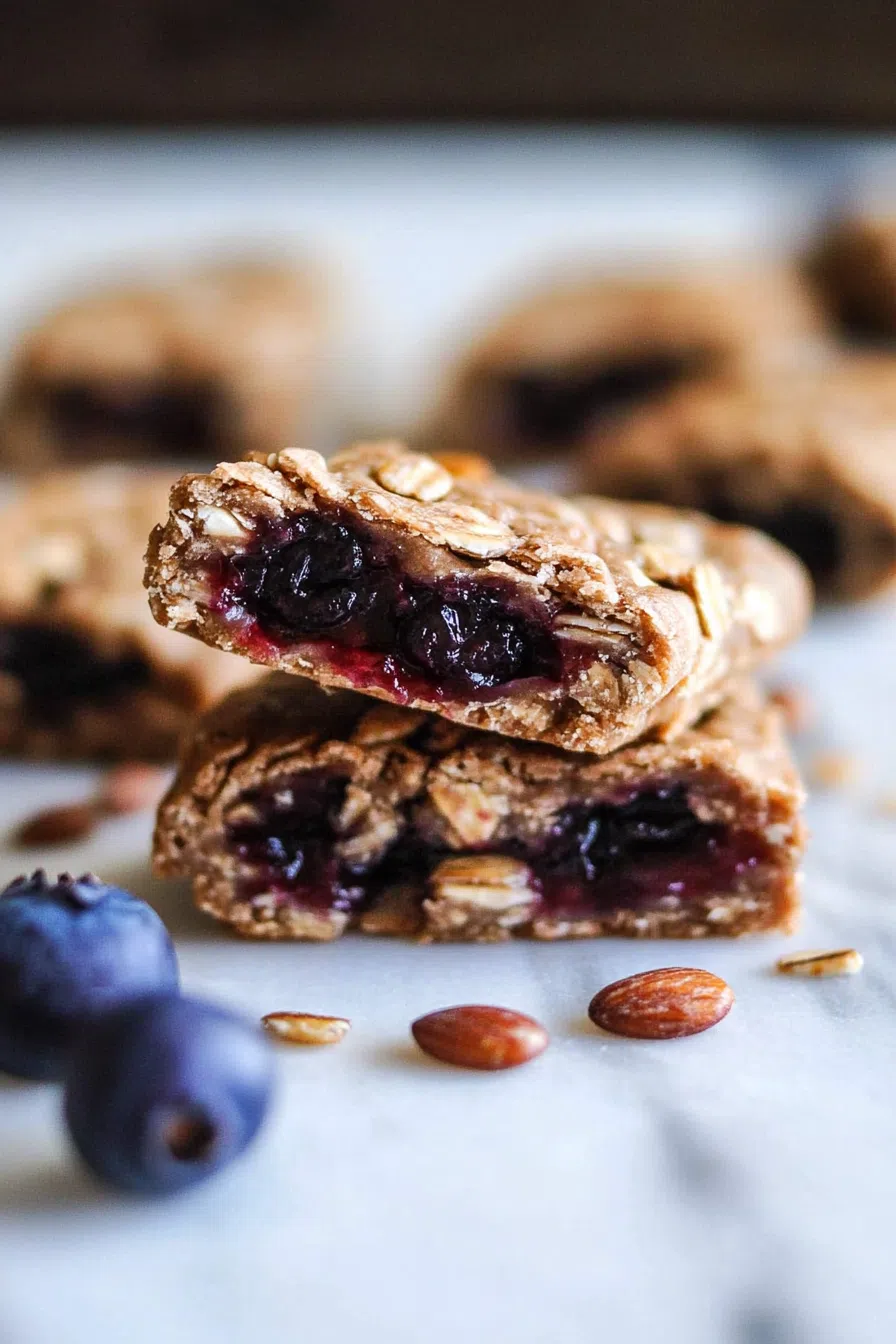
- Blueberry Jam – The fruity center! Use homemade or store-bought.
- Buttermilk – Brushed on top to give that golden, bakery-style finish.
Pro Tip: No buttermilk? Just mix regular milk with a splash of vinegar and let it sit for 5 minutes. Instant buttermilk!
How To Make Nutrigrain Bar?
Step 1: Make the Dough
In a large mixing bowl, stir together the whole wheat flour, oats, cinnamon, and salt.
Next, add the grated cold butter (yes, grate it—this helps it mix evenly!). Toss everything together until the butter is coated in the dry ingredients.
Then, mix in the egg yolks, Greek yogurt, honey, and vanilla extract. Stir until the dough starts coming together. If it’s too dry, add a tablespoon of cold water at a time until you get a soft, workable dough.
Pro Tip: If the dough feels sticky, chill it in the fridge for 10 minutes before rolling it out!
Step 2: Roll & Cut the Dough
Flour a clean surface and roll the dough out to ⅛-inch thickness.
Use a sharp knife to cut it into 4-inch x 4.5-inch rectangles—these will be the base of your bars.
Pro Tip: If the dough is too soft to work with, pop it in the fridge for 10-15 minutes before rolling.
Step 3: Fill & Seal the Bars
Spoon a tablespoon of jam into the center of each rectangle, leaving a ¼-inch border.
Brush the edges lightly with buttermilk—this helps seal the bars.
Fold one side over the filling, pressing the edges together, then carefully flip each bar over so the seam is on the bottom.
Pro Tip: Use your fingers to gently press the edges and make sure they’re sealed completely.
Step 4: Chill & Bake
Want To Save This Recipe?
Place the bars on a parchment-lined baking sheet and freeze for 10-15 minutes. This step helps them hold their shape while baking.
Preheat your oven to 350°F (175°C). Once the bars are chilled, brush the tops with buttermilk and bake for 15-20 minutes until lightly golden.
Pro Tip: Don’t overbake! You want them soft and chewy, not crispy.
Step 5: Cool & Store
Let the bars cool for 5-10 minutes, then transfer them to a glass container with a lid while they’re still slightly warm.
Pro Tip: Storing them while warm traps moisture and keeps them soft and chewy!
Storage Options:
- Room Temperature: Store in an airtight container for up to 3 days.
- Refrigerator: Keeps fresh for up to a week.
- Freezer: Wrap individually and freeze for up to 2 months. Just thaw at room temp for an hour before eating!
Pro Tip: If they start to dry out, pop them in the microwave for 10 seconds to soften them up.
Variations and Substitutions:
Want to mix things up? Try these fun swaps!
- Different Jams – Strawberry, raspberry, apricot, or even apple butter!
- Gluten-Free Option – Swap the whole wheat flour for a 1:1 gluten-free blend.
- Dairy-Free Option – Use vegan butter and dairy-free yogurt.
- Extra Sweetness – Drizzle the bars with honey or a light vanilla glaze.
What to Serve with Nutrigrain Bar?
These bars are great on their own, but even better with:
- A hot cup of coffee – Because mornings need coffee.
- A smoothie – Extra fruit + protein for a balanced breakfast.
- Yogurt & granola – A fun way to switch things up!
Frequently Asked Questions:
Can I use quick oats instead of old-fashioned?
Yes! Just reduce the amount to ½ cup so the dough doesn’t get too dry.
Can I make these without honey?
Absolutely! Swap it with maple syrup or agave nectar for a similar texture.
How do I prevent them from breaking open while baking?
Make sure to seal the edges well and chill before baking—this helps them hold their shape!
Homemade is ALWAYS Better!
These Homemade Nutrigrain Bars are soft, fruity, and so much better than anything from a box. Healthier, customizable, and freezer-friendly, they’re perfect for busy mornings or an easy snack.
So, what do you think? What’s your favorite jam flavor for these bars? Drop a comment below—I’d love to hear your take!
Keep the Flavor Coming – Try These:

Nutrigrain Bar Recipe
Ingredients
For the Dough:
- 1 cup whole wheat flour
- ¾ cup old-fashioned oats
- ¼ teaspoon ground cinnamon
- ¼ teaspoon kosher salt
- 6 tablespoons unsalted butter cold and grated
- 2 egg yolks
- 2 tablespoons plain Greek yogurt
- 2 tablespoons honey
- 2 teaspoons vanilla extract
- 1 tablespoon cold water if needed
For the Filling:
- 1 cup blueberry jam or preferred fruit jam, homemade or store-bought
For Brushing:
- Buttermilk for sealing and brushing before baking
Instructions
Prepare the Dough
- Preheat the oven to 350°F (175°C). In a large mixing bowl, combine the whole wheat flour, old-fashioned oats, ground cinnamon, and salt. Add the grated cold butter and toss to coat, ensuring the butter is evenly distributed.
- In a separate bowl, whisk together the egg yolks, Greek yogurt, honey, and vanilla extract. Gradually incorporate this mixture into the dry ingredients, stirring until a dough begins to form. If the dough appears too dry, add one tablespoon of cold water at a time until it comes together.
Roll and Cut the Dough
- Lightly flour a clean surface and roll out the dough to a thickness of ⅛ inch. Using a sharp knife or pastry cutter, cut the dough into 4-inch by 4.5-inch rectangles.
- Tip: If the dough is too soft to handle, refrigerate it for 10-15 minutes before rolling it out.
Fill and Seal the Bars
- Spoon approximately one tablespoon of jam into the center of each rectangle, leaving a ¼-inch border along the edges.
- Lightly brush the edges with buttermilk, then fold one side over the filling, pressing the edges together to seal. Flip each bar seam-side down on a parchment-lined baking sheet to secure the closure.
- Tip: Gently press along the edges to prevent the jam from leaking while baking.
Chill and Bake
- Transfer the assembled bars to the freezer for 10-15 minutes to help them retain their shape.
- Once chilled, brush the tops lightly with buttermilk and bake for 15-20 minutes, or until the tops are lightly golden. Remove from the oven and allow the bars to cool for 5-10 minutes before transferring them to a container for storage.
- Tip: Avoid overbaking to keep the bars soft and chewy.
Notes
I’m Bitty, owner of nodashofgluten.com, where I share simple, delicious recipes for all tastes, including gluten-free. Check out my “About Me” page for more info!