

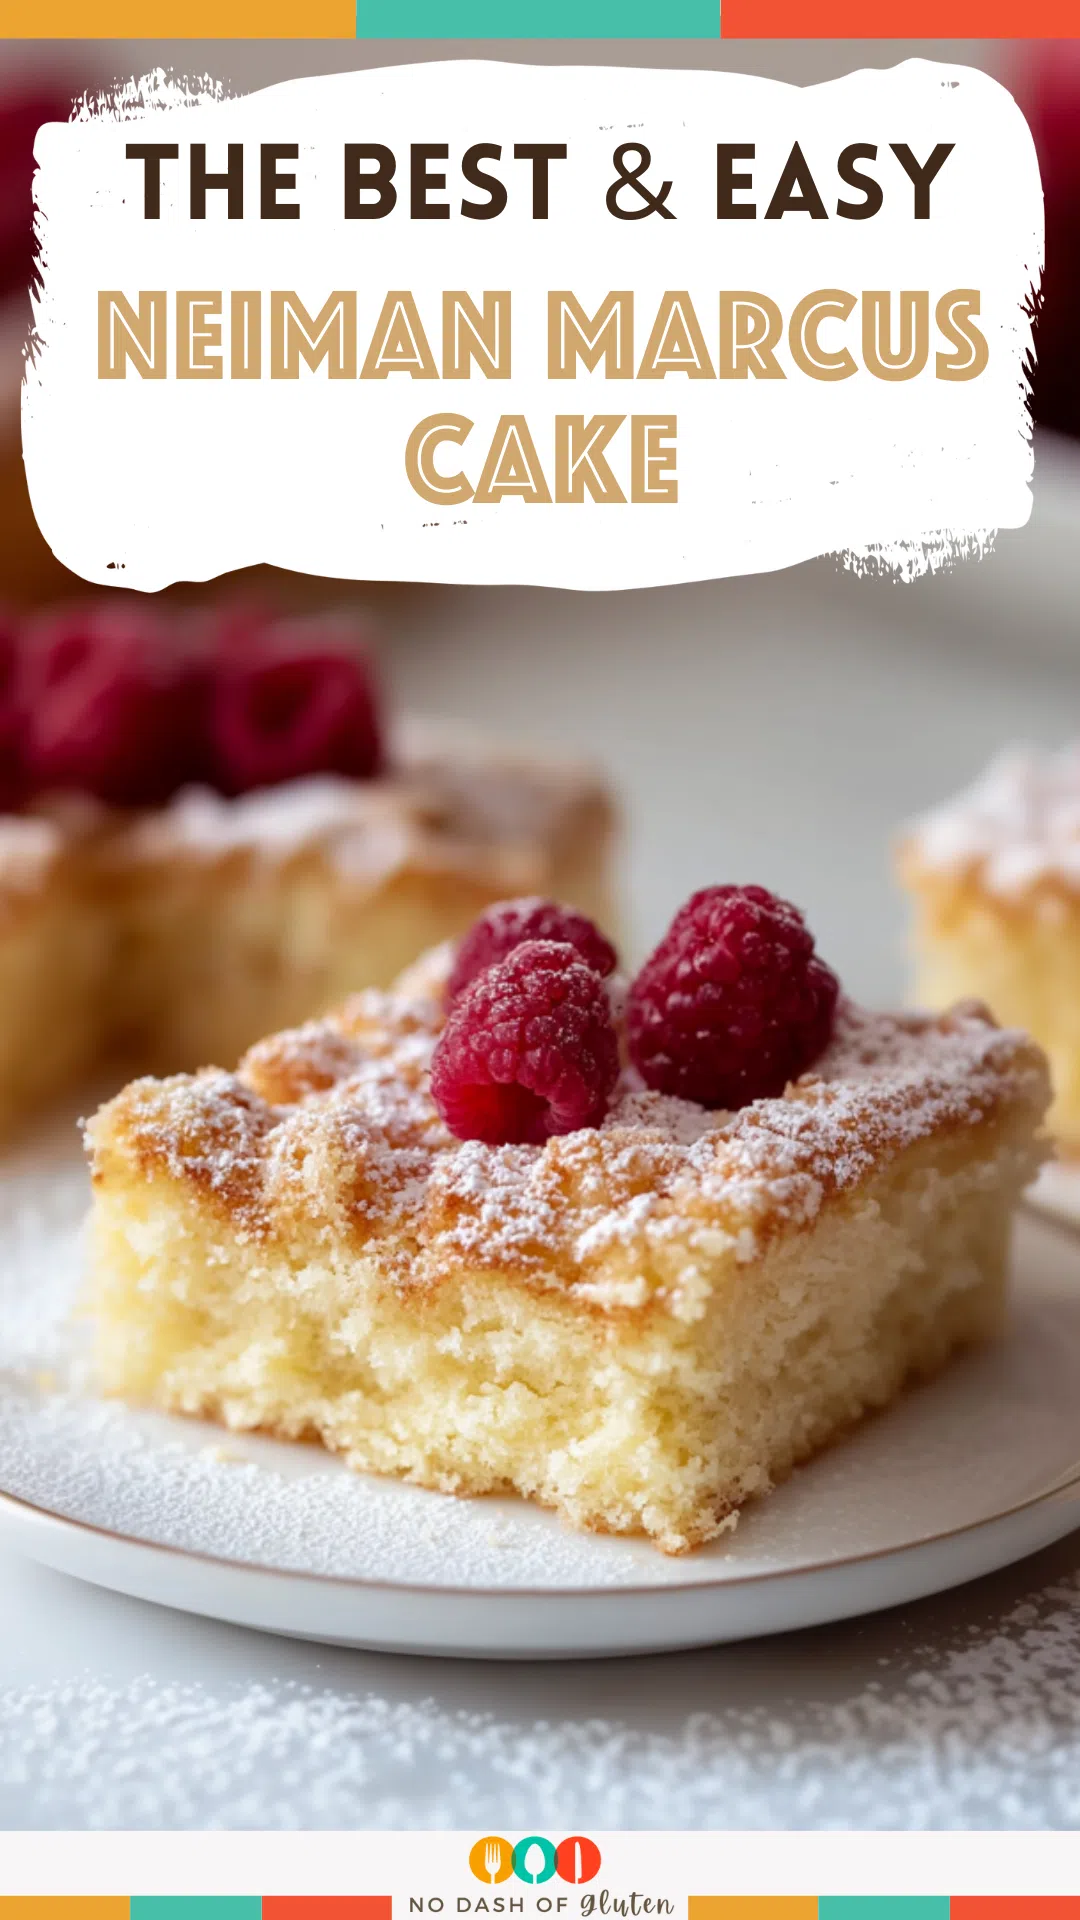
Whip up a gooey, buttery Neiman Marcus Cake with yellow cake mix, cream cheese, eggs, butter, and powdered sugar. Pure comfort in every bite!
Let me tell you about the first time I made this Neiman Marcus Cake. It was for a church potluck—you know, one of those “bring your best dish or be judged silently” affairs. I was already stressed because my usual go-to, the infamous layered Jell-O salad, had bombed the month before (someone’s kid said it “wiggled funny,” and that was that). So I needed a win.
That said, I remembered my aunt Linda raving about this Neiman Marcus Cake. She said it was “idiot-proof,” and hey, I’ve been known to test the limits of that statement. Because of that, I baked it the night before, and my kitchen smelled like what I imagine heaven does… if heaven serves melted butter and vanilla as a welcome drink.

At the potluck? In the end, that cake vanished. I’m talking—gone before the casserole lids came off. I swear, Sister Doris took two slices and stuffed one in her purse (but that’s between you and me).
In fact, it’s the kind of cake that’s perfect for sharing. Whether it’s game day, a birthday, or just a random Tuesday when you need something sweet, this Neiman Marcus cake never lets you down. Above all, there’s just something about this gooey, buttery crowd-pleaser that makes people happy, whether it’s the church ladies, football fans, or your own family sneaking bites straight from the pan to brighten their day (or yours).
Why You’ll Love This Neiman Marcus Cake Recipe?
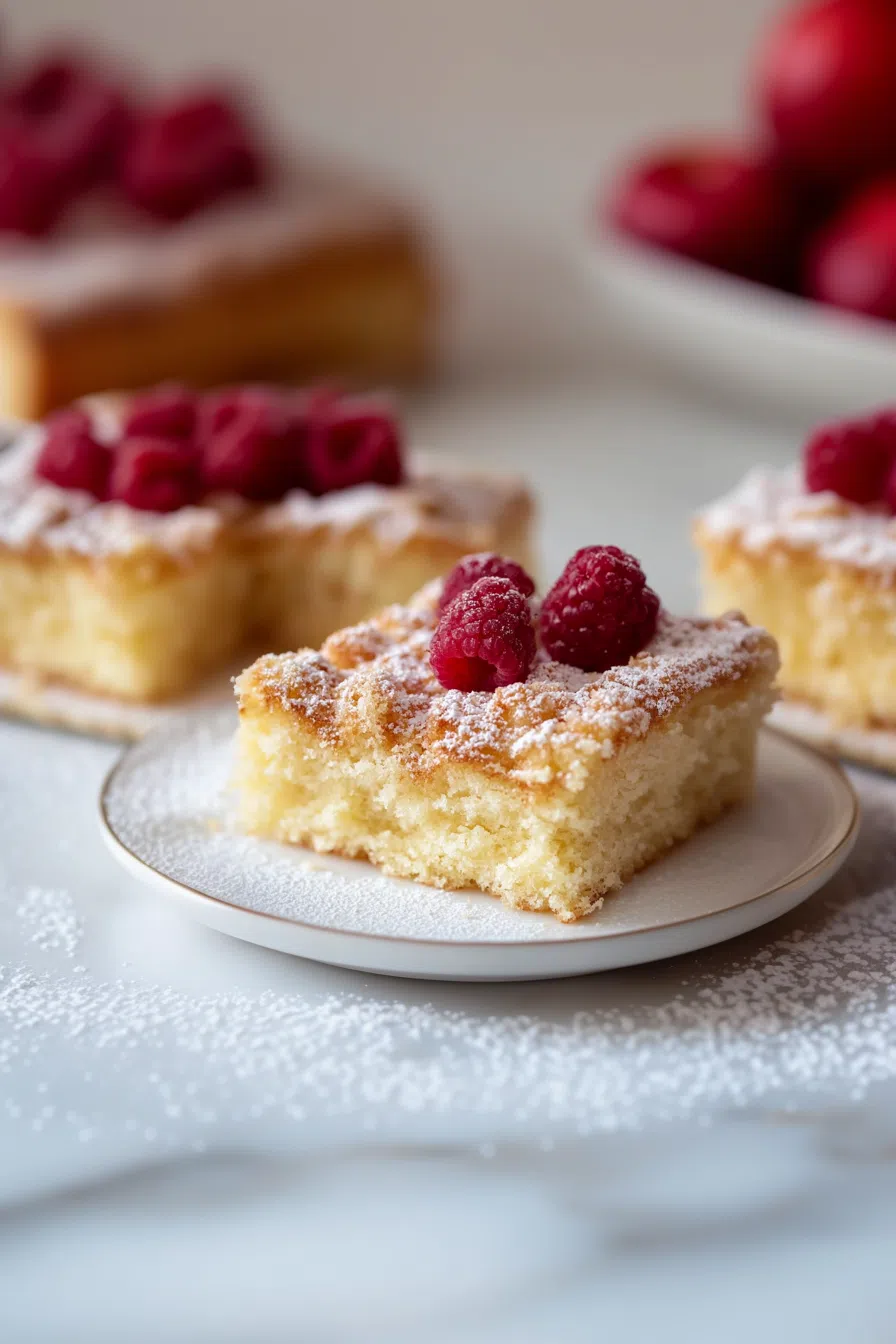
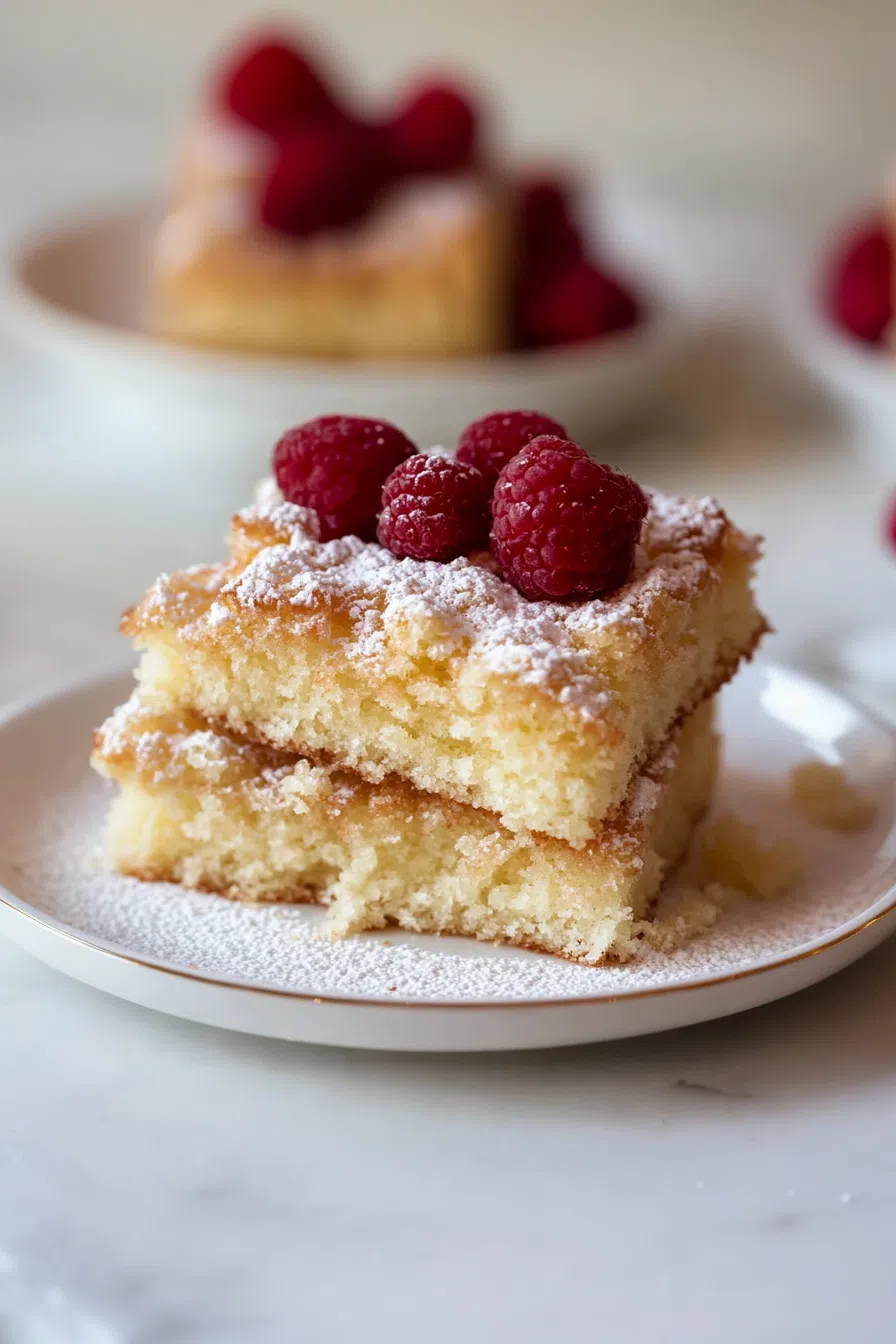
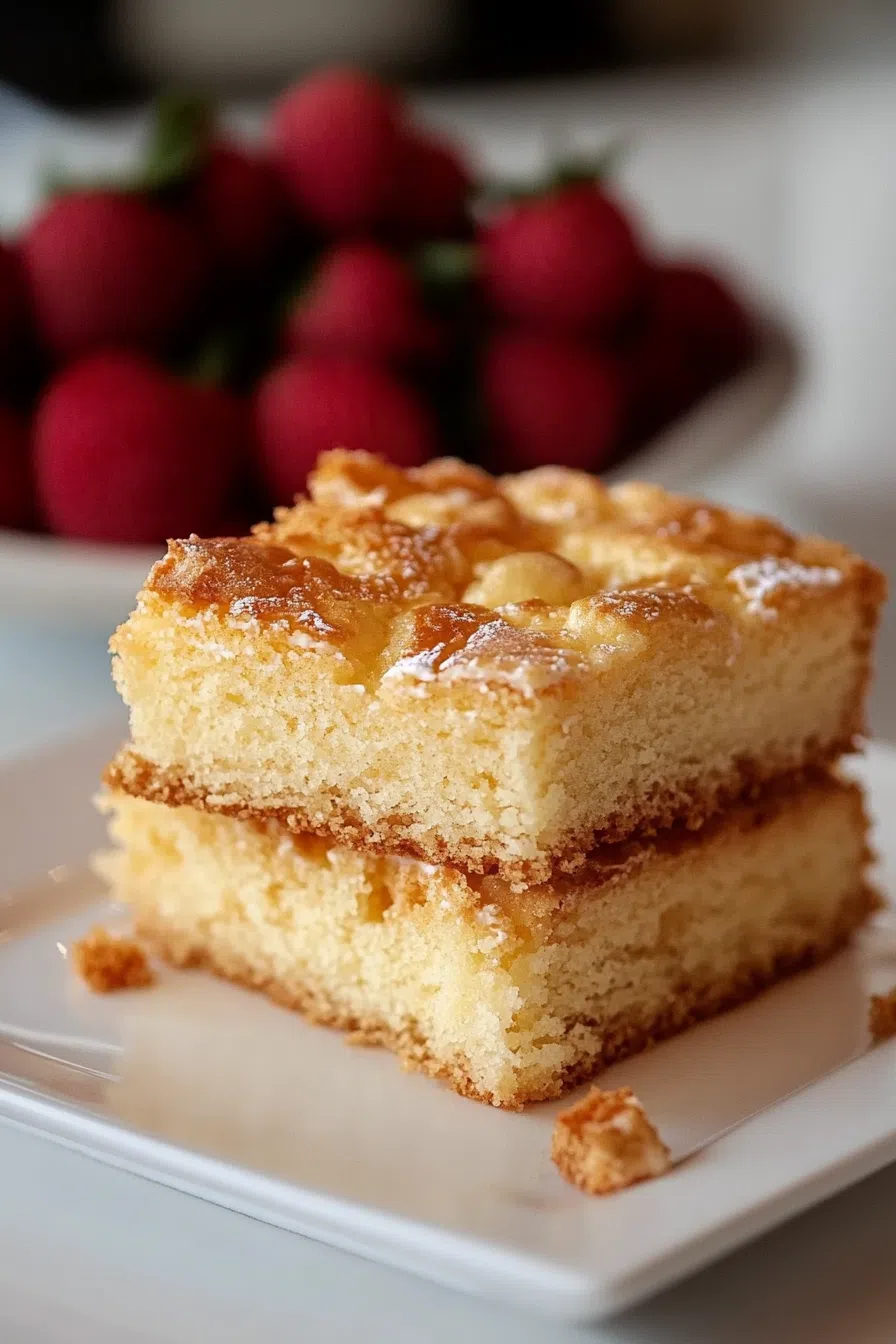
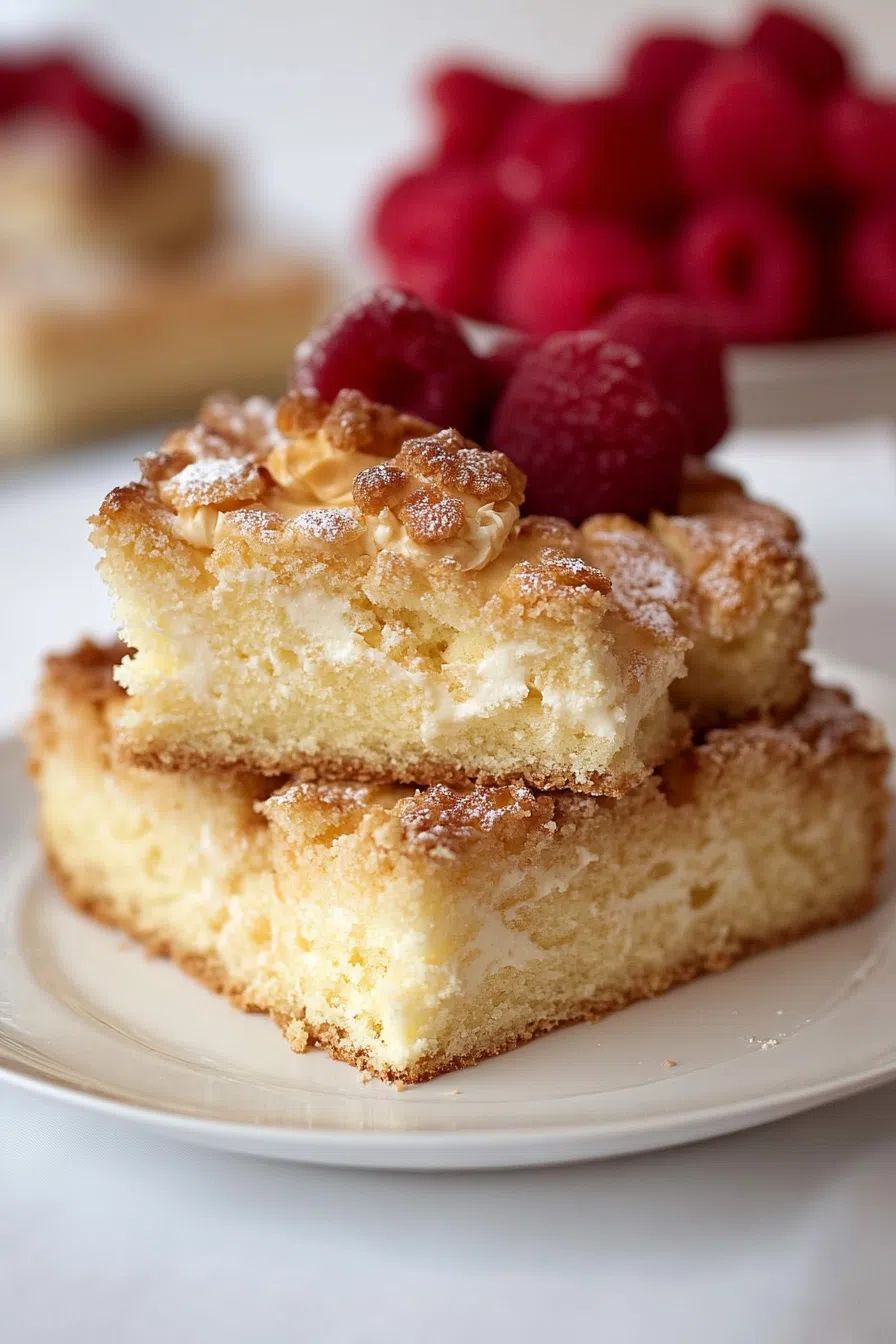
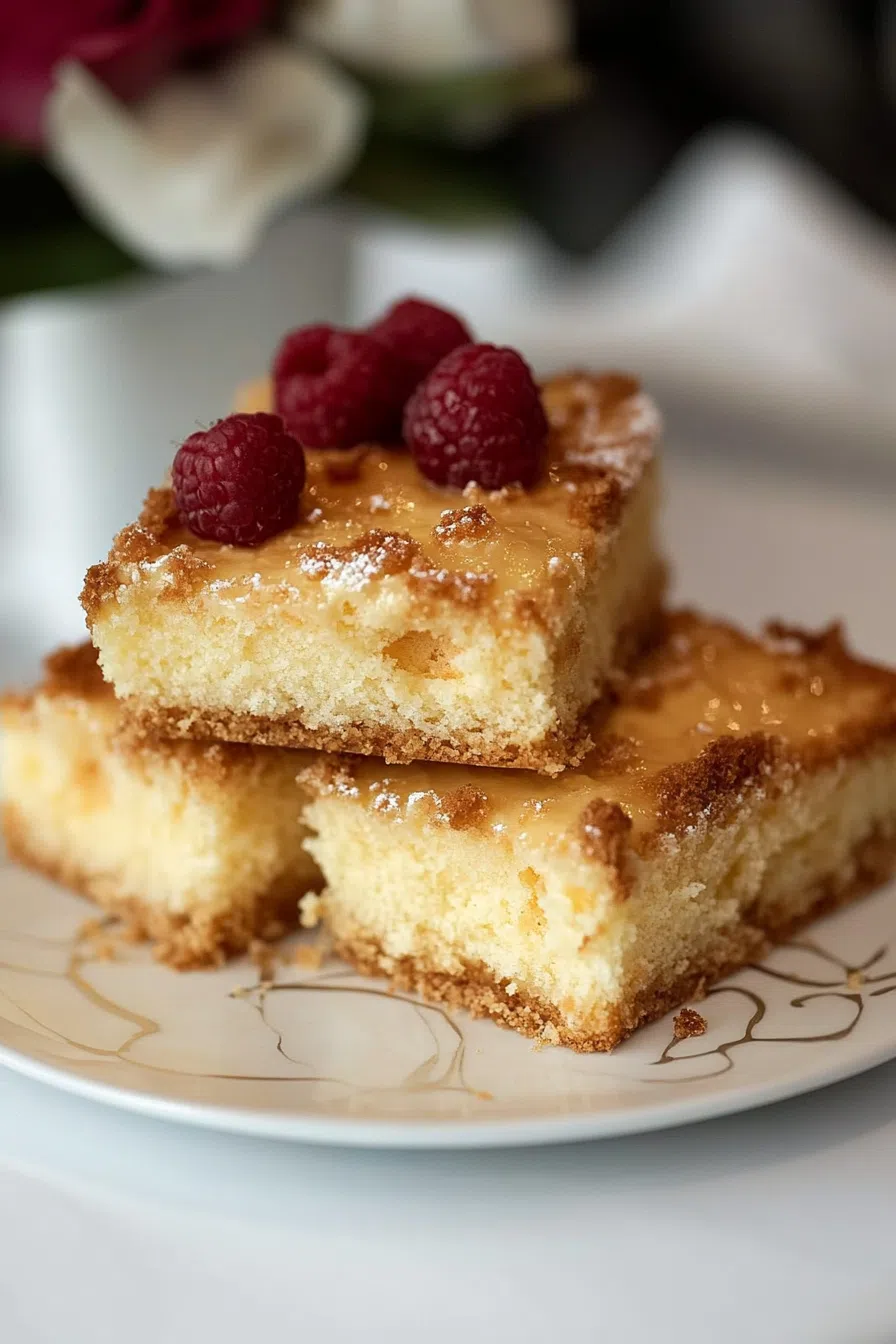
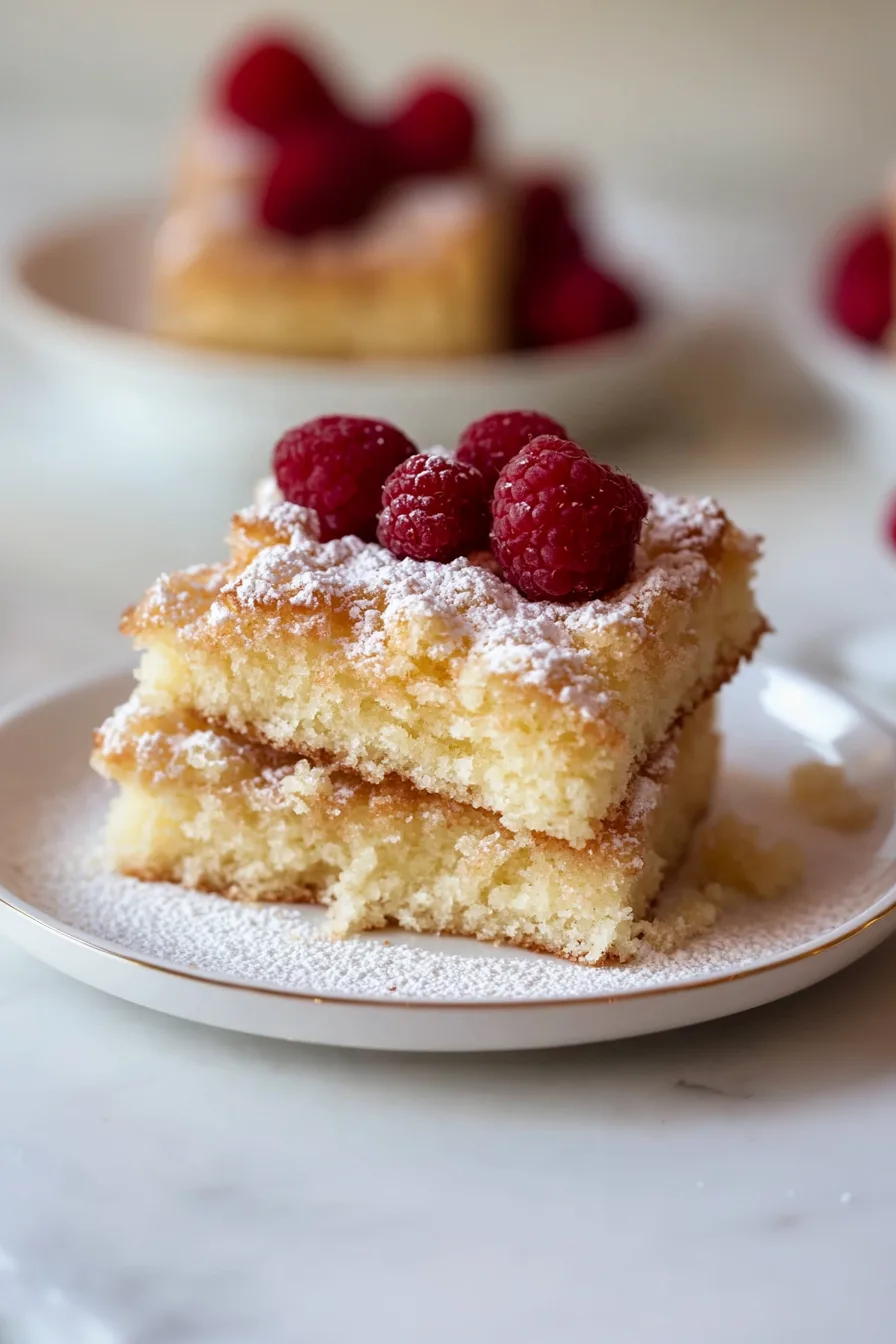
So, here’s the deal with this Neiman Marcus Cake. It’s ridiculously easy. We’re using a boxed yellow cake mix (yep, boxed—no shame here), and turning it into something that tastes like you spent all day in the kitchen. The base is thick, buttery, and golden. After that comes the top layer, which bakes into a creamy, sweet, slightly caramelized topping. It’s gooey in the middle with edges that give just the right chew.
On top of that, it’s a crowd-pleaser. Kids, picky adults, that one guy who claims he doesn’t like dessert? They’ll all love it. Trust me.
Ingredient Notes:
Look, this isn’t rocket science. But a couple of things can take this Neiman Marcus Cake from good to “holy cow, gimme another piece.”
- Yellow Cake Mix (15.25 oz): Any brand works. I usually go for Duncan Hines or Betty Crocker, whichever’s on sale.
- 4 Eggs: Two go in the base, two in the topping. And yes, I’ve forgotten once. Don’t be me, I once forgot the eggs and blamed the oven.
- Butter (½ cup, melted): As always, use the real stuff. Margarine makes it sad.
- Vanilla Extract (1 tsp): Optional. But like your grandma says, a little vanilla never hurts.
- Powdered Sugar (3 ½ cups): Don’t skimp here. It makes that gooey top, well, gooey.
- Cream Cheese (8 oz, softened): Full fat, baby. We’re not doing this halfway.
How To Make Neiman Marcus Cake?
Step 1: Preheat the Oven & Gather Your Gear
Set that baby to 350°F. Grease a 9×13 pan. Or if you’re me and you forgot to buy nonstick spray, just butter it up. You don’t need fancy tools—a simple 9×13-inch baking dish and a hand or stand mixer will do the trick. That’s it. No sous vide, no blowtorch, just classic baking basics.
Step 2: The Base Layer
To start, mix the cake mix, 2 eggs, melted butter, and vanilla. You’ll think, “Is this thick enough to patch a tire?” It is. Press that sucker into your pan. I usually use my hands. After all, don’t judge.
Step 3: The Gooey Layer
In another bowl (or the same one if you’re tired of washing dishes), beat together the cream cheese, remaining 2 eggs, and powdered sugar. Beat it till smooth. Pour it over your cake base and marvel at your work. That gooey top layer is what makes Neiman Marcus Cake so iconic.
Step 4: Bake
Pop it in for about 35 minutes. Here’s the trick—when the edges are golden and the center is a little wiggly (but not sloshy), it’s done. Don’t overbake it—the center should jiggle just a little, like set Jell-O. That’s where the magic lives. Not sure yet if your cake’s done? This guide from The Kitchn shares five super helpful ways to check—no guessing needed.
Step 5: Cool and Cut
Want To Save This Recipe?
Once it’s baked, let it cool if you want clean slices. Otherwise, if you’re like me and can’t wait, grab a spoon and go for it.
Storage Options:
Once your Neiman Marcus Cake has cooled, here’s how to store it:
- Countertop: Covered tightly, it’s good for 2-3 days.
- Fridge: I actually love this cake cold. Technically, it’ll last about a week, but who are we kidding?
- Freezer: Freeze squares in an airtight container. They’ll keep for 2 months. Midnight snack secured.
Thinking ahead? This cake freezes like a dream. Better yet, if you’re plotting a weekend baking spree, Sally’s make-ahead baking guide is packed with clever tips to help you prep treats in advance—without sacrificing a crumb of flavor.
Variations and Substitutions:
Want to put your own twist on Neiman Marcus Cake? Try one of these fun variations:
- Chocolate Version: Use chocolate cake mix and add chocolate chips to the cream cheese layer. Of course, you’re welcome.
- Nutty: Throw in chopped pecans for a little crunch.
- Gluten-Free: Grab a gluten-free cake mix. You won’t notice the difference.
- Swirl Jam: A spoonful of raspberry or apricot jam swirled into the top? Fancy and tasty.
What to Serve with Neiman Marcus Cake?
This Neiman Marcus Cake pairs beautifully with a few simple sides:
- Strong Coffee: The bitterness cuts the sweetness. Trust me, it works.
- Whipped Cream: Just because.
- Fresh Berries: If you want to convince yourself it’s healthy.
- Vanilla Ice Cream: Always a solid move.
Frequently Asked Questions:
Why is it called Neiman Marcus Cake?
Beats me. Maybe it’s as fancy as shopping there, but way cheaper. To be honest, the name is a bit of a mystery. Neiman Marcus has nothing to do with this cake—they don’t sell it, endorse it, or even know it exists (probably). The “Neiman Marcus Cake” is just one of its many aliases. You might also hear it called Gooey Butter Cake, St. Louis Gooey Butter Cake, Chess Squares, or Texas Gold Bars, depending on where you’re eating it. The one thing everyone agrees on: it’s a seriously rich cake—maybe that’s where the “luxury” connection comes in!
What Else Is Neiman Marcus Cake Called?
You might’ve heard this cake called a few different things, depending on where you grew up or who your baking muse is. Some folks know it as Gooey Butter Cake (hi, St. Louis!), others call it Chess Squares, and if you’re in Texas, you might have seen it go by Texas Gold Bars. No matter the name, you’re in for something rich, sweet, and unreasonably addictive.
Can I use low-fat cream cheese?
You can, but I wouldn’t. Neiman Marcus Cake deserves full fat.
My cake is gooey in the middle—is that right?
100%! That gooey center is the magic.
And that’s my take on the Neiman Marcus Cake! When you try it (and you should), let me know how it goes. Did you add your own twist? Did Aunt Doris steal a slice at your potluck too?
If this cake made someone in your life smile, I’d love to hear it. Comments make my day!
Keep the Flavor Coming – Try These:


Neiman Marcus Cake
Ingredients
- 1 package 15.25 ounces yellow cake mix
- 4 large eggs divided
- ½ cup unsalted butter melted
- 1 teaspoon vanilla extract
- 3 ½ cups confectioners' sugar
- 8 ounces cream cheese softened
Equipment
- 9x13-inch baking pan
- large mixing bowl
- hand or stand mixer
- rubber spatula
Instructions
Preheat the Oven
- Preheat the oven to 350°F (175°C). Lightly grease a 13x9-inch baking pan with butter or non-stick cooking spray to ensure easy removal of the cake after baking.
Prepare the Base Layer
- In a large mixing bowl, combine the yellow cake mix, two eggs, melted butter, and vanilla extract. Mix thoroughly until a stiff batter forms. Press this mixture evenly into the bottom of the prepared baking pan to form the base layer.
Prepare the Topping Layer
- In a separate bowl, blend together the softened cream cheese, the remaining two eggs, and the confectioners' sugar. Continue mixing until the topping becomes smooth and creamy in texture.
Assemble the Cake
- Pour the cream cheese mixture evenly over the cake base layer in the baking pan, ensuring the surface is smooth and level.
Bake
- Place the pan in the preheated oven and bake for approximately 35 minutes. The cake is done when the edges are lightly golden and a toothpick inserted into the center comes out mostly clean but still slightly moist.
Cool and Serve
- Remove the cake from the oven and allow it to cool in the pan on a wire rack. Once cooled, cut into squares and serve.
Notes
Nutrition
I’m Bitty, owner of nodashofgluten.com, where I share simple, delicious recipes for all tastes, including gluten-free. Check out my “About Me” page for more info!


2 Responses
I made this recipe three times already and have one question. Why does the cake part bakes up and over and seems to be too well done. I lowered the temperature to 335 and the edges didn’t get too over baked this time. I want mine to look like yours did you do anything different? I think the cake needs to stay level. Maybe putting it up one more rack in the oven?? Dies anyone else have this problem?
Hi Gloria! I’m so glad you’ve made it multiple times already—that makes my day!
It sounds like you’re doing everything right by lowering the temp a bit, and yes—raising the oven rack by one level can definitely help prevent the edges from baking too quickly. This cake is meant to be gooey in the center, but ideally without overbrowning around the sides.
Also, make sure you’re not overmixing the base layer (it should be thick but not overly dense) and use a light-colored metal baking pan if possible. Dark pans can intensify browning, especially at the edges.
Thank you again for trying the recipe and for your thoughtful question—you’re not alone in tweaking it to get it just right. I’d love to hear how your next batch turns out!