
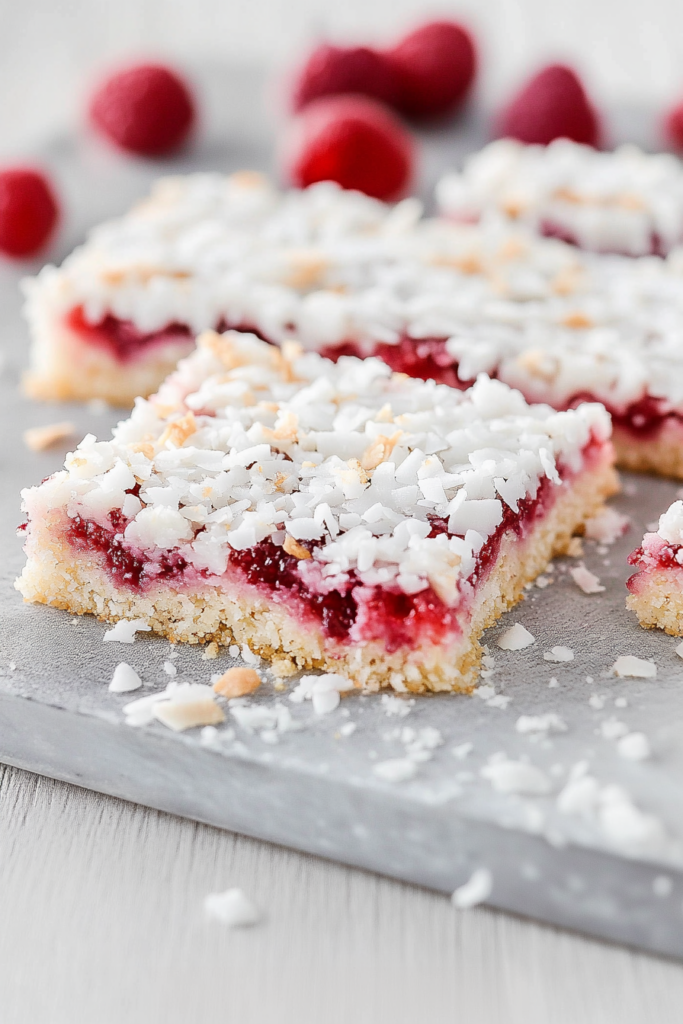
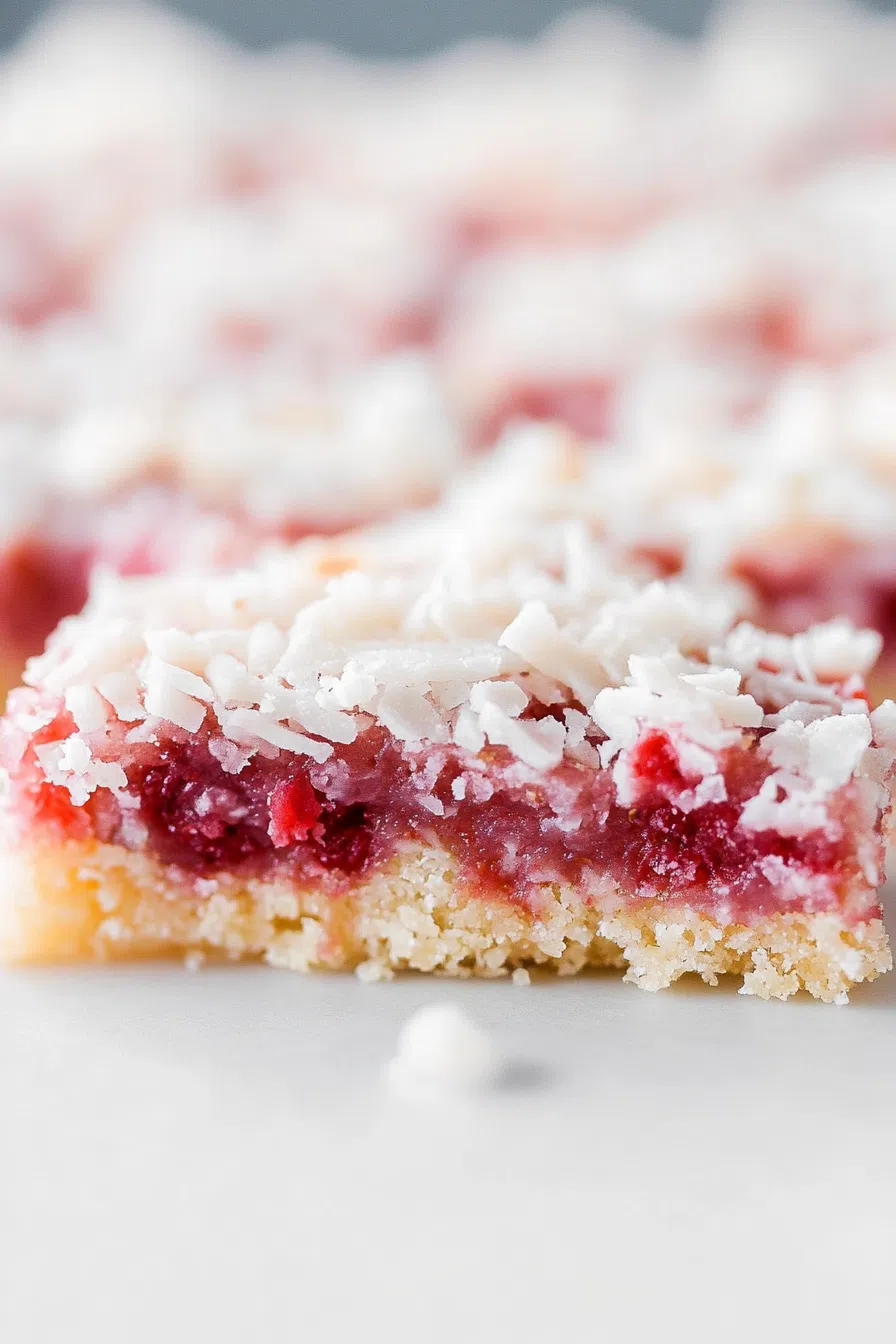
Flour, butter, raspberry jam, shredded coconut, egg whites, and sugar come together to create a nostalgic Raspberry Jam Coconut Slice that’s chewy, buttery, and just the right amount of sweet.
Let me set the scene: It was a rainy Sunday, my kid was refusing pants (as usual), and I had exactly zero intention of baking. But then—while rummaging for something snack-ish—I found a half-used jar of raspberry jam, a rogue bag of coconut from Christmas baking, and a memory hit me.
This Raspberry Jam Coconut Slice.


Now, I can’t say it was passed down in a handwritten recipe book or anything dramatic like that. Honestly, it was something my neighbor Margaret used to bring to church potlucks in the ‘90s. I never asked for the recipe—I was, like, nine—but I never forgot that sweet, chewy, coconutty topping and the way the jam melted just slightly into the base. That was enough.
Fast-forward to now, and this slice is my go-to when I’m craving something comforting, low-fuss, and frankly, better than whatever overpriced treat I was eyeing at the bakery last week. It’s a little retro. A little rustic. And ridiculously good with a cup of tea and a gossip session.
Why You’ll Love This Raspberry Jam Coconut Slice Recipe?
Here’s the truth: this slice doesn’t try too hard. It’s not showy. It’s not trendy. But it knows who it is, and honestly, don’t we all just want that level of self-assurance?
It’s got:
-
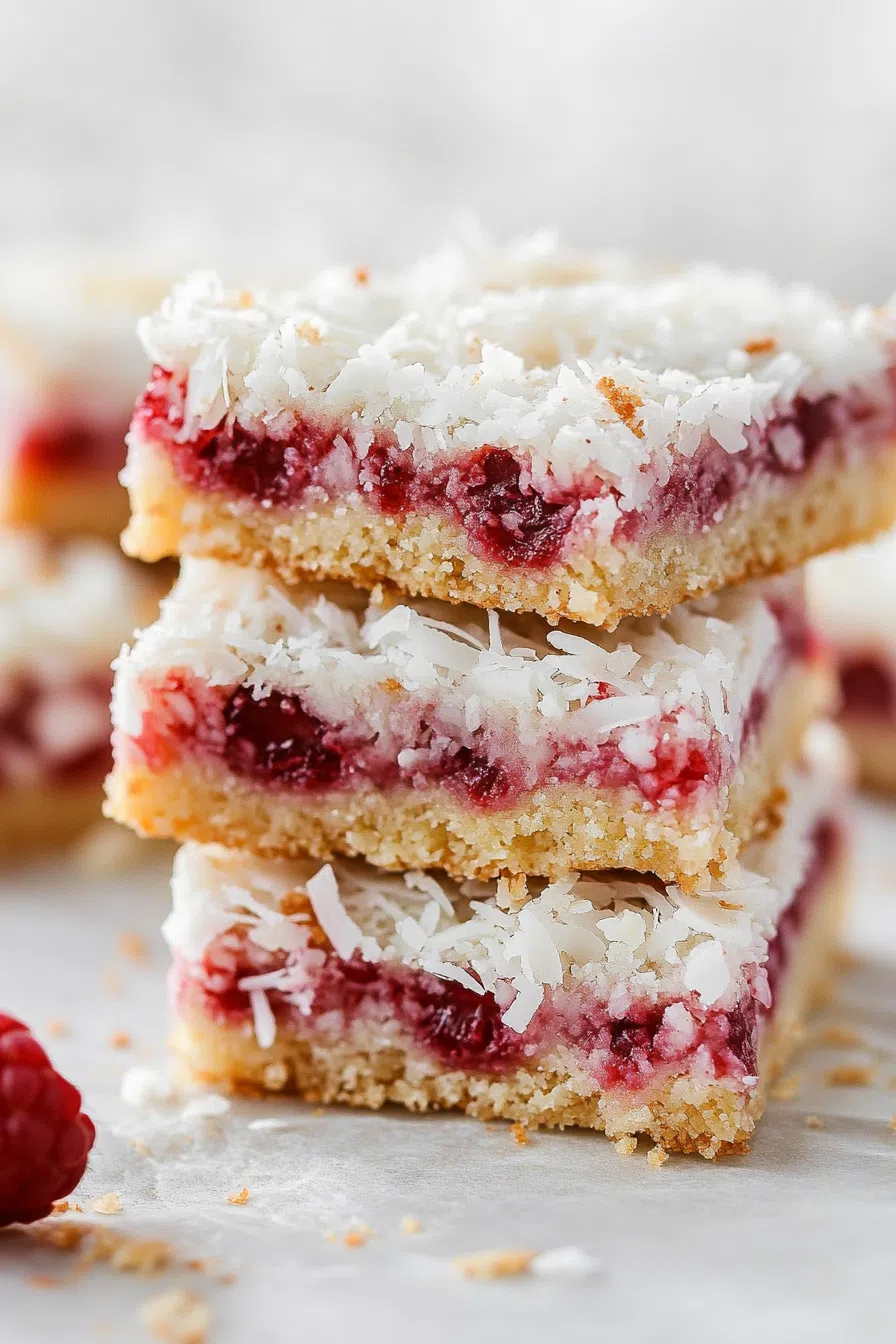
A buttery shortbread-style base that doesn’t need a mixer or any weird ingredients.
-
A sweet, tangy jam layer that brings color, flavor, and a bit of zing.
-
A coconut topping that’s crunchy, chewy, golden and smells like warm, toasted happiness.
Plus, it’s basically one bowl per layer. Minimal washing up. Big win. And it’s the kind of thing people eat and say “Ooooh, what is this??” like they’re tasting a secret family recipe from some tiny countryside café.
Spoiler: It’s just jam and coconut. But let them think it’s magic.

Ingredient Notes:
You don’t need a pantry full of unicorn dust. Just these:
-
Plain Flour (2 cups) – Your base. Nothing fancy. You probably have it already.
-
Caster Sugar (½ cup in base, ½ cup in topping) – Fine sugar helps it melt evenly. But if you only have granulated? Use it. Life’s too short.
-
Butter (125g, cold and chopped) – Cold is key. And no, margarine doesn’t quite cut it here.
-
One Egg + Two Egg Whites – Whole egg for the base. Whites for the topping. Yes, you could try skipping the whites and using whole eggs, but the texture’s never quite the same.
-
Vanilla (1 tsp) – Optional. I usually forget it and nobody notices, but it does add a little warmth.
-
Raspberry Jam (¾ cup) – This is where the flavor shines. If you’ve got homemade jam? Even better. But any good-quality jar will do.
-
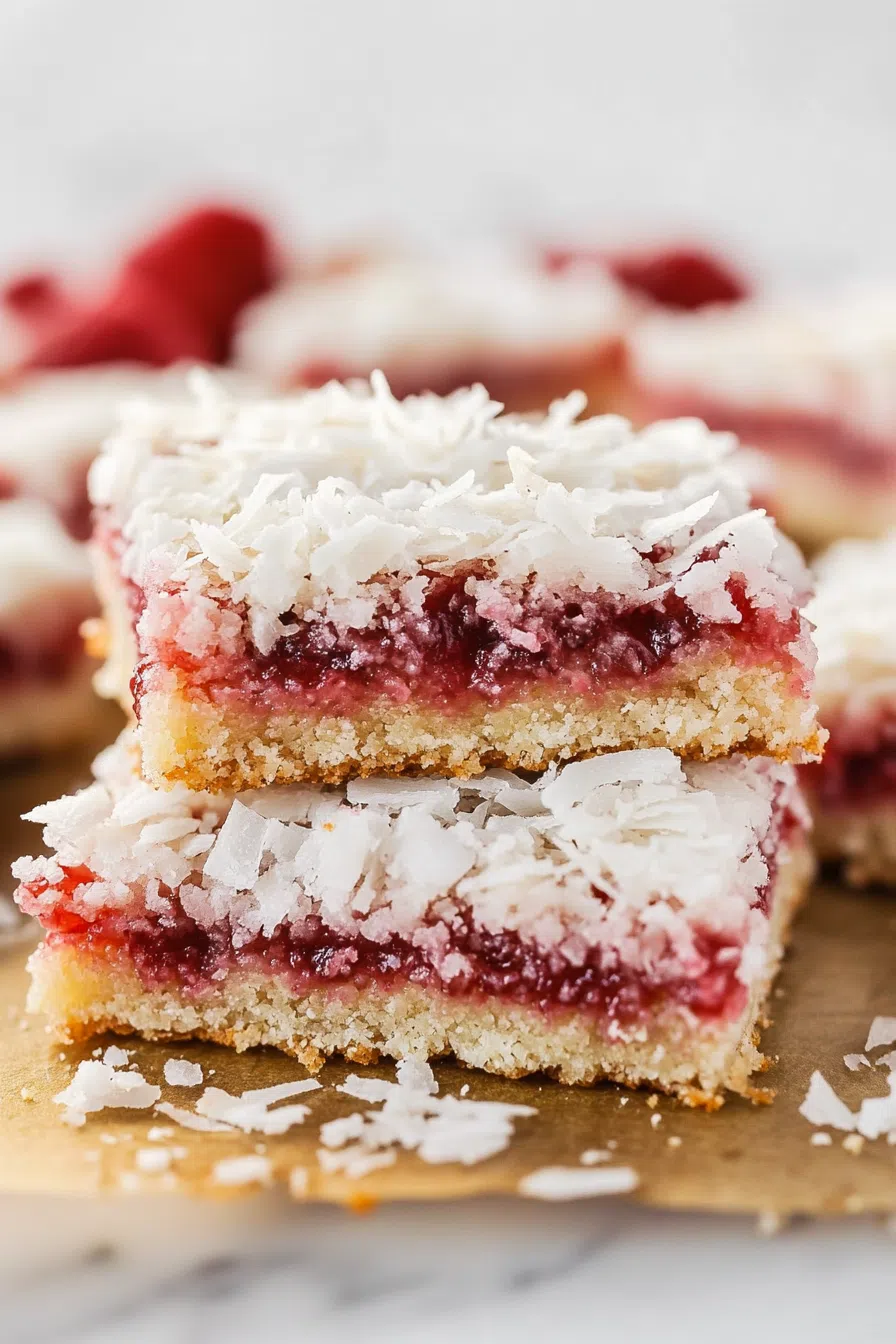
Shredded Coconut (1 cup) + Desiccated Coconut (1 cup) – Trust me, the mix of textures here makes the top extra delightful. If you only have one kind? Just double it. The slice won’t complain.
How To Make Raspberry Jam Coconut Slice?
Step 1: Prep your tray.
Grab a slice pan (roughly 18x28cm) and line it with baking paper. Let the sides hang over a bit so you can lift the slice out later without doing that awkward spatula battle.
Step 2: Make the base.
Toss the flour, sugar, and butter into a food processor and blitz until it looks like crumbly sand. Add the egg and vanilla, and pulse until it just comes together. No processor? Use your fingers and channel your inner grandma.
Step 3: Bake the base.
Press the dough into the tray. Try to get it even-ish, but don’t stress. Bake it at 180°C (350°F) for about 15–20 minutes, until it looks pale golden and smells vaguely like cookies. Try not to eat it yet.
Step 4: Spread the jam.
While the base is still warm, spoon over the raspberry jam and gently spread it out. Warm it slightly if it’s too firm. Try not to eat this part yet either.
Step 5: Make the coconut topping.
Whisk your egg whites just until frothy (no peaks needed). Stir in the sugar, shredded coconut, and desiccated coconut. It’ll look like sweet coconut snow. Spread it gently over the jam layer.
Step 6: Bake again.
Pop it back in the oven for another 25 minutes or so, until the coconut topping is golden brown and toasty. This is when your kitchen starts smelling like someone’s baking memories. It’s a whole vibe.
Want To Save This Recipe?
Step 7: Cool completely.
Resist the urge to slice it while hot. It needs to cool so everything sets properly. Walk away. Scroll social media. Do literally anything else.
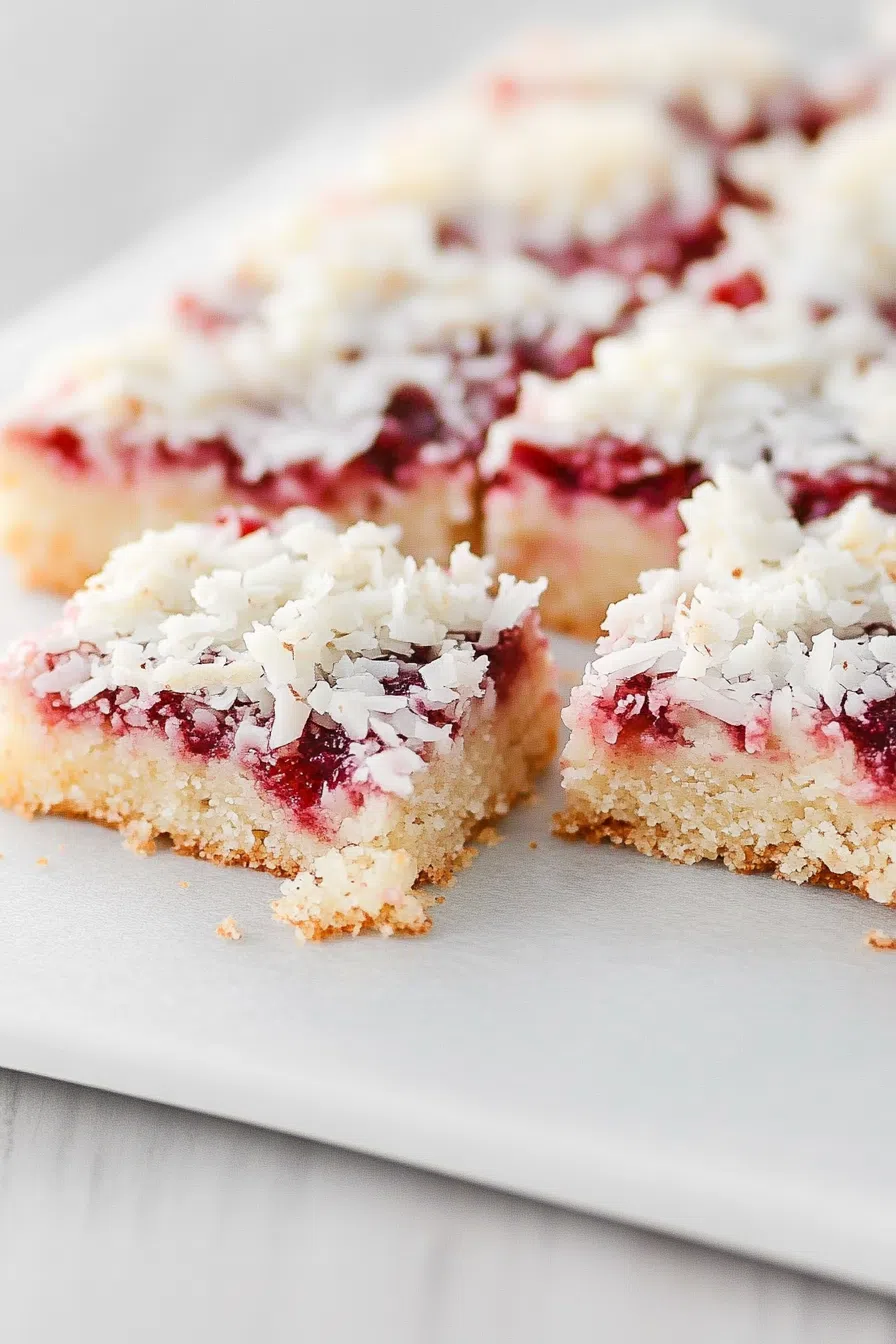
Then come back and slice it however you like—squares, bars, triangles. No wrong answers.
Storage Options:
This Raspberry Jam Coconut Slice stores beautifully. Just pop the cooled slices into an airtight container.
-
Room temp: Up to 4 days (if it lasts that long).
-
Fridge: Great if your house is hot and you want a firmer texture.
-
Freezer: Yup. Wrap slices individually and freeze for up to a month. Defrost on the counter or eat slightly frozen if you like that chewy, ice cream bar vibe. No shame.
Variations and Substitutions:
-
Jam swap: Try strawberry, blackberry, or apricot. Raspberry is classic, but you do you.
-
Lemon zest in the base: For a zingier, slightly fancier feel.
-
Add chopped almonds or pistachios to the topping for a little crunch.
-
Use brown sugar in the topping: Gives it a caramel-y richness. Highly recommend.
What to Serve with Raspberry Jam Coconut Slice?
-
Tea (obviously): This is an afternoon tea superstar.
-
Coffee: That slight bitterness cuts the sweetness perfectly.
-
A glass of cold milk: Simple, nostalgic, and very underrated.
-
Sassy conversation and slippers: Honestly, the best combo of all.
Frequently Asked Questions:
Can I skip the egg whites?
You can… but it changes the texture. The topping won’t be as light and chewy. Still tasty, just different.
Can I double it?
Absolutely. Use a larger tray and maybe add a few extra minutes to the baking time. It feeds a crowd—or just, you for several days.
Can I use gluten-free flour?
I haven’t tested it personally, but a 1:1 GF blend should work. If you try it, let me know how it turns out!
So there you have it. A humble, heavenly tray bake that hits all the right notes—sweet, chewy, buttery, and just enough nostalgia to make you smile with every bite.
If you make this Raspberry Jam Coconut Slice, I’d love to know—did you go classic or shake it up? Did you eat three pieces straight out of the pan (no judgment—I’ve been there)? Drop me a comment, tag me, or just shoot me a message while you’re licking the jam off your fingers.
Because honestly, that’s the kind of connection these recipes are all about.
Keep the Flavor Coming – Try These:


Raspberry Jam Coconut Slice
Ingredients
For The Base:
- 300 grams plain flour 2 c
- 110 grams caster sugar ½ c
- 125 grams butter chilled and roughly chopped
- 1 egg room temperature
- 1 teaspoon vanilla extract
For The Topping:
- 225 grams jam in the flavor of your choice (¾ c)
- 2 egg whites
- 110 grams caster sugar ½ c
- 85 grams desiccated coconut 1 c
- 80 grams shredded coconut 1 c
Instructions
- To start preheat your oven to 180°C (fan-forced). Grease and line a slice tray measuring 18cm x 28cm with baking paper ensuring that the paper extends beyond the edges.
- Using a food processor combine the flour, sugar and chilled butter until they resemble breadcrumbs. Next add the egg and vanilla to the mixture and process until it forms a dough.
- Now press the dough evenly into the tray using a spoon to flatten it. Bake for 15 to 20 minutes until it turns golden in color.
- Once you've baked the base spread a layer of jam across its surface.
- Moving on to the topping: In a bowl whisk together egg whites and sugar. Then stir in both shredded coconut.
- Spread this coconut mixture over the layer of jam, on top of the base.
- Return the tray to the oven. Bake for 25 minutes or until the top becomes golden, in hue.
- Finally allow everything to cool completely while still in the tray before lifting it out and slicing as desired.
Notes
I’m Bitty, owner of nodashofgluten.com, where I share simple, delicious recipes for all tastes, including gluten-free. Check out my “About Me” page for more info!

