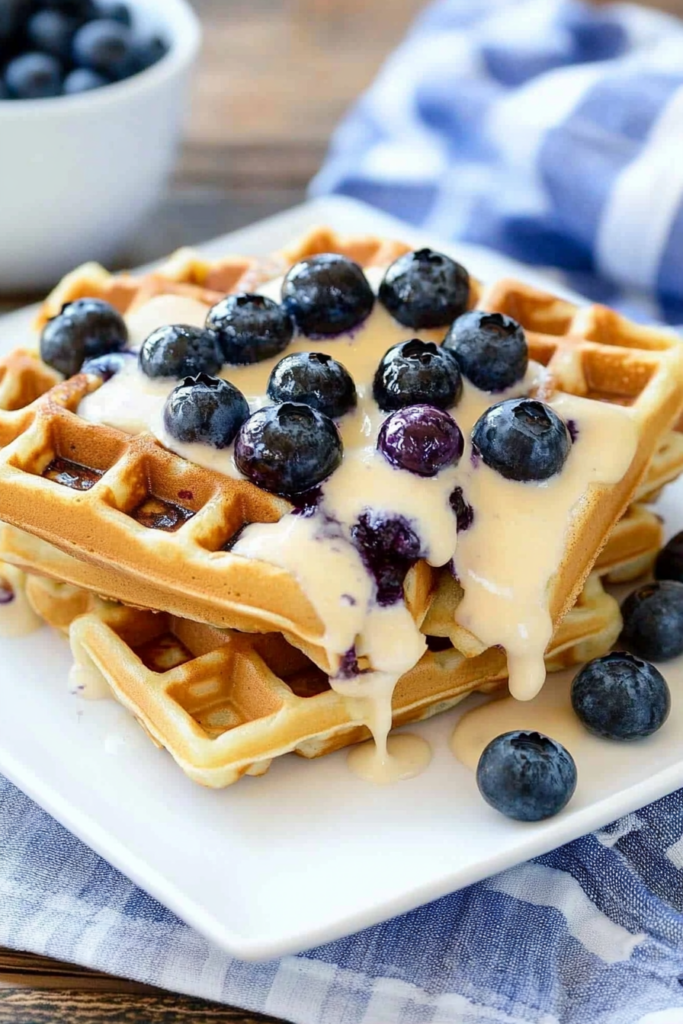
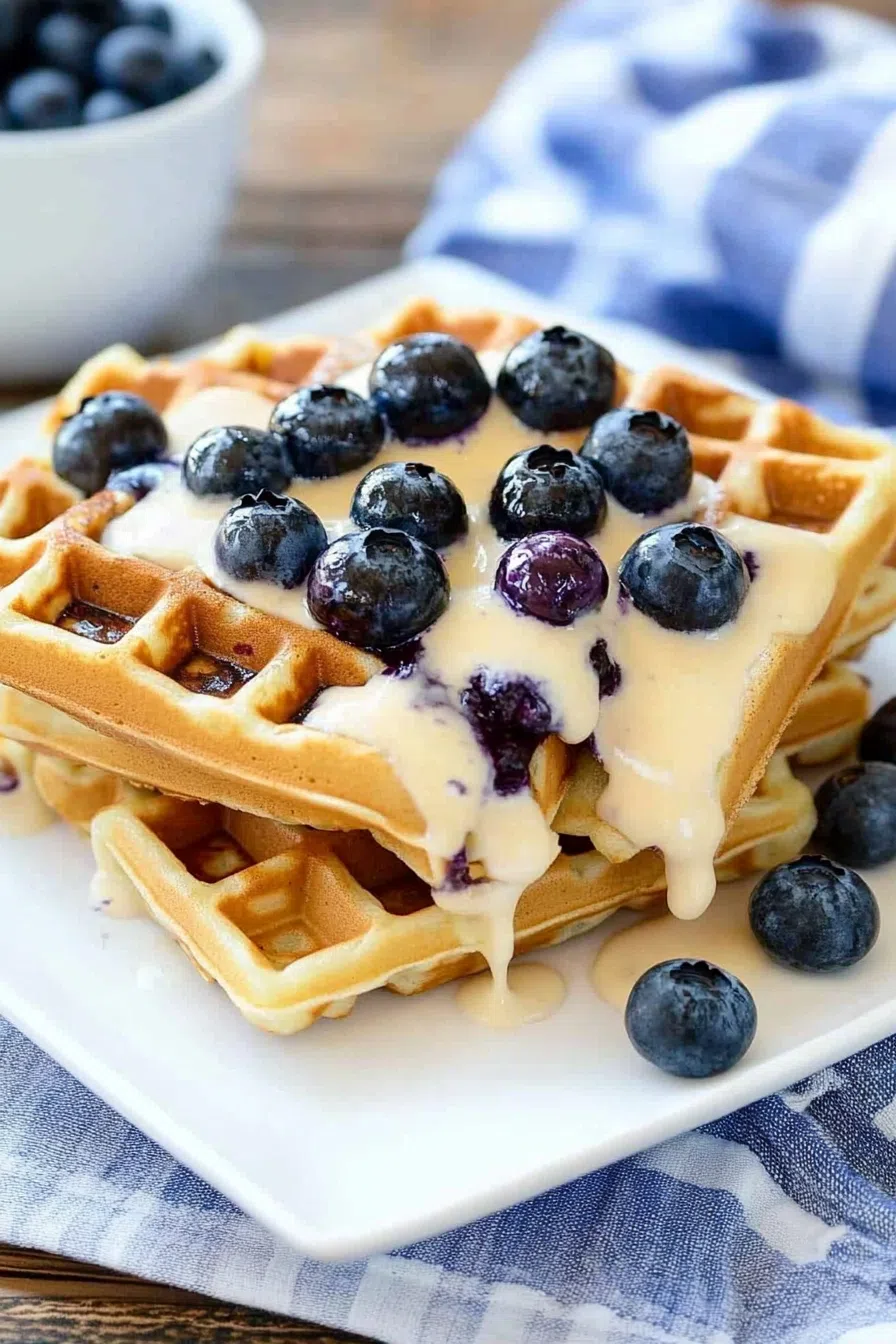
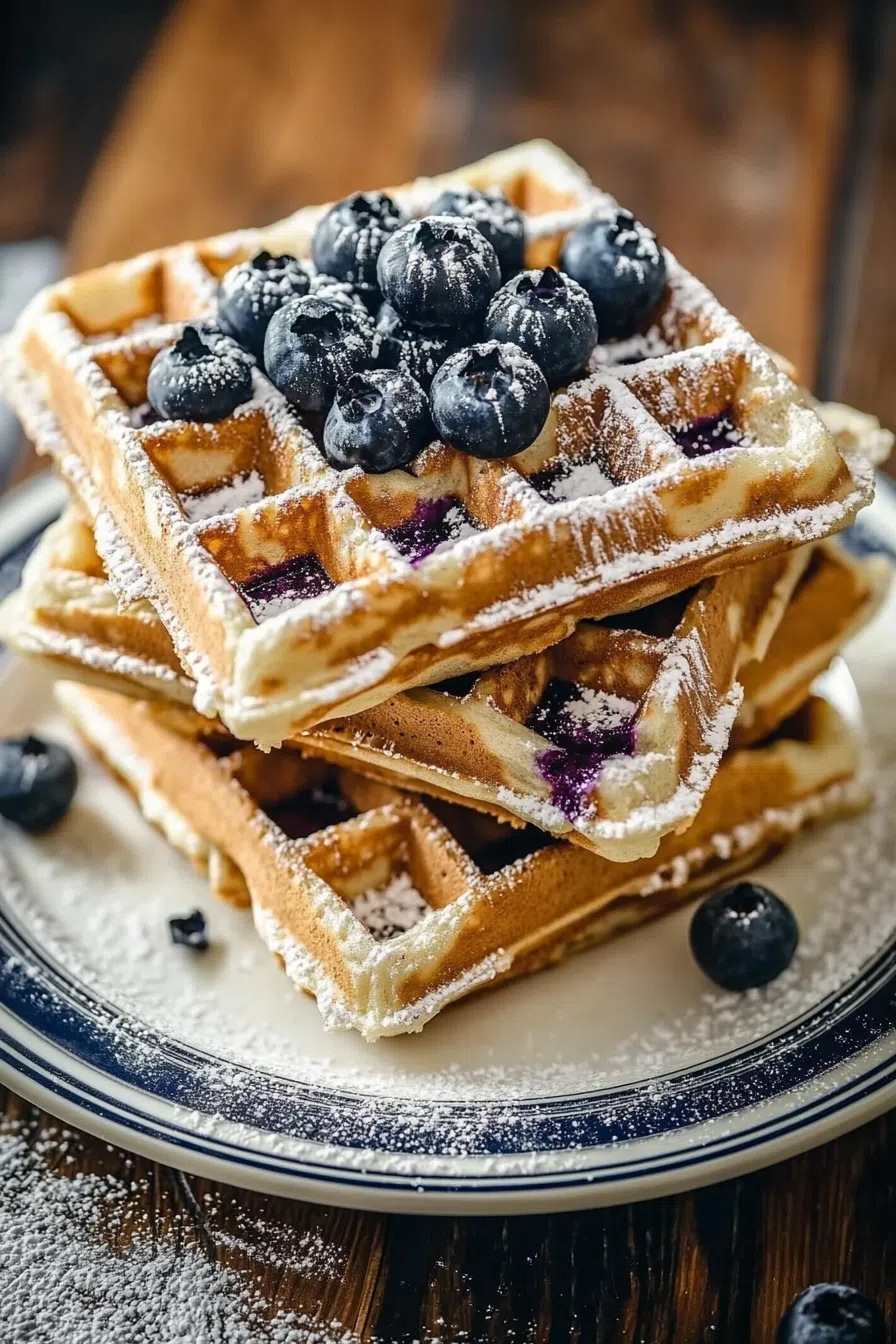
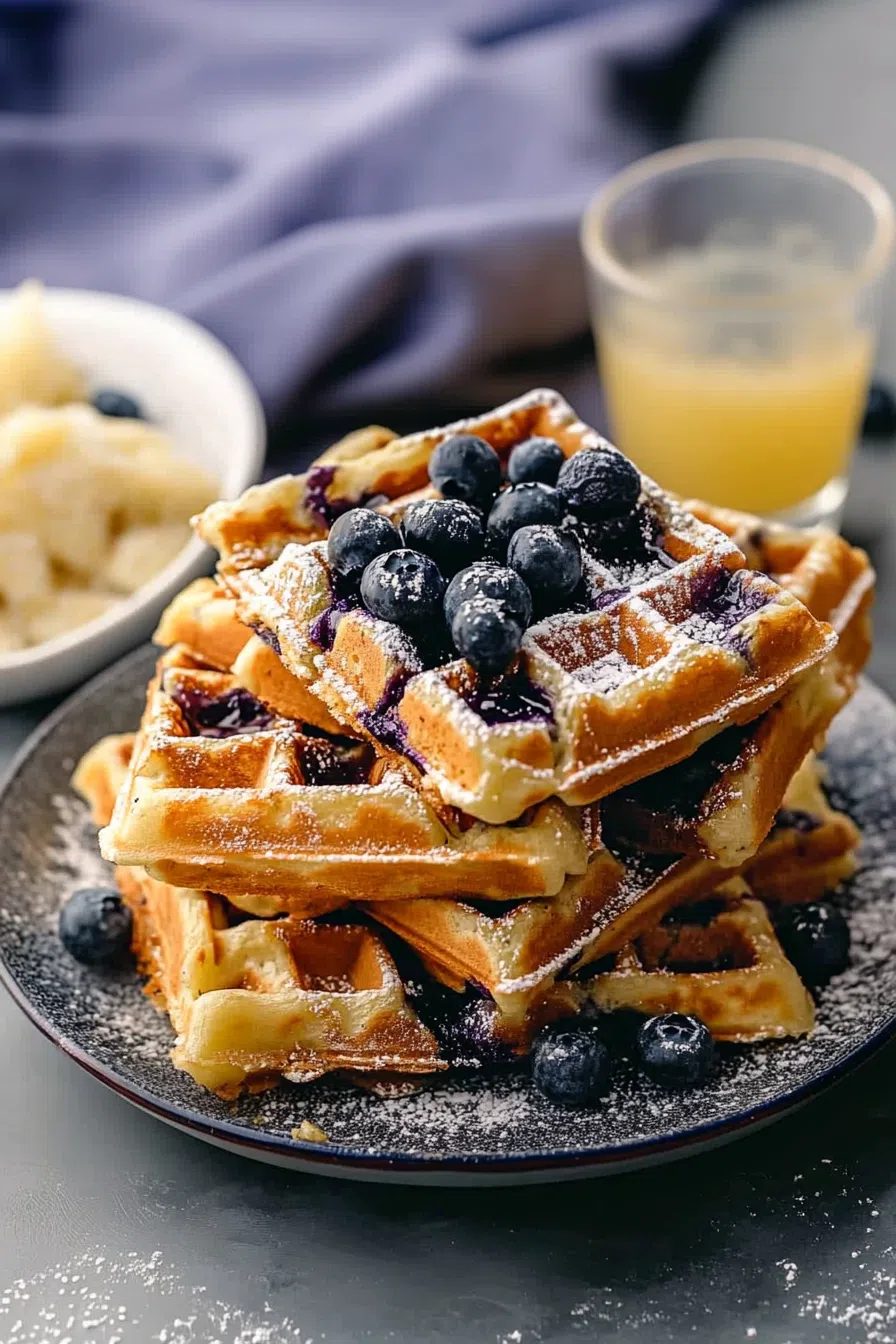
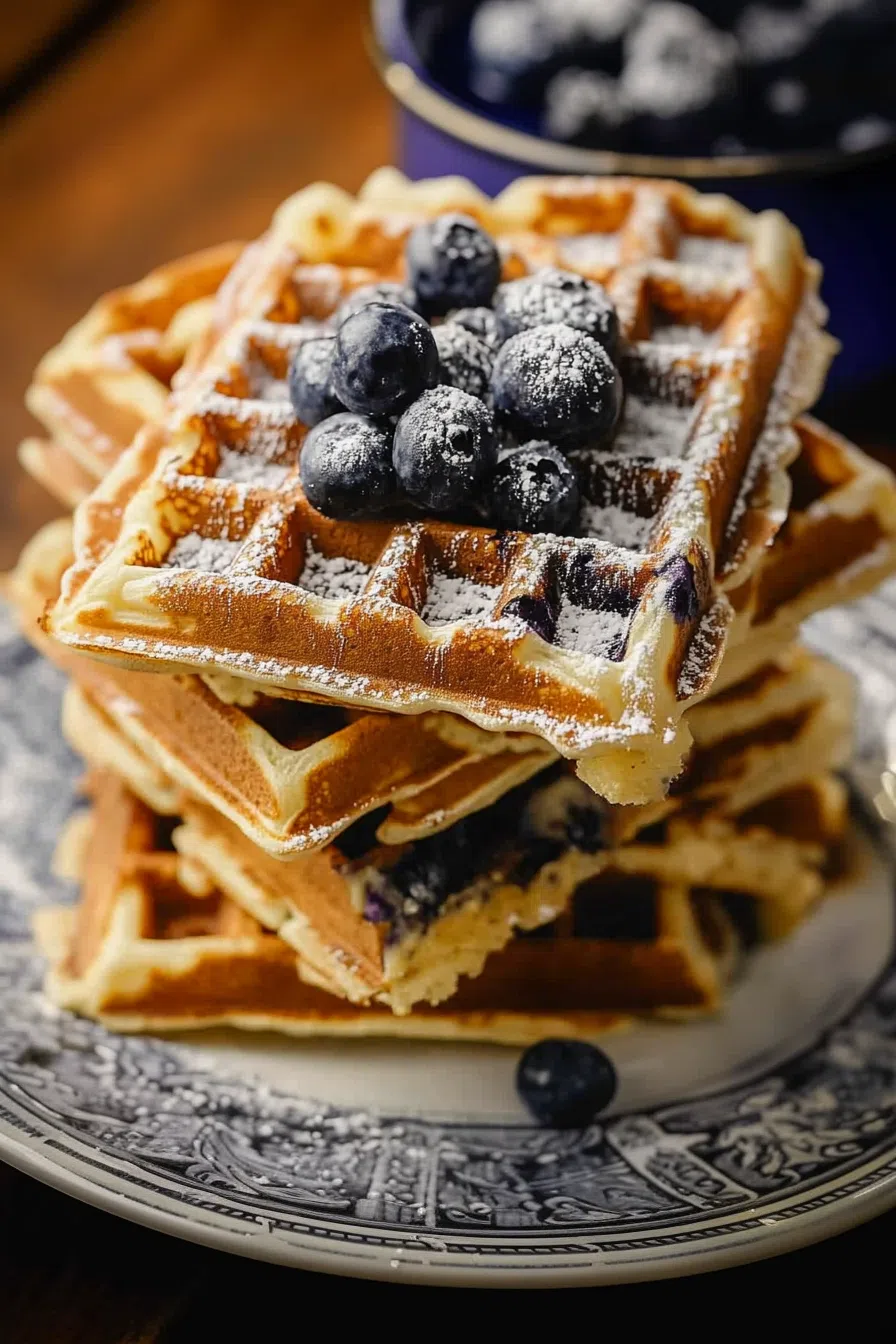
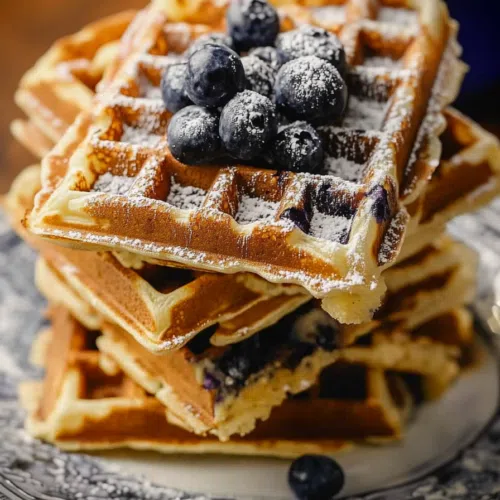
Fluffy homemade blueberry waffles made with fresh blueberries, flour, eggs, and butter. Perfect for breakfast or brunch!


I’ll be honest—waffles were never a big deal in my house growing up. We were more of a “grab toast and run out the door” kind of family. But then, one summer at my aunt’s place (you know, the kind of aunt who always has something baking in the oven?), she handed me a plate of homemade blueberry waffles. And not just any waffles—crispy on the outside, fluffy as a pillow on the inside, and bursting with sweet, juicy blueberries. It was basically love at first bite.
Flash forward to now, and these waffles are the breakfast request in our house. My kids go wild for them, and I swear my husband becomes part bloodhound the second he smells them cooking. The best part? They’re so simple, you don’t have to wait for a special occasion to whip up a batch. But hey, if you want to claim it’s a “celebration” to get out of bed on a lazy Sunday, I won’t judge!
Why You’ll Love This Homemade Blueberry Waffles Recipe?
Okay, so why are these waffles worth turning on the waffle iron (and actually washing it after)? A few reasons:
First, they’re the perfect texture—light, airy, and golden crispy on the outside. Second, they’re loaded with fresh blueberries that burst into juicy goodness as they cook. And third? That smell. There’s something magical about butter and blueberries cooking together that just makes you feel like life is good. Like, really good.
You can have them done in about 20 minutes. Which is kind of dangerous if you think about it, because suddenly “waffles on a Wednesday” seems totally reasonable.
Ingredient Notes:
Simple ingredients, pantry staples, and a few tips to make them even better!
-
Blueberries: Fresh is ideal, but frozen works fine. Just don’t thaw them first or they’ll turn your batter a weird purple (unless you’re into that kind of thing).
-
Flour: All-purpose flour keeps things fluffy. If you want to get fancy with whole wheat, go half and half to keep things light.
-
Baking Powder: The secret weapon for getting that lift! Make sure yours is fresh; no one likes a flat waffle.
-
Eggs: Separate the yolks from the whites. Trust me on this. Whipping those whites gives you waffles that are fluffy as clouds on a sunny day.
-
Milk: Whole milk makes these waffles rich and tender. If you only have skim, you might want to add an extra splash of melted butter (because why not?).
-
Butter: Melted and stirred in for flavor. You could sub oil, but…why?
-
Sugar & Salt: Just enough sugar for a hint of sweetness, and salt to balance everything out.
How To Make Homemade Blueberry Waffles?
Step 1: Preheat your waffle iron.
Sounds obvious, right? But I’ve forgotten more times than I care to admit. Get it nice and hot before you start!
Step 2: Beat the egg whites.
Yes, it’s a little effort, but it’s so worth it. Beat them until stiff peaks form. (I use my hand mixer because my arm gave up after the first try.)
Step 3: Mix the dry stuff.
In a big bowl, whisk together the flour, baking powder, sugar, and salt. This is your waffle base, so give it some love.
Step 4: Combine the wet stuff.
Slowly stir in the milk, the beaten yolks, and the melted butter. Don’t overthink it; it should come together smoothly.
Step 5: Fold in your blueberries.
Be gentle! You don’t want to smush them. Unless you like streaks of purple in your batter (no judgment).
Step 6: Fold in those fluffy egg whites.
This is where the magic happens. Use a spatula and fold them in carefully. You’re keeping the batter airy here.
Step 7: Waffle time!
Want To Save This Recipe?
Scoop the batter onto your hot iron and cook until golden brown. Your kitchen will smell like a bakery—don’t be surprised if your neighbors suddenly pop by!
Storage Options:
If you have leftovers (doubtful, but let’s roll with it):
-
Fridge: Store in an airtight container for up to 3 days. Reheat in the toaster for crispy goodness.
-
Freezer: Lay them flat on a baking sheet first. Once they’re frozen, stash them in a zip-top bag. They’ll keep for about 2 months. Pop them straight into the toaster when you’re ready!
Variations and Substitutions:
Want to mix it up? Here’s how:
-
Swap berries: Try raspberries, chopped strawberries, or blackberries.
-
Add chocolate chips: Because, well…chocolate.
-
Lemon zest: Adds a zing that works so well with blueberries.
-
Gluten-free: Use your favorite GF flour blend—just check the instructions in case you need to add more liquid.
-
Dairy-free: Almond milk and coconut oil make great swaps. And they’re still delicious!
What to Serve with Homemade Blueberry Waffles?
Waffles are basically a canvas for your breakfast dreams, but here are a few ideas:
-
Maple syrup: Classic. Can’t go wrong.
-
Whipped cream: Make it homemade if you can; it’s next level.
-
Yogurt and granola: Crunchy, creamy, and feels healthy-ish.
-
Crispy bacon: The salty-sweet combo is chef’s kiss.
-
Fruit salad: If you want to be fancy or convince yourself it’s a balanced meal.
Frequently Asked Questions:
Can I use frozen blueberries?
Yep! Toss them in straight from the freezer. If you thaw them, they’ll bleed into the batter.
Do I really need to whip the egg whites?
Nope. But if you want the fluffiest waffles ever, I highly recommend it. If you’re in a rush, skip it—they’ll still be tasty.
Can I make the batter ahead?
Not really. It’s best fresh because those whipped egg whites deflate over time. But you can make and freeze the waffles!

And there you go—your next lazy weekend breakfast is sorted! These Homemade Blueberry Waffles are on repeat in my house, and I hope they will be for you too. If you try them, drop a comment below and let me know how it went! Did you add chocolate chips? Did you eat them straight off the waffle iron like a rebel? I wanna hear it!
Keep the Flavor Coming – Try These:


Homemade Blueberry Waffles
Ingredients
- 2 cups sifted all-purpose flour
- 3 teaspoons baking powder
- 1 tablespoon granulated sugar
- ½ teaspoon salt
- 1½ cups milk
- 2 large eggs separated
- ¼ cup unsalted butter melted
- 1 cup fresh blueberries
Instructions
Preheat the Waffle Iron
- Begin by preheating your waffle iron according to the manufacturer's instructions. This ensures the waffles will cook evenly and develop a golden, crisp exterior.
Prepare the Dry Ingredients
- In a large mixing bowl, sift together the all-purpose flour, baking powder, granulated sugar, and salt. Mix well to ensure an even distribution of the leavening agents and seasoning.
Combine the Wet Ingredients
- In a separate bowl, whisk the milk and the egg yolks until smooth. Gradually stir in the melted butter, ensuring the mixture is well combined.
Incorporate the Wet and Dry Ingredients
- Slowly add the wet ingredients into the bowl containing the dry ingredients. Stir gently until a smooth batter is formed. Be cautious not to overmix, as this may result in dense waffles.
Prepare the Egg Whites
- In a clean, dry bowl, beat the egg whites with an electric mixer (or by hand) until stiff peaks form. This step is crucial in achieving a light and airy texture in the waffles.
Fold in the Egg Whites
- Carefully fold the stiffly beaten egg whites into the batter using a rubber spatula. Fold gently to retain as much air as possible, resulting in a lighter texture.
Incorporate the Blueberries
- Gently fold in the fresh blueberries, distributing them evenly throughout the batter.
Cook the Waffles
- Ladle the batter into the preheated waffle iron. Cook according to the appliance instructions or until the waffles are golden brown and crisp on the outside. Repeat until all the batter has been used.
Serve
- Serve the waffles warm. They may be accompanied by maple syrup, whipped cream, or additional fresh berries as desired.
Notes
I’m Bitty, owner of nodashofgluten.com, where I share simple, delicious recipes for all tastes, including gluten-free. Check out my “About Me” page for more info!