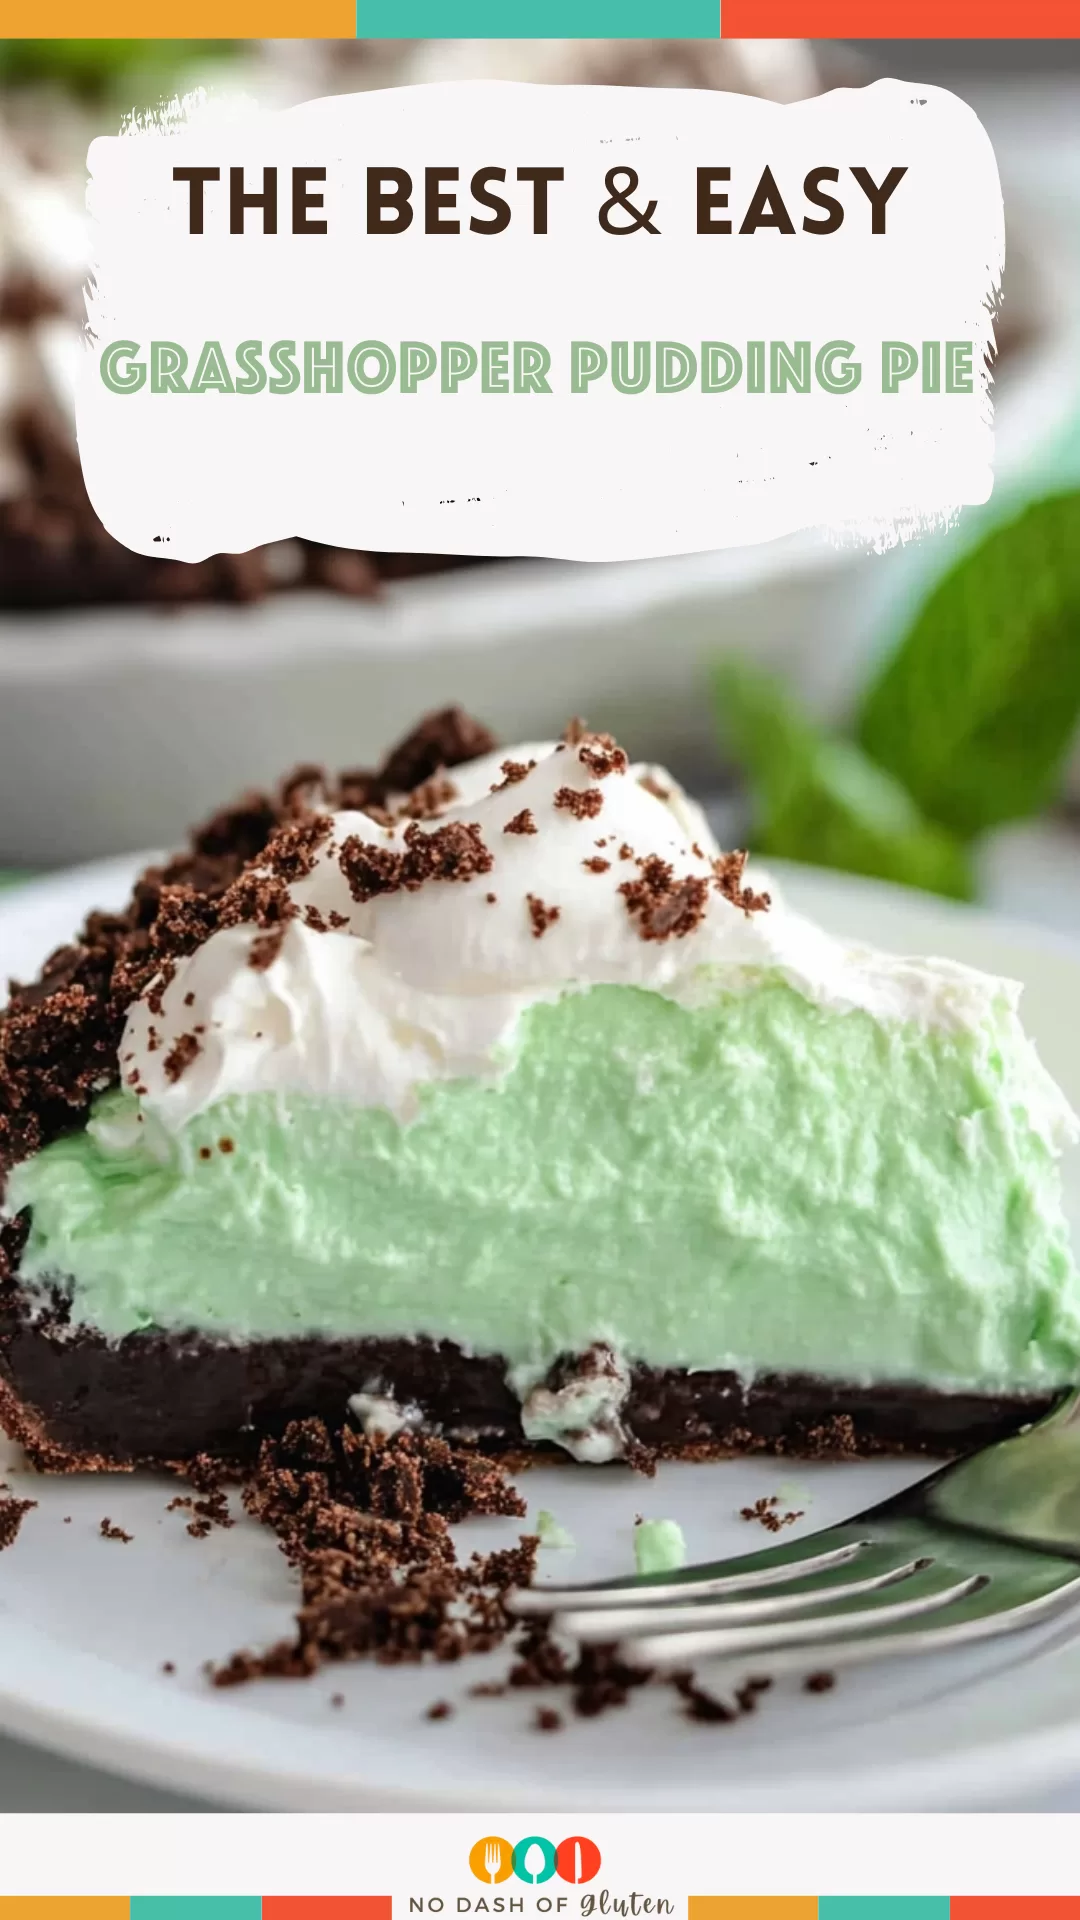
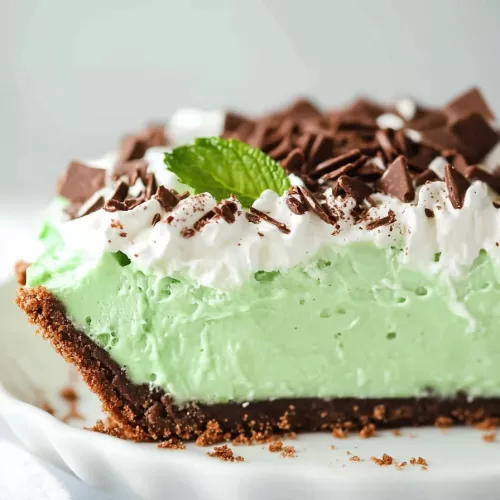
Grasshopper Pudding Pie – Ever come across a dessert that instantly transports you back to a memory? That’s what Grasshopper Pudding Pie does for me. The first time I made it was during a little family get-together—one of those weekends where everyone’s in town, and you spend half the time cooking and the other half eating. I’d been a bit skeptical about making it, honestly. Mint, pudding, and pie? Seemed like an odd combo, and I wasn’t sure how it would go over with my family, who are pretty set in their dessert ways (my aunt still insists brownies are the only dessert worth making). But, I thought, why not try something different?

So, I whipped it up, and let me tell you, this pie disappeared in minutes! Even my aunt went back for seconds, which, trust me, is a big deal. There’s just something about the cool mint flavor paired with that chocolatey Oreo crunch that’s hard to resist. And now, every time I make it, I’m reminded of that weekend, sitting around the table with my family, swapping stories, laughing way too loud, and sneaking extra pieces of pie. Ever had a dessert that just brings it all back?
Why You’ll Love This Grasshopper Pudding Pie Recipe?
You know those desserts that look like you spent hours on them, but actually took you all of 15 minutes? This is one of them. No baking, minimal prep, and yet it looks fancy enough to bring to any gathering. The flavor is perfect if you’re a mint-and-chocolate fan—think of it like a Thin Mint cookie in pie form, only softer and creamier. And the texture? Oh, it’s got that creamy, fluffy filling with just enough crunch from the Oreo crust and chunks. Plus, it’s not heavy, so you can enjoy a slice (or two) without feeling weighed down. It’s the kind of dessert you almost feel guilty eating… but not really.
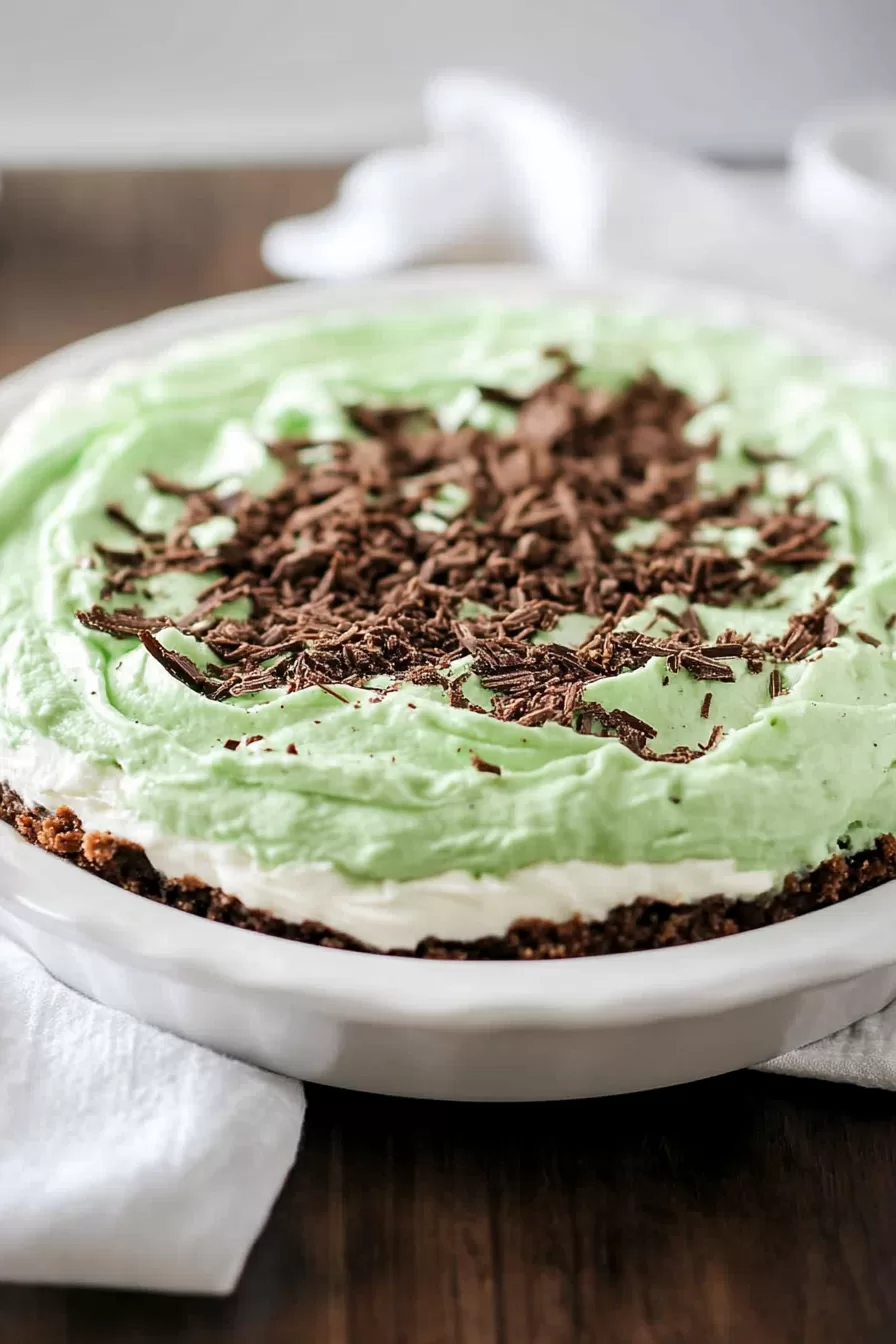
Ingredients Notes:
Here’s what makes each ingredient essential to this Grasshopper Pudding Pie:
- Mint Oreo Cookies: These babies bring the chocolate-mint flavor and a nice crunchy base. Crushing them for the crust and adding some chunks into the filling? Total game-changer.
- Butter: Holds the crust together and adds a bit of richness. Without it, the crust just wouldn’t be the same.
- White Chocolate Pudding Mix: The sweetness from the white chocolate is subtle enough to let the mint shine. It’s a delicate balance, and it works.
- Nonfat Milk: Keeps it light without losing that creamy texture. I’ve used regular milk, too, and it’s just as good, but nonfat lets you feel a little more virtuous.
- Whipped Topping: This is what makes the filling fluffy and light. I always go for Lite, but you do you.
- Green Food Coloring: Just a couple of drops make the pie pop with that minty green color. It’s optional, but hey, I think it looks kinda fun.
- Peppermint Extract: Adds a little extra minty oomph. If you’re not into a strong mint flavor, you could even skip it, but I think it really makes the pie shine.
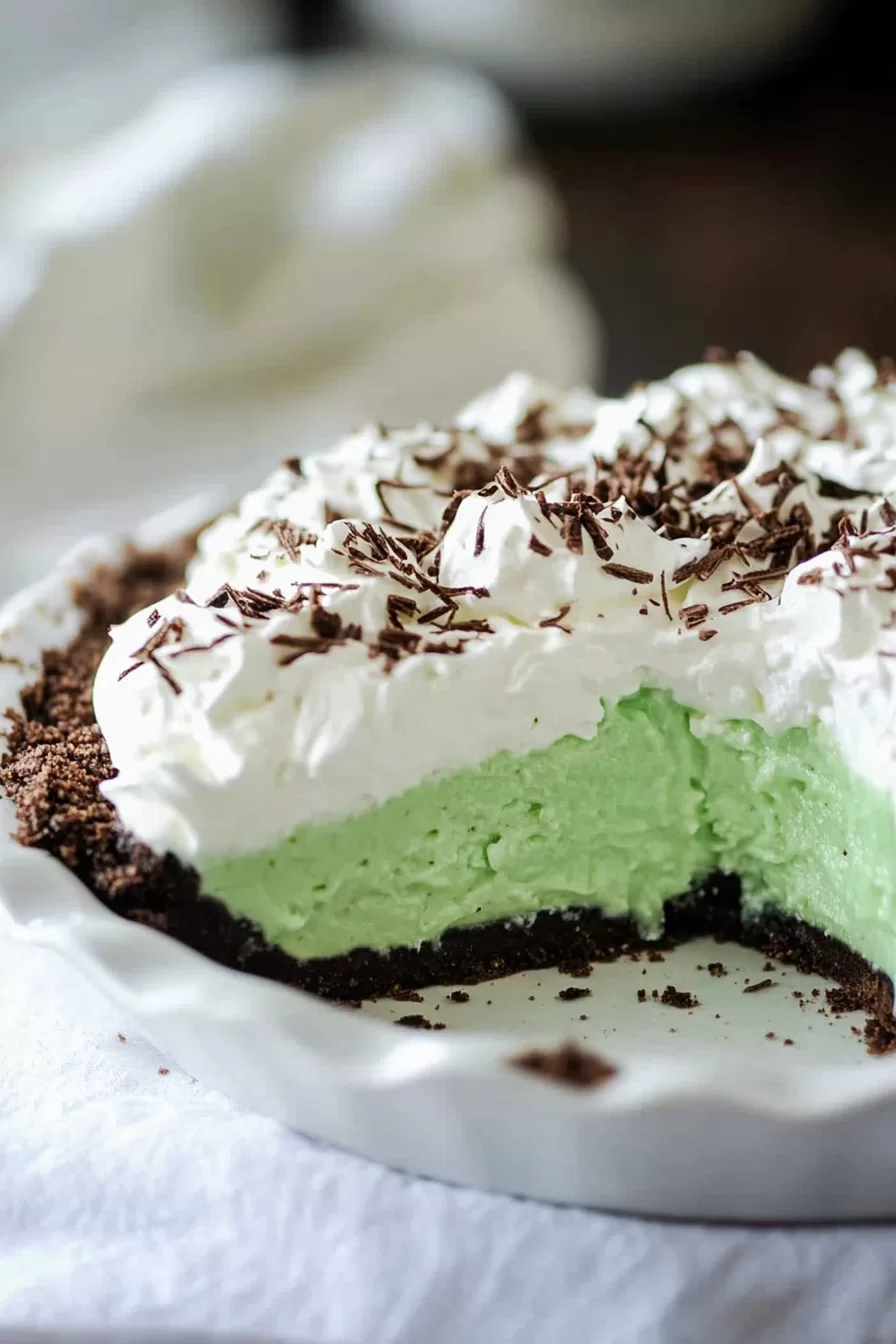
How To Make Grasshopper Pudding Pie?
This pie is as easy as it gets—honestly, even if you’re the kind of person who “forgets” to bring dessert to potlucks because baking’s not your thing, you can pull this off!
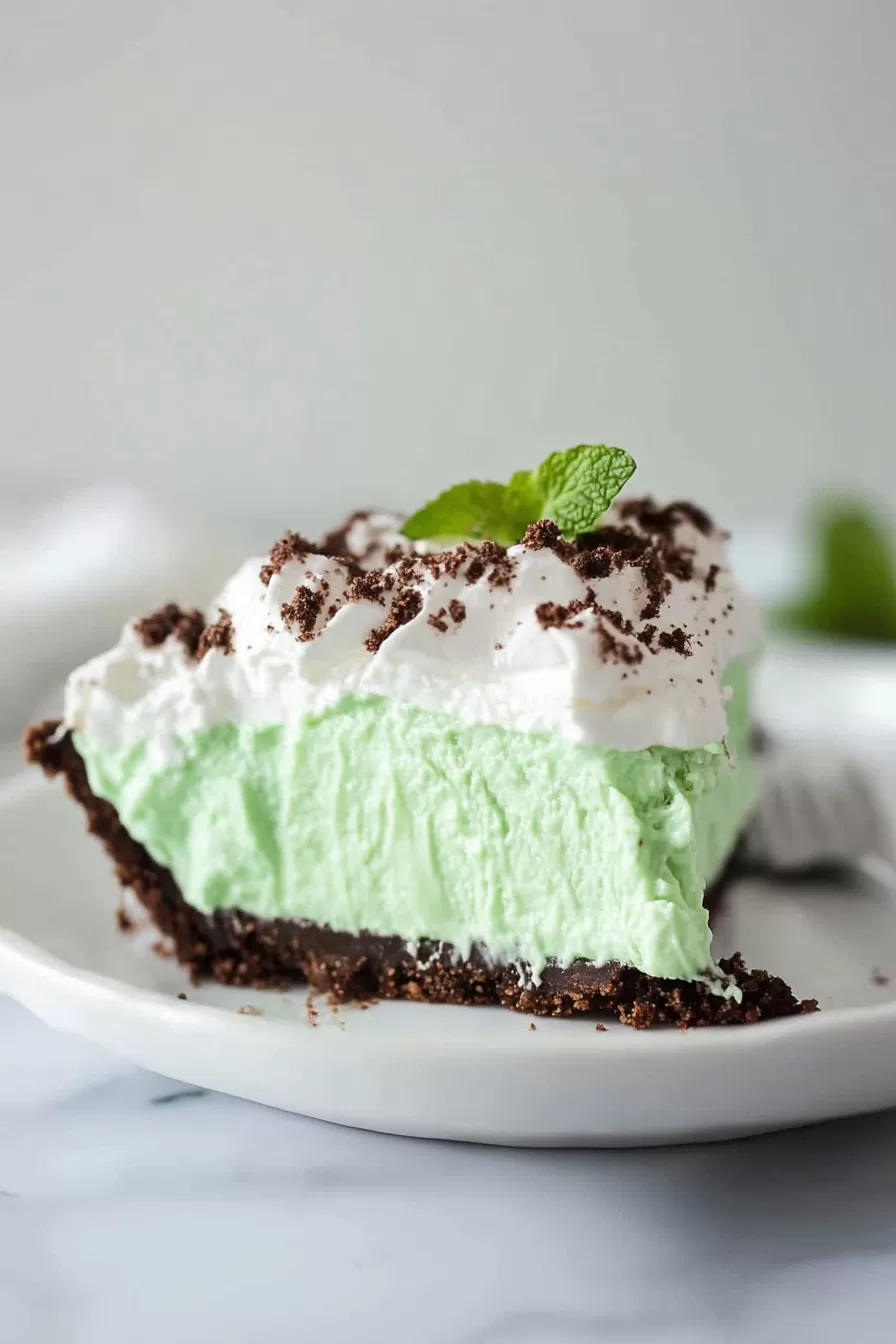
- Make the Crust: Crush those Oreos (the whole cookie, cream and all) and mix them with melted butter until everything’s evenly coated. Then, press it into a 9-inch pie plate, spreading the crust up the sides for a nice edge. This gives the pie structure and that all-important Oreo flavor in every bite. Pop it in the fridge to chill while you work on the filling.
- Whip Up the Filling: Grab a big bowl, and whisk the pudding mix with cold milk for about 2 minutes. You’ll feel it thicken up quickly, which is exactly what we want. Fold in the whipped topping—don’t overmix, just enough to make it smooth and fluffy.
- Add the Extras: Now, stir in the chopped Oreos, food coloring (if you’re going for the green vibe), and a touch of peppermint extract. Go easy on the food coloring—a drop or two should do it, unless you want bright green pie!
- Fill the Crust: Spoon the filling into your Oreo crust and smooth out the top. At this point, you can sprinkle some extra Oreo pieces on top if you’re feeling fancy.
- Chill the Pie: Place the pie in the fridge and let it set for at least 2 hours. If you’re short on time, you can freeze it, but let it sit at room temp for 10 minutes before slicing. That way, it’ll be creamy but still hold its shape.
Storage Options:
If you’re lucky enough to have leftovers, Grasshopper Pudding Pie stores like a dream. Cover it with plastic wrap and keep it in the fridge for up to 3 days. Want to save some for later? Wrap individual slices and freeze them. It’ll keep for a month, and you just thaw a slice whenever you’re craving it. I mean, can you beat a pie that waits for you?
Variations and Substitutions:
Want to make it your own? Here are a few ideas to mix things up:
Want To Save This Recipe?
Enter your email below and we'll send the recipe straight to your inbox.
- Regular Oreos or Graham Crackers – If you can’t find mint Oreos, plain ones or chocolate graham crackers work too.
- Vanilla Pudding – Not feeling white chocolate? Vanilla pudding keeps things light and still lets the mint flavor pop.
- Dairy-Free – Use almond or oat milk instead, and grab a dairy-free whipped topping.
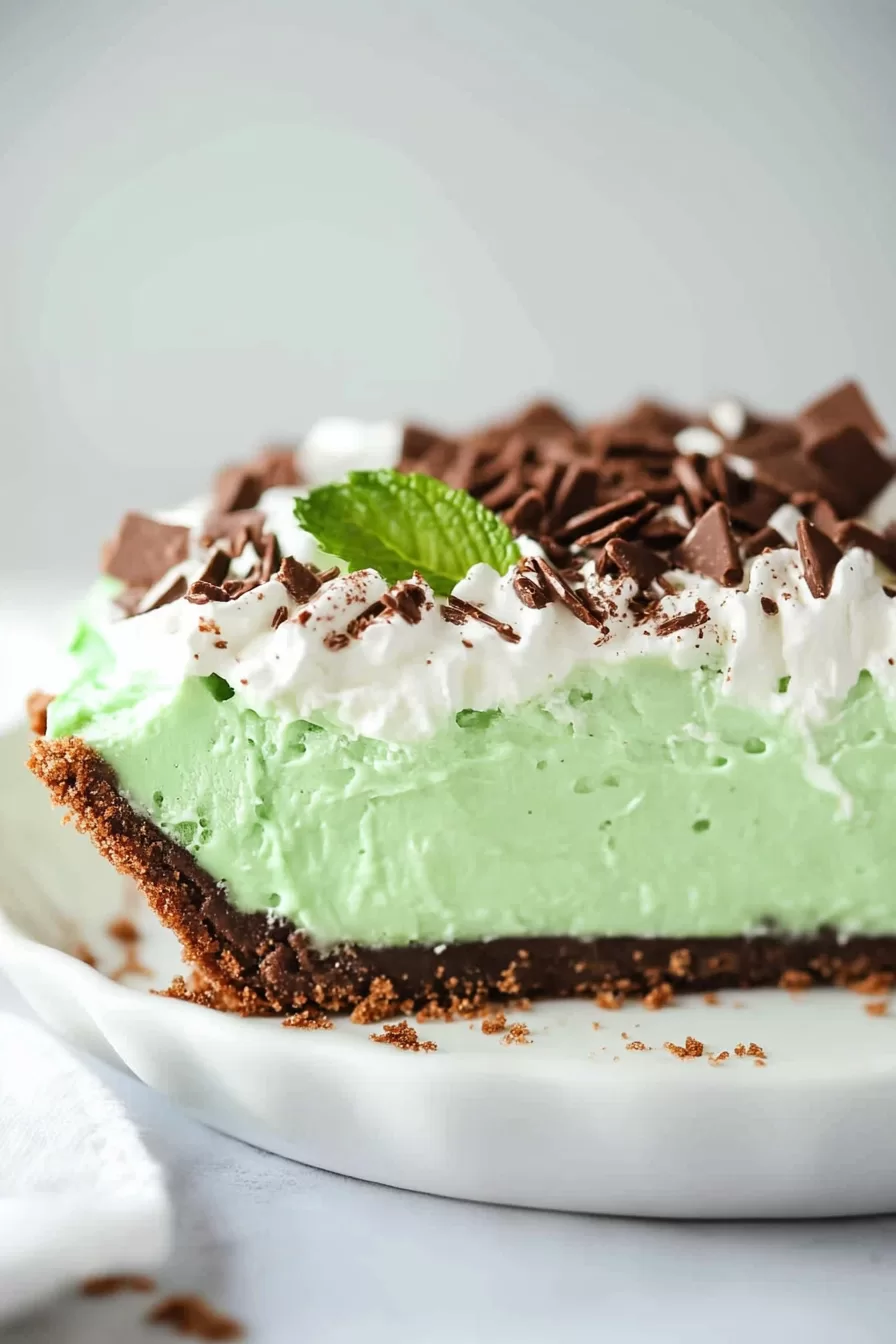
- Extra Chocolate – If you’re a chocoholic, sprinkle chocolate chips or drizzle some chocolate syrup on top. Why not?
What to Serve with Grasshopper Pudding Pie?
This pie is pretty darn perfect on its own, but if you want to get fancy, here are a few ideas:
- Hot Chocolate – Mint and chocolate go together like peanut butter and jelly. Perfect for cozy vibes!
- Vanilla Ice Cream – A scoop on the side is like pie a la mode, but with a minty twist.
- Coffee or Espresso – The slight bitterness balances the sweetness of the pie.
- Fresh Berries – Raspberries or strawberries add a little tang that’s great with the mint-chocolate flavor.
Frequently Asked Questions:
Can I make Grasshopper Pudding Pie ahead of time?
Absolutely. In fact, it tastes even better when it has a few hours to chill. Make it up to 2 days in advance and keep it covered in the fridge.
How can I get a firmer texture?
For a firmer pie, freeze it for a couple of hours. Let it sit out for about 10 minutes before slicing so it’s easier to cut.
Is green food coloring necessary?
Nope! The food coloring is just for looks, so if you’re not a fan, you can skip it. The flavor’s the same either way.
So, what do you think? Ready to give this refreshing, no-bake pie a try? Let me know how it turns out and if you put your own twist on it!
<Remember it later>
Planning to try this recipe soon? Pin it for a quick find later!
<Remember it later>
Planning to try this recipe soon? Pin it for a quick find later!
Ingredients
- 17 –18 mint Oreo cookies finely crushed (cream centers included)
- 9 mint Oreo cookies coarsely chopped
- 3 tablespoons butter melted
- 1 1-ounce package instant white chocolate pudding mix (fat-free, sugar-free)
- 1 1/2 cups nonfat milk cold
- 1 8-ounce container whipped topping, thawed (lite or fat-free)
- 2 –3 drops green food coloring optional
- 1/4 teaspoon peppermint extract optional, for stronger mint flavor
Garnish Options:
- Chopped peppermint pattie pieces
- Chocolate curls
- Andes mint candy
- Additional chopped Oreo cookies
- Whipped cream
Instructions
Prepare the Crust:
- In a medium mixing bowl, combine the finely crushed mint Oreo cookies and melted butter. Stir until the crumbs are evenly moistened. Press the mixture firmly and evenly into the bottom and up the sides of a 9-inch pie plate to form the crust. Place the crust in the refrigerator to chill while preparing the filling.
Prepare the Pudding Filling:
- In a large mixing bowl, whisk together the white chocolate pudding mix and cold milk for approximately 2 minutes, or until the mixture thickens. The consistency should be smooth and creamy.
Incorporate Additional Ingredients:
- Gently fold the whipped topping into the pudding mixture until well blended. Add the coarsely chopped mint Oreo cookies, green food coloring (if using), and peppermint extract, folding gently until evenly combined.
Assemble the Pie:
- Spoon the prepared filling into the chilled crust, spreading it evenly. Smooth the top with a spatula to create a uniform surface.
Chill the Pie:
- Place the pie in the refrigerator for at least 2 hours or until firm. For a firmer consistency, you may also freeze the pie. If freezing, allow the pie to sit at room temperature for about 10 minutes before serving.
Garnish and Serve:
- Just before serving, garnish the pie with your choice of chopped peppermint pattie pieces, chocolate curls, Andes mints, additional chopped Oreos, or whipped cream, if desired.
Notes

I’m Bitty, owner of nodashofgluten.com, where I share simple, delicious recipes for all tastes, including gluten-free. Check out my “About Me” page for more info!


