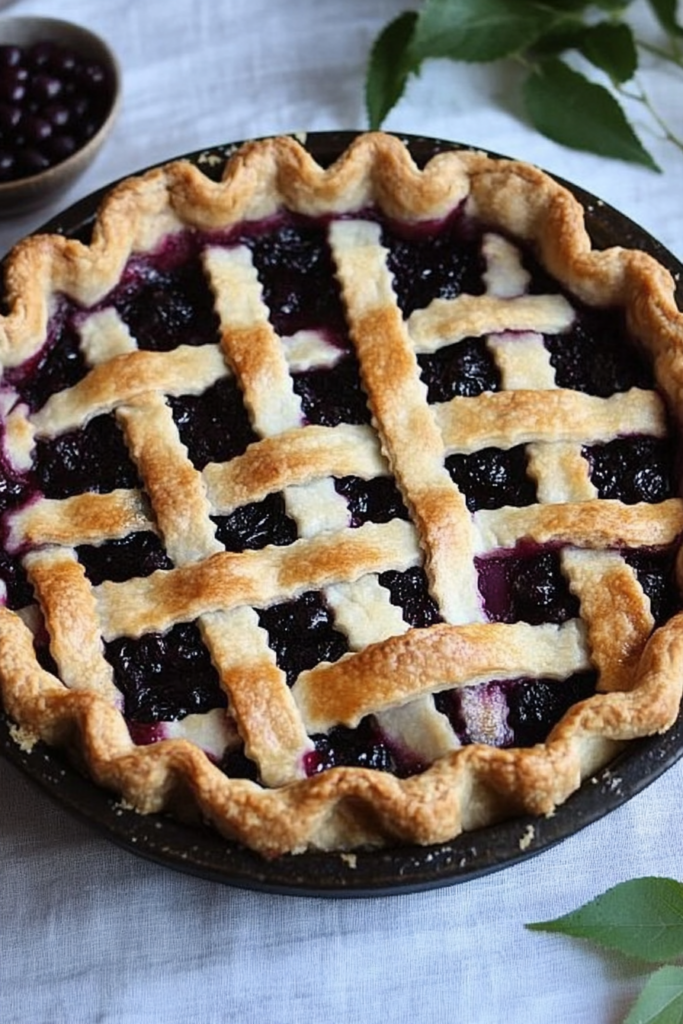
Juicy elderberries, sugar, and lemon juice baked into a flaky golden crust. This Elderberry Pie Recipe is an old-fashioned favorite you’ll love!
You ever taste something that instantly transports you back in time? That’s exactly what happens when I bite into elderberry pie. One forkful and suddenly I’m standing in my grandma’s kitchen, watching her roll out dough with the kind of patience only grandmothers seem to have. I’d be perched on a wooden stool (aka my “baking throne”), sneaking handfuls of berries while pretending to “help.” Spoiler alert: I was not helping.


Elderberries were kind of a big deal in my family. We’d go picking in late summer, my hands turning a deep shade of purple from the juice. My grandma would always say, “The messier you get, the better the pie.” And honestly? She wasn’t wrong.
Fast forward to today, and finding elderberries is like finding a gas station that still sells candy bars for under a dollar—rare, but worth the hunt. If you can track some down, you have to make this pie. It’s sweet, tart, rich, and somehow tastes like childhood, even if you’ve never had it before.
Why You’ll Love This Elderberry Pie Recipe?
- You won’t find it in stores. Elderberry pie isn’t exactly a supermarket staple. Making it from scratch? Total flex.
- The flavor is next level. Sweet but not cloying, tart but not overpowering—basically, it’s got range.
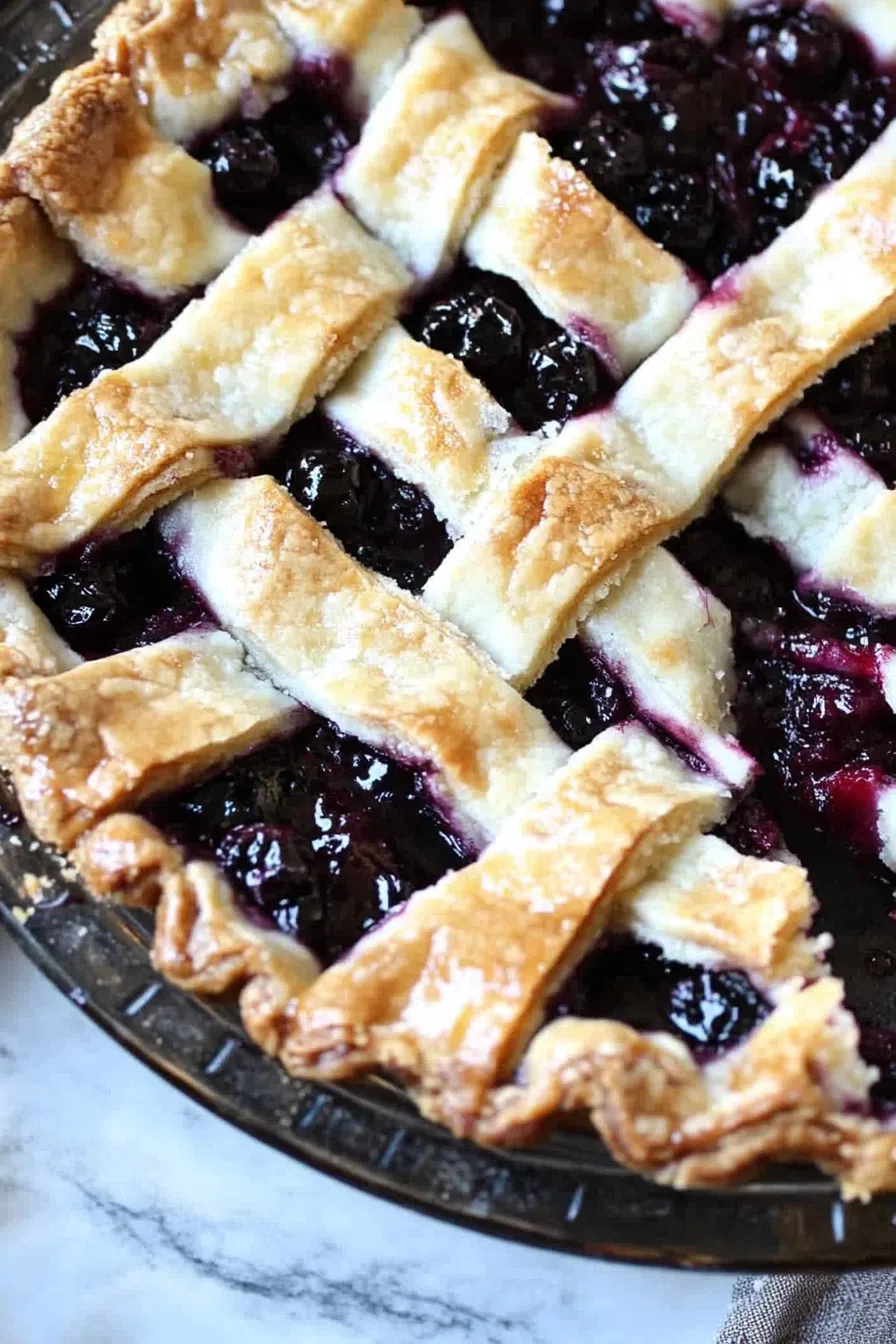
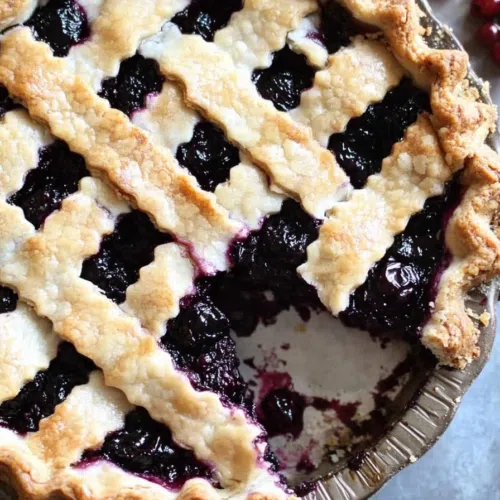
- Golden, buttery crust. Store-bought or homemade, the crisp crust with that juicy filling? Unreal.
- It’s a showstopper. Serve this at a gathering and watch people suddenly become your biggest fans.

Ingredient Notes:
Before we get baking, let’s talk about why each ingredient pulls its weight.
- Elderberries – The main event. They’ve got a deep, slightly earthy sweetness that’s different from anything else. (Important: Don’t eat them raw! They need to be cooked first.)
- White Sugar – Helps balance the tartness and create that syrupy goodness. You can tweak the amount depending on how sweet your berries are.
- Cornstarch – Thickens the filling so you’re not dealing with elderberry soup. If you want a different texture, tapioca starch works too.
- Water – Just enough to dissolve the cornstarch and get everything to the right consistency.
- Lemon Juice – Adds brightness and keeps the filling from feeling too heavy.
- Butter – A small touch, but it makes the filling richer and just better.
- Pie Crust – Whether you make your own or go store-bought (zero judgment), a good, flaky crust is essential.

How To Make Elderberry Pie?
Alright, let’s do this.
Step 1: Preheat & Prep the Crust
First things first—set your oven to 375°F (190°C). Roll out your bottom pie crust and press it into a 9-inch pie plate. Don’t stretch it too much—shrinkage is real. Stick it in the fridge while you work on the filling. Cold dough = flaky crust.
Step 2: Cook the Elderberry Filling
Grab a big pot and toss in elderberries and sugar over medium heat. In a small bowl, mix cornstarch and water into a slurry (sounds fancy, just means smooth paste) and pour it into the pot. Keep stirring while it thickens—should take about 10-15 minutes.
If it’s still looking runny, add another spoonful of cornstarch slurry. You want it thick but not pudding thick. When it’s done, remove from heat and stir in the lemon juice.
Step 3: Assemble the Pie
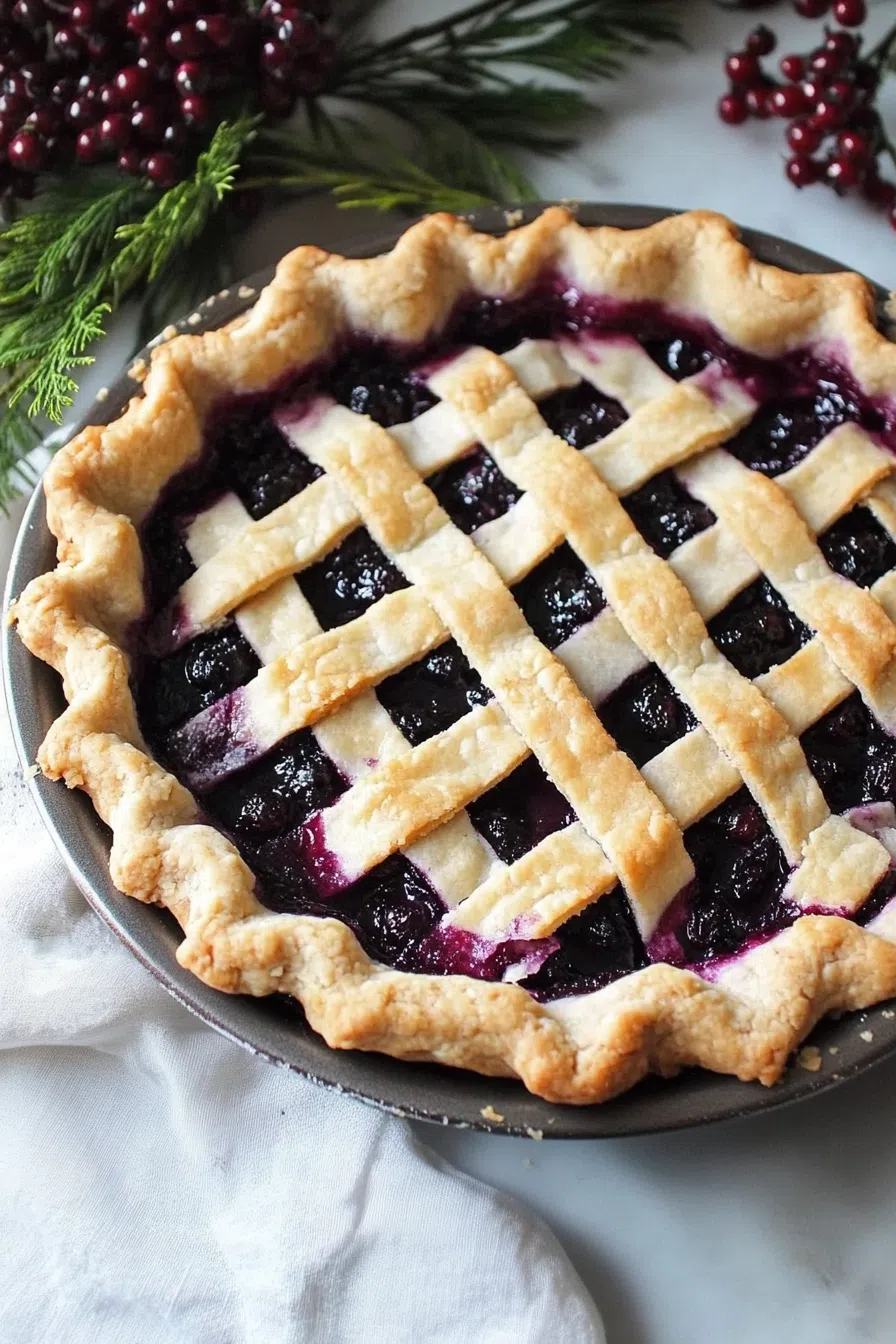
Pour the filling into your chilled crust and dot the top with butter. Now, for the top crust—you can keep it simple or go full lattice design if you’re feeling fancy. Either way, crimp the edges to keep everything sealed.
Step 4: Bake Until Perfectly Golden
Pop it in the oven and bake for 40 minutes, or until the crust is golden and the filling bubbles up through the vents. Your house is about to smell incredible.
Want To Save This Recipe?
Step 5: Cool (Even Though You Won’t Want To)
Look, I get it—you want to dig in immediately. But if you cut it too soon, the filling will run everywhere like a bad DIY science experiment. Let it cool for at least 2 hours so it sets properly.
Serve warm, preferably with whipped cream or vanilla ice cream, and enjoy every bite.

Storage Options:
- Room Temp: If you’re eating it the same day, just cover it loosely and let it chill on the counter.
- Fridge: Store leftovers in an airtight container for up to 4 days.
- Freezer: Wrap the pie in plastic wrap and foil and freeze for up to 3 months. Thaw overnight in the fridge before serving.
Variations and Substitutions:
Elderberries hard to find? Here are some swaps:
- Blackberries or blueberries – Not the same, but they’ll get you close.
- Tapioca starch instead of cornstarch – Some people swear by it for a silkier texture.
- Cinnamon or nutmeg – Adds a little warmth if you’re into that.
- Crumble topping instead of a crust – Skip the top crust and sprinkle on a cinnamon-sugar crumble instead.
What to Serve with Elderberry Pie?
You could eat it solo, but where’s the fun in that?
- Vanilla Ice Cream – It’s a classic pairing for a reason.
- Whipped Cream – Light, airy, and the perfect contrast to the rich filling.
- A Hot Cup of Tea – Because elderberries are known for their immune-boosting benefits, so let’s pretend this is health food.
- A Slice of Mild Cheddar Cheese – Sounds weird, tastes amazing. Try it and thank me later.
Frequently Asked Questions:
Can I use frozen elderberries?
Yep! Just thaw and drain them first.
My filling is too runny—what went wrong?
It probably needed more cornstarch or more cooking time. Let it simmer a bit longer next time.
Can I make this pie ahead of time?
Absolutely. Bake it a day in advance and store it in the fridge until you’re ready to serve.
If you’ve never had elderberry pie, you need to try this. It’s rich, nostalgic, and totally worth the effort. Whether you make it for a special occasion or just because your kitchen feels empty without something baking, I promise—you won’t regret it.
Now, tell me—what’s the one dessert that takes you back to your childhood? Let’s chat in the comments!
Keep the Flavor Coming – Try These:


Elderberry Pie Recipe
Ingredients
For the Pie Filling:
- 4 cups elderberries stems removed
- 1 cup white sugar
- 3 tablespoons cornstarch
- 1 tablespoon water or as needed
- 1 tablespoon lemon juice
- 1 tablespoon butter or to taste
For the Pie Crust:
- 1 14.1-ounce package double-crust pie pastry, thawed
Instructions
Preheat the Oven and Prepare the Crust:
- Preheat the oven to 375°F (190°C). Roll out the bottom pie crust and carefully press it into a 9-inch pie plate, ensuring it fits snugly against the edges. Trim any excess dough and place the pie plate in the refrigerator while preparing the filling.
Prepare the Elderberry Filling:
- In a large saucepan over medium heat, combine the elderberries and sugar, stirring occasionally to release the berries' natural juices. In a small bowl, whisk together the cornstarch and water to create a smooth slurry. Slowly pour the slurry into the berry mixture, stirring continuously to prevent clumping.
Thicken the Filling:
- Continue cooking the mixture over medium heat, stirring frequently, until it reaches a gentle boil and thickens to a jam-like consistency. If the mixture remains too thin, prepare an additional small amount of cornstarch slurry and stir it in as needed. Remove from heat and mix in the lemon juice to enhance the flavor. Allow the filling to cool slightly before assembling the pie.
Assemble the Pie:
- Pour the cooled elderberry filling into the prepared pie crust, spreading it evenly. Dot the filling with butter, which will add richness to the flavor. Roll out the top crust and place it over the filling. Seal the edges by pressing them together with your fingers or a fork. For a decorative touch, create a lattice crust by weaving strips of dough over the filling. Cut a few slits in the top crust to allow steam to escape.
Bake the Pie:
- Transfer the assembled pie to the preheated oven and bake for 40 minutes, or until the crust is golden brown and the filling is bubbling through the openings. If the edges brown too quickly, cover them with aluminum foil during the last 15 minutes of baking.
Cool and Serve:
- Remove the pie from the oven and allow it to cool on a wire rack for at least 2 hours. This cooling period is essential for the filling to set properly. Serve at room temperature or slightly warmed, optionally garnished with whipped cream or a scoop of vanilla ice cream.
Notes
I’m Bitty, owner of nodashofgluten.com, where I share simple, delicious recipes for all tastes, including gluten-free. Check out my “About Me” page for more info!