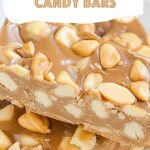
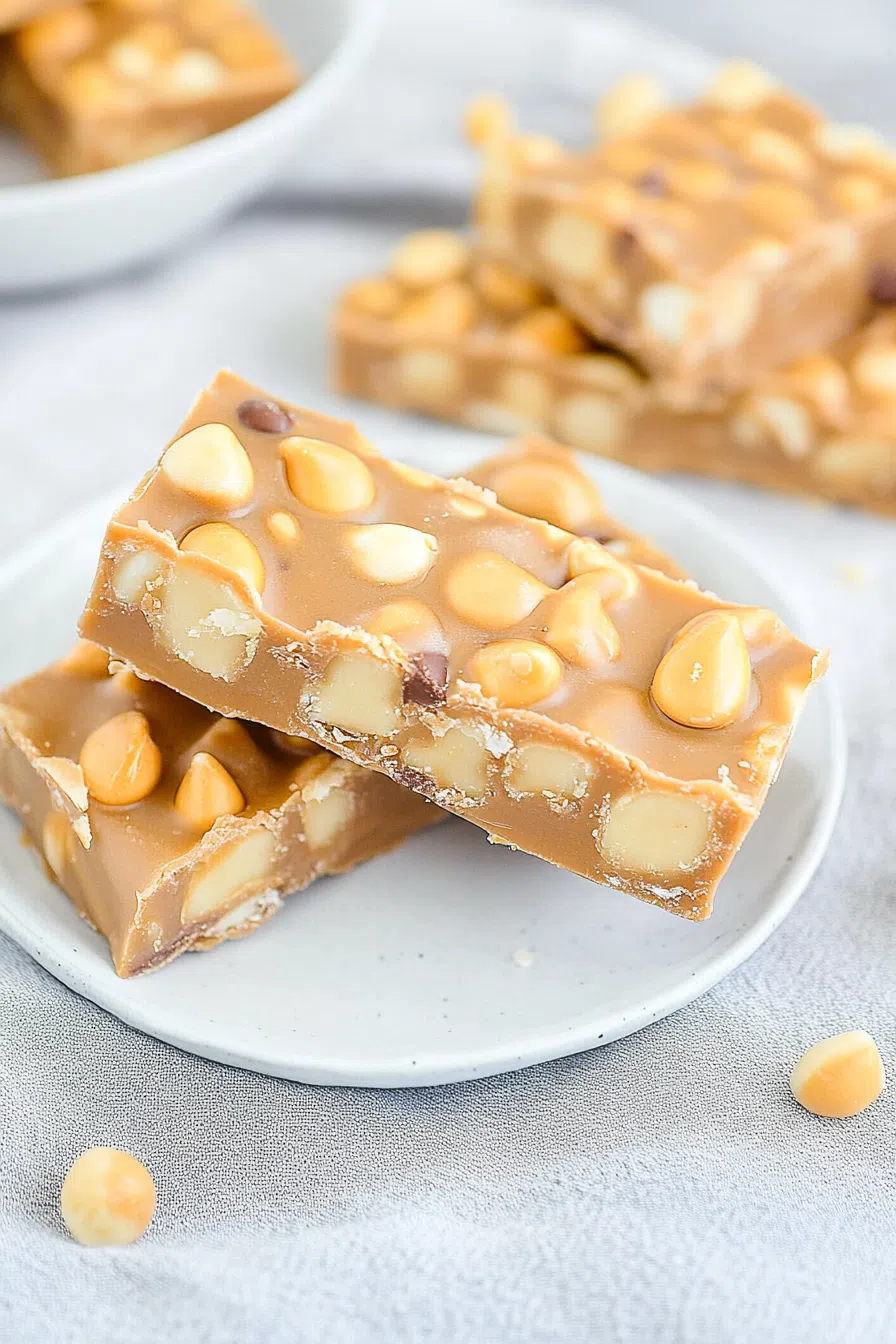
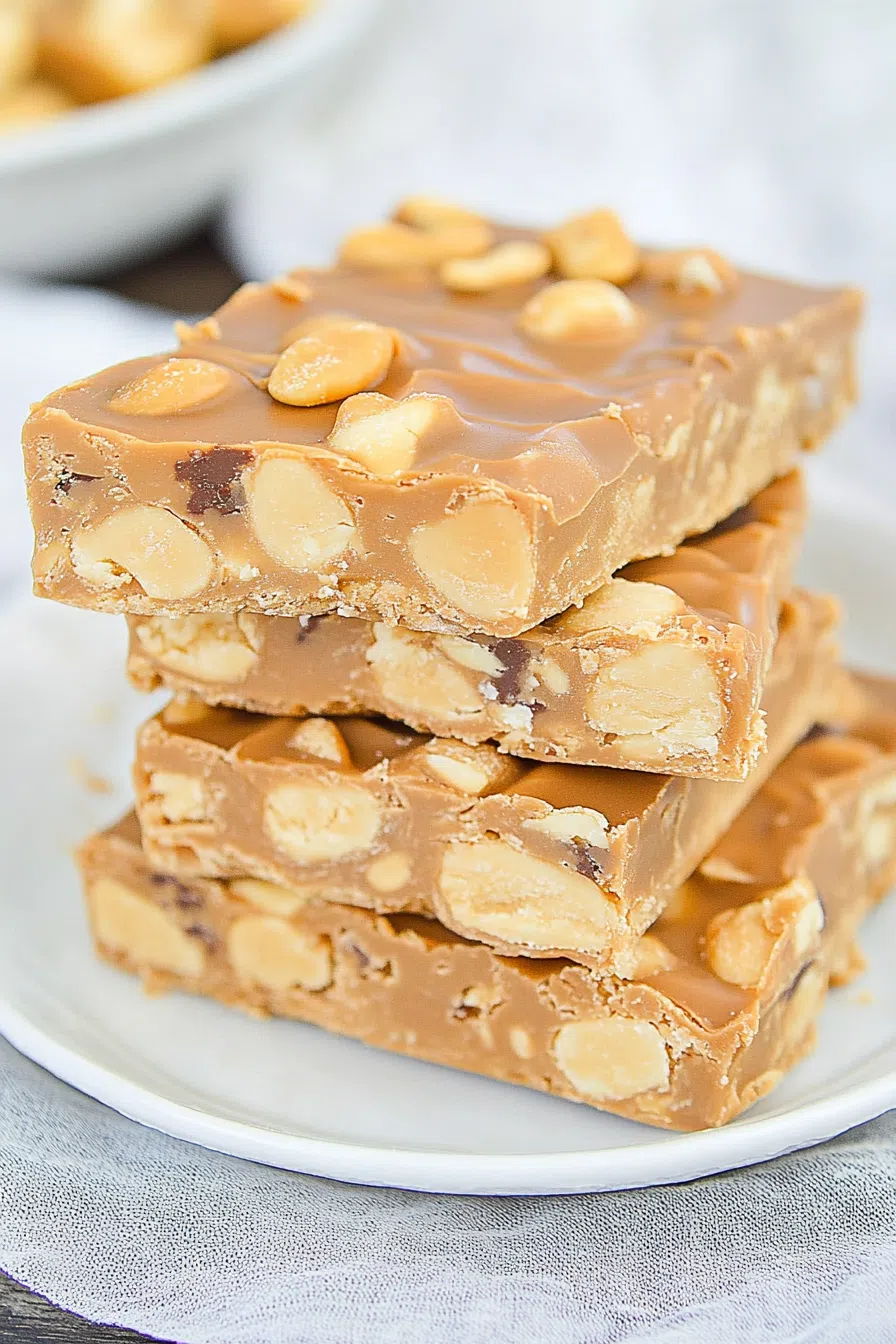
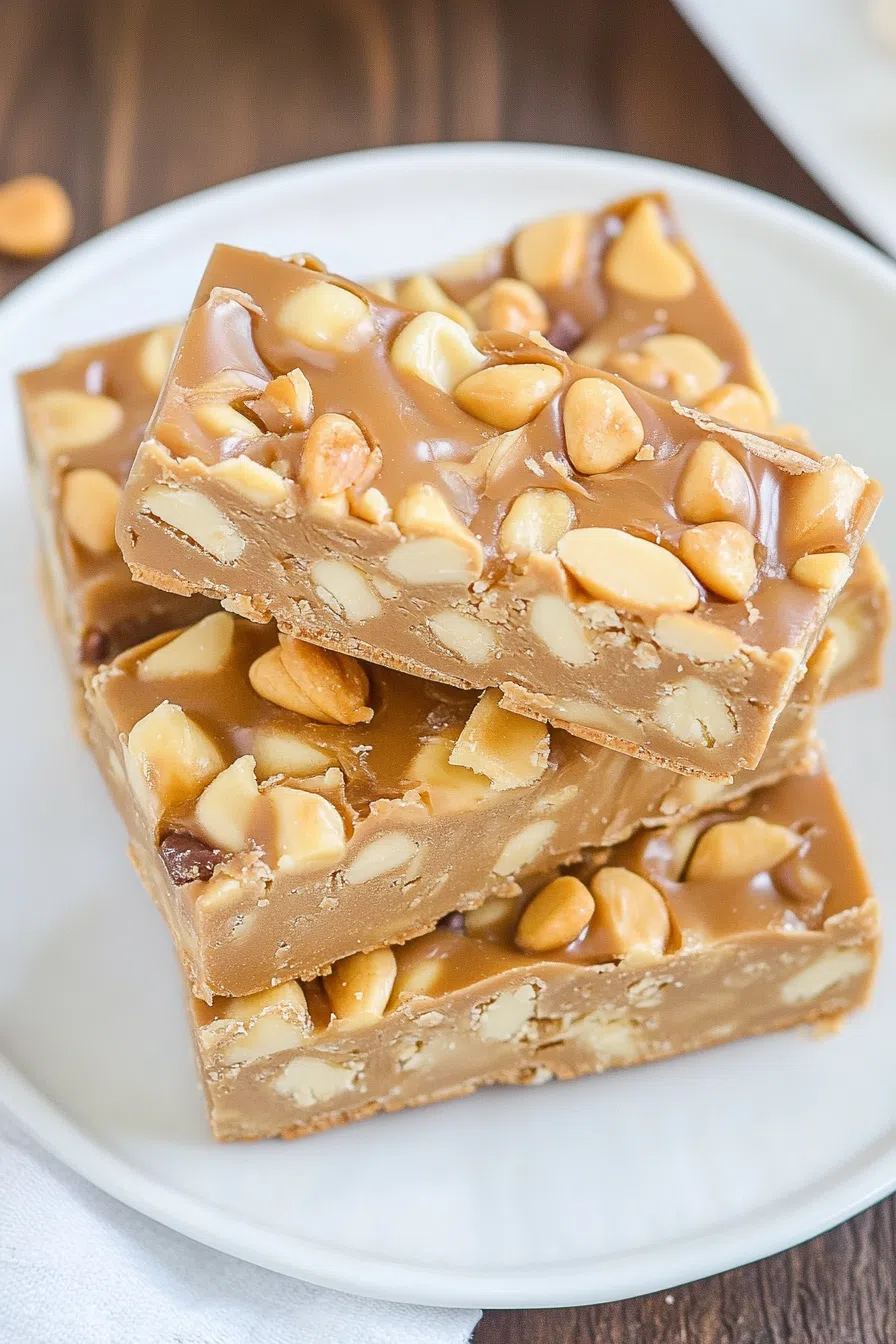
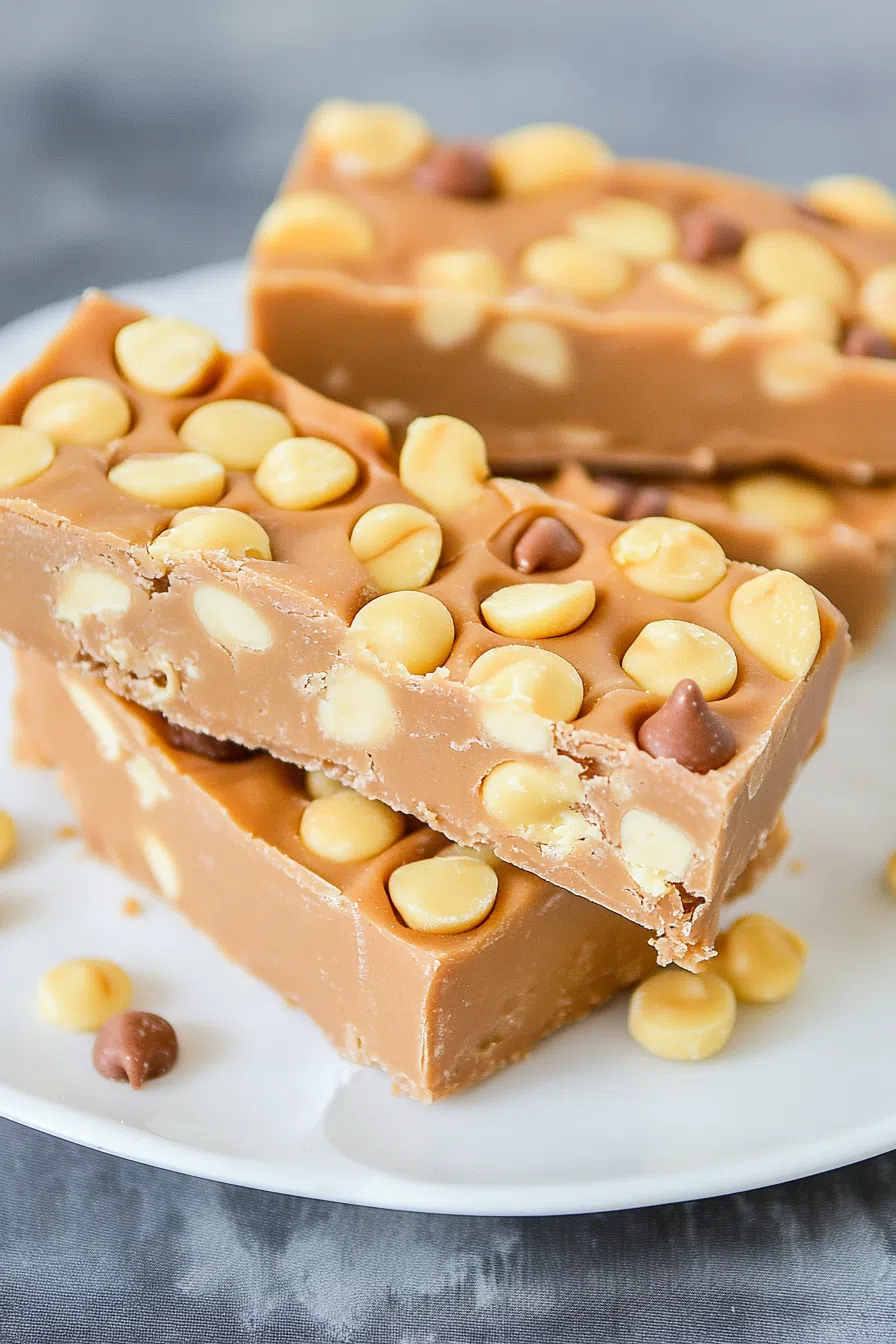
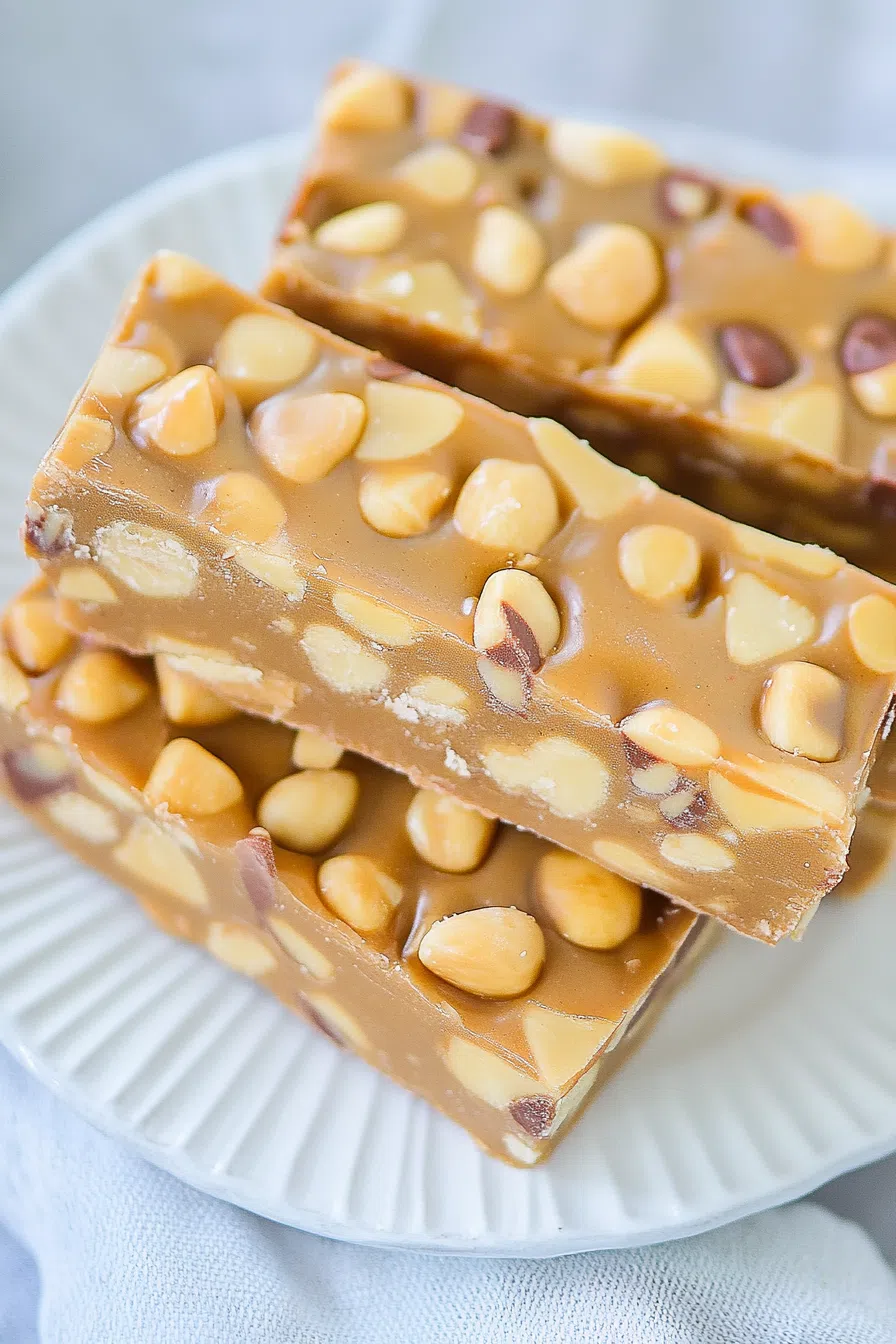
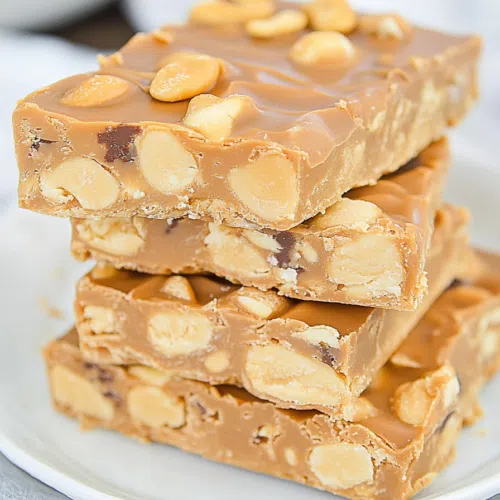
Salty peanuts, creamy peanut butter chips, sweetened condensed milk, and marshmallows come together in these irresistible Homemade PayDay Candy Bars!


You know those days when you’re grocery shopping, and you end up at the checkout line, just waiting to unload your stuff? That’s when PayDay candy bars get me. Every. Time. I’m standing there, staring them down, thinking, “I shouldn’t… but maybe just one?” Then, of course, I buy two. (One’s for the car ride home… obviously.)
A couple of months back, on one of those lazy, “let’s clean out the pantry” kind of Sundays, I realized I had everything to make a PayDay-inspired treat. And I thought, why not? Worst case, I’d have a gooey peanut mess and a spoon. (No complaints there.) But the result? Mind blown. These Homemade PayDay Candy Bars taste just like the real deal—maybe better because they’re fresh, and you can sneak an extra handful of peanuts in there if you’re feeling bold. Which I did. And now you can too.
Why You’ll Love This Homemade PayDay Candy Bars Recipe?
First off, they’re ridiculously simple. We’re talking five ingredients and no baking. If you’ve got 15 minutes (and some willpower not to eat all the peanuts first), you’ve got time to make these. They’re chewy, salty, sweet, crunchy… kinda like a candy bar hug.
Plus, they’re one of those “everybody loves ‘em” recipes. Make a batch, take them to a potluck, and watch people act like you’re the second coming of Martha Stewart. True story: I brought these to a backyard BBQ last month, and folks were hovering by the dessert table like it was a Black Friday sale.
Ingredient Notes:
These are the MVPs of the recipe—no fancy-pants stuff, I promise.
- Salted Peanuts: These bring the salty crunch. If you’re a honey-roasted peanut kind of person, live your truth!
- Peanut Butter Chips: They melt into this creamy layer that’s basically peanut butter fudge. Not a bad backup plan, huh?
- Mini Marshmallows: They’re what make the texture soft and chewy. If you only have the big ones, just chop ‘em up and embrace the sticky hands.
- Sweetened Condensed Milk: This is the glue that holds it all together. Don’t swap for evaporated milk. Just… trust me.
- Butter: A little richness, a lot of “how is this so good?!”
How To Make Homemade PayDay Candy Bars?
(If you mess this up, I owe you cookies.)
Step 1: Make the peanut layer
Grab an 11×7 pan. Grease it up—spray, butter, whatever works. Then dump half the peanuts in and spread them out. Think of it like setting the stage for peanut butter heaven.
Step 2: Melt and stir
In a small saucepan (low heat—no rushing!), melt your butter and peanut butter chips. Keep stirring so nothing sticks. Once it’s all melty and smooth, stir in the sweetened condensed milk and marshmallows. It’ll get thick and gooey, but that’s what we want.
Step 3: Layer it up
Pour that melty goodness right over your peanut layer. Spread it fast—it sets up quick! Then cover the top with the rest of your peanuts. Press them down gently, like you’re tucking them in for a nap.
Step 4: Cool
Want To Save This Recipe?
Let the whole thing hang out on the counter until it firms up. If you’re feeling impatient (been there), pop it in the fridge for a bit. Once it’s set, slice into bars and try not to eat half the pan before your family gets to them.
Storage Options:
If you’re lucky enough to have leftovers (I’m usually not), keep them in an airtight container. They’re good on the counter for about 4-5 days or pop them in the fridge and they’ll last a couple of weeks. Pro tip? They freeze like a dream—wrap ‘em individually, and you’ve got emergency snacks whenever you need one. (And let’s be honest, you’ll need one.)
Variations and Substitutions:
Feel like tweaking? I’m all for it.
- Swap peanuts for almonds or cashews.
- Drizzle dark chocolate on top if you’re feeling fancy.
- Use butterscotch chips instead of peanut butter for a fun twist.
- Want less sweet? Go for unsalted peanuts.
- Vegan? Use dairy-free condensed milk, vegan marshmallows, and plant-based butter. You do you!
What to Serve with Homemade PayDay Candy Bars?
These bars are great on their own (or devoured in the kitchen while hiding from your kids), but here are some ideas:
- Coffee: A strong cup cuts the sweetness perfectly.
- Vanilla Ice Cream: Crumble a bar or two on top. Pure joy.
- Cold Milk: Classic combo—never fails.
- Bourbon: For grown-up vibes. You’re welcome.
Frequently Asked Questions:
Can I make these ahead?
Absolutely! They’re awesome the next day after they’ve had time to set.
Can I skip the marshmallows?
You can, but they add that chewy, gooey texture. You might miss it.
How sweet are these?
Pretty sweet. If you prefer less, try unsalted peanuts and cut back a little on the peanut butter chips.
That’s it! If you give these Homemade PayDay Candy Bars a try, drop me a line—I’d love to hear what you think. Got your own twist? Spill the beans in the comments! I’m always up for a new kitchen adventure.
Happy snacking!
Keep the Flavor Coming – Try These:
Homemade PayDay Candy Bars
Ingredients
- 3 cups of salted peanuts
- 3 tablespoons of unsalted butter
- 2 cups of peanut butter chips
- 2 cups of miniature marshmallows
- 1 can of sweetened condensed milk
Instructions
- Preparation of Base Layer: Begin by evenly distributing half of the salted peanuts into a greased baking dish measuring 11x7 inches, ensuring the peanuts cover the entire bottom surface.
- Melting and Combining Ingredients: In a separate, small saucepan, gently melt the butter and peanut butter chips over low heat, stirring continuously until the mixture is thoroughly combined. Following this, incorporate the sweetened condensed milk and miniature marshmallows into the mixture, continuing to stir until all ingredients are evenly mixed and smooth.
- Assembling the Candy Bars: Carefully pour the melted mixture over the layer of peanuts in the prepared baking dish, spreading it evenly to cover the peanuts.
- Adding the Final Layer: Sprinkle the remaining peanuts over the top of the melted mixture, ensuring an even distribution for a consistent final texture.
- Cooling and Setting: Allow the assembled candy bars to cool to room temperature. For a firmer texture, the dish may be refrigerated. Once set, the candy bars are ready to be sliced and served.
Notes
I’m Bitty, owner of nodashofgluten.com, where I share simple, delicious recipes for all tastes, including gluten-free. Check out my “About Me” page for more info!