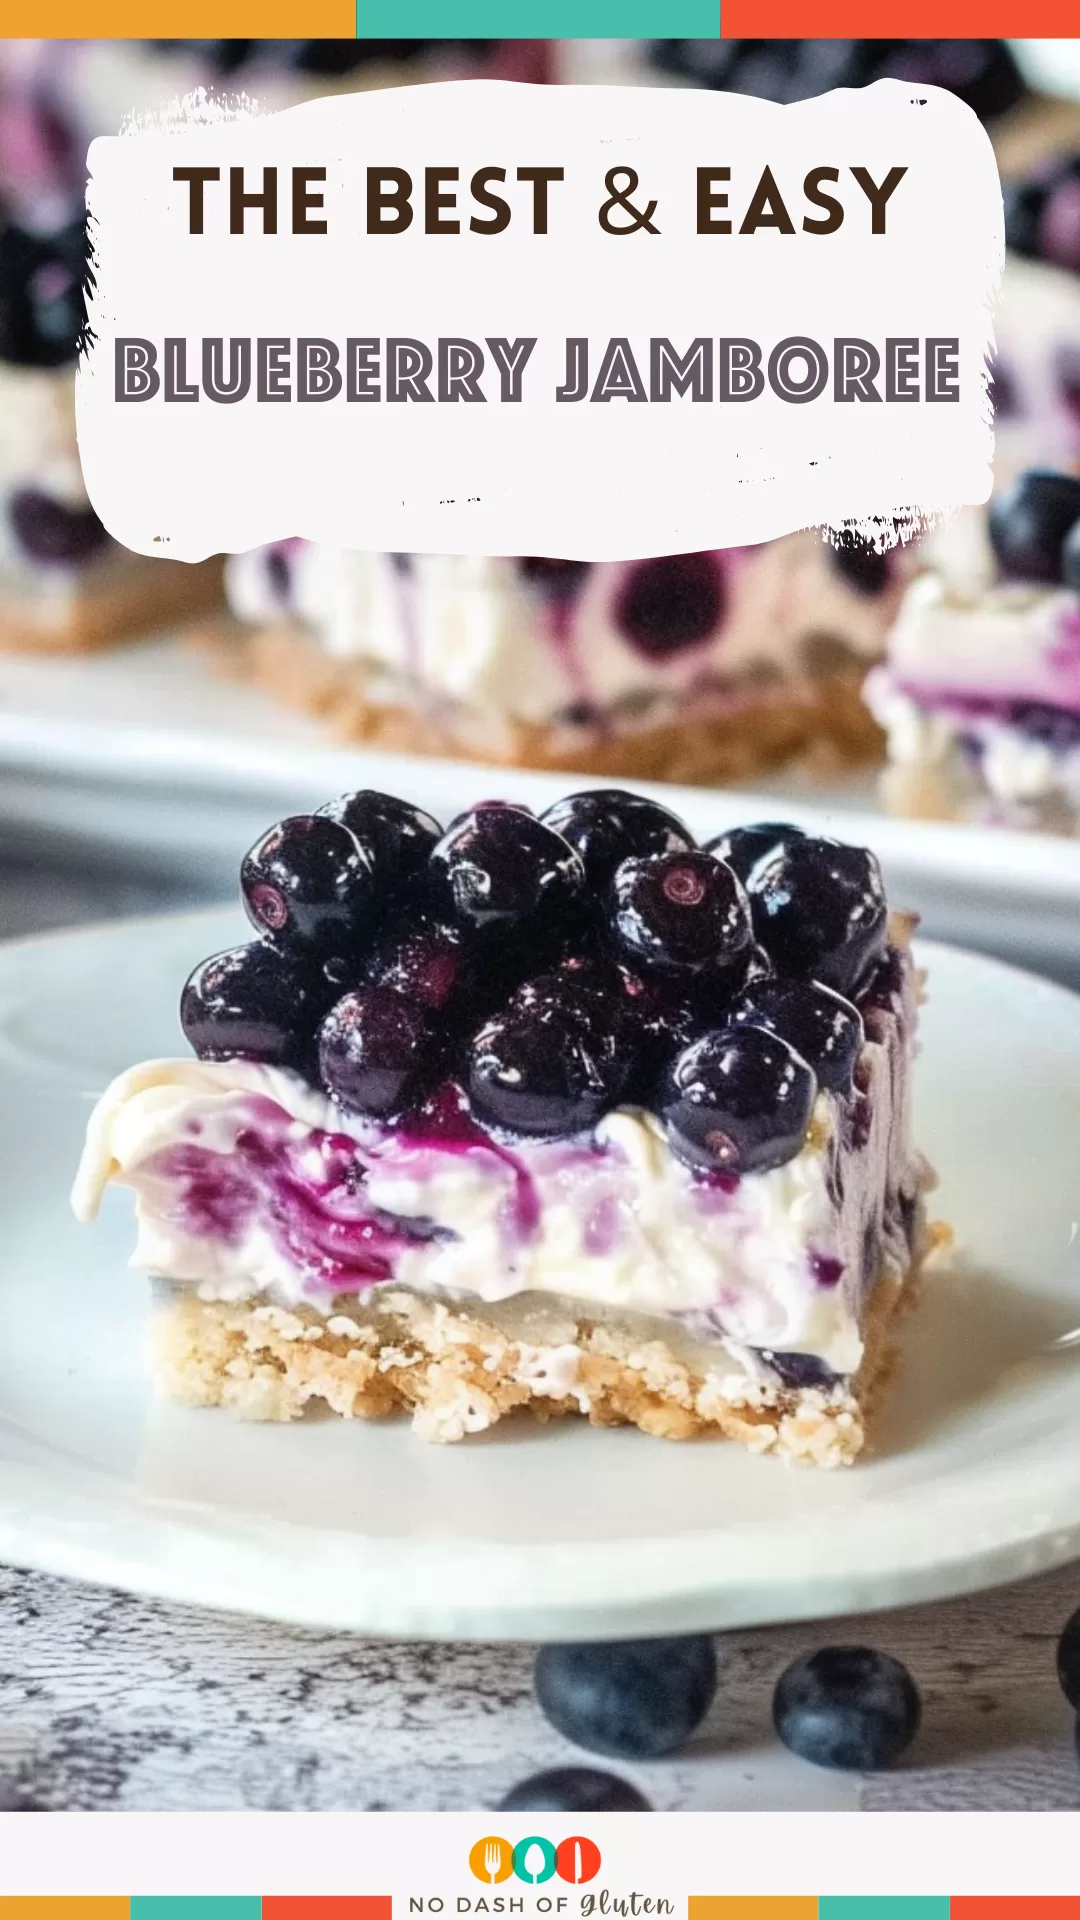
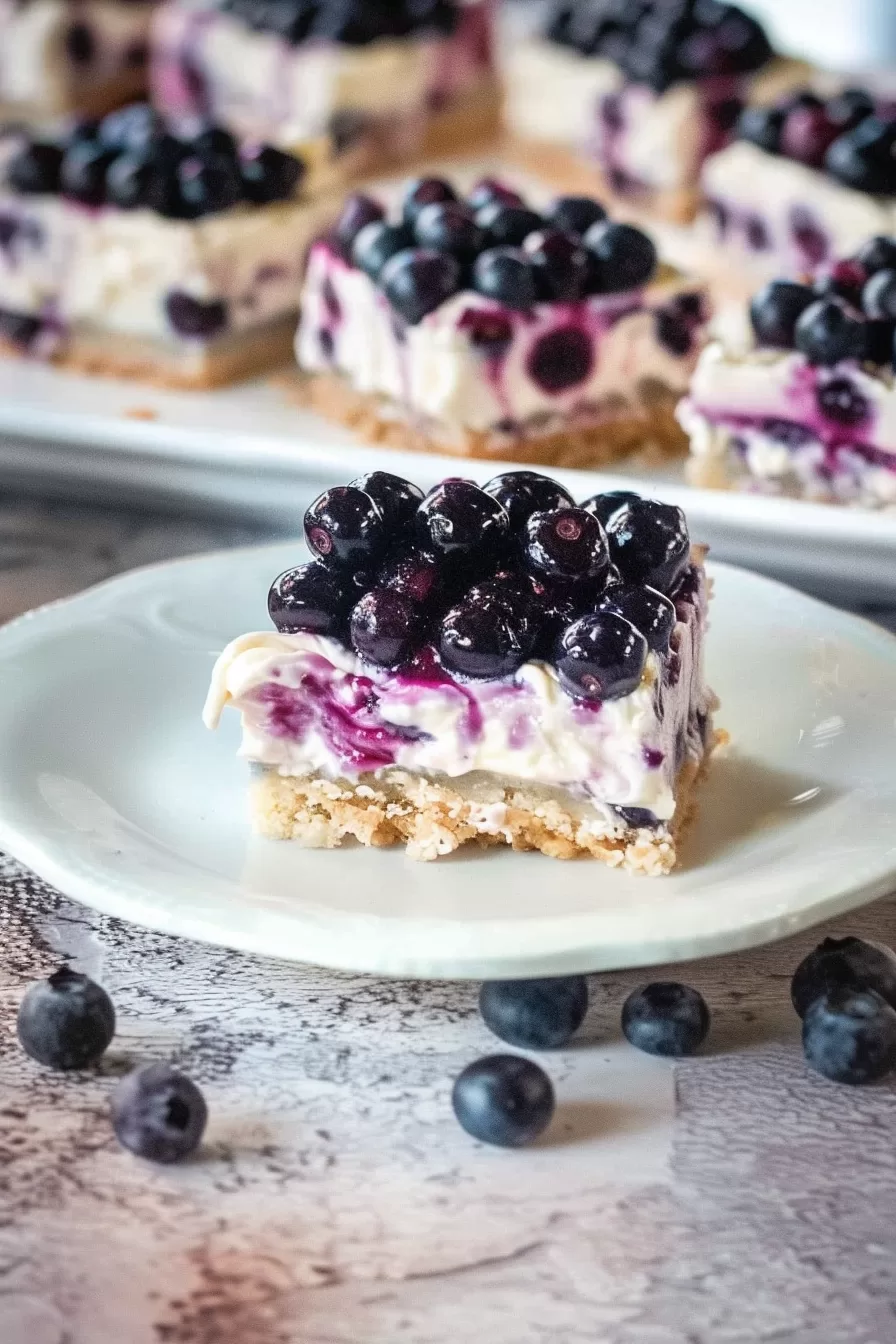
Fresh blueberries, creamy whipped filling, buttery pecan crust—this Blueberry Jamboree is the dessert you didn’t know you needed.

Okay, I have to admit—Blueberry Jamboree wasn’t always a staple in my life. In fact, the first time I heard of it, I had this weird mental image of a 1950s picnic with someone in a gingham dress carrying a dessert platter. (Was it just me?) But oh boy, when I finally gave it a try, I got what all the fuss was about.
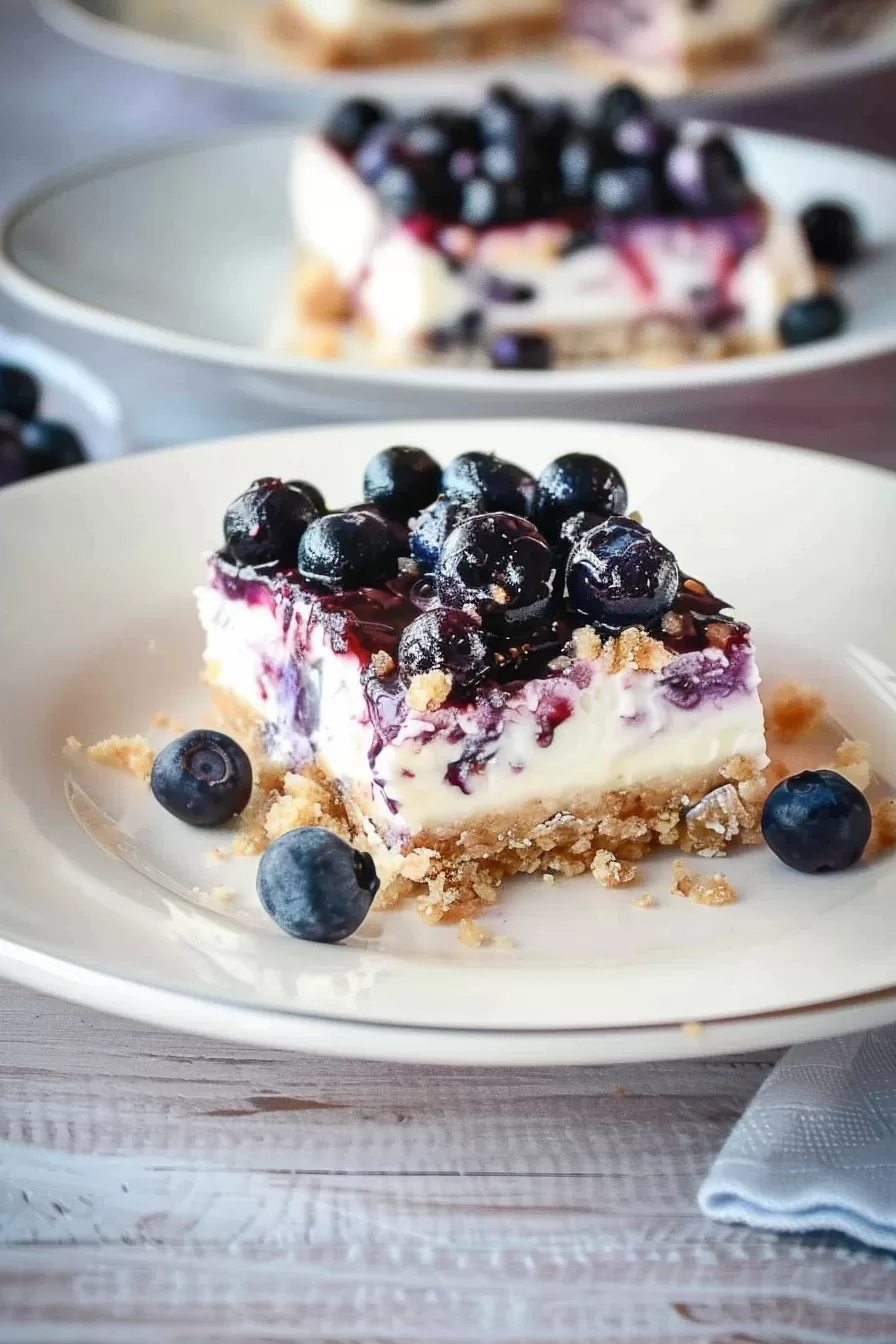
It all started when my neighbor brought over a pan of this magic during one of our summer block parties. You know the kind—kids running around with sticky hands, someone inevitably burning burgers on the grill. I wasn’t even hungry, but one bite of her Blueberry Jamboree and I was hooked. The tangy blueberry topping, that silky cream layer, and that crunchy, buttery pecan crust? I could’ve eaten the whole pan.
Of course, I begged her for the recipe. I’ve made it so many times since, tweaking little things here and there. Now, it’s the dessert I turn to whenever I need a crowd-pleaser. Honestly, it’s become a bit of a legend in our house—and I love that it always reminds me of those sunny, chaotic block parties.
Why You’ll Love This Blueberry Jamboree Recipe?
Here’s why Blueberry Jamboree is going to be your new favorite:
- Simple But Stunning: It looks like it took hours, but it’s surprisingly easy to pull off.
- Blueberry Bliss: Fresh blueberries give it that natural sweetness and juicy texture you just can’t fake.
- Layers That Wow: Crunchy, creamy, tangy—it’s got all the textures you crave in a dessert.
- Great for Any Occasion: BBQs, holidays, or even just a random Tuesday—it works every time.
- Make-Ahead Friendly: It tastes even better the next day, which is basically a gift to your future self.
Ingredient Notes:
Here’s the breakdown of what makes this dessert so special:
- Blueberries: Fresh is ideal, but frozen works if that’s what you have. Just thaw and drain them to avoid extra liquid.
- Lemon Zest and Juice : These little additions brighten the blueberry topping and balance the sweetness.
- Pecans: They add this nutty, buttery crunch to the crust that’s chef’s kiss. Not a fan? Swap them for walnuts or graham crackers.
- Cream Cheese: Room temp is key here—it makes the filling so smooth and velvety.
- Whipping Cream: Whip it just enough to make it fluffy but not stiff. This adds that light, dreamy texture to the filling.
Pro Tip: Zest the lemon before juicing it. I’ve learned this the hard way—you don’t want to wrestle with a slippery lemon!
Want To Save This Recipe?
Enter your email below and we'll send the recipe straight to your inbox.
How To Make Blueberry Jamboree?
Let’s break this down so you can make Blueberry Jamboree without breaking a sweat:
- Make the Blueberry Topping:
Start by simmering 2 cups of blueberries with granulated sugar, brown sugar, and a little water in a saucepan over medium heat. Stir until the sugar dissolves, then add a cornstarch slurry (cornstarch + water) to thicken it up. Stir in lemon zest and juice, fold in the rest of the blueberries, and let it cool completely. - Prepare the Crust:
Preheat your oven to 325°F. In a bowl, mix melted butter, flour, and finely chopped pecans. Press this mixture into a greased 9×13-inch pan, spreading it out evenly. Bake for about 15 minutes, or until golden brown. Let it cool while you work on the filling. - Make the Filling:
In a mixing bowl, whip heavy cream and vanilla until it starts to thicken. Gradually add powdered sugar, whipping until it’s fluffy but still soft. In another bowl, beat the cream cheese until smooth, then gently fold in the whipped cream mixture. The result? Pure creamy goodness. - Assemble the Dessert:
Spread the cream cheese filling evenly over the cooled crust. Top with the cooled blueberry topping, spreading it gently to avoid mixing the layers. - Chill and Serve:
Pop the dessert in the fridge for at least an hour (overnight if you can wait). When it’s time to serve, slice into squares, grab a fork, and enjoy every glorious bite.
Storage Options:
Here’s how to keep your Blueberry Jamboree tasting fresh:
- Refrigerator: Store in an airtight container for up to 3 days. The flavors actually get better as they sit!
- Freezer: Yes, you can freeze it. Just wrap it tightly and thaw in the fridge before serving.
Variations and Substitutions:
Want to put your own spin on this classic? Here are some ideas:
- Berry Swap: Raspberries, blackberries, or even a mix of berries would work beautifully.
- Nut-Free Option: Skip the pecans and use crushed graham crackers or digestive biscuits for the crust.
- Citrus Twist: Orange zest instead of lemon gives a slightly sweeter, more mellow vibe.
- Chocolate Drizzle: Because chocolate makes everything better, right?
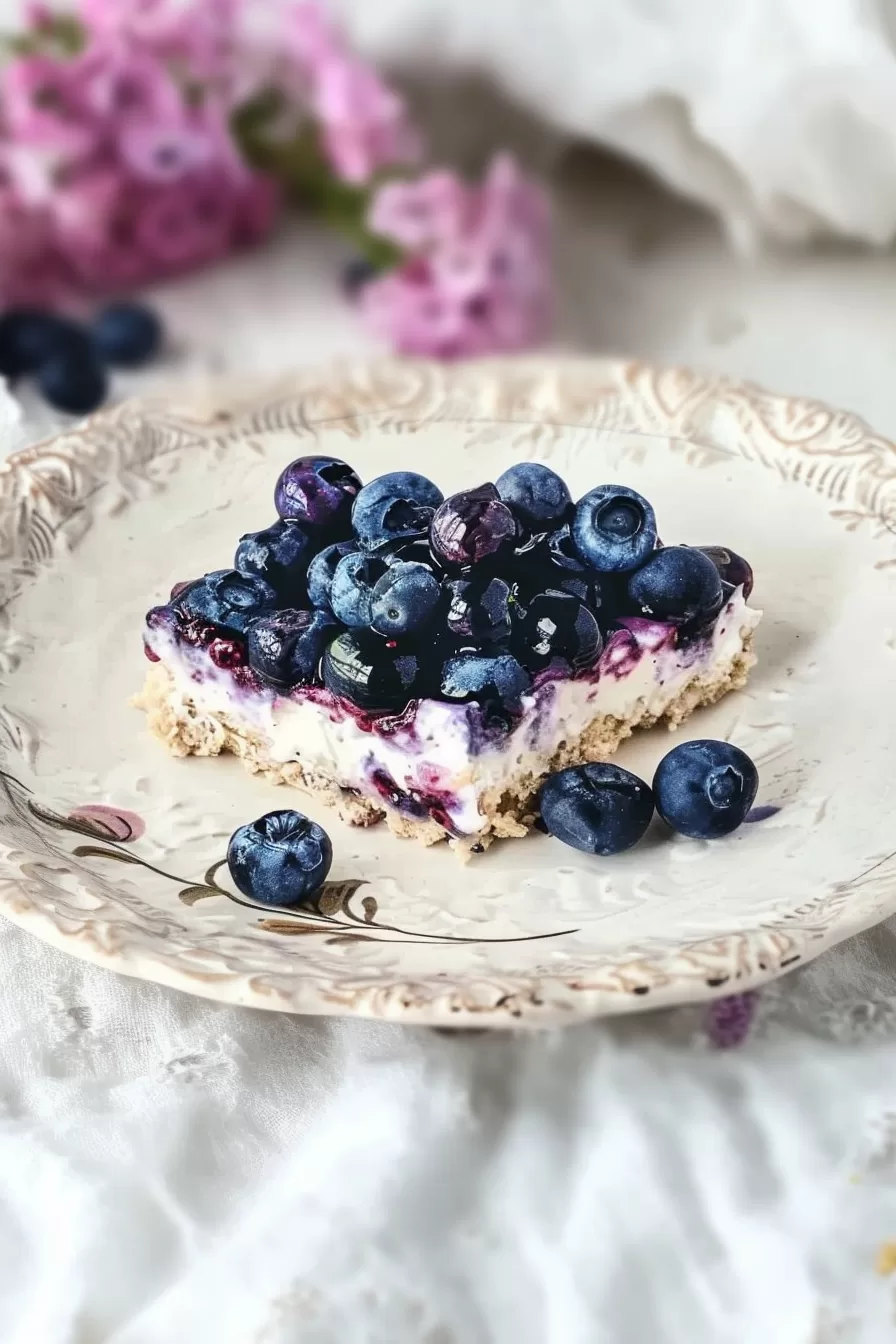
What to Serve with Blueberry Jamboree?
This dessert is a star on its own, but here’s how to elevate it even more:
- Whipped Cream: A little extra fluff never hurt anyone.
- Ice Cream: Vanilla or lemon sorbet pairs beautifully with the fruity flavors.
- Coffee or Tea: A hot drink balances the richness of the dessert perfectly.
Frequently Asked Questions:
Can I use frozen blueberries?
Totally! Just thaw and drain them first to avoid too much liquid in your topping.
How far ahead can I make this?
It’s actually better the next day! Make it up to 24 hours in advance.
What’s the trick to clean slices?
Chill it thoroughly, then use a sharp knife dipped in hot water. Wipe the blade between cuts for picture-perfect slices.
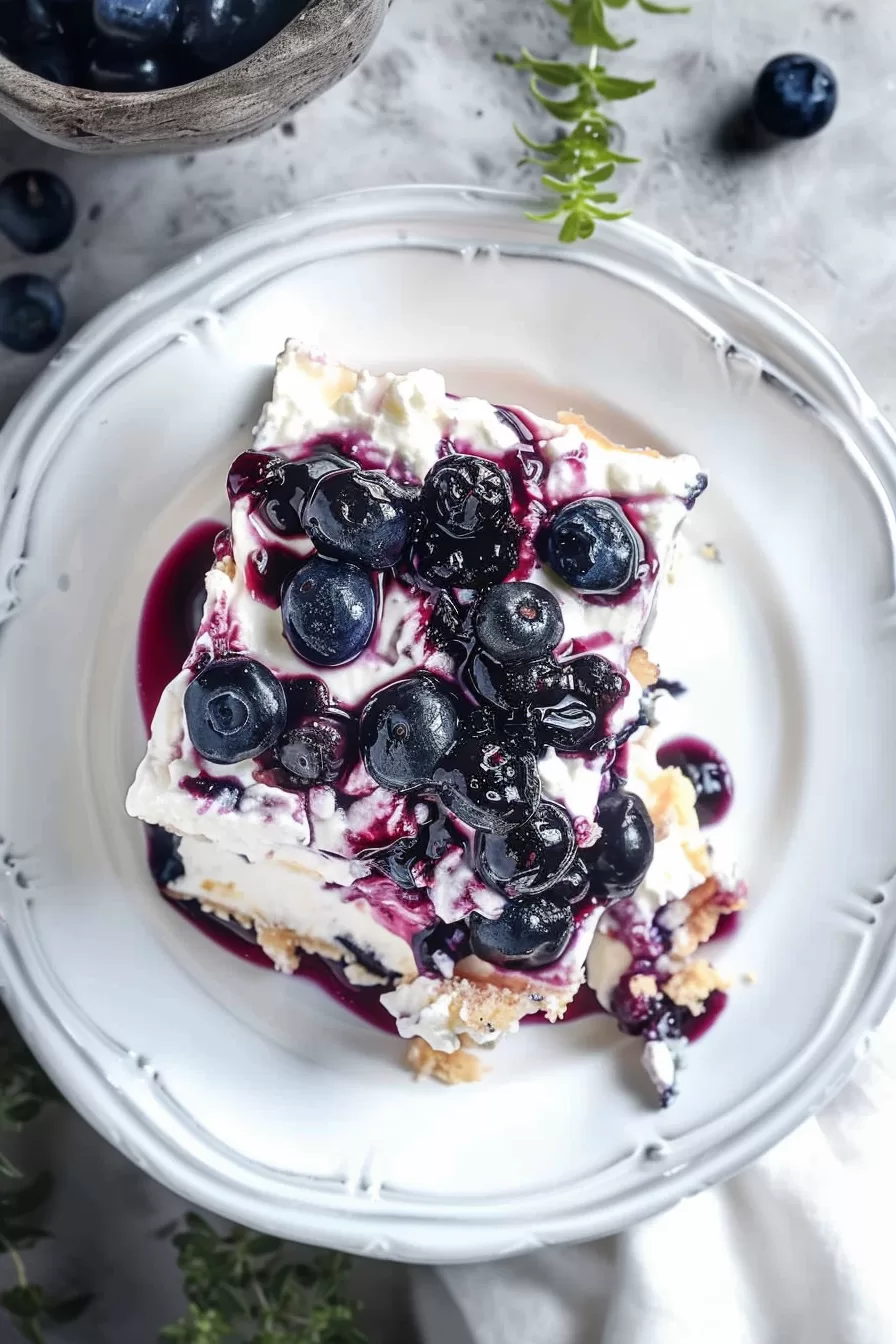
There you have it—Blueberry Jamboree that’s as fun to make as it is to eat. Whether you’re sharing it with friends, bringing it to a potluck, or just indulging yourself (no judgment!), this dessert never disappoints. Have you tried a recipe like this before? I’d love to hear your thoughts—or better yet, your variations!
<Remember it later>
Planning to try this recipe soon? Pin it for a quick find later!
<Remember it later>
Planning to try this recipe soon? Pin it for a quick find later!
Keep the Flavor Coming – Try These:
Copycat Magnolia Bakery’s Blueberry Jamboree
Ingredients
FOR THE TOPPING:
- 3 1/2 cups fresh blueberries divided
- 1/3 cup granulated sugar
- 3 tbsp brown sugar
- 1 tbsp. water
- 1 1/2 tbsp. cornstarch
- 1 tsp lemon zest
- 1/2 tsp lemon juice
FOR THE CRUST:
- 3/4 cup butter melted
- 2 cups all-purpose flour
- 1 cup pecans finely chopped
FOR THE FILLING:
- 2 cups heavy whipping cream
- 2 cups powdered sugar
- 16 oz cream cheese at room temperature
- 1 tsp vanilla
Instructions
Topping:
- In a saucepan combine 2 cups of blueberries, granulated sugar and brown sugar.
- Stir the mixture over medium-high heat until the sugars completely dissolve.
- In a bowl mix cornstarch with 1 tablespoon of water and then add it to the blueberry mixture.
- Continue stirring until the mixture thickens.
- Add lemon zest and freshly squeezed lemon juice to enhance the flavors then remove from heat.
- Gently mix in the remaining blueberries. Allow it to cool before putting it in the refrigerator.
Crust:
- Preheat your oven to 325°F (165°C). Grease a baking dish measuring 9x13 inches.
- Combine melted butter, all-purpose flour and finely chopped pecans in a bowl.
- Press this mixture evenly onto the bottom of the greased baking dish.
- Bake the crust for 15 minutes until it turns brown. Let it cool while you prepare the filling.
Filling:
- In a bowl whip heavy whipping cream and vanilla extract together until they begin to thicken.
- Gradually add sugar while continuing to beat until you achieve a thickened consistency that's not overly stiff.
- Using another bowl beat cream cheese until it becomes smooth and creamy in texture.
- Carefully fold in the whipped cream mixture into the cream cheese until thoroughly combined.
To Assemble:
- Take the cream cheese mixture and spread it evenly over the crust that has cooled down.
- Generously add the chilled blueberry topping on top of the cream layer.
- Let the dessert chill for a minimum of 1 hour before serving.
- Slice it up, serve and enjoy the combination of flavors.
Notes

I’m Bitty, owner of nodashofgluten.com, where I share simple, delicious recipes for all tastes, including gluten-free. Check out my “About Me” page for more info!


