

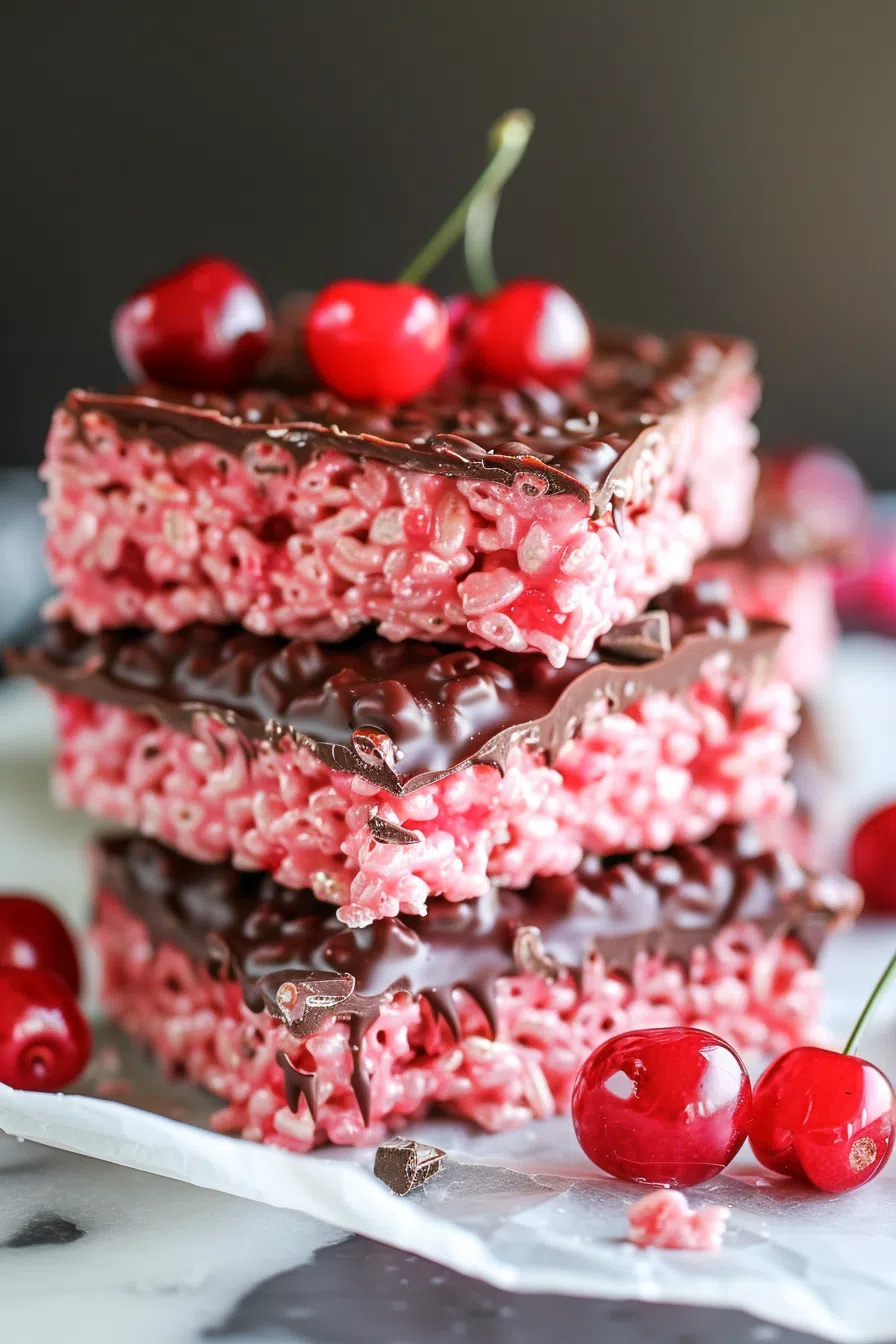
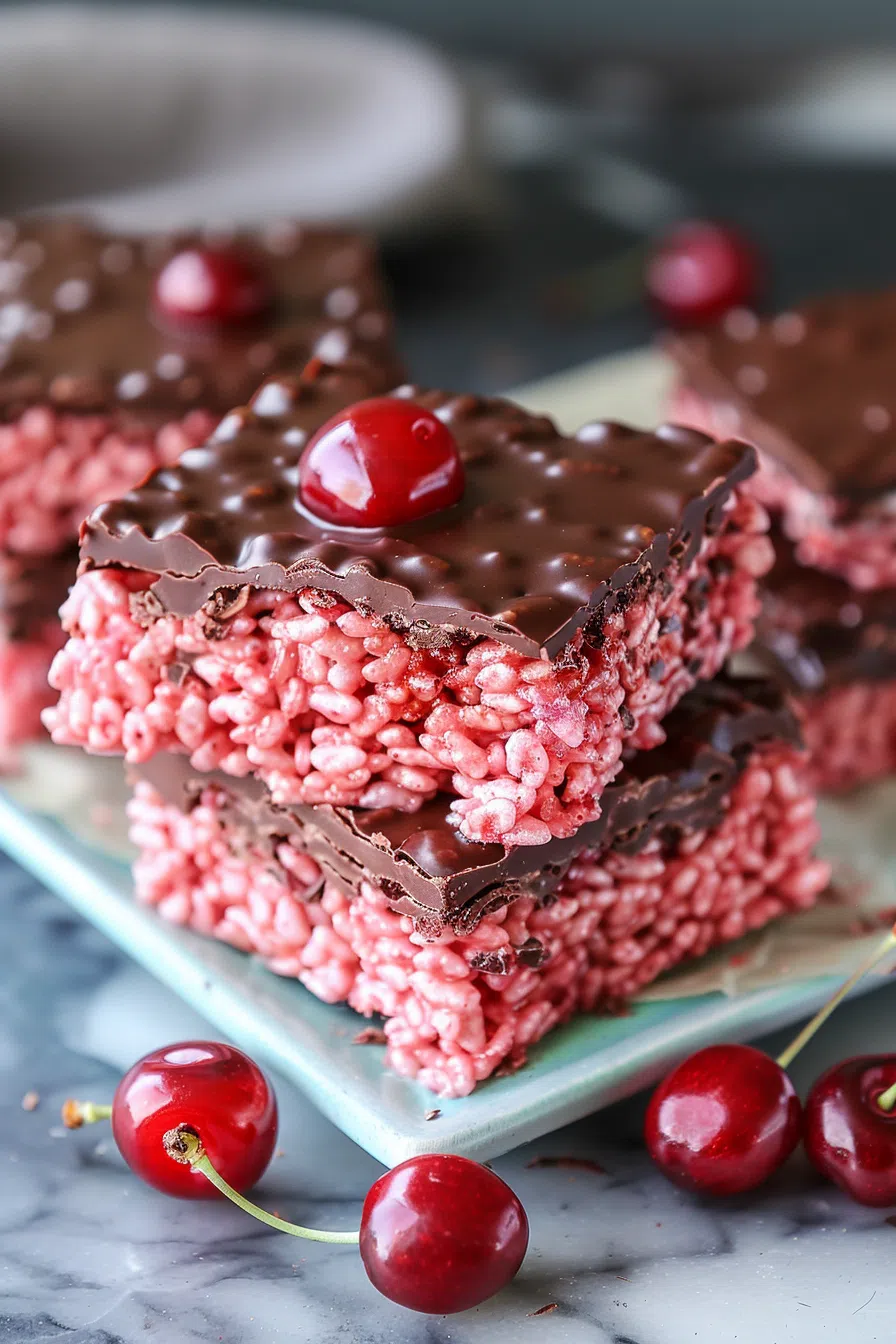
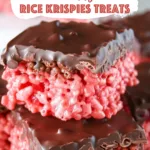
These Chocolate Covered Cherry Rice Krispies Treats are a fun twist on the classic! Sweet, chewy, and loaded with cherry flavor and chocolate drizzle.
There are certain childhood treats that never really leave you. For me, Rice Krispies treats fall right into that category. There’s just something about that crunchy-yet-gooey bite that feels like pure nostalgia. I remember sitting at the kitchen counter as a kid, marshmallow-covered spoon in hand, watching my mom press the sticky mixture into a pan, knowing I had exactly zero patience to let them cool before diving in.


So, when I was feeling a little nostalgic the other day—but also craving something a little fancier—I started playing around with flavors. That’s how these Chocolate Covered Cherry Rice Krispies Treats were born. Classic meets indulgence. Think: the same buttery, marshmallowy base we all love, but now with bold cherry flavor and a silky chocolate drizzle.
One bite in, and I knew these were next-level good. They’ve got that perfect sweet-meets-tangy flavor, and the chocolate on top? Oh man, it ties everything together beautifully. So if you’re looking for a quick, no-bake treat that feels special but is ridiculously easy to make—this one’s for you.
Why You’ll Love This Chocolate Covered Cherry Rice Krispies Treats Recipe?
- Tastes like a chocolate-covered cherry in Rice Krispies form – If that doesn’t sound amazing, I don’t know what does.
- No oven, no fuss – Just melt, mix, press, and drizzle.
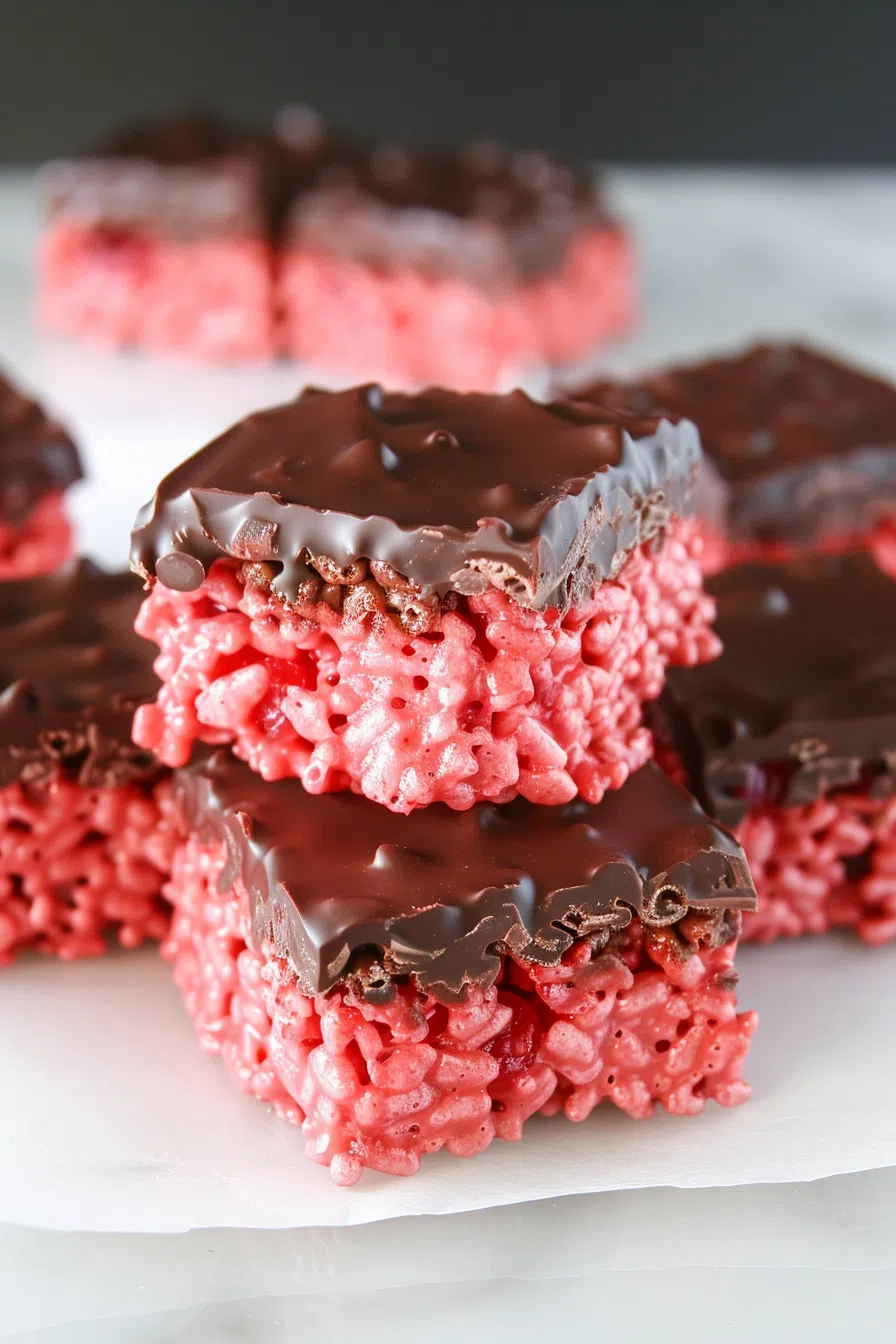
- Chewy, crispy, chocolatey perfection – The marshmallows keep things gooey, the cereal brings the crunch, and the chocolate? Well, we already know that’s a winner.
- Great for parties, holidays, or just because – These look fancy, but they take barely 10 minutes to make.
- Customizable – Not a cherry fan? Swap in another flavor. Want more chocolate? Go wild.
Ingredient Notes:
These bars are made with just six simple ingredients, but each one plays a big role:
- Butter – Adds richness and keeps the marshmallows from sticking.
- Mini Marshmallows – The key to that perfect, chewy texture. (Mini ones melt faster, which is a plus!)
- Cherry Gelatin Powder – The secret ingredient! It gives these treats their bright cherry flavor and a gorgeous pink color.
- Rice Krispies Cereal – The crispy base that makes these treats what they are.
- Chocolate Chips – Because chocolate + cherry = pure joy.
- Shortening – Helps the chocolate drizzle stay silky smooth instead of clumpy.
Pro Tip: Going gluten-free? Just swap in a certified gluten-free crispy rice cereal and you’re good to go!
How To Make Chocolate Covered Cherry Rice Krispies Treats?
Step 1: Melt the Butter & Marshmallows
In a large saucepan, melt the butter over medium heat. Once it’s fully melted, stir in the marshmallows and keep stirring until they’re completely melted and smooth.
Pro Tip: Don’t crank up the heat! Low and slow is the way to go. If you melt the marshmallows too fast, your treats could end up tough instead of soft and chewy.
Step 2: Stir in the Cherry Flavor
Once the marshmallows are fully melted, stir in the cherry gelatin powder until it’s completely dissolved. This is when the magic happens—the mixture will turn a bright, candy-like pink, and your kitchen will suddenly smell like cherry heaven.
Pro Tip: Want an even stronger cherry flavor? Add an extra tablespoon of gelatin powder!
Step 3: Mix in the Rice Krispies
Remove the pan from the heat and quickly stir in the Rice Krispies cereal, making sure every piece gets evenly coated in that gooey, cherry-infused marshmallow goodness.
At this point, the mixture gets sticky—fast. Work quickly, and stir well!
Pro Tip: Grease your spatula (or even your hands) with nonstick spray to make mixing easier.
Step 4: Press & Cool
Transfer the mixture to a rimmed baking sheet or a 9×13-inch pan. With greased hands, press the mixture firmly into an even layer.
Let it sit for at least 10 minutes to cool and set.
Want To Save This Recipe?
Pro Tip: Want thicker treats? Use an 8×8-inch pan instead for extra thick squares!
Step 5: Melt & Drizzle the Chocolate
In a microwave-safe bowl, melt the chocolate chips and shortening in 30-second intervals, stirring each time until smooth.
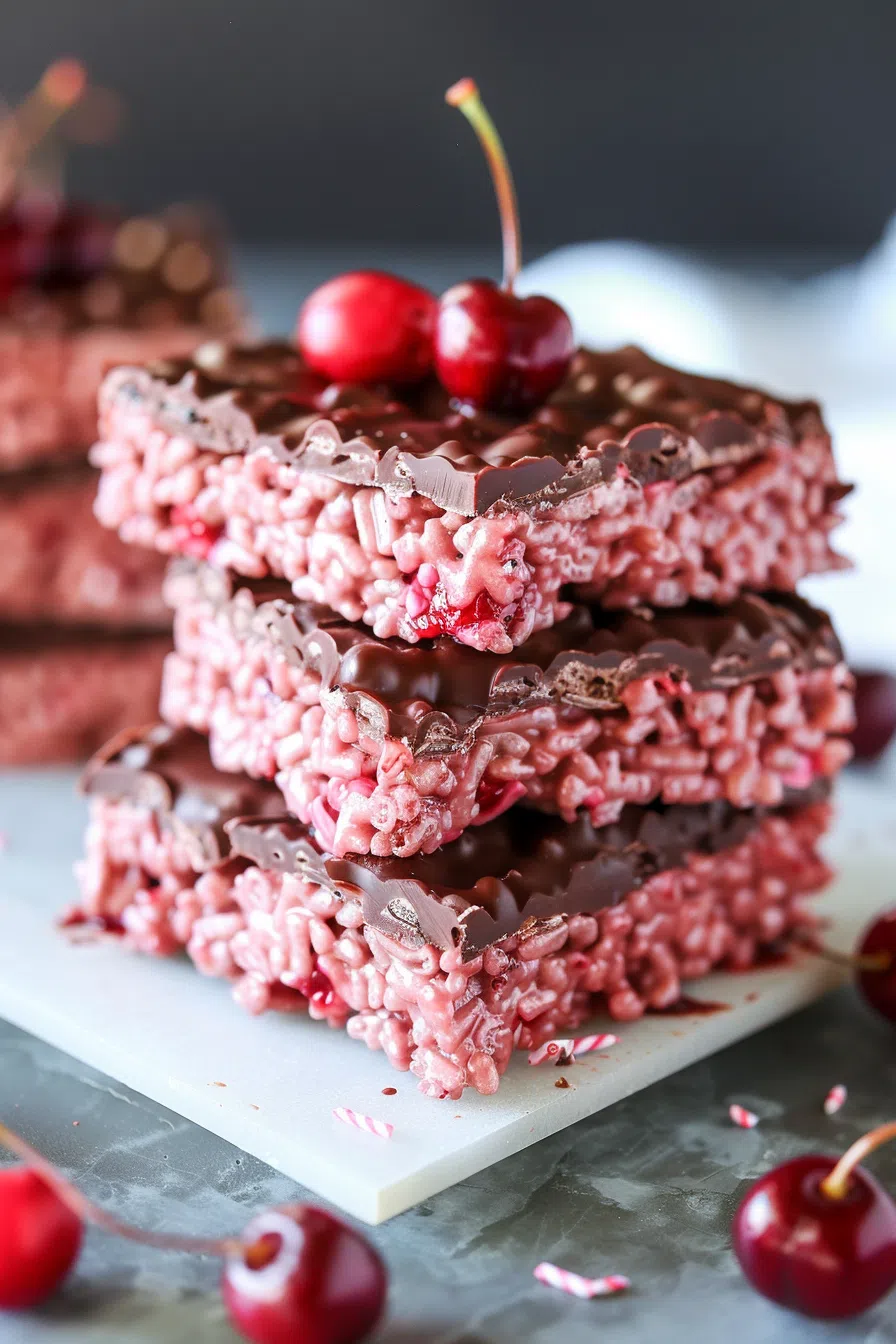
Drizzle the melted chocolate over the cooled treats using a spoon or piping bag. Let the chocolate set before cutting into squares.
Pro Tip: Want to make these even fancier? Dip the bottoms in chocolate instead of just drizzling!
Storage Options:
- Room Temperature: Store in an airtight container for up to 3 days.
- Fridge: If you prefer firmer treats, keep them in the fridge for up to 5 days.
- Freezer: Wrap individual pieces in plastic wrap and freeze for up to 2 months. Just thaw at room temp before eating.
Pro Tip: If your treats start to feel dry, microwave them for 5-10 seconds to bring back that soft, chewy texture!
Variations and Substitutions:
Want to mix things up? Try these easy swaps:
- Dark Chocolate Version – Use dark chocolate chips instead of milk chocolate for a richer bite.
- Cherry-Almond Combo – Add ½ teaspoon of almond extract for that classic black forest flavor.
- White Chocolate Drizzle – Swap the milk chocolate for white chocolate for a totally different vibe.
- Add Dried Cherries – Stir in ¼ cup chopped dried cherries for extra chewiness!
What to Serve with Chocolate Covered Cherry Rice Krispies Treats?
These treats are already amazing, but here’s how to make them even better:
- A scoop of vanilla ice cream – Because chocolate + cherry + ice cream = perfection.
- Hot cocoa or coffee – A cozy pairing that balances the sweetness.
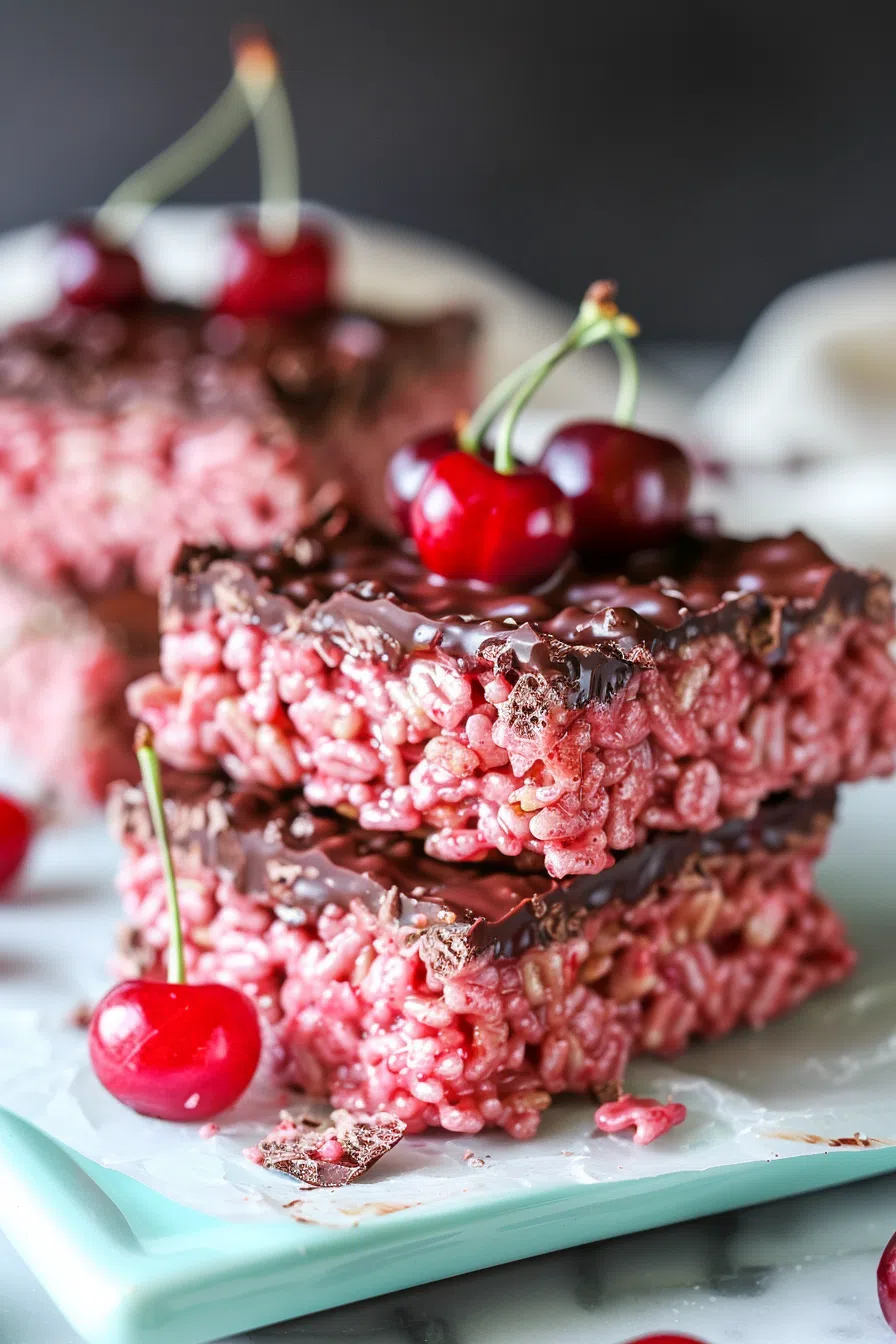
- Fresh cherries on the side – To really bring out that cherry flavor!
Frequently Asked Questions:
Can I use regular marshmallows instead of mini?
Yep! Just chop them up so they melt faster.
Can I use coconut oil instead of shortening for the chocolate drizzle?
Yes, but the chocolate may set quicker and could have a slight coconut flavor.
How do I make these even softer?
Add an extra ½ tablespoon of butter to the marshmallow mixture—it makes a difference!
You NEED to Try These!
If you love Rice Krispies treats, but want something with a little extra magic, these Chocolate Covered Cherry Rice Krispies Treats are the move. The chewy, crispy, cherry-infused goodness, combined with rich melted chocolate, is pure happiness in every bite.
So, what do you think? Are you a classic Rice Krispies fan, or are you ready to level up with cherry and chocolate? Let me know in the comments!
Keep the Flavor Coming – Try These:


Chocolate Covered Cherry Rice Krispies Treats
Ingredients
- 4 tablespoons butter regular or Earth Balance
- 10 ounces mini marshmallows
- 6 cups Rice Krispies or use a gluten-free brand
- 4 ounces package cherry gelatin
- 1 1/2 cups chocolate chips
- 1 tablespoon shortening
Instructions
- Melt Butter: In a saucepan over medium heat, melt 4 tablespoons of butter.
- Add Marshmallows: Stir in 10 ounces of mini marshmallows until completely melted.
- Mix in Jello: Add one 4-ounce package of cherry gelatin to the marshmallow mixture and stir.
- Combine with Rice Krispies: Remove from heat and mix in 6 cups of Rice Krispies until they're evenly coated.
- Press into Pan: With greased hands, press the mixture into a rimmed baking sheet and let it cool.
- Melt Chocolate: In a separate bowl, melt 1 1/2 cups of chocolate chips with 1 tablespoon of shortening, stirring until smooth.
- Drizzle Chocolate: Drizzle the melted chocolate over the cooled treats.
- Let Set: Allow the chocolate to set before cutting into squares and serving.
- Enjoy your delicious Chocolate Covered Cherry Rice Krispies Treats!
Notes
I’m Bitty, owner of nodashofgluten.com, where I share simple, delicious recipes for all tastes, including gluten-free. Check out my “About Me” page for more info!

6 Responses
Oh my goodness! I’ve been craving for something chocolate and cherry. This was it! So yummy!
Fantastic recipe that I hadn’t seen before. The basis of it opens up a lot of flavor combos I hadn’t thought of. Thank you.
I made this recipe last week and it was good. I made again today but I made a slight adjustment. With the jello I used the 4 oz box and also a 3oz box to give a more cherry flavor. It was really great!!
These were big hit with our immediate family and extended family! (Even with my picky son-in-law who isn’t a sweet eater)😊. I will definitely be making these again ….. I am going to experiment with some different flavors too! Thank you for sharing your recipe. 😘
It’s very good. I had some large marshmallows that I’d had too long so I used them. Of course they didn’t melt so great. So I greased up my palms and I gently kneaded them in with the cereal. Once combined I made biscuits of them and spooned the chocolate over top.
This looks so good! Weirdly enough I just wondered last night if jello could be added to rice crispy bars to change the flavor. And then I forgot about it and didn’t look it up, but this came up today!!
Anyways— my question. Do you think sugar free jello would work?