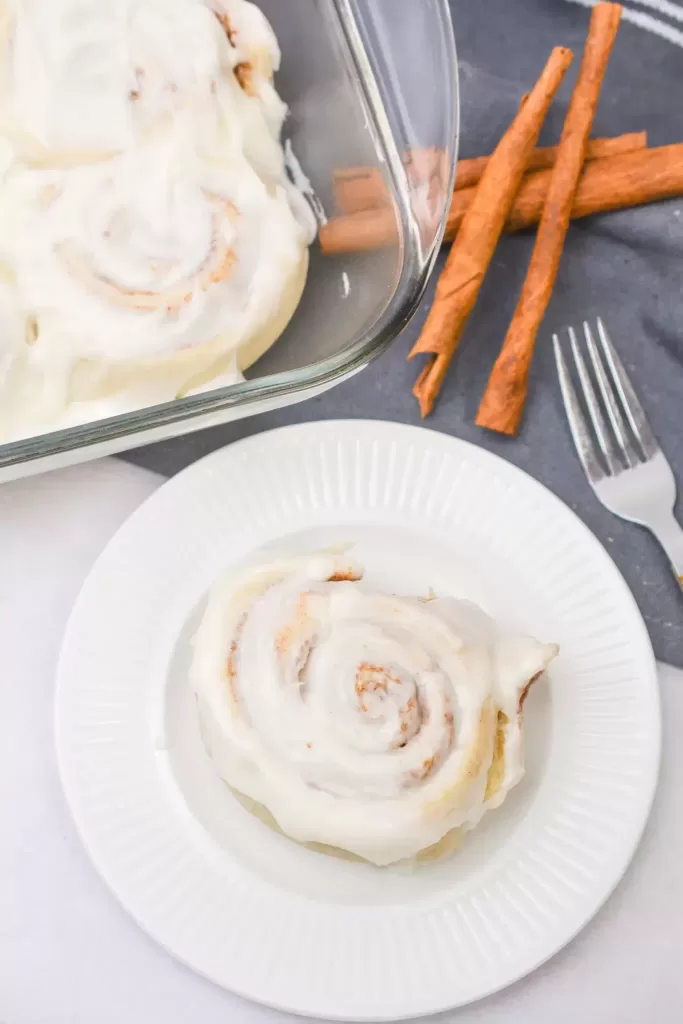
Flaky crescent rolls, creamy cheese filling, and a sweet vanilla glaze make this Breakfast Cheese Danish the perfect morning indulgence!
Some recipes just hit differently, you know? For me, this Breakfast Cheese Danish is like a warm hug on a chilly morning. I remember the first time I made it—it was one of those rare weekends when everything just felt right. The kids were lounging around, the coffee was brewing, and I thought, Why not make something special for breakfast?

I dug through the fridge and found a couple of crescent roll cans (leftovers from a failed attempt at “Pinterest-worthy” appetizers). Add a block of cream cheese and some sugar, and magic happened.
The smell of the Danish baking was enough to pull everyone into the kitchen. By the time I drizzled the glaze over the top, my family was practically hovering. And the first bite? Let’s just say it’s now a staple in our weekend routine. It’s not just food—it’s a little tradition that reminds me how the simplest moments can feel so special.
Why You’ll Love This Breakfast Cheese Danish Recipe?
Let me count the ways this Breakfast Cheese Danish will win your heart:
- Ridiculously Easy: Crescent rolls mean no kneading, rolling, or flour-covered counters.
- Perfectly Balanced Sweetness: The creamy filling isn’t too sweet, and the glaze gives it just the right touch.
- Customizable Fun: Feeling creative? Add some fruit or even chocolate for a twist.
- Kid-Friendly: My kids gobble this up like it’s candy. No leftovers—ever.
- Weekend Vibes: It feels fancy enough for brunch but is so easy you’ll want it every day.

Ingredient Notes:
This recipe keeps it simple but delivers big on flavor. Here’s the lowdown on what makes it work:
- Crescent Rolls: The buttery, flaky layers make the perfect crust. No rolling pins required!
- Cream Cheese: Use full-fat for that rich, creamy filling. Trust me, it’s worth it.
- Sugar: Sweetens the filling just enough to balance the tanginess of the cream cheese.
- Vanilla Extract: Adds warmth to both the filling and glaze. A little goes a long way.
- Egg: Helps the top layer get that gorgeous golden color.
- Powdered Sugar & Milk: The secret to a silky, sweet glaze that ties everything together.

How To Make Breakfast Cheese Danish?
Making this danish is easier than you’d think. Here’s how to do it:
Step 1: Prep Your Pan and Oven
Preheat your oven to 350°F. Grease a 13×9-inch baking dish. This step saves you from the heartbreak of a stuck danish (we’ve all been there).
Step 2: Lay Down the Base Layer
Unroll one can of crescent rolls and press it into the bottom of your prepared pan. Pinch the seams together to create a smooth surface. It’s your blank canvas for the filling.
Step 3: Make the Creamy Filling
In a mixing bowl, beat the cream cheese, sugar, vanilla, and egg until smooth. Spread this luscious mixture evenly over the crescent roll base. It’s like frosting a cake but way easier.
Step 4: Top It Off
Unroll the second can of crescent rolls and carefully place it over the filling. Pinch the seams and edges together. If you’re feeling fancy, brush the top with egg white for a shiny finish.
Step 5: Bake to Perfection
Bake for 35-45 minutes, or until the top is golden brown. Your kitchen will smell like a bakery by this point—try not to hover by the oven.
Step 6: Add the Glaze
While the danish cools for 20 minutes, whip up the glaze by mixing powdered sugar, milk, and vanilla. Drizzle it generously over the cooled danish. The more, the better, right?
Want To Save This Recipe?
Enter your email below and we'll send the recipe straight to your inbox.
Step 7: Slice and Serve
Cut into squares and watch them disappear. Seriously, these things are addictive.

Storage Options:
If you manage to have leftovers (good luck with that), here’s how to store them:
- Refrigerator: Store in an airtight container for up to 3 days. Reheat individual pieces in the microwave for 10-15 seconds.
- Freezer: Wrap slices in plastic wrap and freeze for up to 2 months. Thaw overnight in the fridge and warm before serving.
Variations and Substitutions:
Feeling adventurous? Try these twists:
- Fruit Lovers: Add a layer of strawberry or blueberry preserves over the cream cheese filling.
- Chocolate Delight: Sprinkle mini chocolate chips between the layers.
- Cinnamon Swirl: Mix a teaspoon of cinnamon into the filling for cozy vibes.
- Dough Swap: Puff pastry works beautifully if you’re out of crescent rolls.

What to Serve with Breakfast Cheese Danish?
This danish is great on its own, but pairing it can take your breakfast to the next level:
- Hot Coffee or Tea: The perfect balance for the sweetness of the danish.
- Fresh Fruit: Strawberries, kiwi, or a simple fruit salad make a refreshing side.
- Yogurt Parfait: Layer yogurt, granola, and fresh fruit for a light complement.
Frequently Asked Questions:
Can I use low-fat cream cheese?
Totally! It works, but the filling might not be as rich and creamy.
Can I make this ahead of time?
Yes! Assemble it the night before, refrigerate, and bake fresh in the morning.
How do I keep the bottom from getting soggy?
Preheat your oven fully and bake on the middle rack for even heat.
This Breakfast Cheese Danish is proof that a little effort can go a long way. It’s easy, delicious, and guaranteed to impress your family or brunch guests. Plus, it’s one of those dishes that feels fancy even though it’s a breeze to make.
Give it a try this weekend and let me know how it goes. Did you add a fun twist? Share your thoughts in the comments—I’d love to hear your ideas! Happy baking!

<Remember it later>
Planning to try this recipe soon? Pin it for a quick find later!
<Remember it later>
Planning to try this recipe soon? Pin it for a quick find later!
Keep the Flavor Coming – Try These:

Breakfast Cheese Danish
Ingredients
For the Danish:
- 2 cans 8 ounces each refrigerated crescent rolls
- 2 packages 8 ounces each cream cheese, softened
- 1 cup granulated sugar
- 1 teaspoon vanilla extract
- 1 egg
For the Glaze:
- ½ cup powdered sugar
- 2 tablespoons milk
- ½ teaspoon vanilla extract
Instructions
Prepare the Baking Dish and Oven:
- Preheat the oven to 350°F (175°C). Grease a 13x9-inch baking dish with butter or non-stick cooking spray to prevent sticking.
Layer the First Crescent Roll Sheet:
- Open one can of crescent rolls and carefully unroll it. Lay the dough flat in the prepared baking dish, pressing to seal any seams, ensuring an even base layer.
Prepare the Cream Cheese Filling:
- In a large mixing bowl, combine the softened cream cheese, granulated sugar, vanilla extract, and the egg. Using a hand or stand mixer, beat the ingredients until smooth and creamy. Spread the mixture evenly over the crescent roll layer.
Add the Top Layer of Crescent Rolls:
- Open the second can of crescent rolls and unroll the dough. Place it gently over the cream cheese filling. Seal any seams and pinch the edges to connect the top layer with the base.
Bake the Danish:
- Transfer the baking dish to the preheated oven. Bake for 35–45 minutes, or until the top layer is golden brown and the filling is set. Allow the danish to cool in the pan for 15–20 minutes before adding the glaze.
Prepare the Glaze:
- In a small bowl, whisk together powdered sugar, milk, and vanilla extract until smooth. The glaze should have a pourable consistency. Adjust with additional milk or powdered sugar if needed.
Apply the Glaze and Serve:
- Drizzle the glaze evenly over the cooled danish. Slice into squares or rectangles and serve. Enjoy warm or at room temperature.
Notes

I’m Bitty, owner of nodashofgluten.com, where I share simple, delicious recipes for all tastes, including gluten-free. Check out my “About Me” page for more info!


