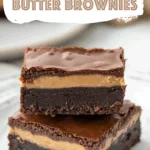
Butter, cocoa powder, sugar, peanut butter, chocolate chips, and cream come together in these ultra-rich Truffle Peanut Butter Brownies.
It was one of those days—you know, the kind that starts with coffee spilling on your white shirt and ends with someone eating the last of your good chocolate. I needed a pick-me-up, fast. Not a salad. Not a cup of chamomile tea. I needed something dramatic. Chocolate. Peanut butter. Maybe even a little chaos.


So I pulled out a brownie recipe I’d used a dozen times before—simple, reliable, maybe even a bit boring (sorry, brownies). But I wasn’t in a simple mood. That’s when I saw the half-empty jar of peanut butter and thought: What if this brownie had layers? What if it had depth? Like, emotionally?
That’s how these Truffle Peanut Butter Brownies came to be. Not from a place of perfection, but from a desperate craving and a little emotional unraveling. And weirdly? They turned out so good, I started making them on purpose.
Why You’ll Love This Truffle Peanut Butter Brownies Recipe?
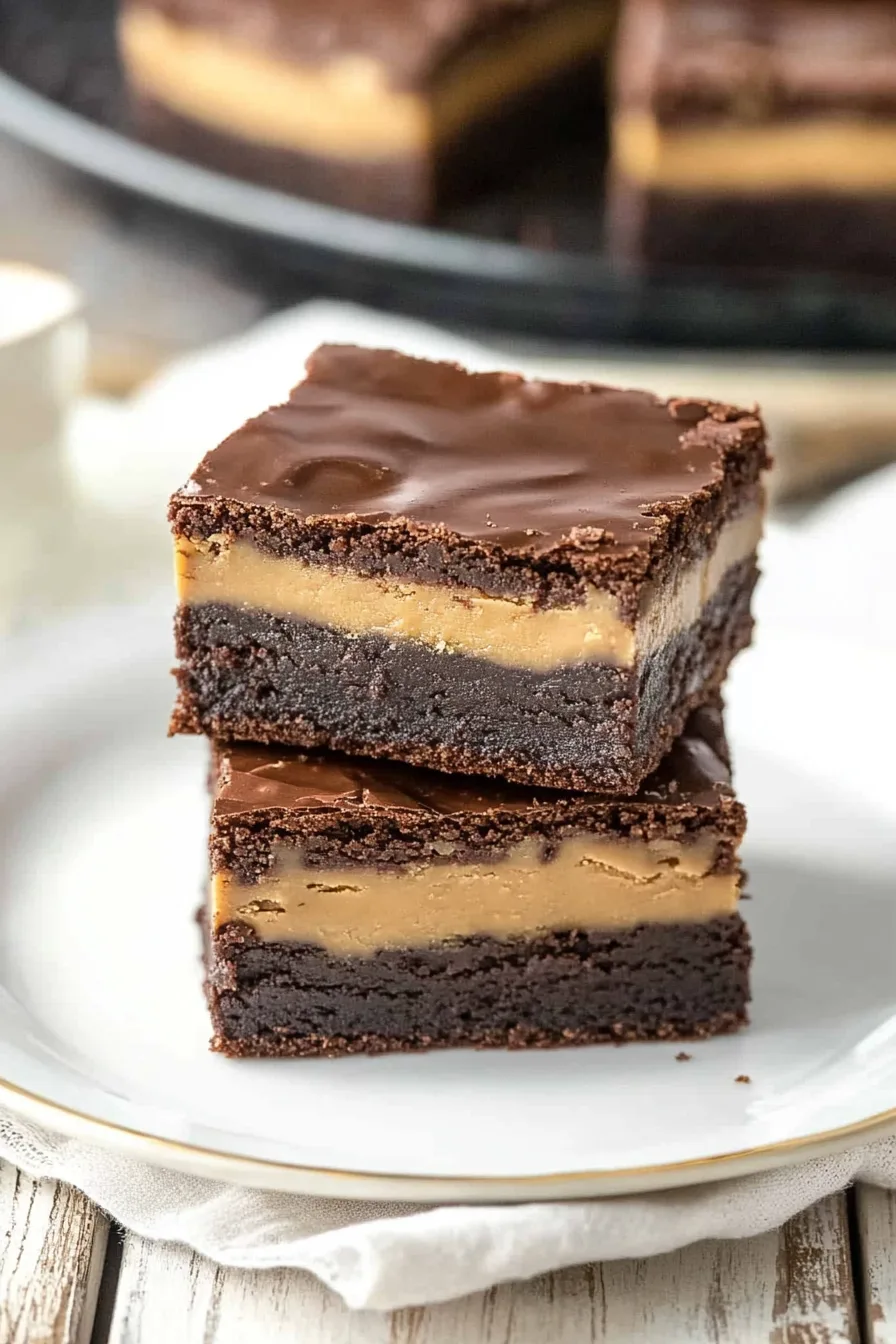
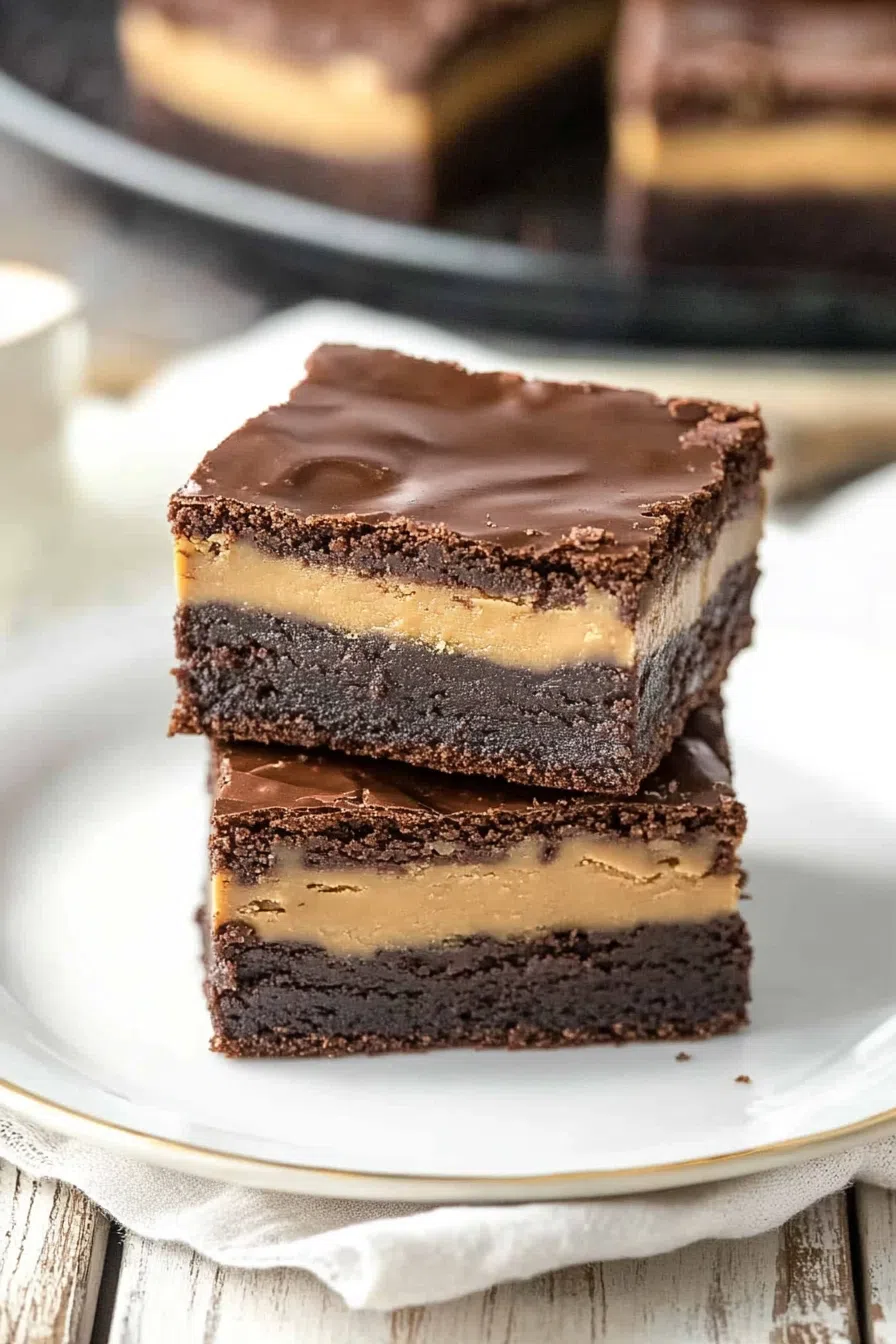
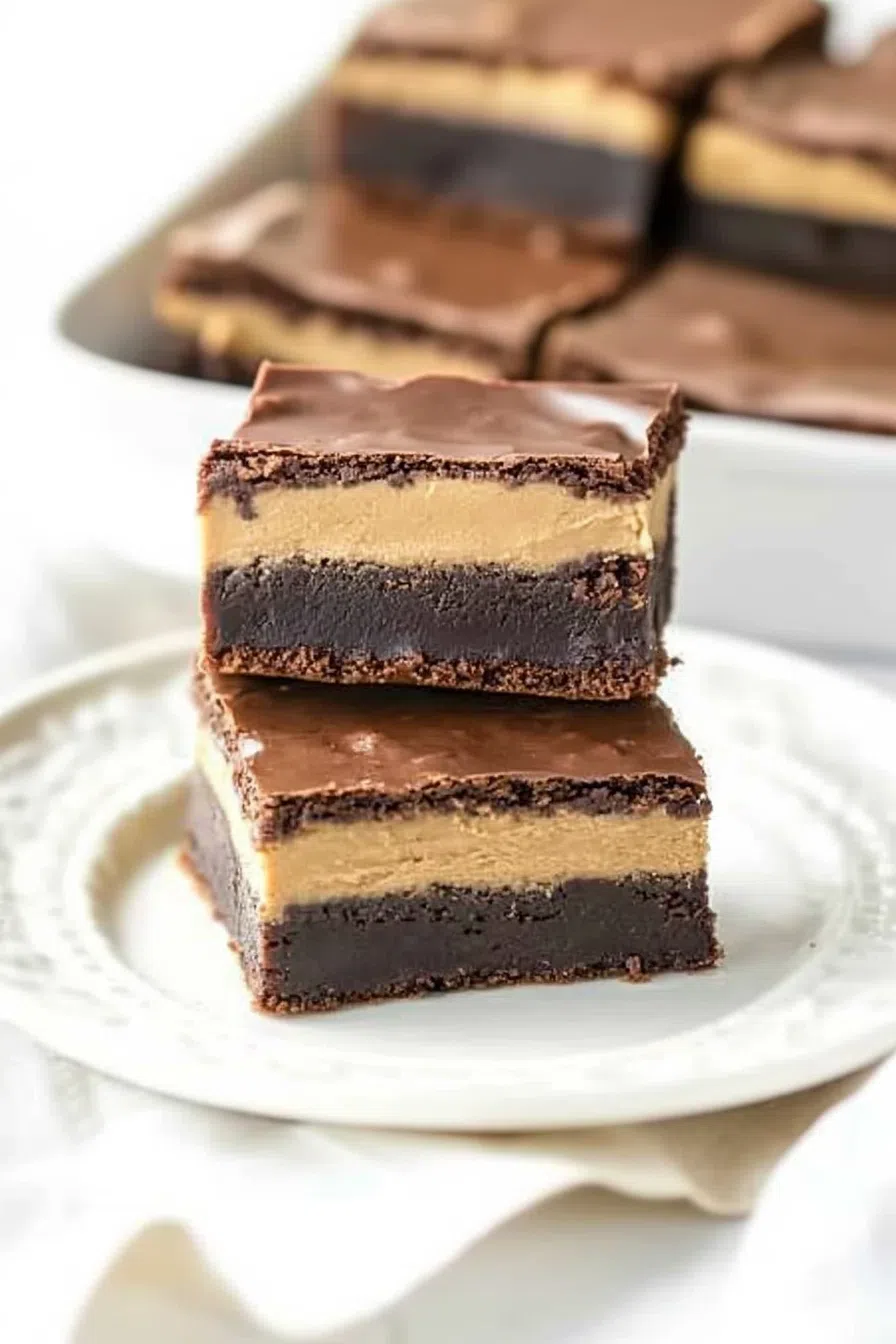
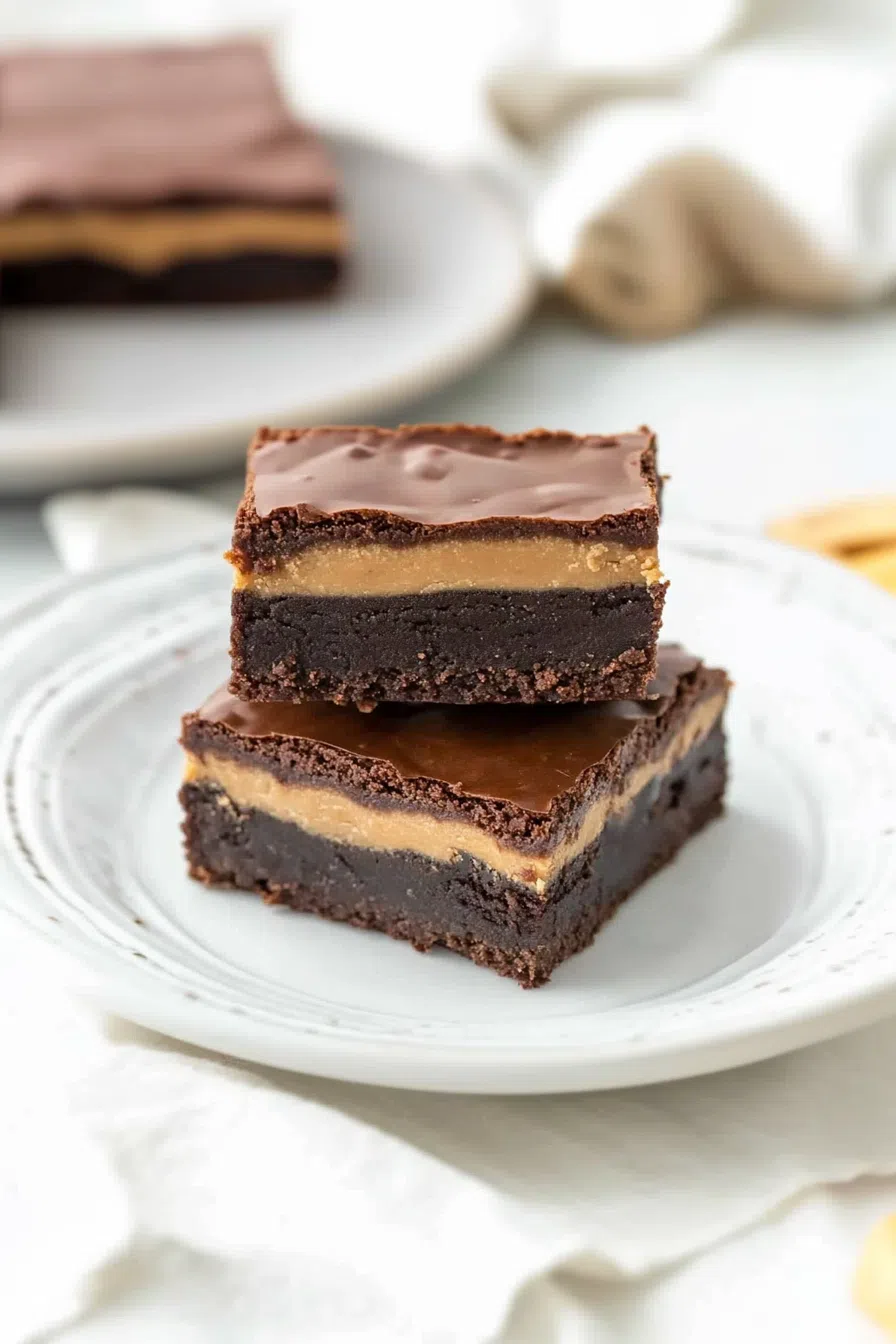
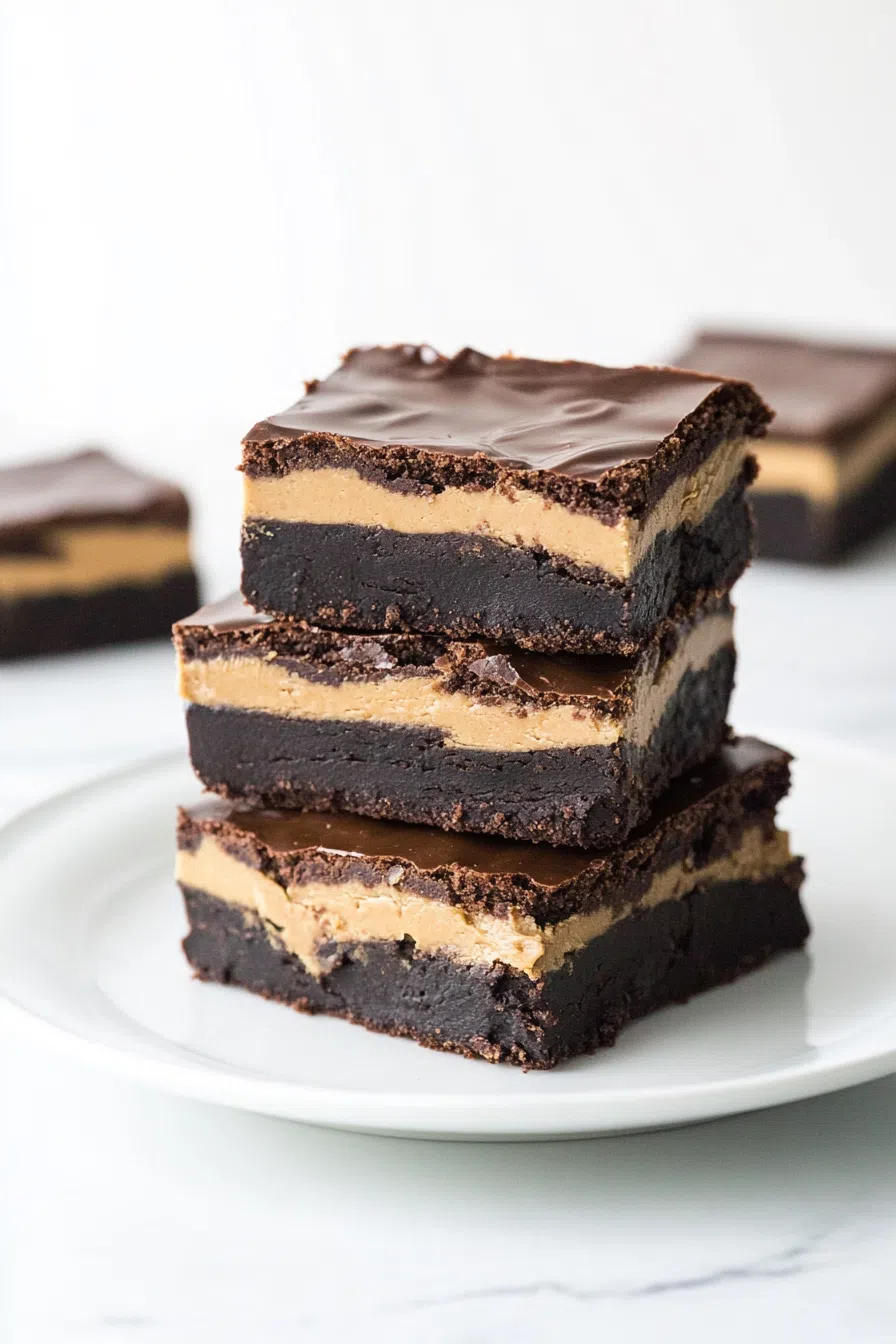
I know I’m not supposed to play favorites, but these brownies… they’re different. They’re not just a chocolate square pretending to be dessert. They’re bold. Dramatic. They’ve got three whole layers, and each one brings something wild to the table.
You get this dense, rich brownie base that tastes like a warm hug. Then a creamy, sweet peanut butter filling that honestly feels like eating frosting straight from the jar (except better). And then—just to push it over the edge—a glossy, silky ganache with a kiss of peanut butter.
They’re indulgent. They’re messy. They’re everything I didn’t know I needed on a random Tuesday afternoon.
Ingredient Notes:
There’s nothing fancy here. You probably have most of it already. But here’s the run-down—with a few real-life thoughts thrown in.
-
Butter – Yep, this recipe is not butter-shy. Embrace it. It makes everything melt-in-your-mouth.
-
Sugar – You’ll need white granulated sugar for the brownie, and powdered sugar for the PB layer. Don’t mix them up unless you want “surprise texture.”
-
Eggs – Adds structure, keeps things chewy. Room temp helps if you remember.
-
Vanilla – A splash of vanilla brings out the chocolate. If you forget it… honestly? Still fine.
-
Cocoa Powder – Go for unsweetened. Dutch-processed if you’re feeling fancy, but regular works too.
-
All-Purpose Flour – Nothing complicated. Just the basics.
-
Baking Powder + Salt – Because even indulgence needs balance.
-
Peanut Butter – Use creamy, unless you like weird texture surprises in your ganache. (Not judging.)
-
Milk – Just enough to get the filling smooth. Eyeball it if needed.
-
Chocolate Chips – I usually go for semisweet, but if you’re a dark chocolate lover, do your thing.
-
Heavy Cream – The final ganache touch. Skimping here is not advised.
How To Make Truffle Peanut Butter Brownies?
Step 1. Prep your pan like a boss.
Butter a 9×13 metal pan, then line it with parchment paper that hangs over the sides like tiny paper handles. Grease the parchment too. Trust me, when it’s time to lift those brownies out, you’ll feel like a kitchen wizard.
Step 2. Whip up the brownie base.
Melt your butter in a saucepan. Take it off the heat and stir in the sugar until it looks like a grainy caramel cloud. Beat in the eggs and vanilla—don’t stress if it looks a little weird. Then stir in the cocoa, baking powder, and salt. Last up, fold in the flour. Don’t overthink it. Pour the whole thing into your pan, smooth the top, and pop it in the oven for about 25–30 minutes. You want it just set in the middle—moist crumbs on a toothpick is perfect.
Step 3. Cool your jets.
Literally. Let the brownies cool completely. This is the hardest part. I usually give up after 20 minutes and just stick them in the fridge.
Step 4. Make the peanut butter middle.
Beat the butter, peanut butter, and powdered sugar together until smooth and dreamy. Add milk a splash at a time until it’s spreadable but thick. Think “thick buttercream, but peanutty.” Spread it over the cooled brownies. Chill again. Patience builds character.
Step 5. Now for that ganache.
Melt chocolate chips, peanut butter, butter, and cream together. I use the microwave in short bursts, stirring every 30 seconds, because I’m lazy and scared of double boilers. Pour it on top and smooth it out. Don’t overwork it—it’s a ganache, not grout.
Want To Save This Recipe?
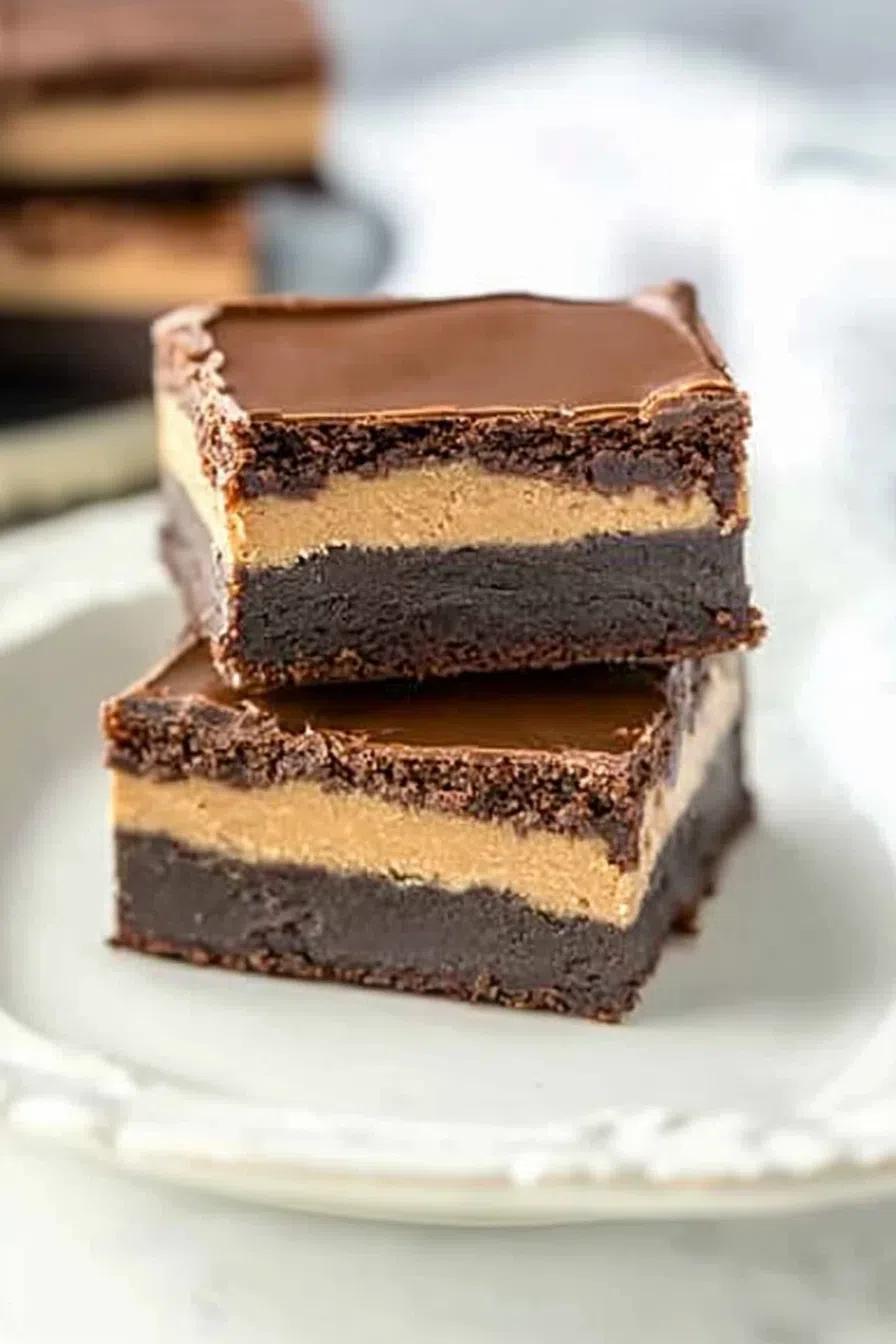
Step 6. Chill and slice.
Back to the fridge it goes until the ganache sets. When it’s ready, lift out the whole slab using your parchment paper handles and slice it into squares. Big ones. You earned this.
Storage Options:
Keep these in the fridge, tightly covered. They stay dreamy for 5-ish days, though honestly, mine never make it past Day 3. You can also freeze them—wrap them in plastic and then foil, and stash them away for a rainy day (or a chocolate emergency). Let them thaw in the fridge, or eat them frozen like you’re living on the edge. It’s honestly kind of amazing.
Variations and Substitutions:
These brownies are flexible. Like yoga-pants-on-a-Sunday flexible.
-
No peanut butter? Almond butter, cashew butter, or cookie butter. Ohhhh yeah.
-
Going gluten-free? Use a 1:1 gluten-free flour blend. I’ve done it and survived.
-
Love dark chocolate? Use bittersweet chips instead of semisweet for the ganache.
-
Want crunch? Stir chopped roasted peanuts into the filling. I dare you.
What to Serve with Truffle Peanut Butter Brownies?
Pairings? Oh yes.
-
Ice cream – Vanilla, caramel swirl, or peanut butter cup. Don’t overthink it.
-
Coffee – Hot, iced, black, or with a splash of Baileys. I won’t tell.
-
Wine – Red wine + peanut butter brownies = weirdly grown-up and decadent.
-
Milk – Old-school. Classic. Perfect.
Frequently Asked Questions:
Do I have to chill them?
Yes, my friend. These layers are soft and gooey when warm. Let them set for clean cuts.
Can I make these ahead?
Totally. Make the night before and refrigerate. They slice even better the next day.
Can I just eat the filling with a spoon?
Honestly, I’ve done it. No shame.
If you make these Truffle Peanut Butter Brownies, I wanna hear all about it. What did you change? Did you hide them from your family in the back of the fridge? (That’s my usual strategy.) Snap a photo, send it to a friend, or just quietly enjoy the heck out of them.
Brownies are meant to be shared… unless they’re this good. Then, well—maybe just one square at a time.
Keep the Flavor Coming – Try These:

Truffle Peanut Butter Brownies
Ingredients
For the Brownie Layer:
- 1 cup unsalted butter
- 2 cups granulated sugar
- 3 large eggs
- 3 teaspoons pure vanilla extract
- 2/3 cup unsweetened cocoa powder
- 1 cup all-purpose flour
- 1/2 teaspoon salt
- 1/2 teaspoon baking powder
For the Peanut Butter Filling:
- 1/2 cup unsalted butter softened
- 1/2 cup creamy peanut butter
- 2 cups powdered sugar
- 2 –3 teaspoons whole milk
For the Ganache Topping:
- 1/4 cup creamy peanut butter
- 2 cups semisweet chocolate chips
- 1/4 cup unsalted butter
- 2 tablespoons heavy cream
Instructions
Prepare the Pan:
- Preheat the oven to 350°F (175°C). Lightly grease a 9x13-inch metal baking pan. Line the bottom with parchment paper, allowing excess to hang over the sides for easy removal. Grease the parchment as well.
Make the Brownie Batter:
- In a medium saucepan over medium heat, melt the butter. Remove from heat and stir in the sugar until well combined. Add the eggs and vanilla extract, beating until fully incorporated. Mix in the cocoa powder, baking powder, and salt. Finally, fold in the flour until no dry streaks remain.
Bake the Brownie Layer:
- Transfer the brownie batter to the prepared pan and spread it evenly. Bake for 25–30 minutes, or until the center is set and a toothpick inserted comes out with moist crumbs. Allow the brownie layer to cool completely in the pan on a wire rack.
Prepare the Peanut Butter Filling:
- Using a stand mixer fitted with the paddle attachment, beat together the softened butter, peanut butter, and powdered sugar until smooth. Gradually add milk, one teaspoon at a time, until the mixture reaches a spreadable consistency. Evenly spread the filling over the cooled brownies. Refrigerate for 30 minutes to set.
Make the Ganache Topping:
- In a microwave-safe bowl or double boiler, combine the peanut butter, chocolate chips, butter, and cream. Heat gently until melted, stirring until smooth. Pour the ganache over the peanut butter layer and spread evenly. Return the pan to the refrigerator until the ganache is fully set.
Slice and Serve:
- Once the ganache has firmed up, lift the brownies out using the parchment handles. Cut into bars or squares using a sharp knife. Wipe the blade clean between slices for neater edges.
Notes
I’m Bitty, owner of nodashofgluten.com, where I share simple, delicious recipes for all tastes, including gluten-free. Check out my “About Me” page for more info!