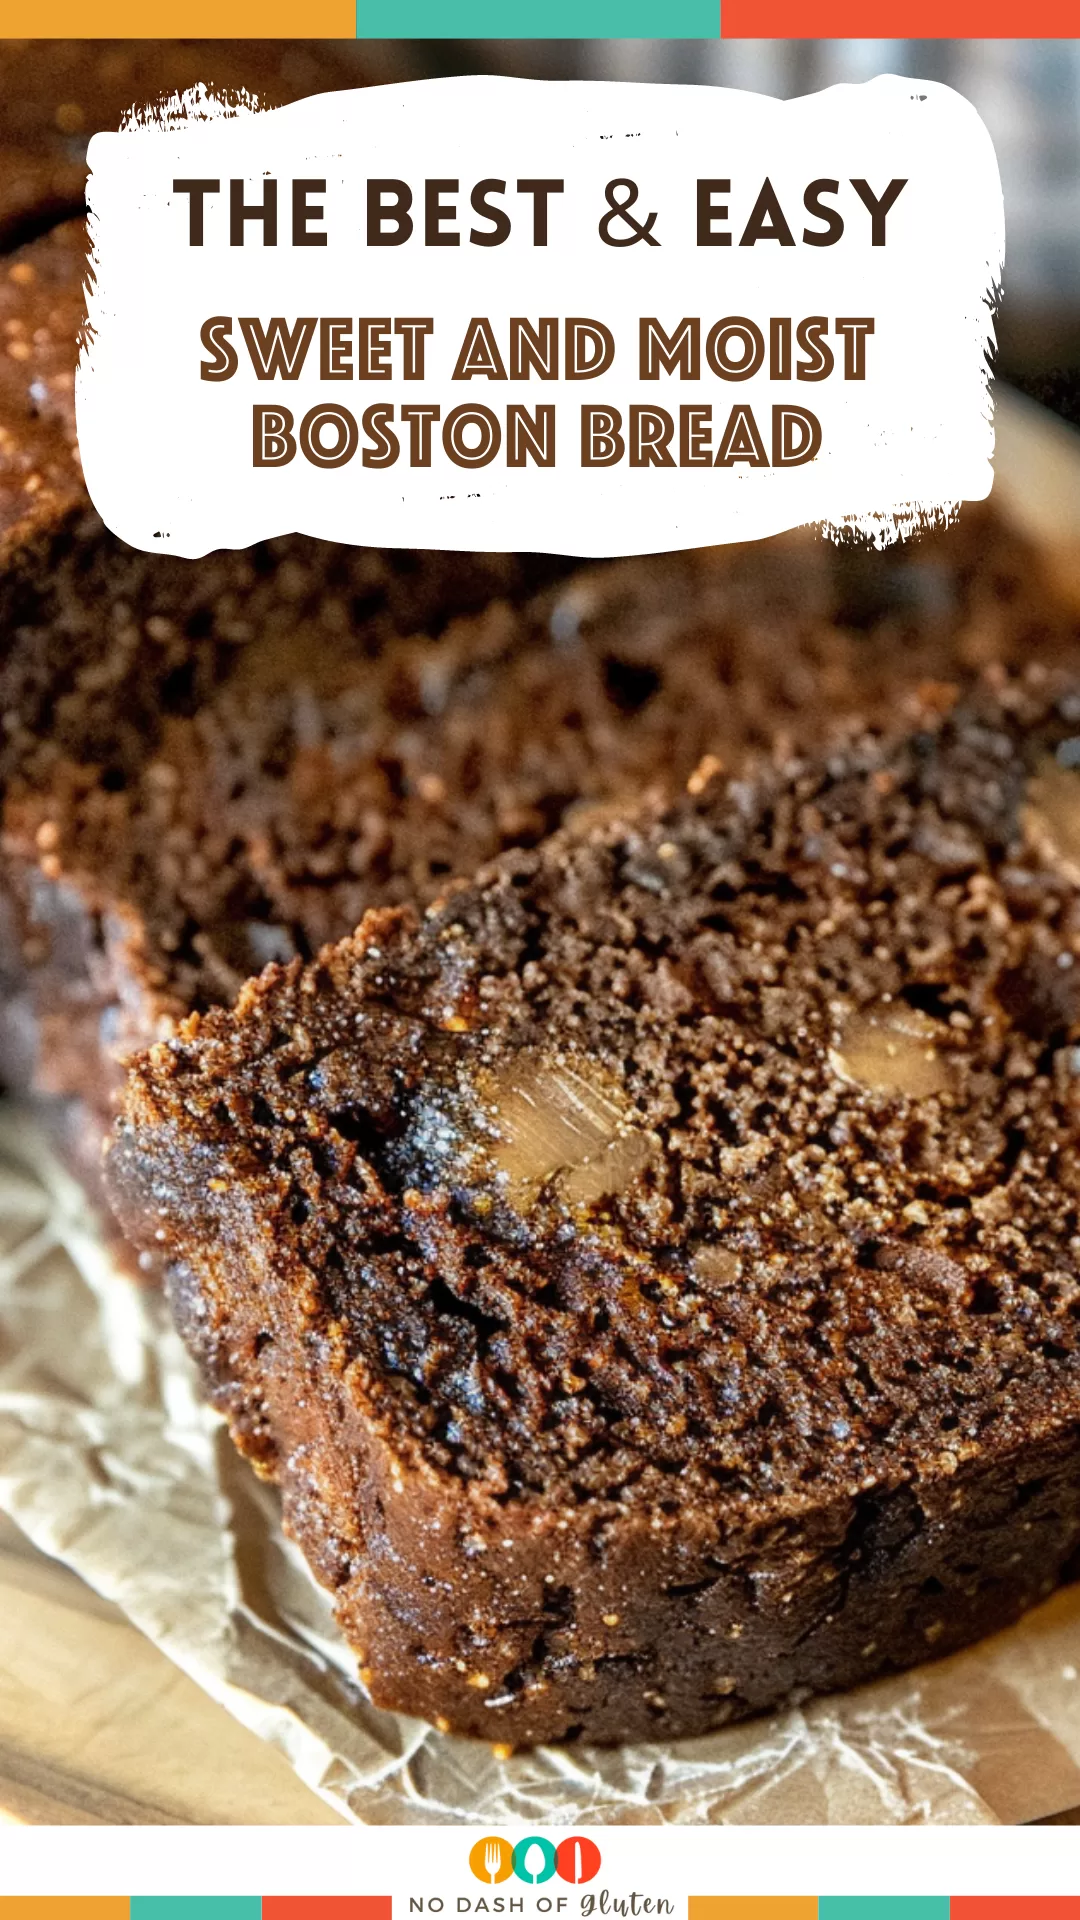
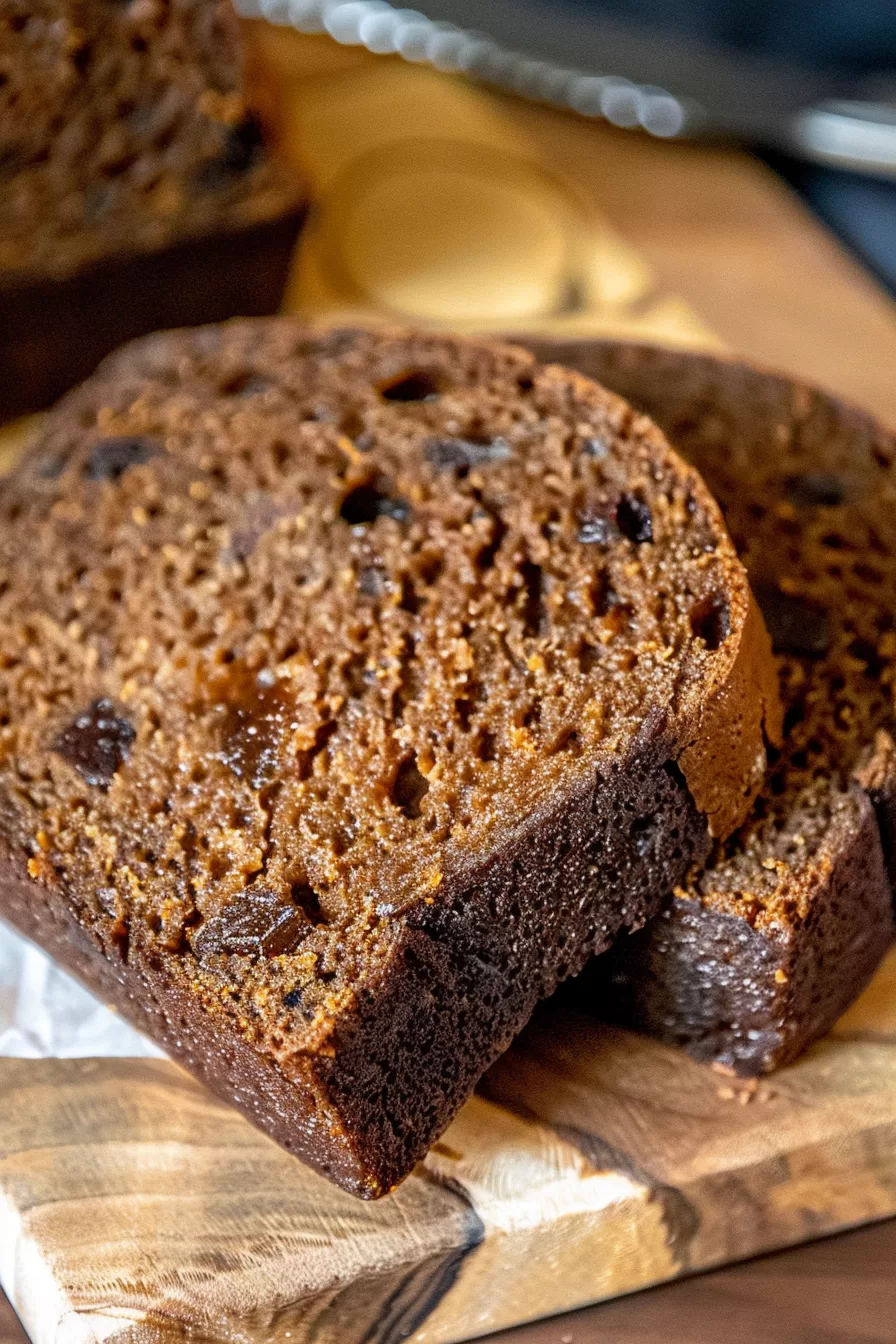
Molasses, raisins, buttermilk, whole wheat flour, and sugar come together in this sweet and moist Boston bread recipe—nostalgia you can eat.
I wasn’t planning on baking anything that day. You know those weekends when the weather’s a little grey, you’ve got an afternoon with nothing going on, and you suddenly remember that recipe your aunt used to make that felt like a warm sweater in food form? That was the vibe.


So I found myself pulling down this recipe card from the back of my kitchen drawer. It’s got flour smudges on it, some illegible scribbles, and—swear to you—a tiny molasses stain that’s probably older than my nephew. And it hit me: this is the bread. The sweet and moist Boston bread my aunt used to make in soup cans. She’d serve it with salted butter, warm from the oven, usually while still apologizing for not making “real dinner”—but we all knew we were only there for the bread anyway.
I remember sitting on the porch, wrapped in a scratchy blanket, holding a thick slice in both hands. No phone, no rush, just… bread and family. Funny how food sticks to memory better than most things, isn’t it?
Why You’ll Love This Sweet and Moist Boston Bread Recipe?
Because sometimes, you want something simple. You want a bread that doesn’t demand precision or patience. No rising, no kneading, no stand mixer singing in the background. Just mix, pour, and bake.
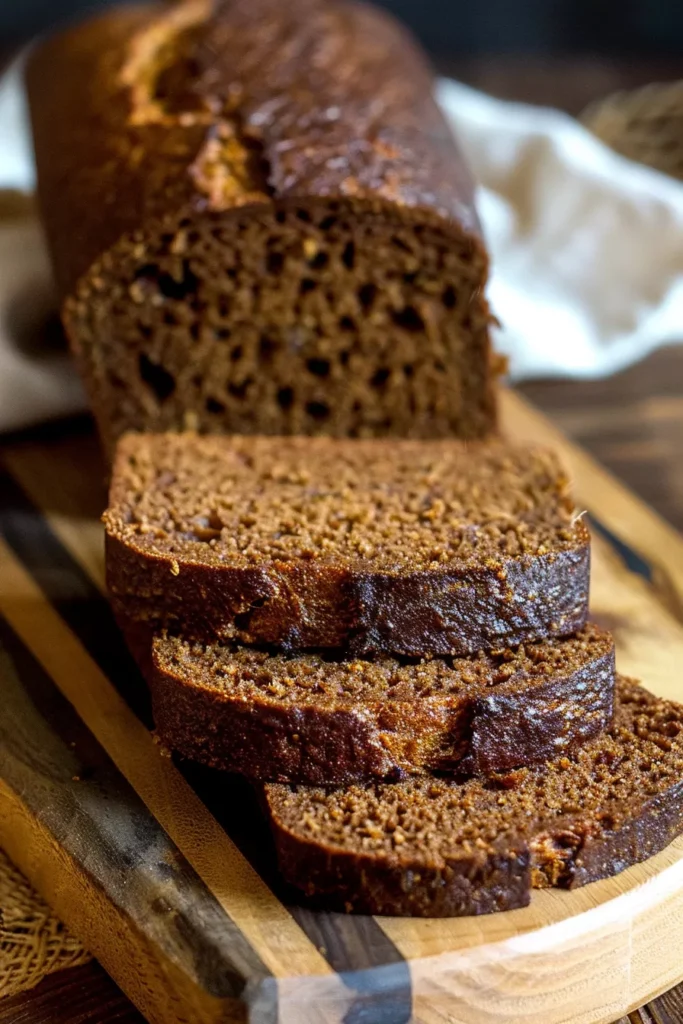
And when you pull it out of the oven? You get that golden crust, a smell that wraps around you like a favorite hoodie, and a crumb that’s soft and sweet and just the tiniest bit chewy in the best way possible.
Also? Sweet and moist Boston bread doesn’t try to impress anyone. And that’s what I love most about it.

Ingredient Notes:
I’m gonna keep this casual. No scientific jargon, just “here’s what you need and why it matters.”
-
Whole Wheat Flour (2½ cups) – Brings that wholesome, slightly nutty vibe. It’s like a hug for your molasses.
-
All-Purpose Flour (½ cup) – Softens the loaf a bit. Think of it like the bread’s chill friend.
-
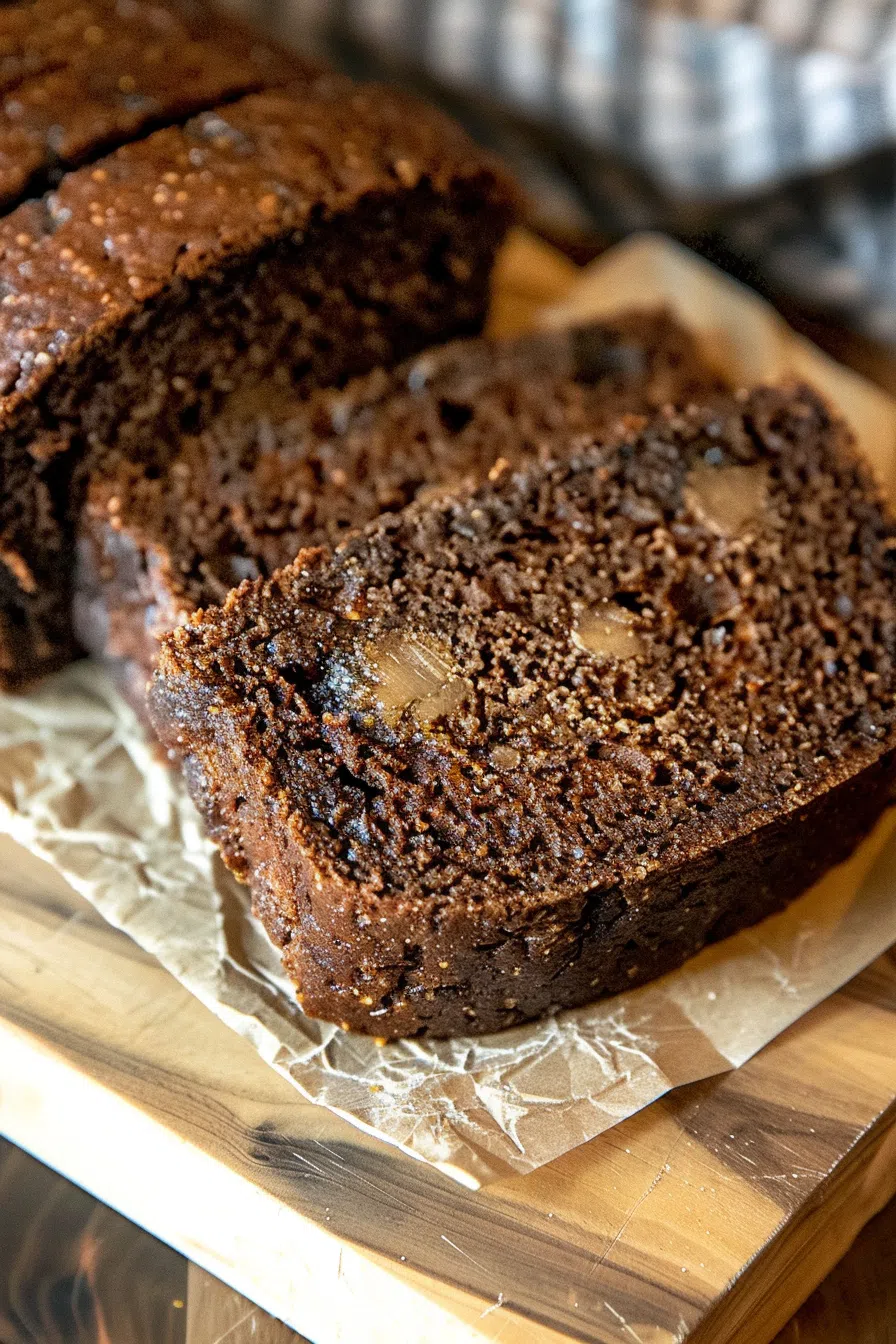
Raisins (1 cup) – I get it, not everyone’s a raisin person. But in this? They work. Trust me. They plump up like tiny fruit clouds.
-
Buttermilk (2 cups) – The MVP of moisture. You don’t need the real deal; lemon juice + milk totally works in a pinch.
-
Molasses (½ cup) – Sweet, sticky, dark gold. It gives the bread its soul. Don’t skip it unless you absolutely have to.
-
Sugar (½ cup) – Balances the molasses. Not too much, just enough to say “hey, I’m sweet but not cloying.”
-
Egg (1) – Helps hold things together. Adds richness. It’s like the roadie backstage making sure the band plays.
-
Baking Soda (2½ tsp) & Baking Powder (1 tsp) – The rise. The lift. The reason this bread isn’t a brick.
-
Salt (1 tsp) – Don’t skip this. Just don’t. Even sweet bread needs it.
-
Boiling Water (1 cup) – Soak those raisins. Make ’em soft and lovable.
-
Butter (to serve) – Look, if you’re not slathering it on thick… we need to talk.
How To Make Sweet and Moist Boston Bread?
Step 1: Preheat your oven.
Crank it to 350°F. Grab either a loaf pan (classic) or some old 15 oz. soup cans if you’re feeling nostalgic and slightly chaotic. Grease them well.
Step 2: Raisins need love.
Dump ’em in a bowl, pour that boiling water over the top, and let them hang out for 10 minutes. They’ll plump up and get all juicy. Raisin skeptics: this step might convert you.
Step 3: Mix your dry team.
In a big bowl, toss together both flours, sugar, baking powder, and salt. Crack in your egg and give it a stir. No, it won’t look right yet. Just go with it.
Step 4: Wet ingredients, assemble.
In another bowl, stir the baking soda into your buttermilk (or your lemon-milk combo). Watch it fizz. It’s like science class, but tastier. Add the molasses and stir until it’s all one gooey mess.
Step 5: Bring it all together.
Pour wet into dry. Stir it slowly—don’t overmix. Then drain those raisins and gently fold them in. Yes, it’ll look thick. Yes, that’s fine.
Step 6: Pour and prep.
Fill your pan(s) only halfway. This stuff rises like it’s got somewhere to be. If you’re using cans, put them on a baking sheet. You can press a second sheet on top to tame the rise if you want, but it’s optional.
Step 7: Bake. Smell. Smile.
Bake for 50 minutes. If you used that top-sheet trick, take it off and give it another 10 minutes uncovered. A toothpick should come out clean when it’s done. The smell? Unreal.
Want To Save This Recipe?
Step 8: Let it breathe.
Cool it a bit before trying to yank it out of the pan. Or don’t. Just know warm bread comes apart like a dream… and a mess. Either’s fine.

Storage Options:
If you have any left (which… doubtful), here’s how to store it:
-
On the counter: Wrap it up or pop it in an airtight container. Good for about 2–3 days.
-
In the fridge: It’ll last longer, but warm it up before serving or it gets a little firm.
-
Freezer tip: Slice it first, then freeze individual pieces. Pop one in the toaster when you need a mood lift. Instant comfort.
Variations and Substitutions:
One of my favorite things about sweet and moist Boston bread is how flexible it is. It doesn’t get mad if you switch things up a little.
-
No buttermilk? Mix milk with a splash of vinegar or lemon juice. Let it sit 5 minutes. Boom.
-
Not a raisin person? I see you. Try chopped dates, dried cranberries, or even a handful of chopped nuts.
-
Want more spice? A little cinnamon or nutmeg never hurt anyone.
-
Going mini? Muffin tins work! Just reduce the bake time to around 25 minutes and keep an eye on them.
-
Vegan? Swap the egg for a flax egg and use plant milk + vinegar.
What to Serve with Sweet and Moist Boston Bread?
This bread can hold its own, but if you’re into building a vibe, here’s what works:
-
Salted butter or honey butter – Classic. Unbeatable.
-
Cream cheese – Tangy meets sweet. Chef’s kiss.
-
Soups – Split pea. Butternut squash. Heck, even tomato.
-
Breakfast spread – Toasted with eggs and bacon? Weirdly great.
Frequently Asked Questions:
Can I use only all-purpose flour?
You can, but it’ll lose that hearty texture. It’s still good, just… different.
Do I have to use cans?
Nope. But they’re fun. A loaf pan works fine. Or muffin tins if you’re into portion control (unlike me).
Does this taste like cake?
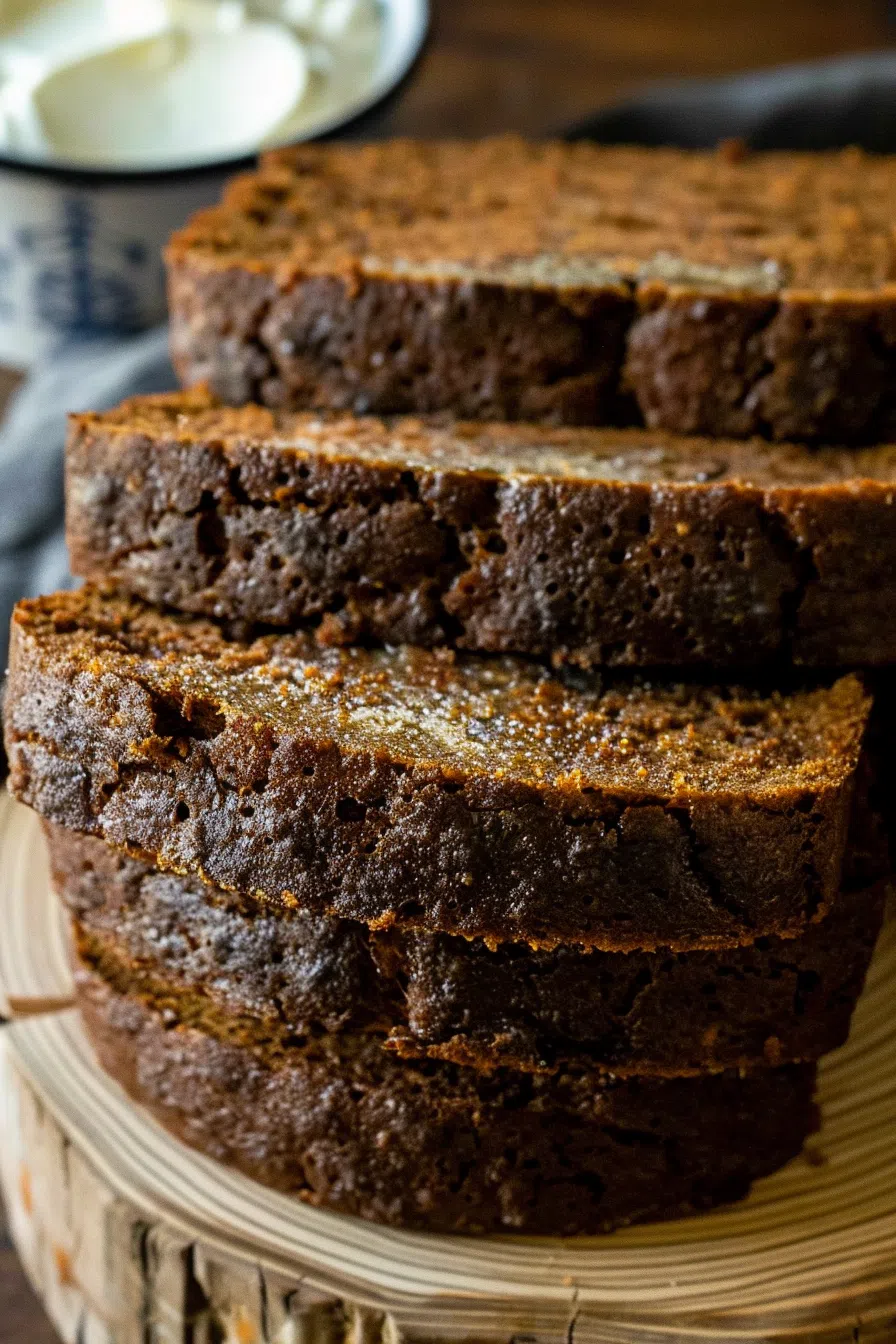
Not really. It’s sweet-ish, but in a molassesy, bready way. Think more “breakfast loaf” than “dessert.”
There’s something about Sweet and Moist Boston Bread that feels like more than a recipe. Maybe it’s the molasses, maybe it’s the way it makes your kitchen smell like everything good in the world—but it’s definitely more than flour and raisins.
So make it. Eat it warm. Share it with someone—or keep it all for yourself. And if it reminds you of someone, or somewhere, or a moment you didn’t know you missed? All the better.
Have you made this or a version of it? Got a funny raisin story? I’d love to hear it. Drop it in the comments, or just come say hi.
Keep the Flavor Coming – Try These:


Sweet and Moist Boston Bread
Ingredients
- 2 1/2 c wheat flour
- 2 c buttermilk
- 1/2 c all-purpose flour
- 1 c raisins
- 1/2 c sugar
- 1/2 c molasses
- 2 1/2 tsp baking soda
- 1 egg
- 1 tsp baking powder
- 1 tsp salt
- 1 c boiling water
- Butter for garnish
Instructions
- Heat your oven to 350º F. Grease either 4-5 (15 oz.) cans or a 9x5-inch loaf pan.
- Soak the raisins in boiling water for 10 minutes until they plump up.
- In a large bowl, mix together the wheat and all-purpose flours, sugar, baking powder, and salt. Beat in the egg.
- In a different bowl, dissolve the baking soda in buttermilk, then mix in the molasses.
- Combine the wet and dry ingredients, adding the raisins last. Mix until just combined.
- Pour the batter into your prepared cans or loaf pan, filling only halfway.
- Bake on a baking sheet for 50 minutes. If using cans, you can place another baking sheet on top to control the rise.
- Remove the top baking sheet (if using) and bake for an additional 10 minutes or until a toothpick comes out clean.
- Let the bread cool slightly before removing from cans or pan. Serve with butter or cream cheese.
Notes
I’m Bitty, owner of nodashofgluten.com, where I share simple, delicious recipes for all tastes, including gluten-free. Check out my “About Me” page for more info!