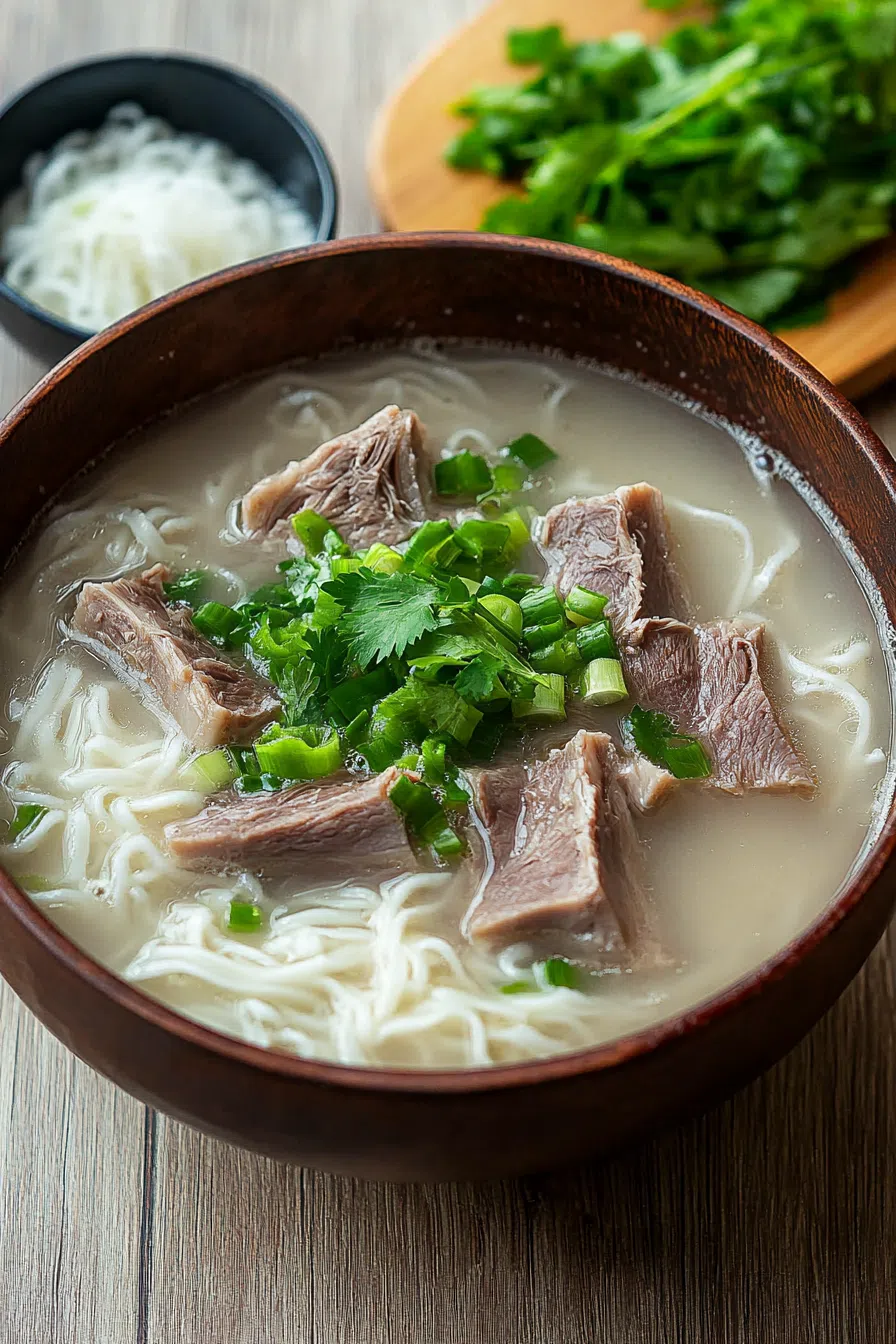
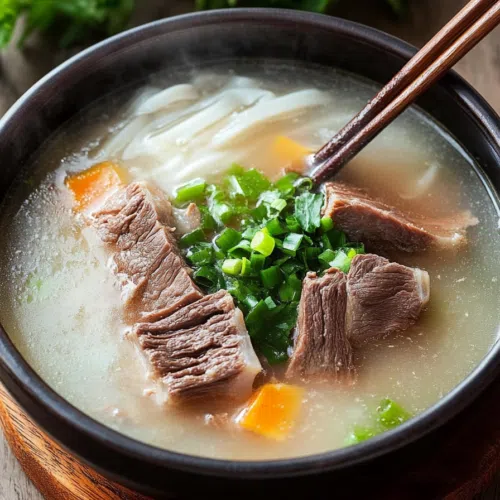
Rich and hearty Seolleongtang made with beef marrow bones, brisket, and scallions. A Korean classic soup recipe that warms the soul.


I still remember the first time I tasted Seolleongtang. It was one of those bone-chilling winter mornings in Seoul where even the thought of stepping outside made you shiver. You know that kind of cold, right? The kind that sneaks under your coat and makes your bones ache. So, there I was, wandering around like a popsicle, and I stumbled into this tiny hole-in-the-wall restaurant. I barely managed to mumble my order with numb lips. “Seolleongtang,” I said, not knowing what I was in for.
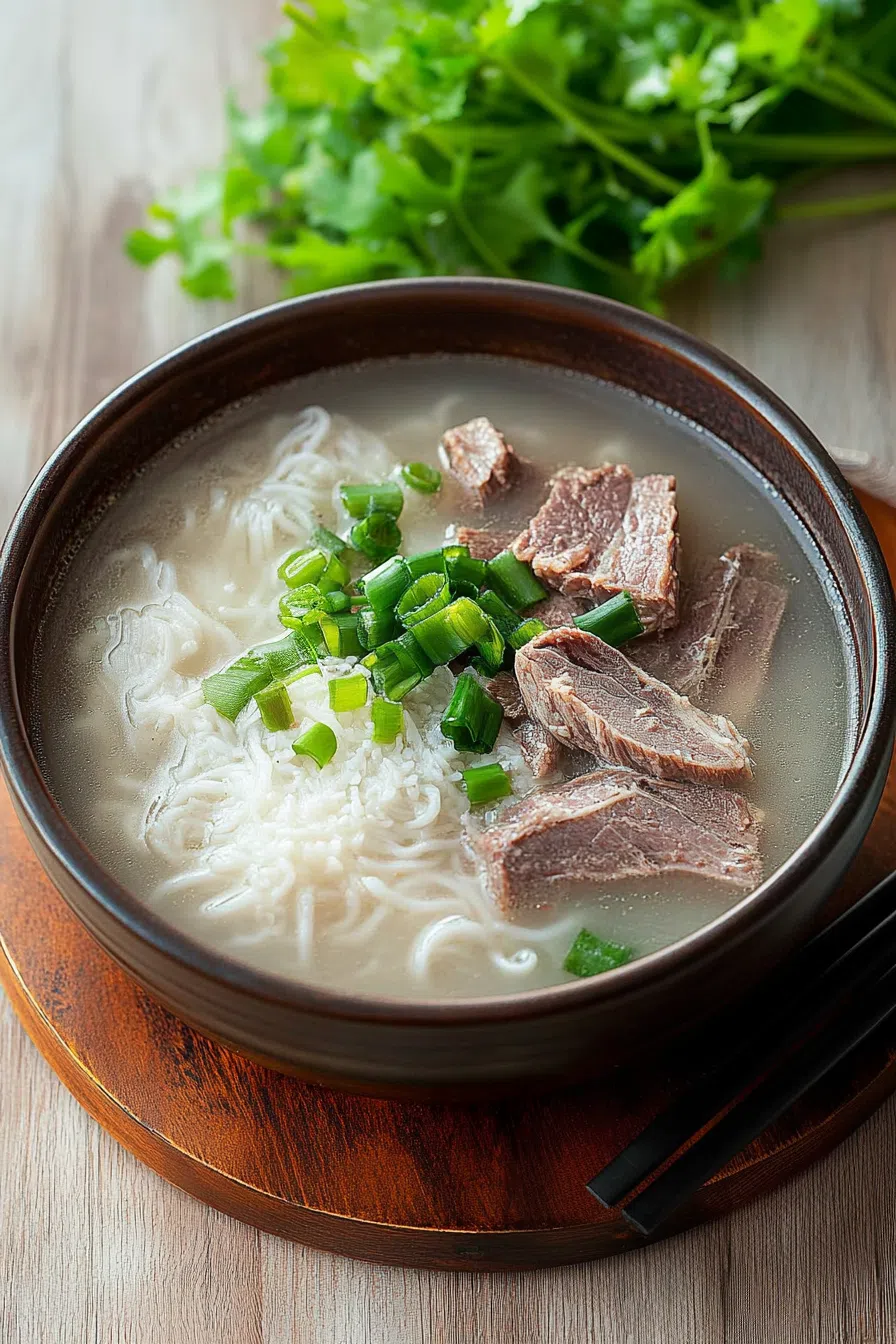
They brought out this steaming, milky-white soup with a little bowl of salt and pepper, some green onions, and of course, kimchi. One sip, and I swear, it was like wrapping yourself in the warmest, fluffiest blanket you can imagine. That bowl of Seolleongtang didn’t just warm me up—it made me feel at home. Since then, this recipe has become my go-to when I need comfort in a bowl. And trust me, I think you’re gonna love it too.
Why You’ll Love This Seolleongtang Recipe?
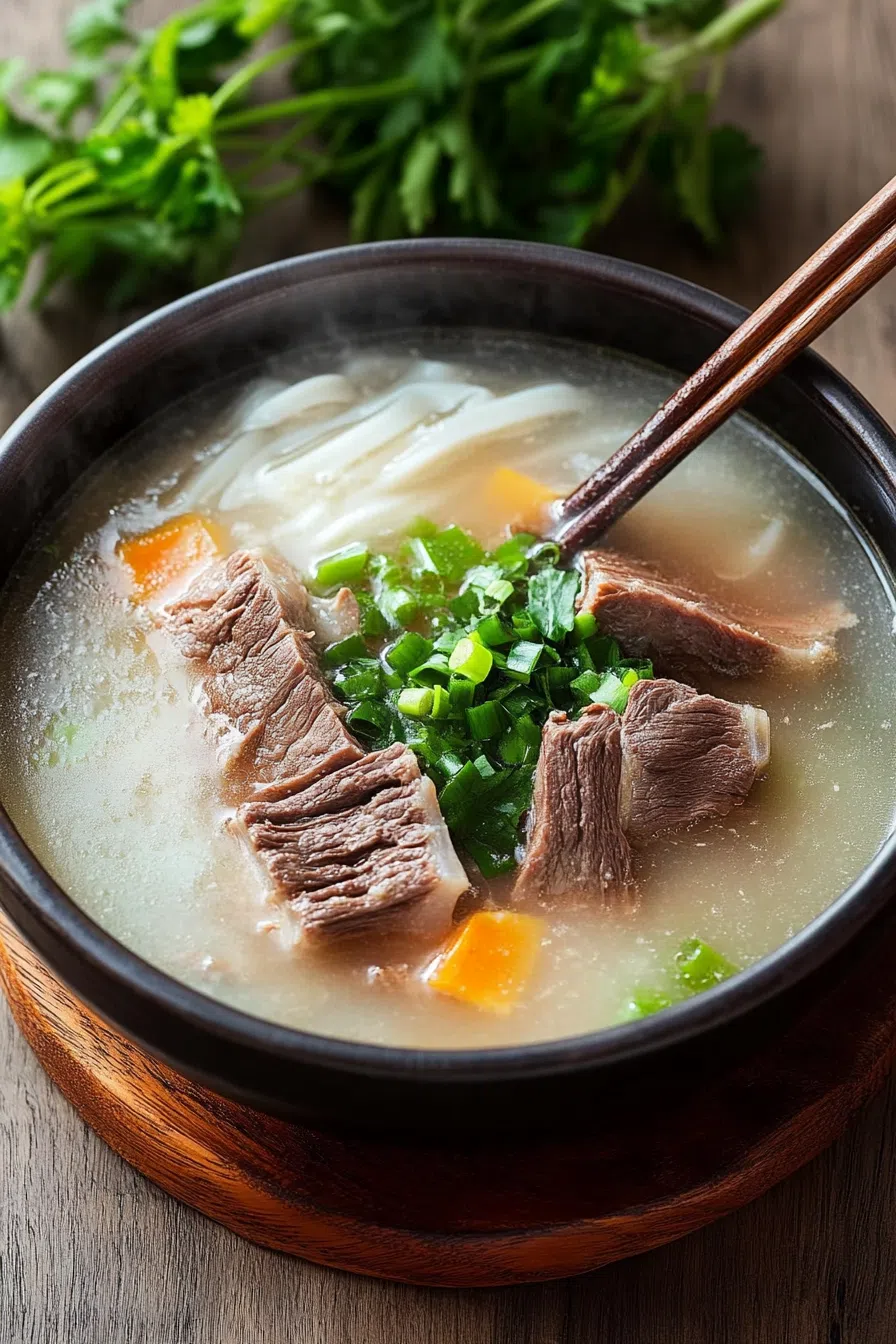
This isn’t just soup—it’s an experience. Seolleongtang is all about simplicity done right. Just a few ingredients, but they come together to make something kinda magical. The broth? Creamy, rich, and packed with deep, beefy flavor. It’s the kind of soup that fills you up but doesn’t weigh you down. And the best part? You get to season it however you like. Want it saltier? Go for it. Extra green onions? Pile them on! A little (or a lot) of kimchi on the side and you’re in business.
Plus, this recipe makes a huge batch, which means leftovers for days. You can freeze it too—your future self will thank you.

Ingredient Notes:
If you’re new to making Seolleongtang at home, you might be surprised by how simple the ingredient list is. It’s what you do with them that makes the magic happen.
- Beef Marrow Bones (Sagol, 사골): The star of the show. These are what give the soup its creamy, milky-white look and deeply comforting flavor. The longer you simmer, the better.
- Beef Brisket or Shank: This adds richness to the broth, but it also gives you those tender, juicy slices of beef to lay over your noodles or rice later. Double win.
- Cooked Rice or Somyeon (Thin Noodles): Rice makes this feel hearty and homey, noodles give it that slurpy goodness. Honestly? I usually add both.
- Chopped Scallions: These add a fresh pop of flavor and color. Don’t hold back!
- Salt and Pepper: Yep, you season it yourself at the table. It’s part of the fun and tradition.
How To Make Seolleongtang?
Step 1: Soak the Bones and Meat
First up, give those bones a good soak in cold water for at least an hour. It helps draw out the blood, which keeps your broth clean and clear later on. The brisket gets the same treatment. Pro tip: If you’ve got the time, soaking overnight in the fridge works wonders.
Step 2: Parboil the Bones
Next, toss the bones in a big pot of cold water and bring it to a boil. After about 5 minutes, you’ll see some not-so-pretty scum float to the top. Drain the lot, rinse the bones, and give the pot a good scrub. This keeps your broth from tasting, well, funky.
Step 3: The Long Simmer
Refill the pot with fresh water, covering the bones completely. Bring it back to a boil, then turn it down to a steady simmer. This is where the magic happens. You’re aiming for a creamy, milky broth, and that takes at least 5 hours. More if you’ve got the patience. Keep adding hot water if it reduces too much.
Step 4: Add the Brisket
Once your broth is looking thick and milky, toss in the brisket. Let it cook until it’s fall-apart tender—about 1.5 to 2 hours. Remove it, cool it down, and slice it nice and thin for serving.
Step 5: Optional Second Simmer
Feeling ambitious? (I wasn’t, until I tried it this way.) Strain out the broth, add fresh water to your bones, and go for another 3-5 hour simmer. Combine the broths at the end for an ultra-rich flavor. Totally worth it.
Want To Save This Recipe?
Step 6: Skim Off the Fat
When your broth cools, the fat will rise to the top. Skim it off with a spoon or a fat separator. If it’s freezing outside, set the pot on the porch overnight and let nature do the work.
Step 7: Serve and Slurp!
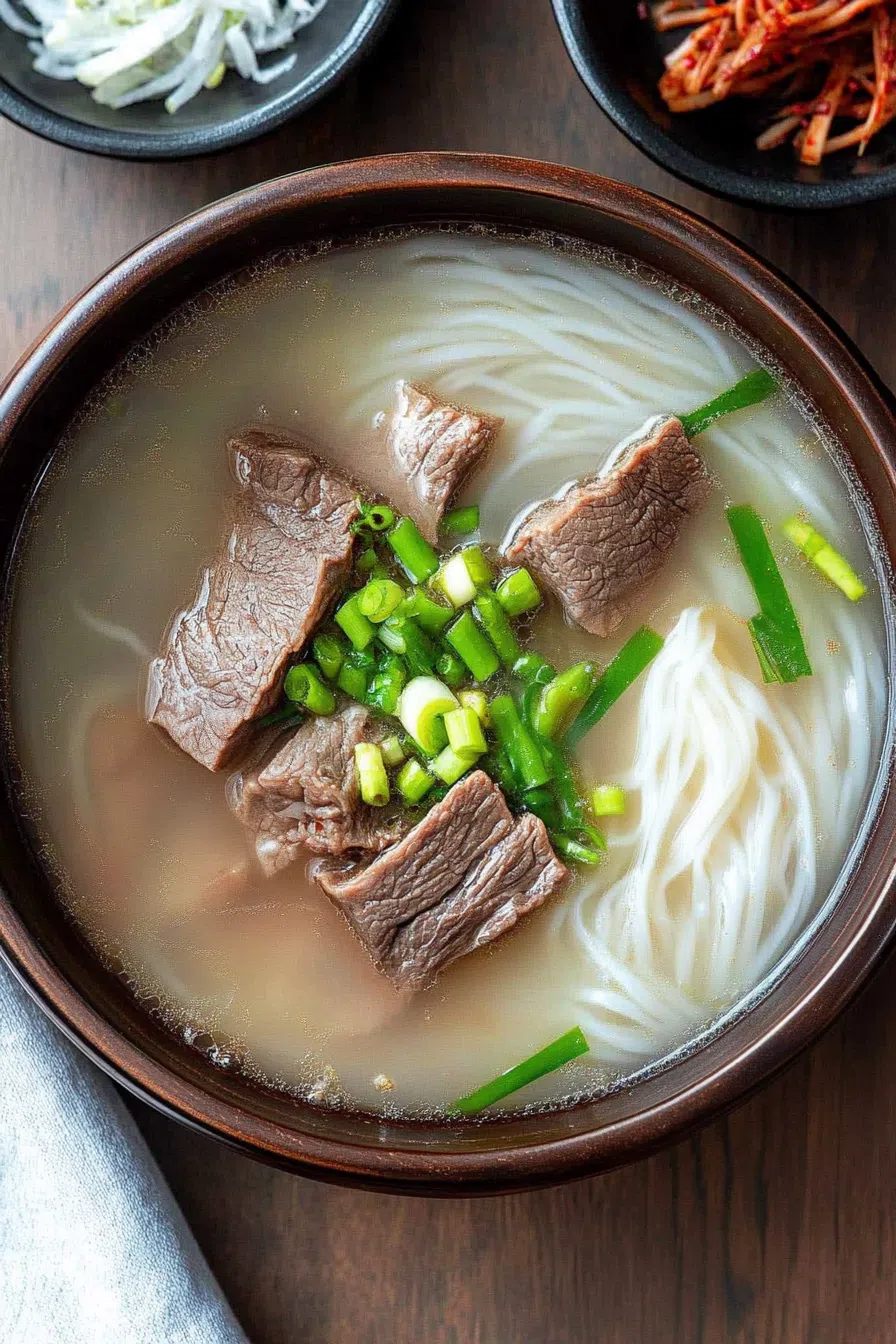
Scoop some rice or noodles into bowls, add slices of brisket, and ladle that hot broth over the top. Put out bowls of salt, pepper, and scallions and let everyone season their soup the way they like it. Oh, and don’t forget the kimchi. You need the kimchi.
Storage Options:
Leftovers? Heck yes. This broth freezes beautifully. I like to portion it out into freezer bags—lay them flat so they stack easily. It’ll keep in the fridge for about 5 days or up to a month in the freezer. Just thaw, reheat, and enjoy. (And thank past-you for being so smart.)
Variations and Substitutions:
- Can’t find marrow bones? Use knuckles or oxtails. Just get something with bones and connective tissue!
- No brisket? Shank, flank, or even a chuck roast works fine. You’re in charge.
- Wanna go veggie? Okay, Seolleongtang without bones is tricky, but you can make a killer broth with mushrooms, seaweed, and soy for a totally different vibe.
- Fancy it up? Toss in some minced garlic or a drizzle of sesame oil at the table.
What to Serve with Seolleongtang?
You could eat this on its own and be totally satisfied, but if you’re in the mood for a full-on Korean meal, here’s what I suggest:
- Kimchi: Always and forever. (Trust me, you’ll miss it if you forget.)
- Kkakdugi (Cubed Radish Kimchi): Crunchy, tangy, and perfect with the creamy broth.
- Pajeon (Scallion Pancakes): Salty, crispy goodness that makes everything better.
- Pickled Veggies: Something bright and sour to cut through the richness.
Frequently Asked Questions:
Why isn’t my broth milky white?
It’s usually because you didn’t boil it long enough, or you had the heat too low. You need a good steady boil—not a gentle simmer—to break down those bones.
Can I use an
Sure thing! It won’t be exactly the same, but you’ll still get a great broth. Try high pressure for 2 hours.
How do I keep it from being greasy?
Skim that fat! Chill it down and scoop off the solidified fat, or use a separator if you’re short on time.
I hope you give this Seolleongtang recipe a go! It’s not hard—just a little time-consuming. But trust me, the payoff is huge. If you try it, let me know! Snap a pic, drop a comment, or tell me about your favorite toppings. Can’t wait to hear what you think!
Keep the Flavor Coming – Try These:


Seolleongtang Recipe
Ingredients
- 3 to 4 pounds beef marrow bones sagol, 사골; cow knuckles (도가니) or beef feet (우족) may also be used
- 1 to 2 pounds beef brisket or shank meat
- Cooked rice for serving
- Cooked somyeon noodles thin wheat noodles or glass noodles, for serving (optional)
- Thinly sliced beef cooked with the bones, for serving
- Chopped scallions for garnish
- Salt and pepper for seasoning
Instructions
Preparation of Bones and Meat
- Thoroughly rinse the beef marrow bones under cold running water. Submerge the bones in a large bowl filled with cold water and soak for at least 1 hour to extract excess blood. For optimal results, extend the soaking time as desired, changing the water occasionally.
- Repeat the soaking process in a separate bowl for the beef brisket or shank meat. Once completed, drain the meat and refrigerate until needed.
Parboiling the Bones
- Place the soaked bones into a large stockpot (preferably 8 quarts or larger). Fill the pot with enough cold water to completely submerge the bones. Bring to a vigorous boil over high heat, then reduce to medium heat and continue boiling for 5 minutes. Drain the water, discard impurities, and rinse the bones thoroughly. Clean the stockpot to remove any remaining residue.
First Boil for the Broth
- Return the cleaned bones to the pot. Add fresh cold water, leaving adequate space at the top to prevent boiling over. Bring the pot to a boil over high heat, then lower the heat to maintain a steady medium boil. Cover the pot and simmer for approximately 5 hours, or until the broth achieves a rich, milky consistency. Add additional hot water as necessary to keep the bones submerged during this process.
Cooking the Meat
- Once the broth appears sufficiently milky, add the soaked brisket or shank meat to the pot. Ensure the meat is fully submerged. Continue to boil for an additional 1.5 to 2 hours, or until the meat becomes tender. Remove the meat from the broth and allow it to cool. Thinly slice the meat and reserve for serving.
Optional Second Boil (Recommended for a Richer Broth)
- Strain the initial broth through a fine colander into a separate pot or large bowl. Refill the stockpot with fresh water and return the bones. Bring to a boil and then simmer, covered, for an additional 3 to 5 hours, maintaining a steady medium boil. Strain and combine with the first batch of broth for a deeper flavor. This process may be repeated once more if desired.
Removing Excess Fat
- Allow the broth to cool slightly. Use a fat separator to remove excess fat. Alternatively, refrigerate the broth until the fat solidifies on top, then skim off the hardened fat.
Serving
- To serve, place a portion of cooked rice or noodles into individual bowls. Arrange thin slices of cooked brisket on top. Ladle the hot broth over the contents of each bowl. Provide additional garnishes of chopped scallions, along with small dishes of salt and pepper, allowing diners to season the soup according to their preferences. Serve immediately with kimchi or other side dishes.
Notes
- Noodles: Replace somyeon noodles with gluten-free rice noodles or vermicelli.
- Seasonings: Use gluten-free soy sauce (if using) and verify that all condiments, such as kimchi, are gluten-free.
- Cross-contamination: Confirm that the preparation area and utensils are free from gluten residue.
I’m Bitty, owner of nodashofgluten.com, where I share simple, delicious recipes for all tastes, including gluten-free. Check out my “About Me” page for more info!