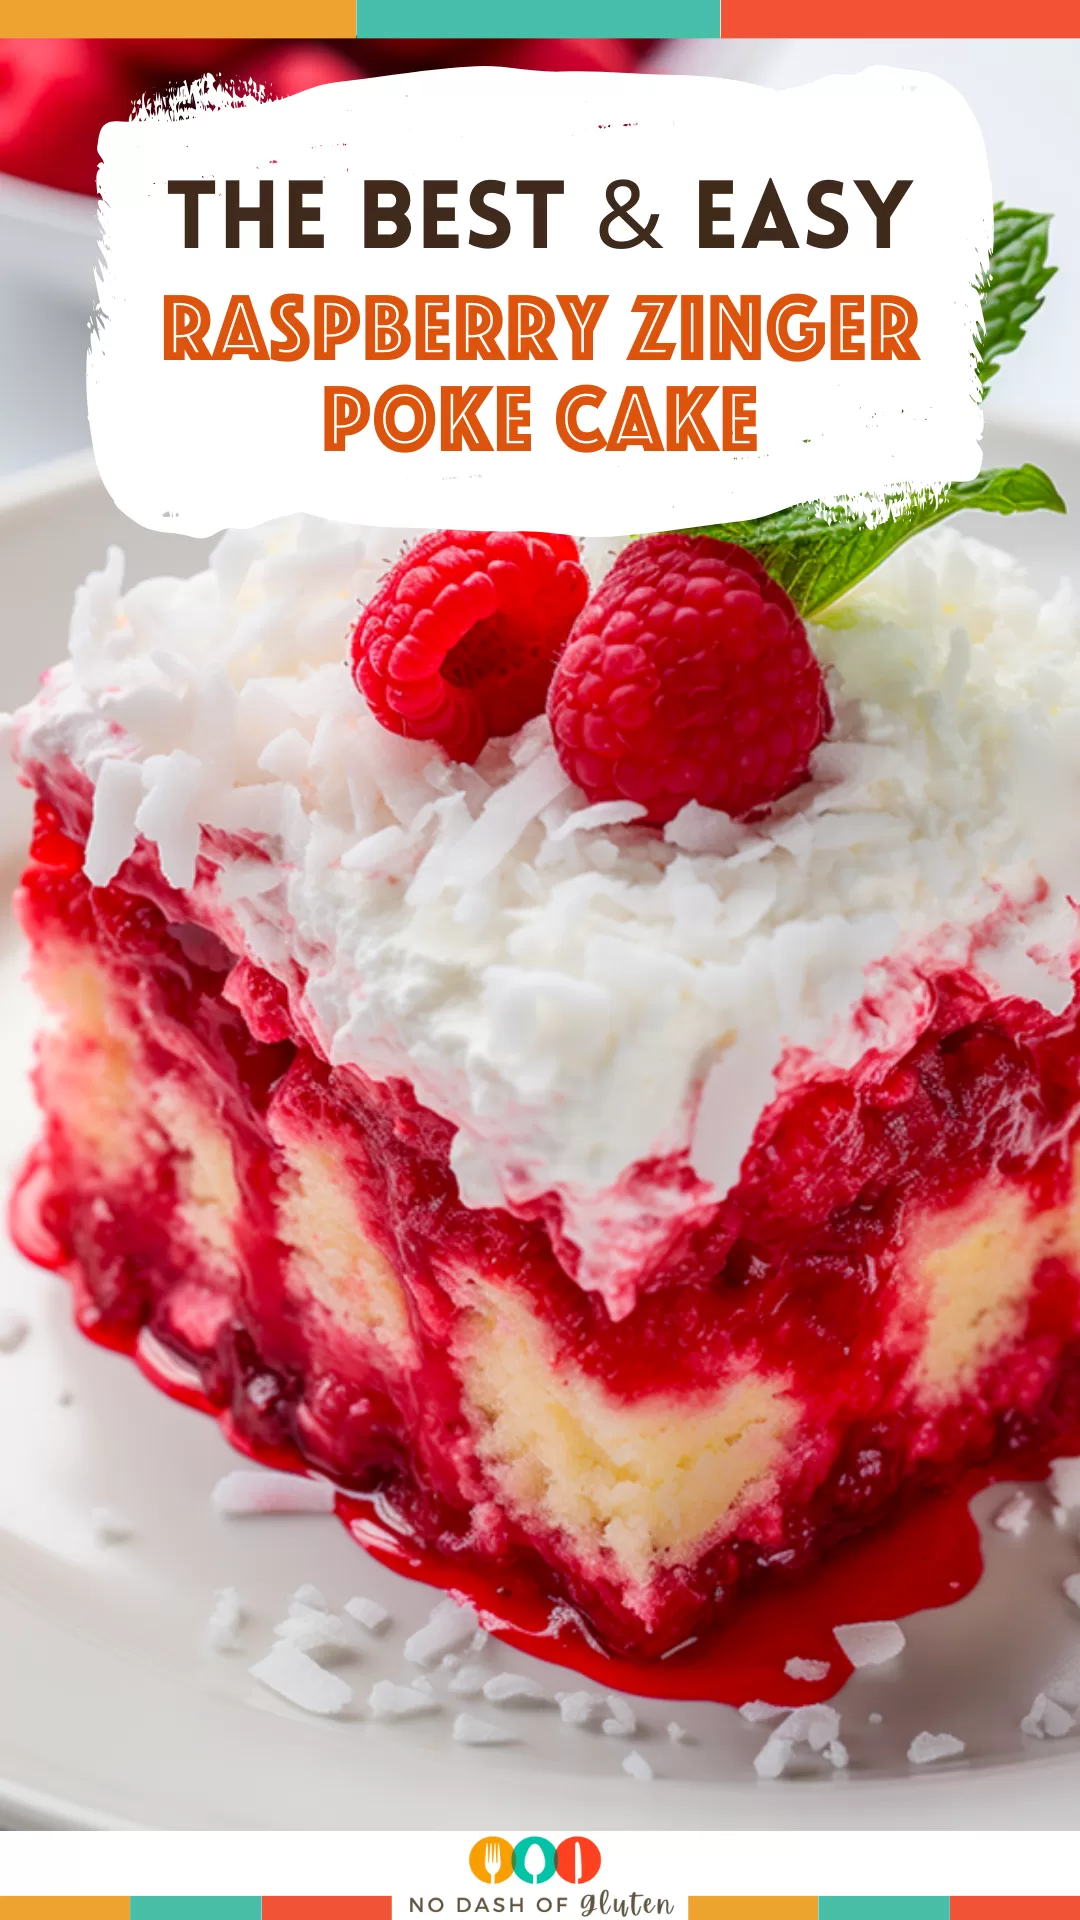
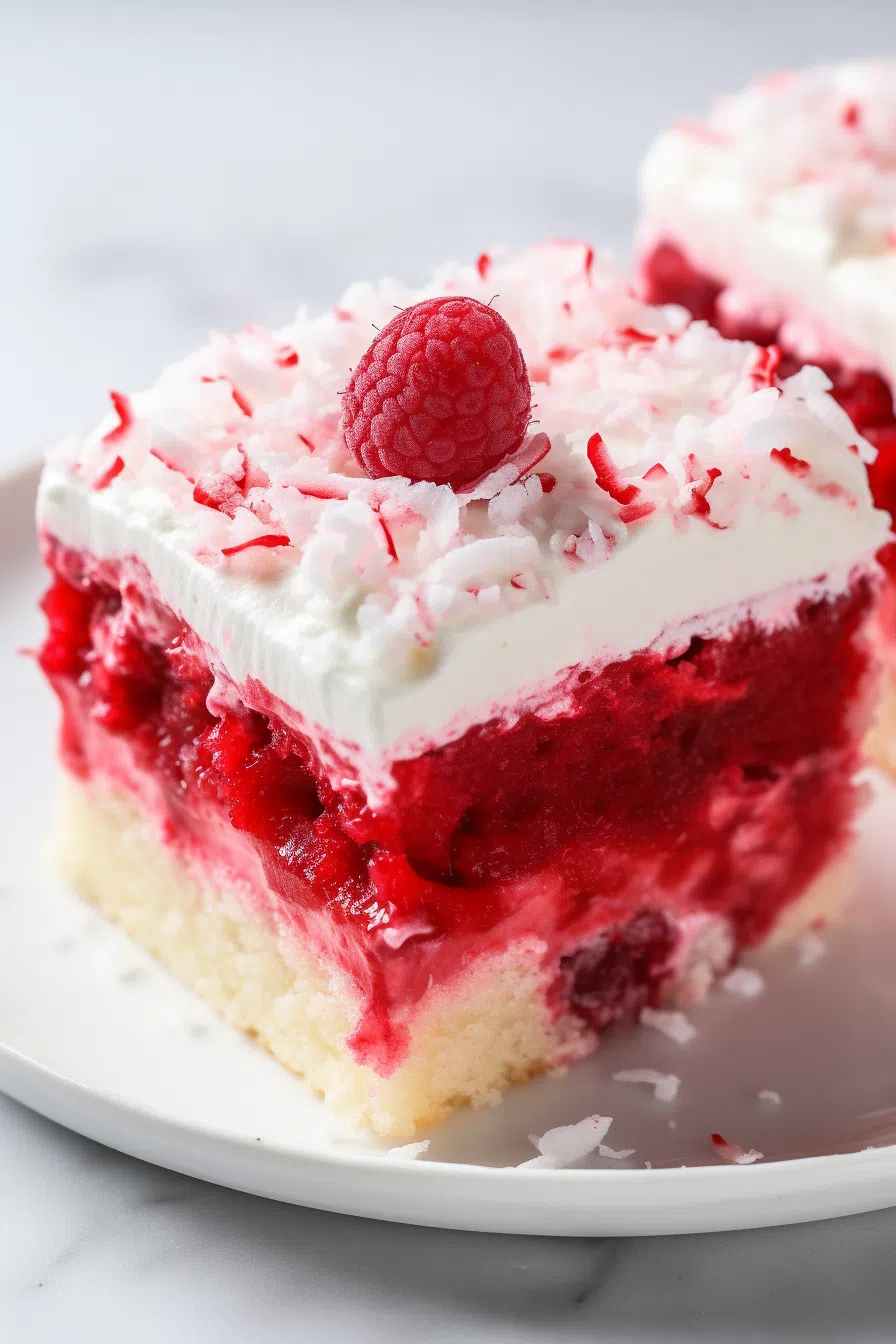
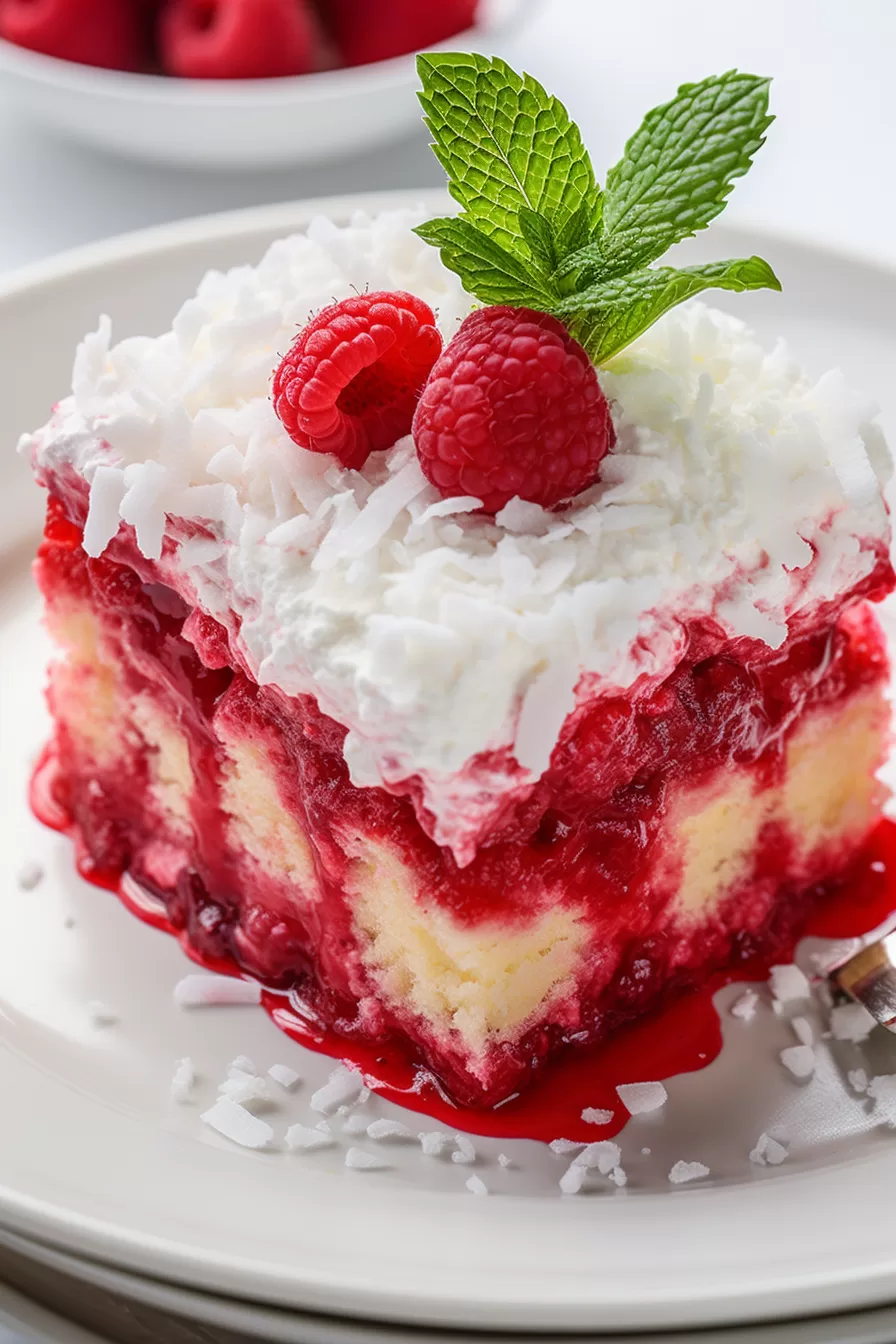
Raspberry Zinger Poke Cake with white cake mix, raspberry gelatin, preserves, whipped topping, and coconut. Sweet, tangy, and irresistible!


Do you ever bite into something and get instantly transported back in time? For me, that’s the Raspberry Zinger. Those little snack cakes were the ultimate treat—fluffy, sweet, tangy, and topped with a snowy sprinkle of coconut. They weren’t just dessert; they were joy in a plastic wrapper.
Fast forward to a rainy weekend when I was craving something indulgent but a little more grown-up. That’s when I decided to recreate those nostalgic flavors in cake form. Enter this Raspberry Zinger Poke Cake. Every layer—from the raspberry-soaked white cake to the creamy whipped topping—hits all the right notes. And that coconut finish? Pure bliss. It’s like childhood memories, but elevated.
Why You’ll Love This Raspberry Zinger Poke Cake Recipe?
- Quick and Simple: You’re starting with a box mix, so most of the heavy lifting is already done.
- Perfect Flavor Combo: Tangy raspberry gelatin, sweet preserves, and coconut work together beautifully.
- Crowd-Pleaser: Whether it’s a family gathering or a last-minute potluck, this cake always steals the show.
- Retro Vibes: It’s a nod to the past but with a fun, modern twist.

Ingredient Notes:
Let’s talk about what makes this cake special:
- White Cake Mix: The base for all the magic. Go for a high-quality mix—it makes a difference.
- Raspberry Gelatin: Adds that signature tangy flavor and vibrant color.
- Raspberry Preserves: The richer, the better. Trust me, cheap jam won’t do this cake justice.
- Whipped Topping: Light and airy, it balances out the tangy and sweet layers.
- Shredded Coconut: The ultimate finishing touch. It adds texture and ties the whole “zinger” vibe together.
How To Make Raspberry Zinger Poke Cake?
Step 1. Prepare the Cake Base:
Preheat your oven as directed on the cake mix box. Mix the batter and pour it into a greased 9×13-inch pan. Bake until a toothpick inserted into the center comes out clean. Now, let it cool. (No sneaking bites yet—trust the process!)
Step 2. Poke Holes in the Cake:
Once cooled, grab the handle of a wooden spoon and poke holes all over the cake. You want those holes big enough to soak up all the gelatin goodness but not so big the cake falls apart.
Step 3. Prepare and Pour the Gelatin:
Mix the raspberry gelatin with hot water until it’s fully dissolved. Carefully pour it over the cake, letting it seep into those holes. This is where the magic happens—it’s like flavor infusion on steroids.
Step 4. Spread the Raspberry Preserves:
Warm the preserves slightly in the microwave so they’re easier to spread. Then, cover the cake with a thin, even layer. Every bite will have that perfect hit of fruitiness.
Step 5. Top with Whipped Topping:
Generously spread the whipped topping over the preserves. Don’t hold back—this is the creamy layer that balances the tartness of the raspberry.
Step 6. Finish with Coconut:
Sprinkle shredded coconut evenly across the top. It adds texture, flavor, and that nostalgic zinger finish.
Step 7. Chill and Serve:
Refrigerate the cake for at least 4 hours. This step is non-negotiable! It gives the flavors time to meld and the gelatin to set.
Storage Options:
Keep your Raspberry Zinger Poke Cake covered in the fridge for up to three days. Want to enjoy it later? Slice and freeze individual portions in airtight containers. Just thaw in the fridge overnight, and you’re good to go.
Want To Save This Recipe?
Variations and Substitutions:
- Gelatin: Swap raspberry for strawberry or cherry for a fun twist.
- Preserves: Apricot or blackberry jam works beautifully, too.
- Coconut: Not a fan? Try crushed nuts or leave it plain.
- Whipped Topping: Homemade whipped cream adds an extra touch of luxury.
What to Serve with Raspberry Zinger Poke Cake?
- Fresh Berries: Add raspberries or strawberries on the side for an extra fruity punch.
- Coffee or Tea: A hot cup of something cozy is the perfect companion.
- Vanilla Ice Cream: Because cake and ice cream are a match made in dessert heaven.
Frequently Asked Questions:
Can I make this cake ahead of time?
Yes! In fact, it’s better when made a day ahead. The flavors have more time to meld together.
Can I skip the coconut?
Absolutely. If coconut isn’t your thing, leave it off or swap it for a sprinkle of finely chopped nuts.
How do I make sure the gelatin absorbs properly?
Cool the cake completely before adding the gelatin, and pour slowly to ensure it seeps into the holes.
This Raspberry Zinger Poke Cake isn’t just a dessert—it’s a mood, a memory, and a guaranteed hit at any gathering. Give it a try, and let me know if it takes you back to those snack cake days. Or maybe it creates a new favorite memory. Either way, I can’t wait to hear all about it!
Keep the Flavor Coming – Try These:


Raspberry Zinger Poke Cake Recipe
Ingredients
- 1 18.25 oz. package of premium white cake mix
- Ingredients as called for on the cake mix package e.g., water, oil, eggs
- 1 3 oz. package of raspberry-flavored gelatin
- 2 cups of hot purified water
- 1 10 oz. container of high-quality raspberry preserves
- 1 8 oz. container of whipped topping, thawed
- 1 7 oz. packet of unsweetened shredded coconut
Instructions
- Preparation of Cake: Preheat the oven to the temperature specified on the cake mix package. Prepare the cake mix batter according to the package instructions. Once mixed, pour the batter into a greased 9x13-inch baking pan. Bake in the preheated oven following the timing provided on the package, or until a toothpick inserted into the center of the cake comes out clean. Remove from the oven and allow to cool.
- Cooling: Allow the cake to rest at room temperature for approximately 30 minutes.
- Perforation of Cake: After the cake has cooled, use the end of a wooden spoon or a similar implement to create evenly spaced holes throughout the cake, penetrating approximately halfway through the depth of the cake.
- Preparation of Gelatin: In a separate container, dissolve the raspberry-flavored gelatin in 2 cups of hot water, ensuring it is completely dissolved. Pour the liquid gelatin over the cooled cake, taking care to pour over the holes to allow the gelatin to seep into the cake.
- Application of Raspberry Preserves: Place the raspberry preserves in a microwave-safe container and warm them in the microwave until they reach a spreadable consistency, about 30 seconds. Spread the preserves evenly over the surface of the cake.
- Adding the Whipped Topping: Spread the thawed whipped topping over the layer of raspberry preserves, covering the entire surface of the cake.
- Garnishing with Coconut: Sprinkle the unsweetened shredded coconut evenly over the whipped topping to finish.
- Refrigeration: Refrigerate the cake for a minimum of 4 hours to allow the flavors to meld and the gelatin to set, which will result in optimal texture and taste.
- Storage: Keep any uneaten cake covered in the refrigerator to maintain its freshness.
I’m Bitty, owner of nodashofgluten.com, where I share simple, delicious recipes for all tastes, including gluten-free. Check out my “About Me” page for more info!