

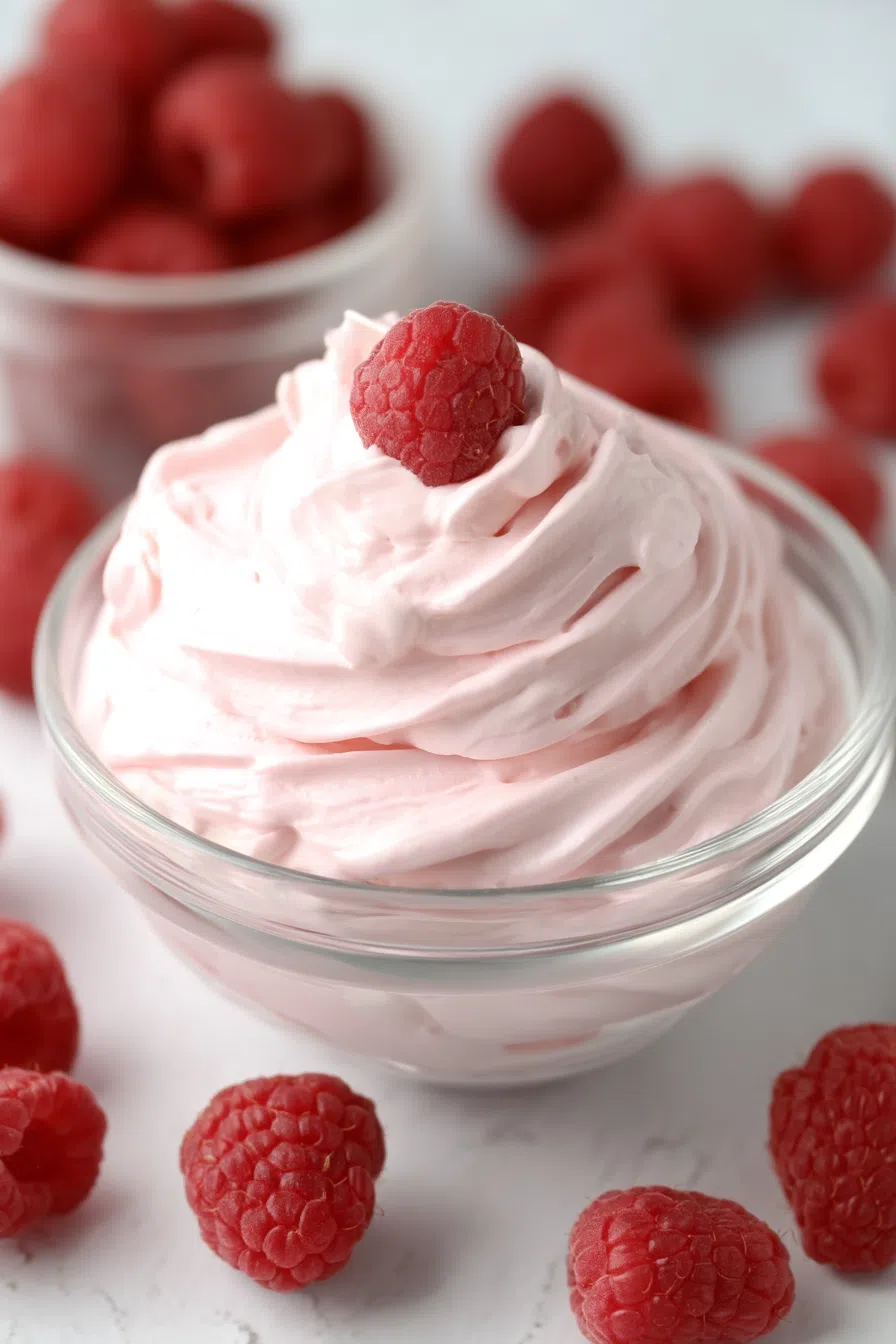
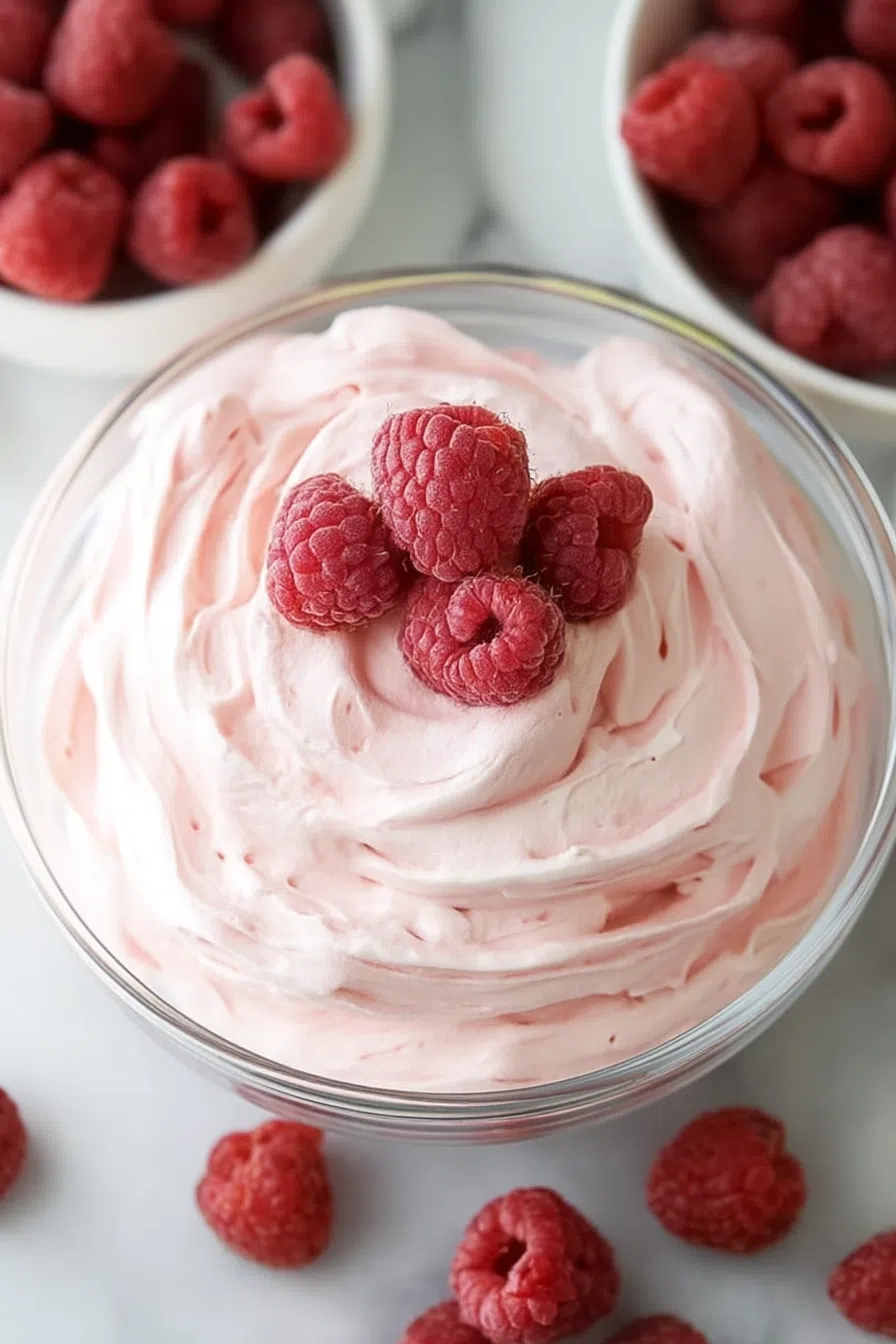
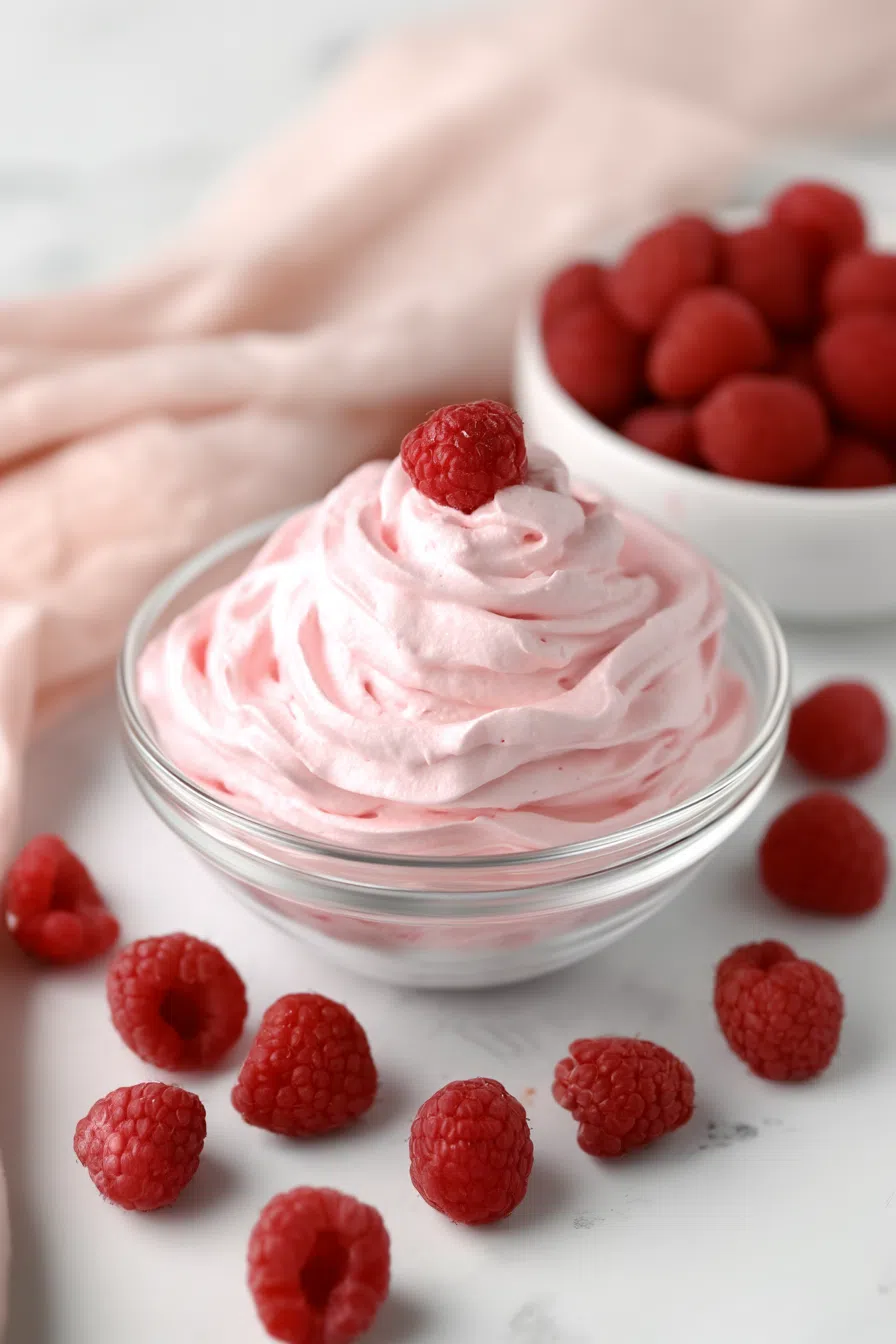
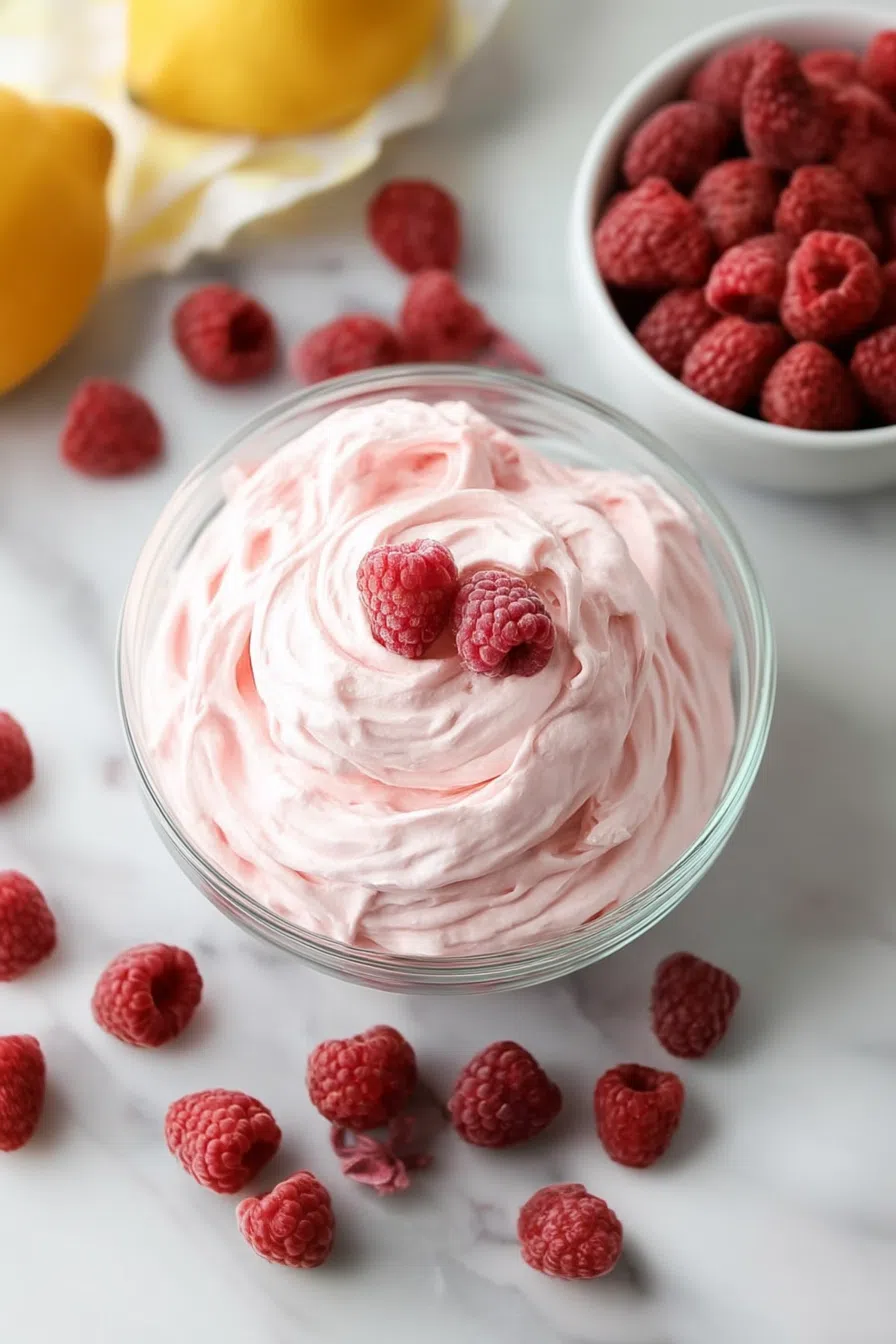
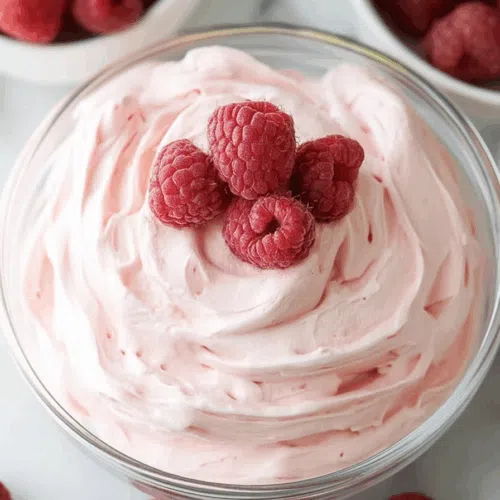
Whip up this dreamy Raspberry Whipped Cream with just freeze-dried raspberries, sugar, and heavy cream — a sweet and fluffy 5-minute wonder.
So, picture this: It’s a Sunday afternoon, I’m still in my pajamas (no judgment, right?) and I realize my cousin’s birthday brunch is in two hours… and I’ve committed to bringing dessert. Yeah. Cue the panic.


I had nothing homemade, unless you count a half-eaten bag of Oreos and a tub of Cool Whip. That’s when I spotted a bag of freeze-dried raspberries shoved behind the cereal boxes. A lightbulb moment—or maybe just sheer desperation—but I thought, “Could I…turn this into something?”
Long story short, this Raspberry Whipped Cream was born, and folks… it saved me. It’s fluffy, sweet, tangy, and pink — basically edible joy. And no one needs to know you didn’t slave over it for hours.
Why You’ll Love This Raspberry Whipped Cream Recipe?
-
Ridiculously fast. We’re talking five minutes from “I have nothing” to “wow, I made that?!”
-
Three basic ingredients. No weird stuff. Just cream, sugar, and berries.
-
Color that’ll make you look fancy. Bright, cheerful pink without a single drop of food coloring.
-
Perfect on…literally everything. Cake? Check. Pancakes? Yes. Spoon straight from the bowl? Also yes.
I mean, if there’s such a thing as a dessert hack, this is it.
Ingredient Notes:
Before we get messy (in the best way), here’s what you’ll need:
-
Freeze-Dried Raspberries: You have to use freeze-dried. Not frozen, not fresh. Otherwise, you’ll end up with sad, runny cream soup. (Trust me. Been there.)
-
Sugar: Balances the tartness of the raspberries. Regular white sugar is perfect, nothing fancy.
-
Heavy Whipping Cream: It has to be heavy. Light cream won’t whip properly, and you’ll just end up frustrated and snackless.
Pro Tip: Buy an extra bag of freeze-dried berries because you’re gonna want to make this again. And again.

How To Make Raspberry Whipped Cream?
Step 1: Pulverize the Berries and Sugar
Dump the freeze-dried raspberries and sugar into a food processor. Blitz it until it looks like a cloud of pink dust. (Be warned: you will sneeze raspberry powder if you open it too fast.)
Step 2: Add the Cream
Pour in your heavy cream. Use a fork to stir it around a little, so you don’t end up with dry sugar pockets. Dry sugar pockets = sadness.
Step 3: Pulse, Don’t Overmix
Pulse (seriously, gently!) until it’s thick and creamy, about the texture of Greek yogurt. Watch it like a hawk. You blink, and suddenly you’ve made butter. Delicious butter, sure, but… not what we’re going for today.
Step 4: Taste and Enjoy
Spoon it onto something delicious or just stick a spoon straight into your face. No one’s judging.
Storage Options:
-
Refrigerator: Keep it in an airtight container. It’s best within the first 2–3 days, but it’ll last about a week.
-
Quick Fix: If it deflates a little, give it a light whisk to bring back the fluffiness.
-
Real Talk: If it doesn’t make it to Day 2… you’re not alone.
Want To Save This Recipe?
Variations and Substitutions:
-
Other Freeze-Dried Fruits: Strawberries, blueberries, or mango are all fair game. (Strawberry whipped cream on chocolate cake? Heaven.)
-
Sweetener Swap: You can totally use powdered sugar if you’re feeling fancy.
-
Flavor Boost: Add a splash of vanilla extract or almond extract if you want to level up the flavor even more.
Basically: make it yours.
What to Serve with Raspberry Whipped Cream?
-
On Cake: Especially vanilla, lemon, or even chocolate. Dreamy.
-
Pancakes, Waffles, and Crepes: Breakfast that feels like a birthday party.
-
Fruit Bowls: Because fruit needs friends too.
-
Hot Chocolate: A giant dollop floating on top = life-changing.
-
On a spoon. At midnight. Standing in front of the fridge. (Again… safe space here.)
Frequently Asked Questions:
Can I use fresh raspberries?
I wish — but nope. Fresh berries have too much moisture. Stick to freeze-dried if you want thick, fluffy cream.
How far in advance can I make it?
You can whip it up the day before! It’ll stay fluffy if you store it tightly covered and give it a quick stir before serving.
I accidentally over-whipped it — now what?
You made raspberry butter. (Hey, there are worse mistakes.) You can try gently folding in a little more cream to soften it back up. If not… slather it on toast and pretend it was your plan all along.
Honestly, this Raspberry Whipped Cream might just become your new secret weapon. It’s stupid-easy, crazy-delicious, and makes everything feel like a party.
If you give it a try, tell me what you paired it with — I’d love to swap ideas! (Or just chat about our mutual love of anything pink and fluffy.)
Keep the Flavor Coming – Try These:

Raspberry Whipped Cream
Ingredients
- 1/2 ounce freeze-dried raspberries approximately 1/2 cup; 15 grams
- 1 3/4 ounces granulated sugar approximately 1/4 cup; 50 grams
- 16 ounces heavy whipping cream 2 cups; 455 grams
Instructions
Prepare the Raspberry Sugar Mixture:
- Place the freeze-dried raspberries and granulated sugar into the bowl of a food processor. Blend on high speed until the mixture is finely ground and powdery, approximately 1 minute.
Incorporate the Cream:
- Add the heavy whipping cream to the food processor. Stir gently with a fork to ensure that no pockets of dry sugar or fruit powder remain in the corners.
Whip the Cream:
- Pulse the mixture until it reaches a thick and creamy consistency, similar to Greek yogurt. This process typically requires less than 2 minutes, depending on the strength of the food processor.
- Important: Monitor closely to avoid over-whipping, which can result in the mixture turning into butter.
Serve or Store:
- Once the Raspberry Whipped Cream is prepared, it may be served immediately. Alternatively, transfer it to an airtight container and refrigerate for up to 1 week.
Notes
I’m Bitty, owner of nodashofgluten.com, where I share simple, delicious recipes for all tastes, including gluten-free. Check out my “About Me” page for more info!

