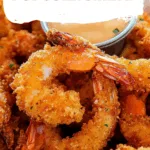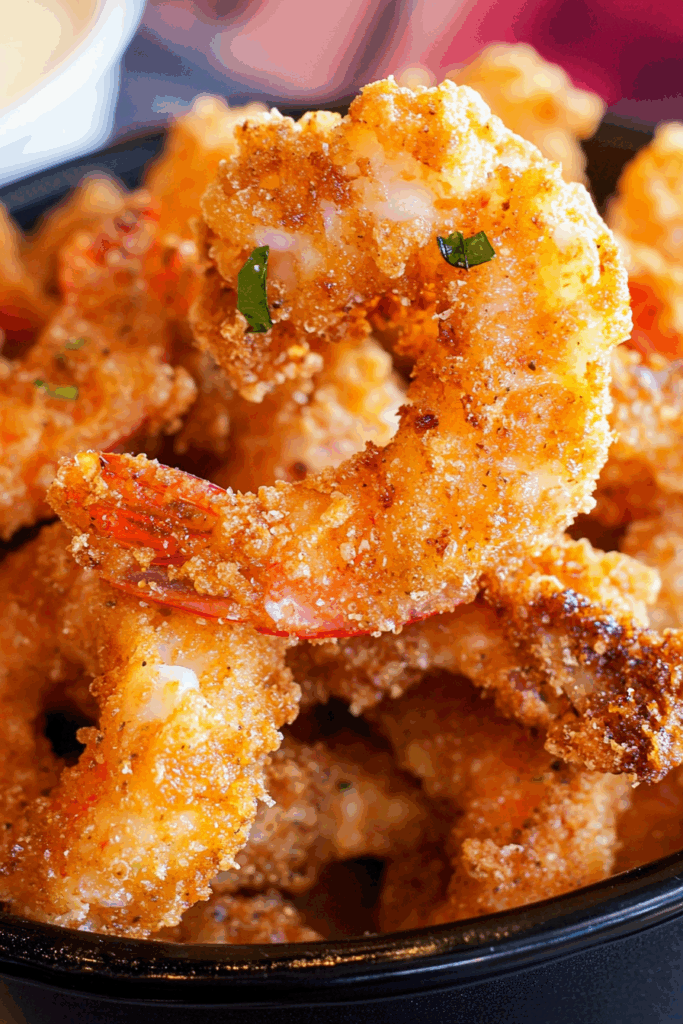
Popcorn shrimp made with seasoned breadcrumbs, shrimp, garlic, and herbs. Crispy, golden, and totally addicting in under 15 minutes.
Okay, here’s the truth: I didn’t grow up eating popcorn shrimp. My mom wasn’t frying shrimp in the kitchen while we watched cartoons. No sweet Southern grandma handed me her secret recipe. Nah — my first bite of real popcorn shrimp happened in a rickety beach shack in Florida. You know the kind — screen door hanging by a thread, menu written in chalk, the fryer older than your dad’s pickup.


We’d just come off the beach. I still had sunscreen in my eyes and sand stuck in places it didn’t belong. I was starving. I saw “popcorn shrimp” on the menu and thought, eh, sure. What showed up in that greasy paper tray? Magic. Pure golden, salty, crunchy magic. I burnt my mouth on the first bite, dropped a shrimp in my lap, and still ate every single piece like it was a prize.
I’ve been chasing that feeling ever since. And you know what? I think I’ve finally nailed it.
Why You’ll Love This Popcorn Shrimp Recipe?
It’s quick. It’s crispy. It’s got this perfect balance of salty and herby and a little garlicky. You get that classic fried seafood crunch without having to put on shoes or deal with screaming seagulls.
This version is basically your weeknight win. No marinating. No complicated ingredients. You’re just dredging shrimp in flour, egg, and seasoned breadcrumbs, and frying until they’re golden and irresistible. And it works every time.
You can dip ’em, toss ’em into tacos, sprinkle them over salad (if you’re being “good”), or just eat them standing over the stove while the rest are still cooking. Ask me how I know.

Ingredient Notes:
Let’s talk about what goes in this popcorn shrimp recipe and why it all matters.
-
Small Shrimp – You’re looking for the kind that feels like one bite. Peel ’em, devein ’em, and make sure they’re dry-ish before you start. I’ve tried medium and even chopped larger ones before. Not the same. Trust me.
-
Flour – The first layer. Think of it as the glue that helps the glue stick. That sounded weird, but you get me.
-
Egg + Milk – The glue-glue. This combo gives the crumbs something to hold on to. It’s like shrimp armor.
-
Breadcrumbs – Not panko. I mean, panko’s fine if you want a lighter crunch, but classic dry breadcrumbs give that even, restaurant-style coat.
-
Garlic, Onion Powder, and Dried Herbs – You don’t need a spice cabinet that rivals a Michelin chef’s. Just a little of each gives the breading real flavor so it doesn’t taste like deep-fried cardboard. Been there.
-
Oil – I use vegetable or canola. Something neutral that won’t smoke the place out. Peanut oil is amazing too but also… expensive.

How To Make Popcorn Shrimp?
Frying at home sounds scary, right? Hot oil! Splatter! But once you get the hang of it, you’ll feel like a kitchen rockstar. Pinky swear.
Step 1: Heat the Oil
Pour about a quart of oil into a deep pot or Dutch oven. Turn the heat to medium and wait until it hits 350°F. If you don’t have a thermometer, toss a breadcrumb in. If it sizzles, you’re good. If it just sits there looking sad? Not ready.
Step 2: Set Up Your Breading Station
You’ll need three bowls (yes, it’s annoying but worth it).
-
One with just flour.
-
One with the egg and milk, whisked together like you mean it.
-
One with the breadcrumbs, salt, garlic, onion powder, and herbs.
Step 3: Dredge That Shrimp
Dust each shrimp in flour. Shake off the extra. Dunk it in the egg mix. Then press it into the breadcrumb mix until coated all over. Line them up on a plate like you’re about to deep fry a tiny army. (Because you are.)
Step 4: Fry in Batches
Carefully add a few shrimp at a time to the hot oil. Don’t crowd them. Let them cook for about 3–4 minutes, flipping once halfway. They should be golden and crispy and floating like happy little nuggets.
Step 5: Drain and Devour
Use a slotted spoon to move them to a paper towel-lined plate. Let them cool for a second… or don’t. But like, maybe blow on them first unless you like tongue blisters.

Want To Save This Recipe?
Storage Options:
If, somehow, you don’t eat all the popcorn shrimp in one sitting:
-
Fridge: They’ll keep in an airtight container for about 2–3 days. Reheat in the oven or air fryer, or risk sadness if you microwave them.
-
Freezer: Yep, you can freeze them. Spread them out on a tray to freeze individually first, then transfer to a bag. Bake straight from frozen at 375°F until crispy again.
Variations and Substitutions:
I’m not gonna pretend there’s one “right” way to make popcorn shrimp. Here’s how I’ve messed with the recipe and gotten great results:
-
Want spice? Add Cajun seasoning or cayenne to the breadcrumb mix.
-
More crunch? Swap in panko. You’ll get a lighter texture that still slaps.
-
No egg? A bit of mayo mixed with milk works as a wet dredge in a pinch. I know it sounds weird, but it works.
-
Air fryer fan? Coat the shrimp the same way, then spray lightly with oil and air fry at 400°F for 7–8 minutes, flipping halfway.

What to Serve with Popcorn Shrimp?
You’ve got options, friend:
-
Dips: Ranch, remoulade, spicy mayo, cocktail sauce… or just ketchup, if you’re keeping it real.
-
Tacos: Load these into warm tortillas with slaw and lime crema. Boom.
-
Salad: Toss them onto greens to make your boring lunch way more exciting.
-
Seafood Platter: Add fries, hushpuppies, and coleslaw for full-on beach shack vibes.
-
Pasta or Rice Bowl: A handful of popcorn shrimp on top turns dinner from meh to YES.
Frequently Asked Questions:
Can I use frozen shrimp?
Yup, just thaw them fully and pat them dry. Wet shrimp = sad coating.
Can I skip frying?
Sure. Air frying or baking is totally fine. Different texture, but still tasty.
Is this spicy?
Not really. You can definitely add heat though. A little cayenne goes a long way.

I won’t lie—this popcorn shrimp recipe has become a bit of a comfort food ritual for me. It’s the kind of thing I make when I need a win, even if the rest of the day’s been a total flop. It’s easy, forgiving, and crunchy in all the right ways.
So if you try it, tell me how it went. Did you add hot sauce? Did someone eat the whole batch before dinner? Send pics. I wanna hear it all.
Keep the Flavor Coming – Try These:

Popcorn Shrimp
Ingredients
- 1 quart vegetable oil for frying
- 1 cup all-purpose flour
- 1 large egg
- ½ cup whole milk
- 1 cup dry plain breadcrumbs
- 1¼ teaspoons salt
- ½ teaspoon dried basil
- ½ teaspoon dried parsley
- ⅛ teaspoon garlic powder
- ⅛ teaspoon onion powder
- 24 small shrimp uncooked, peeled, and deveined
Instructions
Prepare the frying oil.
- Pour the vegetable oil into a Dutch oven or deep, heavy-bottomed pot. Heat the oil over medium heat until it reaches 350°F (175°C). Use a cooking thermometer to monitor the temperature for best results.
Set up the dredging stations.
- In three separate shallow bowls, prepare the coating components as follows:
- Bowl 1: Add the flour.
- Bowl 2: Beat the egg and milk together until fully combined.
- Bowl 3: Combine the breadcrumbs, salt, dried basil, dried parsley, garlic powder, and onion powder. Mix thoroughly to evenly distribute the seasoning.
Coat the shrimp.
- Lightly dredge each shrimp in the flour, ensuring all sides are coated. Next, dip the shrimp into the egg mixture, then transfer to the breadcrumb mixture. Press gently to adhere the breadcrumbs evenly. Place the breaded shrimp on a plate while preparing the remaining pieces.
Fry the shrimp.
- Working in batches, carefully lower the breaded shrimp into the hot oil using a slotted spoon or tongs. Fry for 3 to 4 minutes, turning once halfway through, until the coating is crisp and golden brown.
Drain and serve.
- Remove the shrimp from the oil and transfer to a paper towel-lined plate or wire rack to drain excess oil. Serve immediately while warm, accompanied by your preferred dipping sauce if desired.
Notes
I’m Bitty, owner of nodashofgluten.com, where I share simple, delicious recipes for all tastes, including gluten-free. Check out my “About Me” page for more info!