
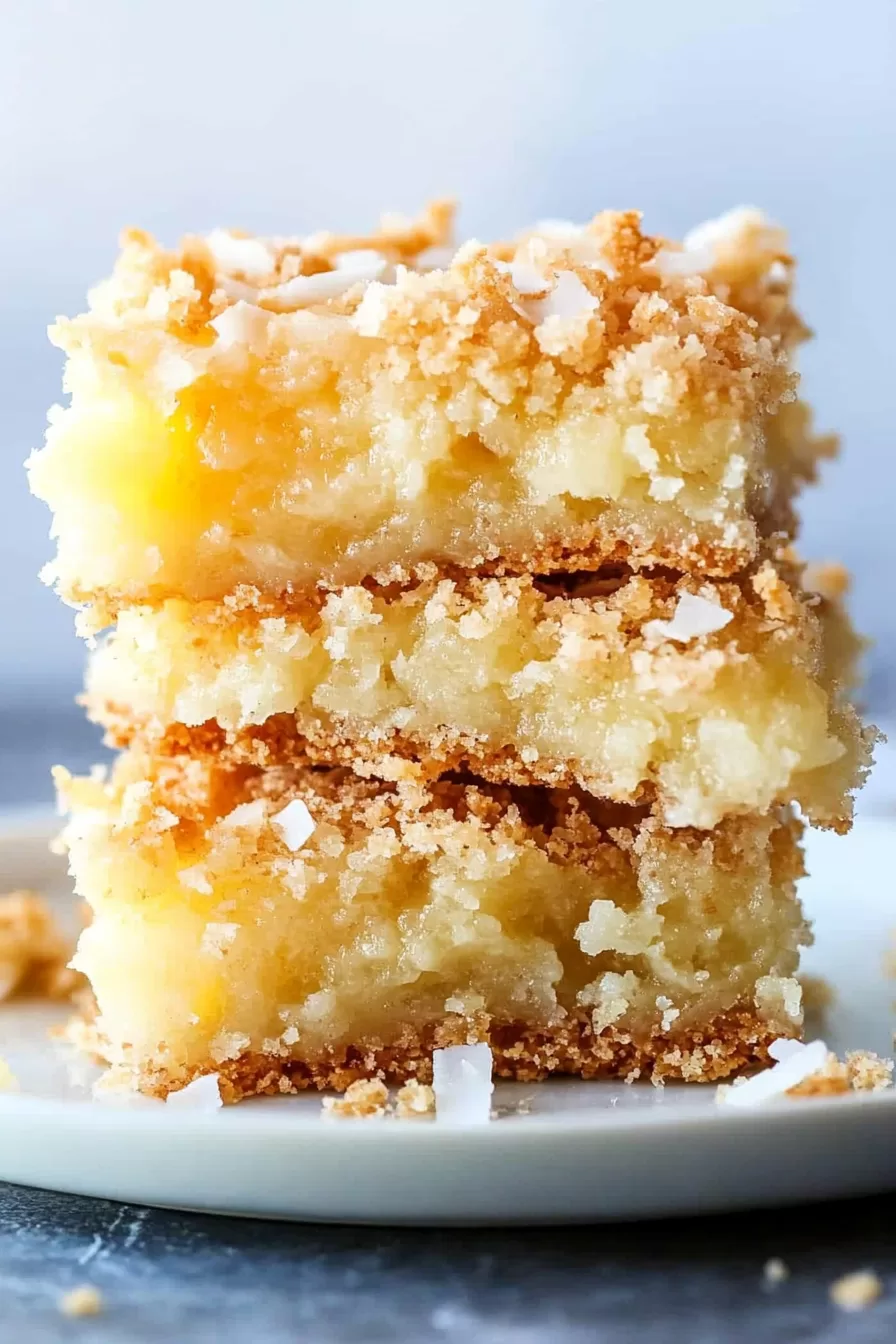
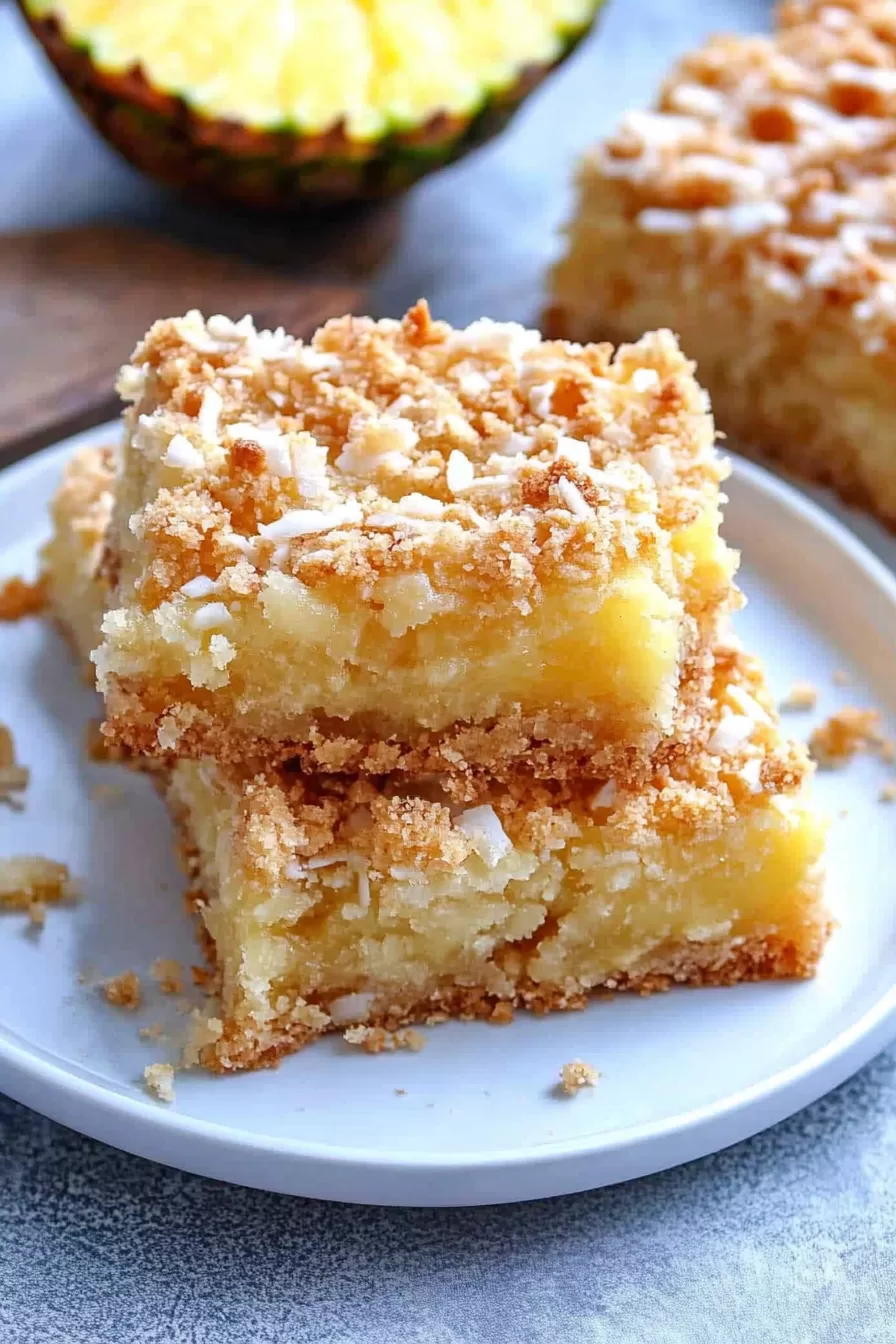
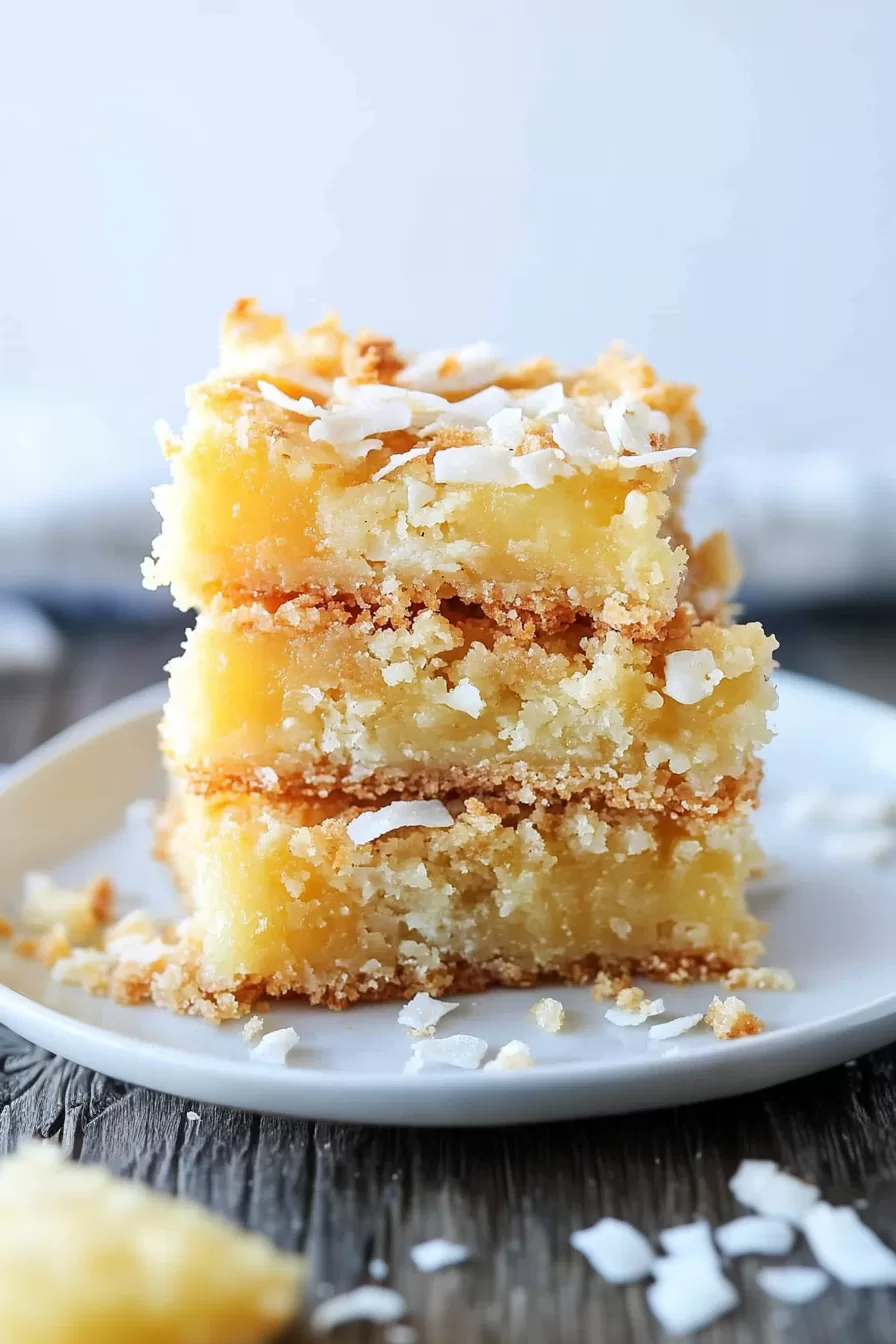
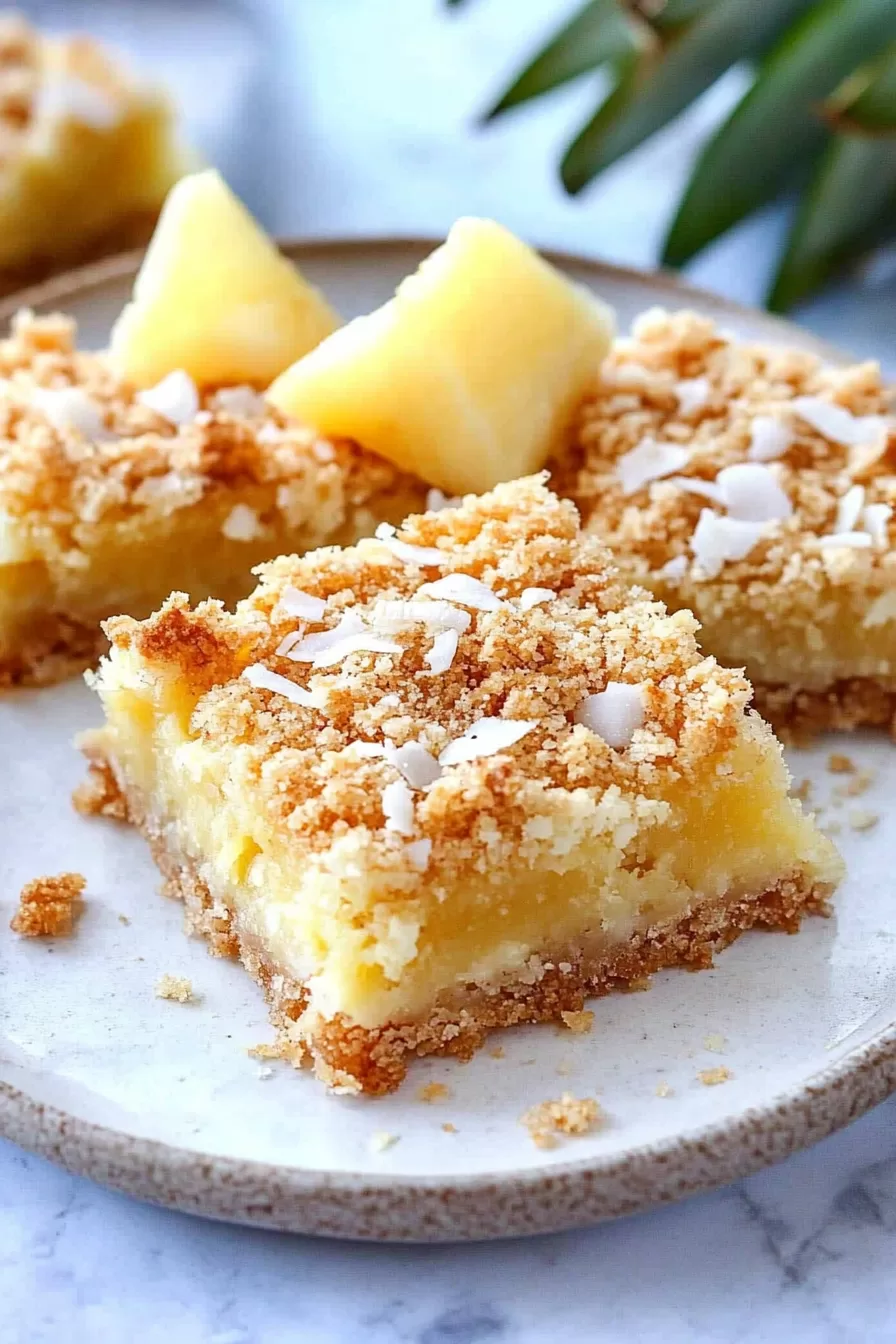
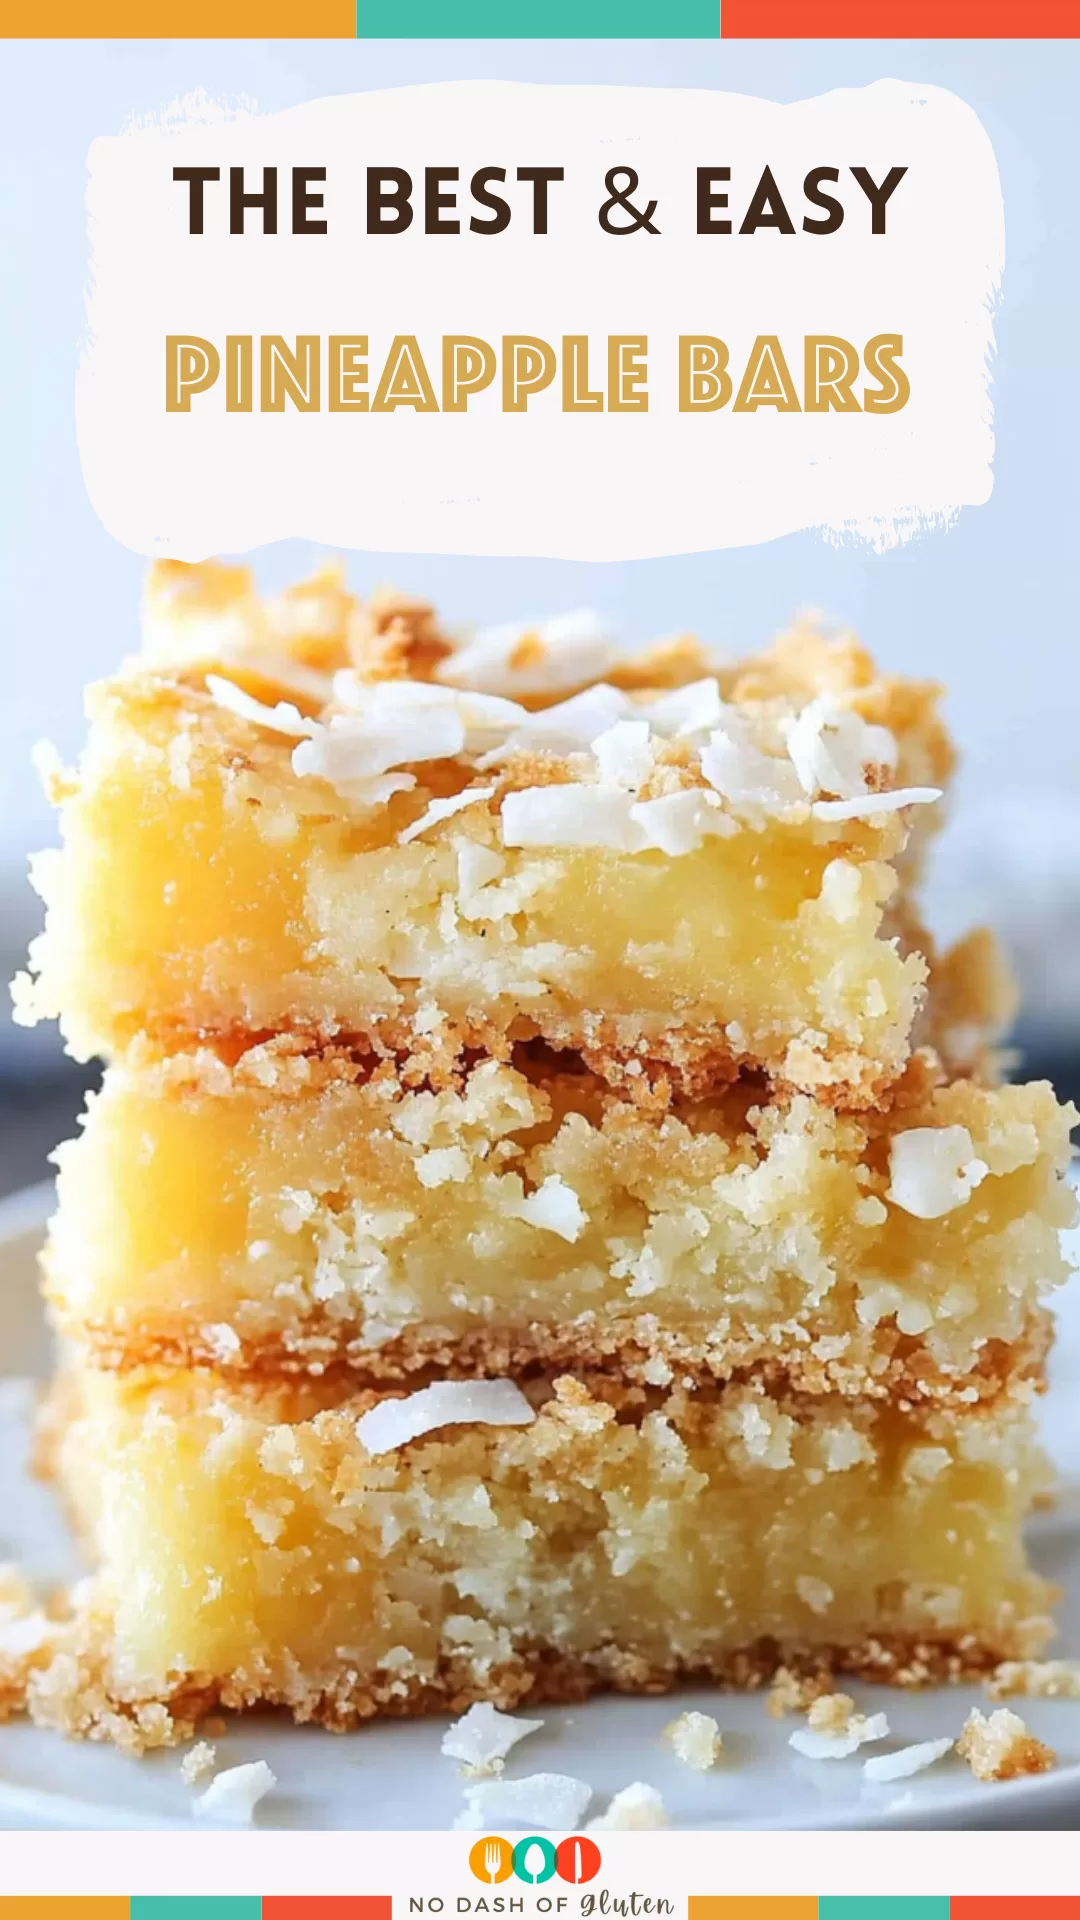
Sweet and buttery Pineapple Bars made with crushed pineapple, sugar, and a sprinkle of powdered sugar on top. A tropical dessert dream!
Do you ever stumble across a recipe that feels like a little slice of summer? That’s what happened with these Pineapple Bars. It wasn’t planned or meticulously thought out. Honestly, it all started with a can of crushed pineapple that had been sitting in my pantry longer than I care to admit.


It was one of those weeks where everything felt a little too meh. I wasn’t about to tackle some complicated dessert, but I still wanted something homemade—something that tasted like sunshine. My grandma’s pineapple upside-down cake crossed my mind, but then I remembered all the flipping and worrying about whether it would come out in one piece. Nope, not today.
So, I decided to wing it, throwing together the simplest ingredients I had: butter, sugar, flour, and, of course, that neglected can of pineapple. When the bars came out of the oven, golden and fragrant, it felt like I’d bottled up a bit of that carefree summer vibe I was craving. Now, every time I make them, it takes me back to that day—the smell of warm pineapple filling the kitchen and the sheer joy of realizing I’d created something special out of almost nothing.
Why You’ll Love This Pineapple Bars Recipe?
- Tropical Goodness: The sweet and tangy pineapple flavor feels like a mini vacation for your taste buds.
- Ridiculously Easy: No mixers, no complicated steps—just simple, satisfying baking.
- Perfect Texture: Soft, buttery, and just enough chew to keep you going back for more.
- Great for Sharing: These bars are always a hit at potlucks or as a treat for unexpected guests.
- Quick Fix: Ready in just over 30 minutes, they’re perfect for those “I need dessert now” moments.
Ingredient Notes:
Here’s what makes these bars so simple yet so special:
- Butter: The heart of any great dessert. Make sure it’s softened so it blends easily.
- Sugar: Balances the tanginess of the pineapple and creates a golden, caramelized crust.
- Eggs: They hold everything together while adding richness.
- All-Purpose Flour: Keeps the bars sturdy yet tender—no need for anything fancy here.
- Crushed Pineapple: The star of the show. Drain it well to avoid soggy bars, but don’t squeeze out all the juice—it adds so much flavor!
- Powdered Sugar: The finishing touch. It’s like a little dusting of sweetness that makes these bars feel extra special.
How To Make Pineapple Bars?
Making these Pineapple Bars is as straightforward as it gets. Here’s how you do it:
Step 1. Cream the Butter and Sugar
In a large bowl, beat together the butter and sugar until it’s light and fluffy. This step is where the magic starts—fluffy butter means tender bars.
Step 2. Add the Eggs
Mix in the eggs one at a time, making sure everything is well combined. Take your time here; it’s worth it for the creamy texture.
Step 3. Mix in the Dry Ingredients
Add the flour, baking soda, and salt. Stir just until everything comes together. Overmixing is the enemy of tender baked goods, so keep it gentle.
Step 4. Fold in the Pineapple
Gently stir in the drained pineapple. This is where the bars get their tropical punch. Don’t worry if the batter looks thick—it’s supposed to be!
Step 5. Bake
Preheat your oven to 350°F (175°C) and grease an 8×8 or 9×9 pan. Spread the batter evenly into the pan, smoothing the top with a spatula. Bake for 28–33 minutes, or until the top is golden brown and a toothpick inserted in the center comes out clean.
Step 6. Cool and Garnish
Let the bars cool in the pan for about 10 minutes. Then sprinkle them with powdered sugar for that extra touch of sweetness. Slice into squares and enjoy!
Want To Save This Recipe?

Storage Options:
- Room Temperature: Keep them in an airtight container for up to 3 days. They’re great as a grab-and-go snack.
- Refrigerator: Store them in the fridge for up to a week. The flavor gets even better as they chill!
- Freezer: Wrap individual bars tightly in plastic wrap and freeze for up to 2 months. Just thaw before serving—they’ll taste as fresh as the day you made them.
Variations and Substitutions:
Want to mix things up? Here are a few fun ideas:
- Add Coconut: Stir in shredded coconut for a truly tropical twist.
- Go Gluten-Free: Use a 1:1 gluten-free flour blend.
- Switch the Fruit: Try crushed peaches or mango for a unique flavor.
- Add a Crunch: Sprinkle chopped nuts or granola on top before baking.
- Spice It Up: A pinch of cinnamon or nutmeg in the batter adds warmth and depth.
What to Serve with Pineapple Bars?
These bars are fabulous on their own, but here’s how to make them even better:
- Whipped Cream: A dollop on top adds a light, creamy contrast.
- Vanilla Ice Cream: Because pineapple and ice cream are a match made in dessert heaven.
- Fresh Berries: Strawberries or blueberries add a pop of color and flavor.
- Iced Coffee or Tea: Perfect for a summer afternoon snack.
Frequently Asked Questions:
Can I use fresh pineapple instead of canned?
Definitely! Just make sure to chop it finely and drain it well—you don’t want too much liquid in the batter.
Why are my bars too dense?
You may have overmixed the batter. Stir gently and stop as soon as everything is combined.
Can I double the recipe?
Absolutely! Use a 9×13 pan and adjust the baking time slightly—start checking around the 35-minute mark.
What do you think—ready to give these Pineapple Bars a try? I’d love to hear how they turn out! Did you stick to the recipe or put your own twist on it? Let me know in the comments below—I can’t wait to hear your thoughts!
Keep the Flavor Coming – Try These:

Pineapple Bars
Ingredients
- 1/2 cup butter softened
- 1 cup sugar
- 2 eggs
- 3/4 cups of all-purpose flour
- 1/4 teaspoon baking soda
- 1/4 teaspoon salt
- 1 1/4 cups crushed pineapple well-drained
- garnish: powdered sugar
Instructions
- In a large bowl or using a stand mixer combine the butter, sugar and eggs until the mixture becomes light and fluffy.
- Next, add the all-purpose flour, baking soda and salt to the bowl. Mix everything together until it is well combined.
- Gently incorporate the pineapple into the batter by stirring it in.
- Preheat your oven to 350°F (175°C) and grease either an 8x8 or 9x9 pan.
- Spread the batter evenly in the greased pan. Bake for 28 to 33 minutes or until it turns golden brown and a toothpick inserted in the center comes out clean.
- Allow the bars to cool down in the pan for 10 minutes.
- Sprinkle some sugar on top of them. Cut into squares.
- Now you can serve these Pineapple Bars. Enjoy!
Notes
I’m Bitty, owner of nodashofgluten.com, where I share simple, delicious recipes for all tastes, including gluten-free. Check out my “About Me” page for more info!

2 Responses
Are you sure the ingredient amounts are correct? 3/4tsp flour??? thanks
Hi Denise,
I fixed it, 3/4 cups not tsp. Thank you again