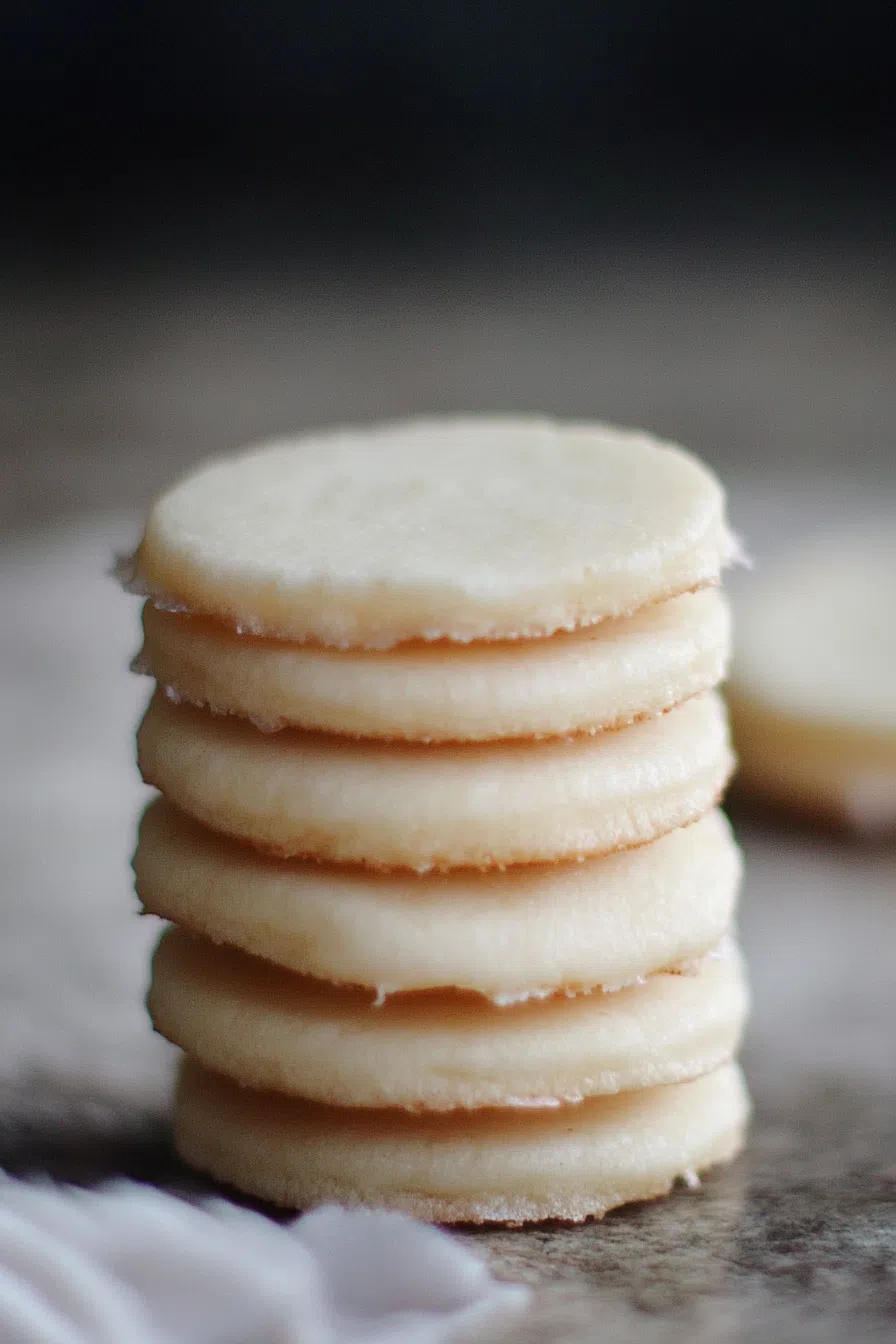
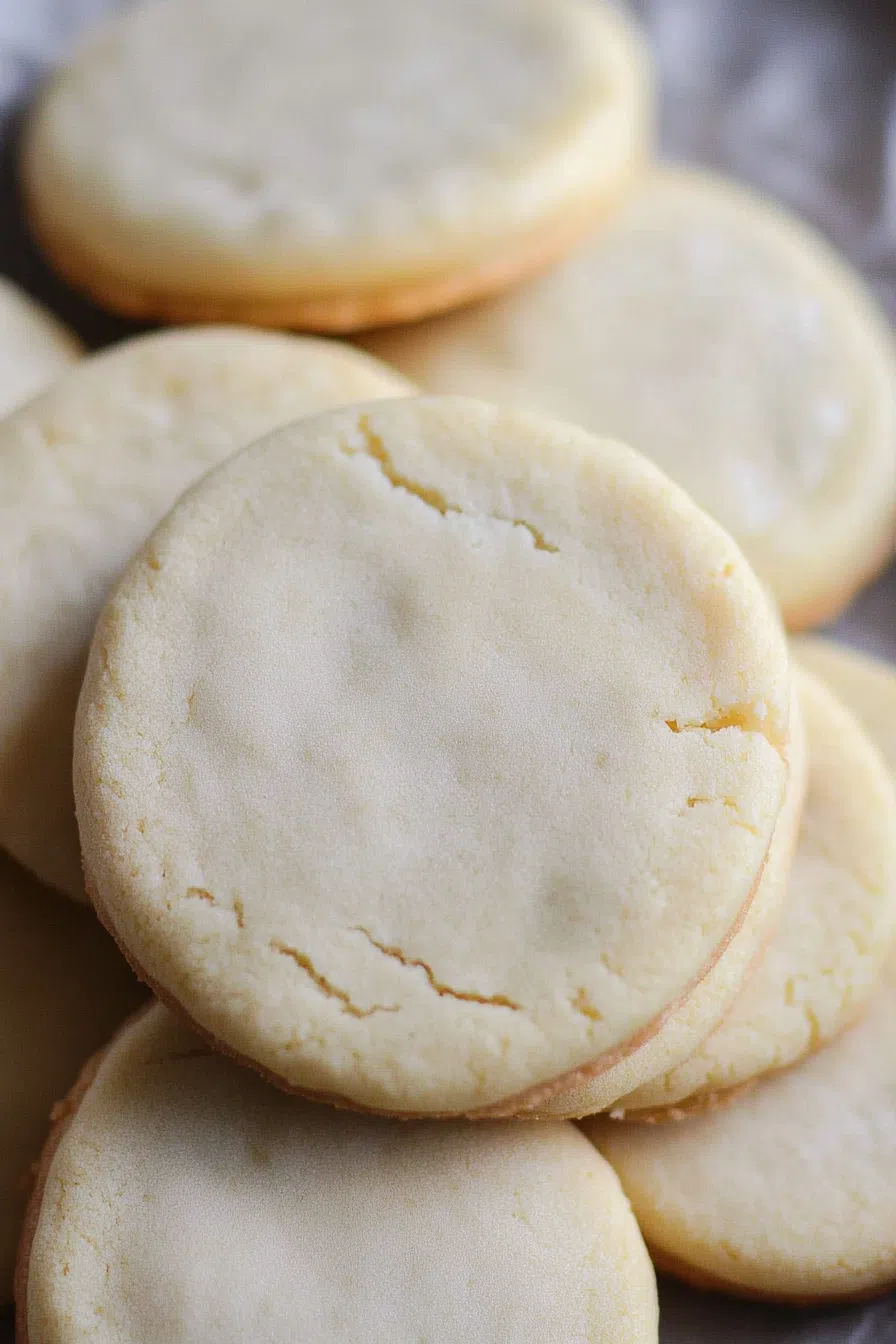
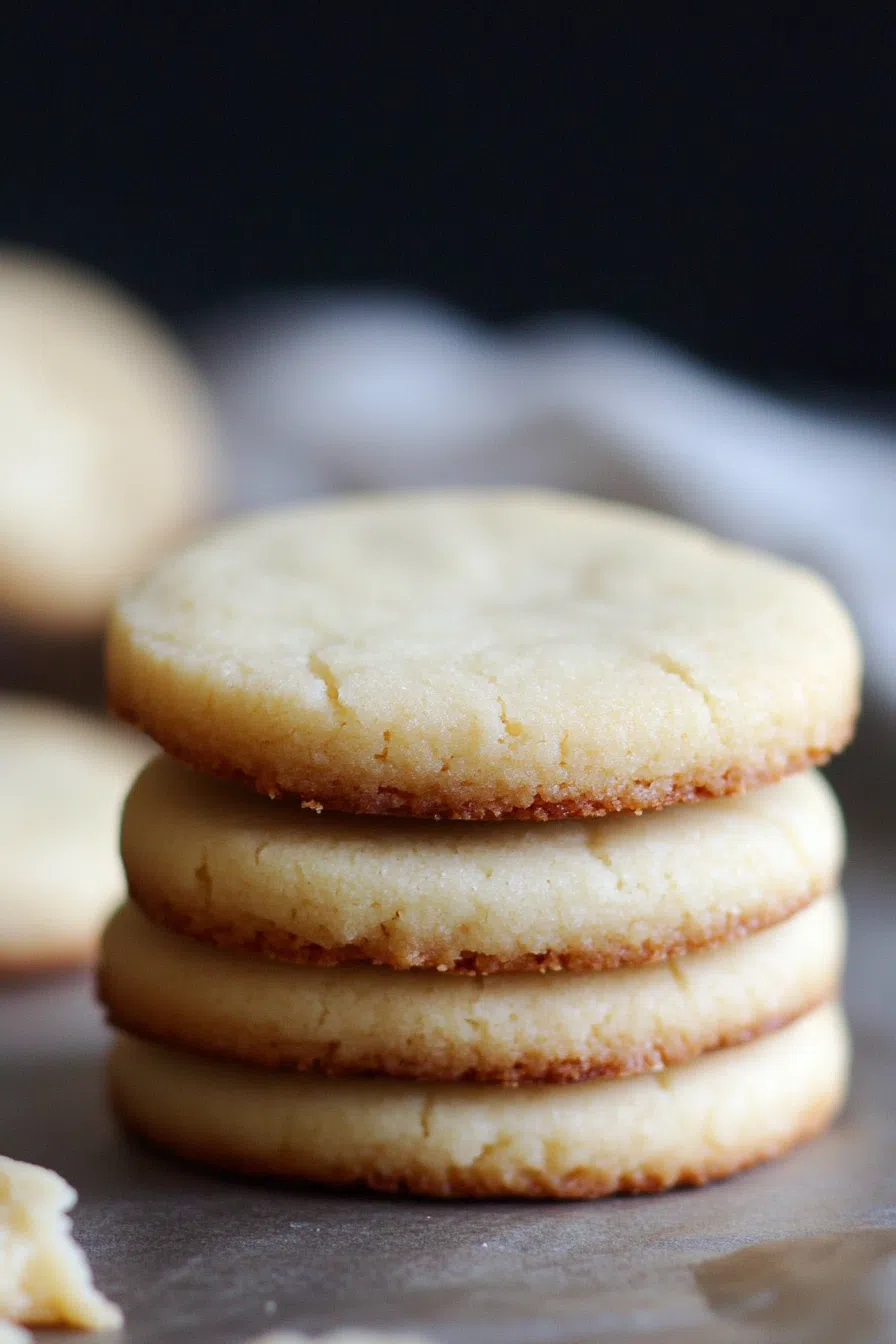
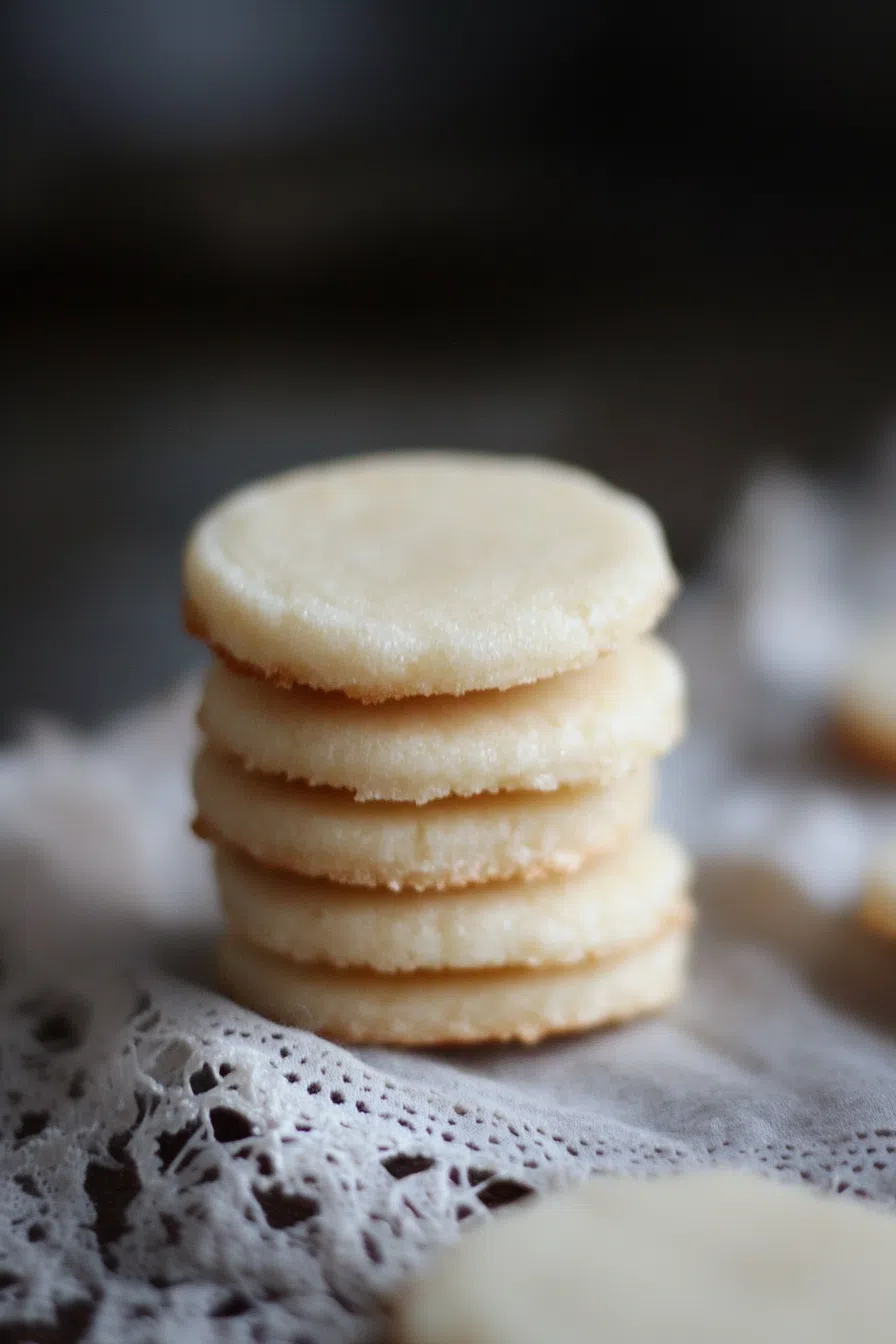
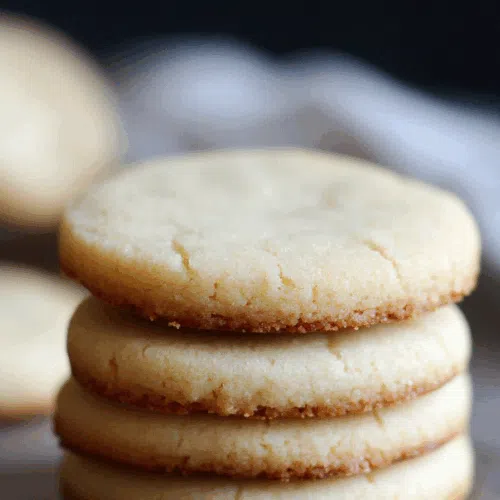
These buttery Petticoat Tails cookies are made with flour, powdered sugar, and vanilla—delicate shortbread with timeless charm and a cozy feel.
Okay, so I’ve got this thing where I obsess over old recipes—like handwritten-in-cursive, stuck-to-a-magnetic-notepad-on-the-fridge kind of old. The more faded the ink, the more I trust it. I found this Petticoat Tails recipe in a box of clipped newspaper recipes my grandmother used to keep in her kitchen drawer—you know the one, right next to the oven mitts with the questionable stains no one talks about.


And I’ll be honest… at first, I thought “Petticoat Tails” was a misprint or some weird vintage euphemism for, well, something else. But nope—it’s real. It’s shortbread. Delicate, buttery, dainty-as-heck shortbread that somehow makes you feel like you should be sipping tea in a sunroom while discussing whether Jane Eyre was actually a romance or just a 400-page trauma response.
The first time I made them, I sliced the dough too thick, overbaked half, and forgot the vanilla. They still turned out delicious. My kid ate five in one go and said, “These are boring in the best way.” Which, honestly? Might be the most accurate review I’ve ever heard.
Why You’ll Love This Petticoat Tails Recipe?
So look—these Petticoat Tails are simple. No bells, no whistles, no chocolate chips pretending to be the main character. But that’s the charm. They’re all about texture and balance and that quiet kind of sweetness that doesn’t need to show off.
They’re the kind of cookie you make when life feels too loud and you want something soft and familiar. When you don’t want to dig out a mixer attachment you haven’t seen since Thanksgiving. Or when you just want to make something pretty, but not, like, fussy. You feel me?
They’re also super adaptable. Want pink cookies for Valentine’s Day? Go for it. Minty green ones in December? Love that journey for you. These Petticoat Tails aren’t dramatic—but they are solid. Dependable. Like the cozy cardigan you’ve had since college that still kind of smells like your dorm’s communal dryer sheets. (Too specific?)
Ingredient Notes:
If you’re expecting a long list of things you have to Google—relax. Petticoat Tails are low-maintenance queens. Here’s what’s going on behind the scenes:
-
Butter – Unsalted is best, but listen, if all you’ve got is salted? Use it and just skip the extra salt. The world won’t end.
-
Confectioners’ Sugar – This is powdered sugar, in case you’re reading this in the middle of a grocery aisle and need a reminder. It makes everything soft and melt-in-your-mouth dreamy.
-
Vanilla Extract – A little goes a long way. Don’t have it? Almond extract or lemon zest can sneak in and do a fine job too.
-
All-Purpose Flour – No frills. Just regular flour, sifted if you’re feeling proper. I sometimes forget and it still works. Oops.
-
Salt – A tiny pinch just brings the flavor together. If you’re using salted butter, skip this step and call it a day.

How To Make Petticoat Tails?
You ever have one of those recipes where the hardest part is waiting? Yeah. This is one of those. But it’s worth it.
Step 1: Cream the Butter and Sugar Like You Mean It
Start by beating the butter, sugar, and vanilla until it looks fluffy and pale. If you’re doing this by hand, I salute you—you’ve got more upper arm strength than I do. If it takes you longer than the recipe says, that’s normal. This isn’t a race.
Step 2: Mix in the Dry Stuff
Now dump in your flour and salt. Stir slowly. It’s gonna look crumbly at first, like it’s not going to work. Don’t panic. Keep mixing. Eventually, it’ll come together into a soft dough you can shape without it sticking to your soul—or your counter.
Step 3: Shape It Like a Log (Or Something Close Enough)
Press the dough into a log shape, about 2 inches thick. Wrap it in plastic wrap and chill it in the fridge for at least 3 hours. Longer’s fine. I once left mine overnight and forgot it was there. Baked it the next day and it was… honestly better? Go figure.
Step 4: Slice and Bake
Preheat your oven to 400°F. Slice the chilled dough into coins—thin ones, like around 1/8 inch thick. If yours are uneven, welcome to the club. Put them on an ungreased baking sheet and give them some space. They don’t spread much, but they do need breathing room (don’t we all?).
Step 5: Watch ‘Em Like a Hawk
Bake for 8 to 10 minutes. Keep an eye out—one minute they’re pale, the next they’ve over-browned. You want just a kiss of gold at the edges. Then let them cool. Fully. If you touch them too soon, they’ll fall apart like my self-control at a bake sale.
Want To Save This Recipe?
Storage Options:
Once they’re totally cool, store these little lovelies in an airtight container at room temp. They’ll stay crisp and light for about a week, maybe more. Or slice the dough ahead of time, freeze it, and bake as needed—aka, future-you’s favorite trick.
Variations and Substitutions:
This Petticoat Tails recipe is a great base. Think of it like a little black dress—easy to accessorize:
-
Add food coloring – Red for pink, green with a drop of mint extract, or swirl two together if you’re feeling extra.
-
Citrus zest – Lemon or orange zest takes it from cozy to oooh, fancy real quick.
-
Other extracts – Almond, peppermint, rose water if you’re in your Bridgerton era.
-
Glaze or sugar topping – Totally optional, but a light powdered sugar glaze or a sprinkle of raw sugar gives them sparkle.
-
Cut into wedges – Want them traditional? Press dough into a circle, slice like a pizza before baking. Boom—petticoats.
What to Serve with Petticoat Tails?
-
Tea – These cookies were born to be served with tea. Hot, iced, herbal—your call.
-
Coffee – Not traditional, but very satisfying.
-
Fruit – A little dish of berries + a cookie or two = a low-effort dessert plate.
-
Vanilla ice cream – Crumble a couple on top. Don’t think. Just do it.
-
Gift boxes – They’re sturdy little travelers and look adorable in a tin.
Frequently Asked Questions:
So… why are they called Petticoat Tails?
Legend has it they’re named after the shape of traditional Scottish shortbread—cut in wedges like little frilly petticoat hems. The kind you’d wear while making tea and judging your neighbors through lace curtains.
Can I skip the chill time?
Technically? Yes. Should you? No. Chilling the dough helps the cookies hold their shape and improves the texture. But hey, if you’re in a rush… I get it.
And there you go. If you end up making these Petticoat Tails, I’d seriously love to hear about it. Did you tint them pink? Eat a whole tray while watching cozy British murder mysteries? Drop a comment and tell me everything. Because let’s be honest—shortbread this good deserves a little celebration.
Keep the Flavor Coming – Try These:
Petticoat Tails
Ingredients
- 1 cup 2 sticks unsalted butter, softened
- 1 cup sifted confectioners’ sugar
- 1 teaspoon vanilla extract
- 2½ cups sifted all-purpose flour
- ¼ teaspoon salt
Instructions
Cream the butter and sugar
- In a large mixing bowl, beat the softened butter and sifted confectioners’ sugar together using an electric mixer until the mixture is light, fluffy, and pale in color. Add the vanilla extract and mix to incorporate.
Incorporate the dry ingredients
- Gradually stir in the sifted all-purpose flour and salt. Mix until a soft dough forms. The dough may appear crumbly initially but should come together smoothly with continued mixing.
Shape and chill the dough
- Transfer the dough onto a clean surface and form it into a smooth log approximately 2 inches in diameter. Wrap the dough tightly in plastic wrap and refrigerate for a minimum of 3 hours, or overnight for best results.
Prepare for baking
- Preheat the oven to 400°F (205°C). Unwrap the chilled dough and slice into thin rounds, approximately 1/8 to 1/16 inch thick. Arrange the slices on ungreased baking sheets, spacing them slightly apart.
Bake and cool
- Bake in the preheated oven for 8 to 10 minutes, or until the edges are lightly golden. Remove from the oven and allow the cookies to cool completely on the baking sheets before transferring or serving.
Notes
I’m Bitty, owner of nodashofgluten.com, where I share simple, delicious recipes for all tastes, including gluten-free. Check out my “About Me” page for more info!