
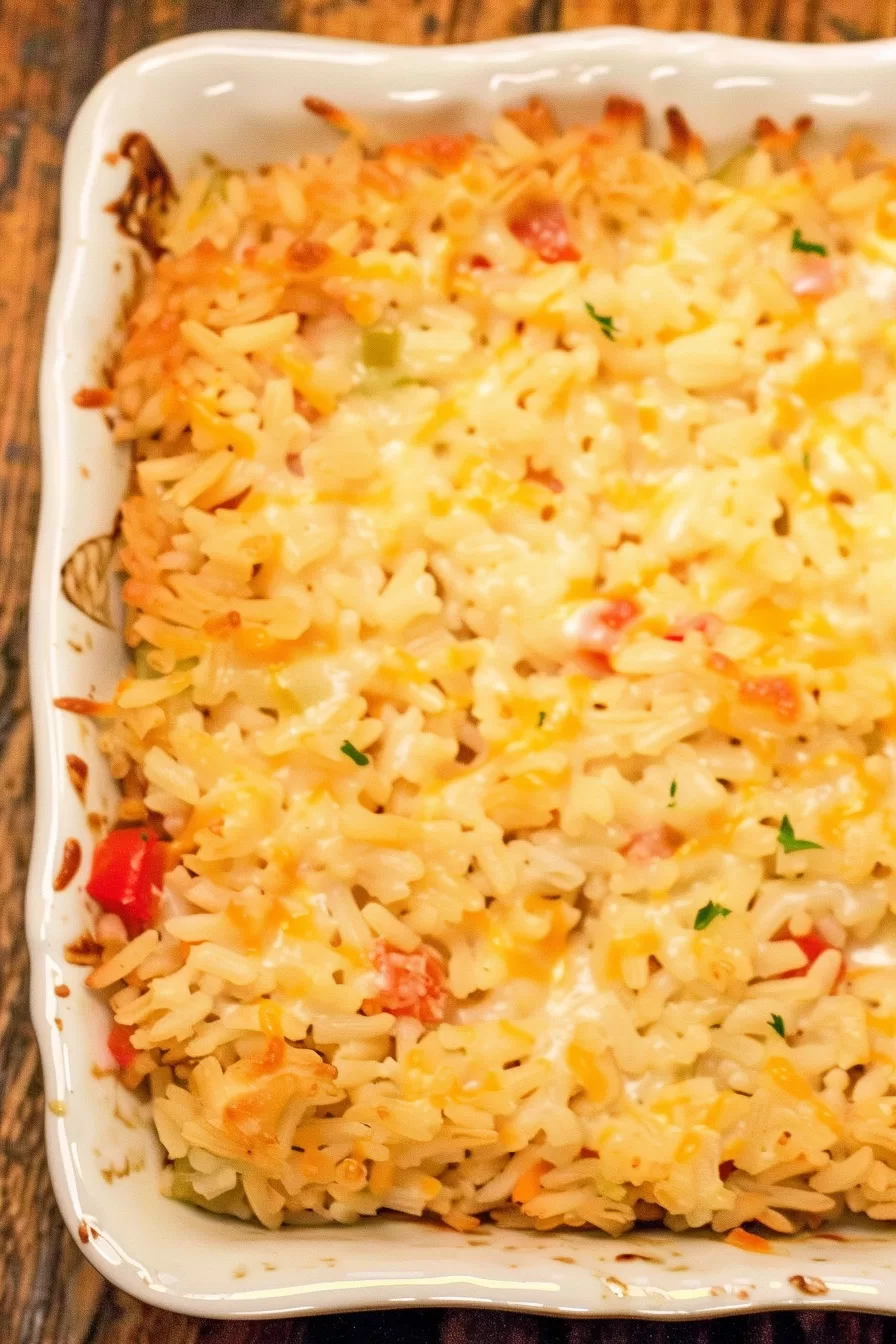
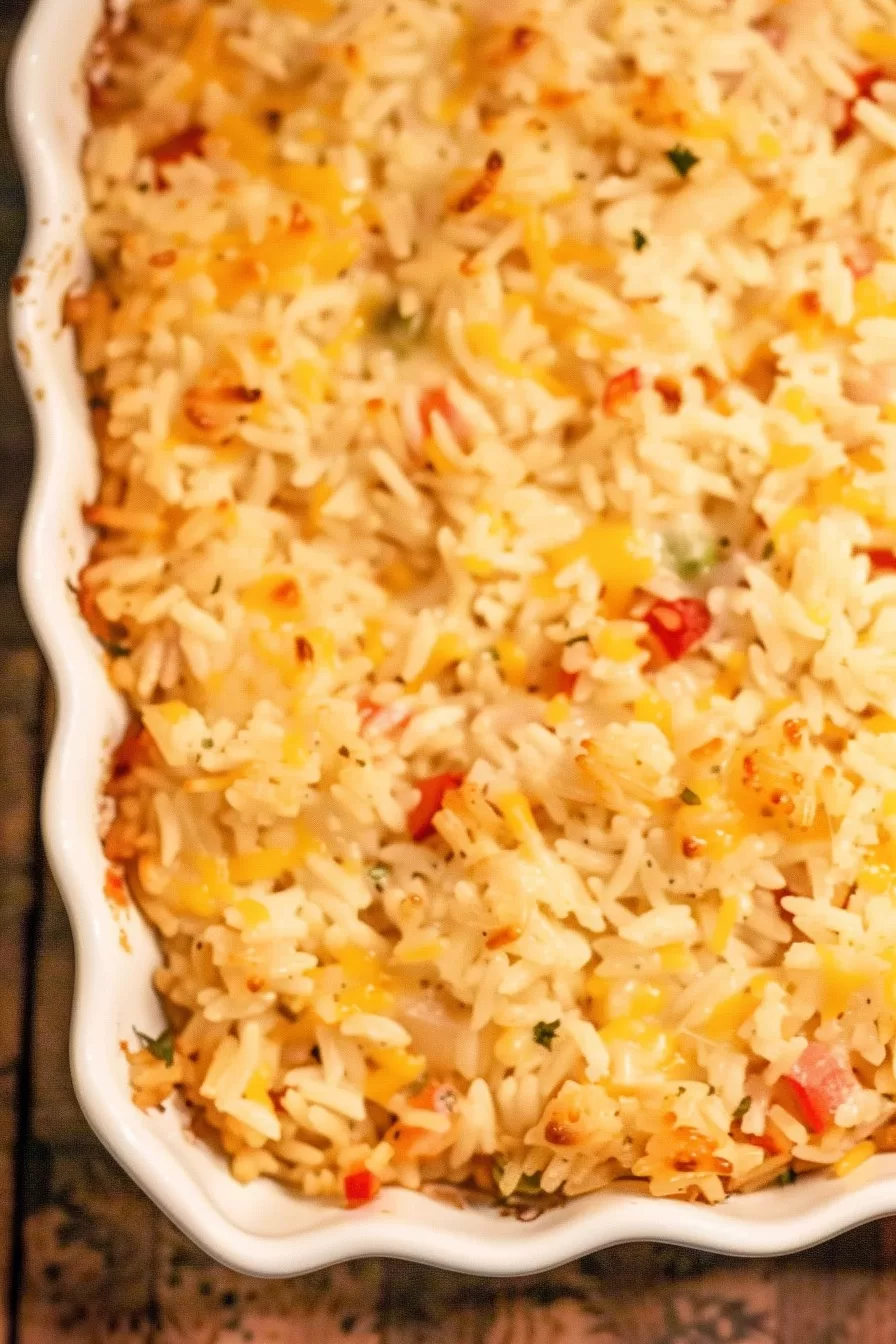
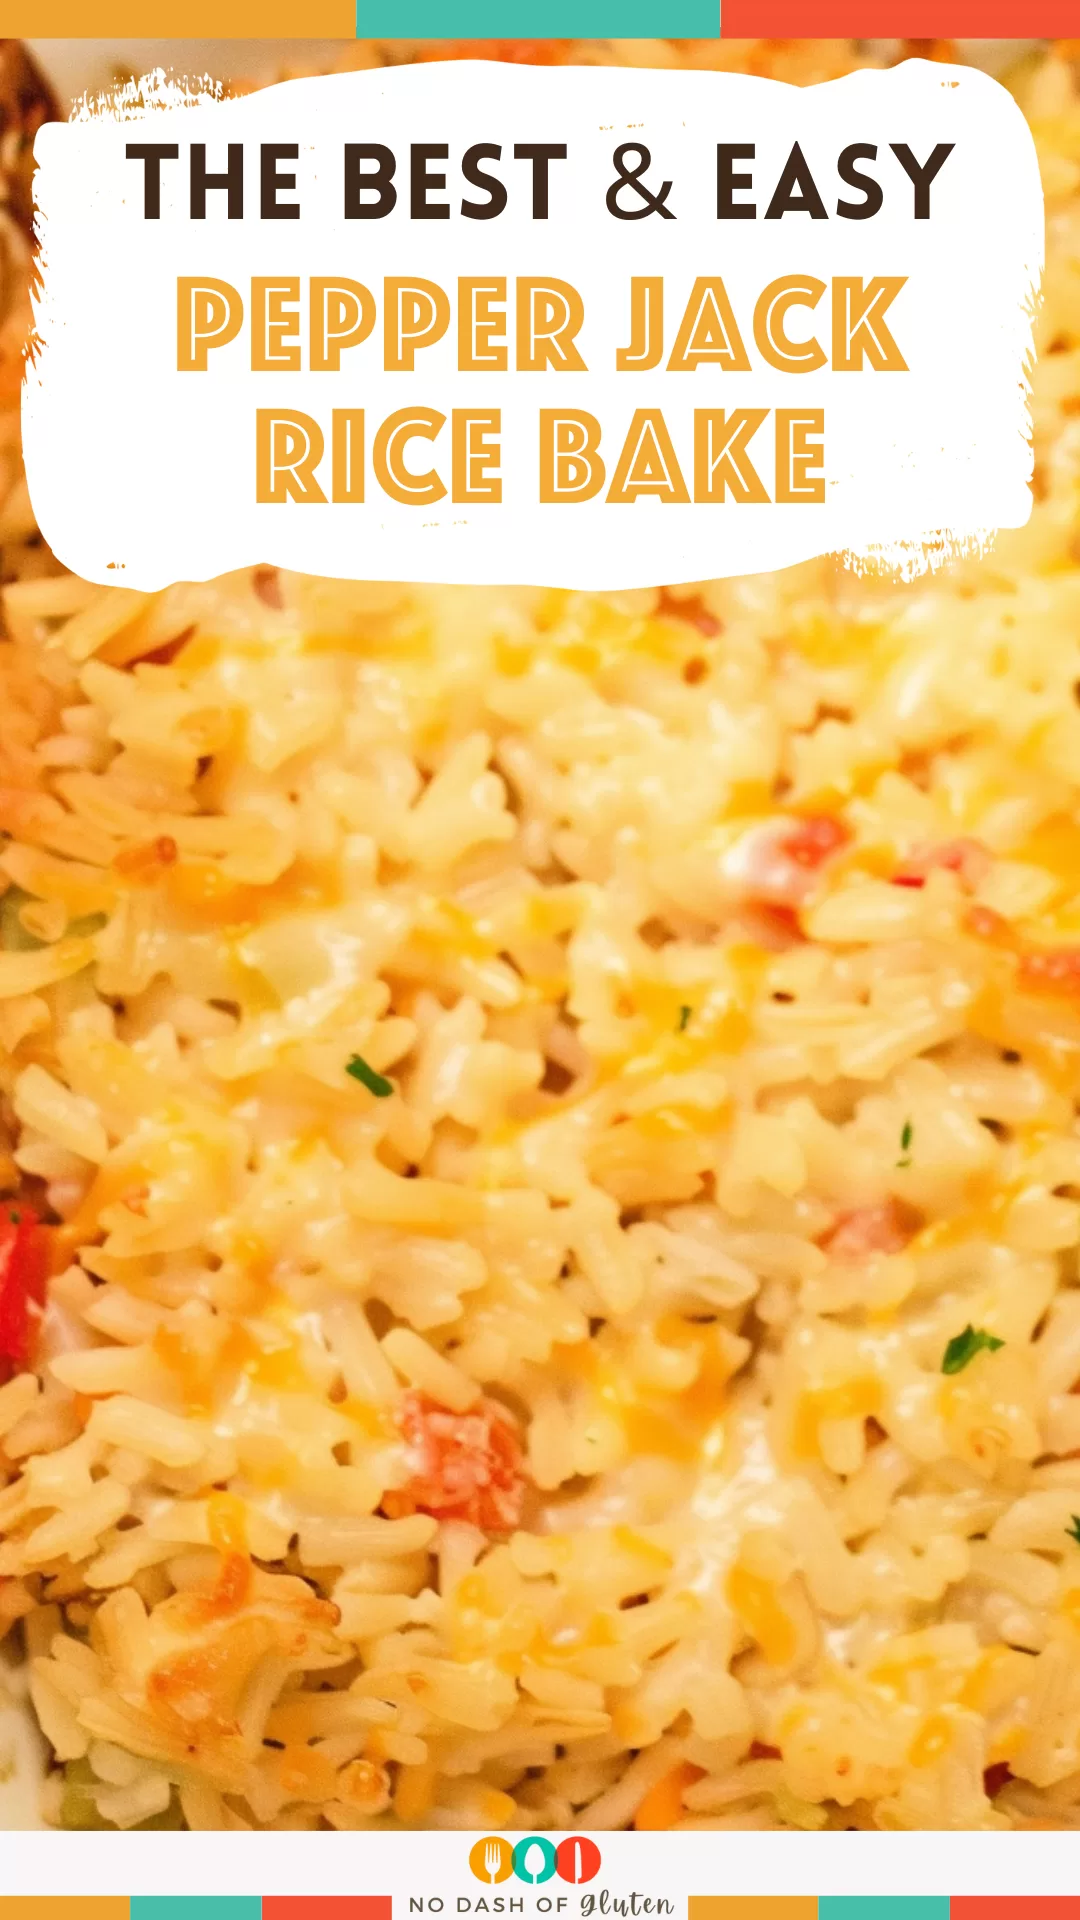
This Pepper Jack Rice Bake is the ultimate cheesy comfort food! Loaded with tender rice, sweet corn, spicy green chiles, and plenty of melted Pepper Jack cheese. Perfect for potlucks, family dinners, or just a cozy night in!
You ever have one of those what the heck am I making for dinner? moments? Yeah, me too—more often than I’d like to admit. That’s actually how this Pepper Jack Rice Bake came to life.
It was one of those chaotic weeks where the fridge felt like a graveyard of leftovers—some cooked rice, half a block of Pepper Jack, and a random can of green chiles from who-knows-when. Honestly, I wasn’t expecting much. But after tossing it all together with some sour cream and corn, magic happened.


The smell alone had my husband poking his head into the kitchen, and let me tell you—that never happens unless something smells amazing. My kid, who basically thinks vegetables are a personal insult, didn’t even notice the peppers. I knew I hit the jackpot when they both went back for seconds.
Now it’s become our go-to comfort food, especially when we need something easy but still feels like you tried.
Why You’ll Love This Pepper Jack Rice Bake Recipe?
- Easy, But Feels Fancy: Basic ingredients, but that melty cheese makes it feel like so much more.
- Cheesy Comfort Food: Creamy rice, corn, and spicy cheese—it just works.
- Great for Crowds: It makes a big batch, so it’s perfect for potlucks or holiday tables.
- Slight Heat: Just enough kick from the Pepper Jack without setting your mouth on fire.
- Family-Friendly: Seriously, if my picky eater approved, it’s a win.
Ingredient Notes:
This bake works because the ingredients balance each other so well. Here’s why:
- Cooked Rice: Leftover rice? Perfect. It soaks up all the cheesy, creamy goodness.
- Pepper Jack Cheese: The real star—creamy, melty, and gives just the right zing.
- Sour Cream: Adds richness and a bit of tang to balance the heat.
- Cream of Celery Soup: The old-school casserole hero. Cream of mushroom works too if that’s what you have.
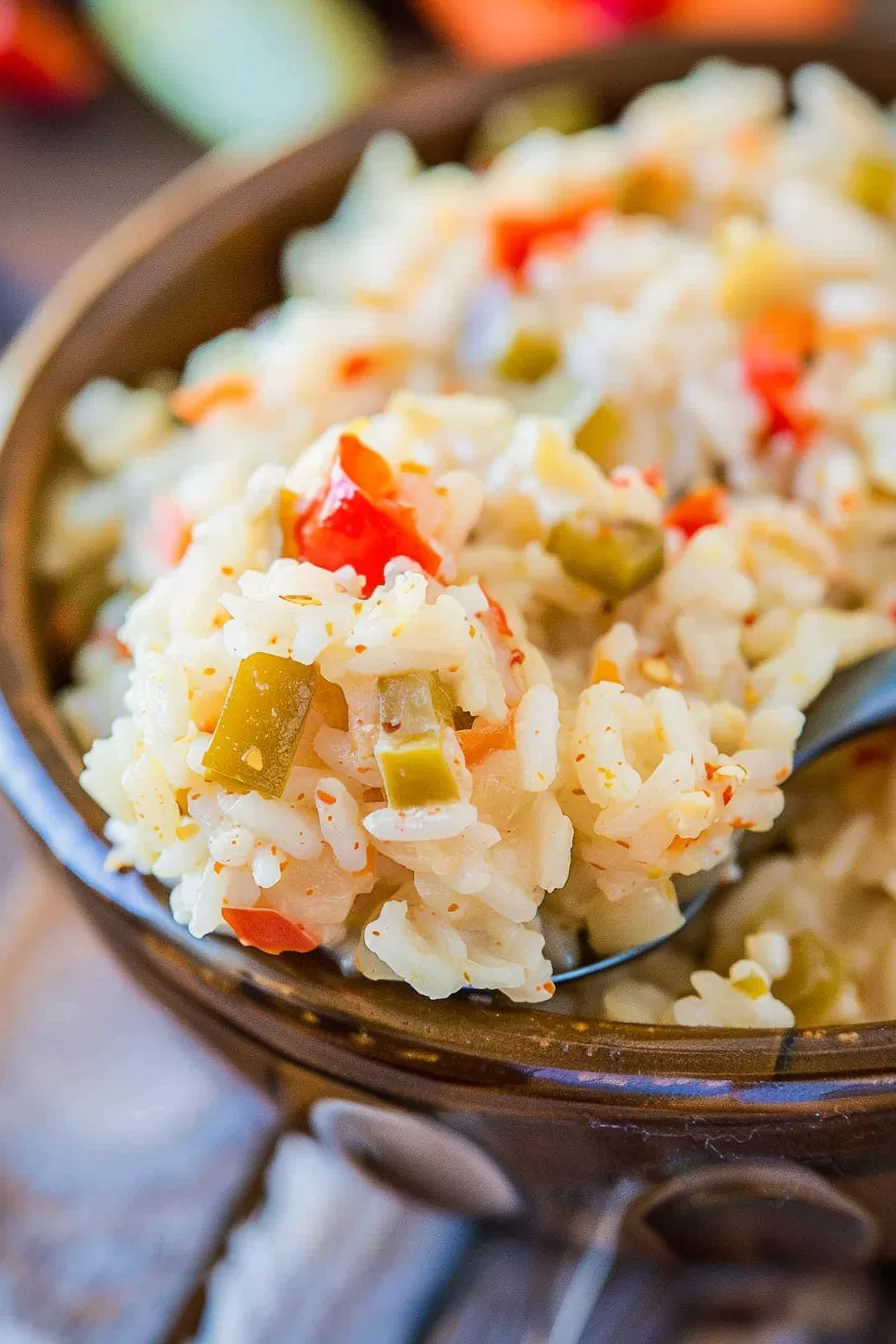
- Green Chiles: Mild but flavorful. For more heat, swap with diced jalapeños.
- Corn Kernels: A sweet pop that balances the spice beautifully.
- Red Bell Pepper & Onion: For a bit of crunch and natural sweetness.
- Salt & Pepper: Simple, but essential.
Pro Tip: Want to crank up the spice? Add a pinch of cayenne or some crushed red pepper flakes!
How To Make Pepper Jack Rice Bake?
This dish is basically a dump, stir, bake situation—my favorite kind.
Step 1. Preheat & Prep
Preheat your oven to 375°F. Grease a 9×13 baking dish—seriously, don’t skip this step. Cheese sticks everywhere when you forget.
Step 2. Sauté the Veggies
Heat some oil in a skillet over medium heat. Toss in the red bell pepper and onion. Cook for about 8 minutes until softened. This step? It’s the secret to that slightly sweet, roasty flavor in the bake.
Step 3. Mix the Base
In a big bowl, combine:
- Cooked rice (leftovers work great!)
- Sautéed veggies
- Sour cream
- Cream of celery soup
- Green chiles
- Corn
- Half the Pepper Jack cheese
Give it a good mix until everything’s coated in creamy goodness.
Step 4. Assemble the Casserole
Spread the rice mixture into your prepared baking dish. No need for perfection—this is cozy food, not fine dining.
Step 5. Bake Covered
Cover the dish with foil (so the rice stays moist) and bake for 30 minutes.
Step 6. Add More Cheese
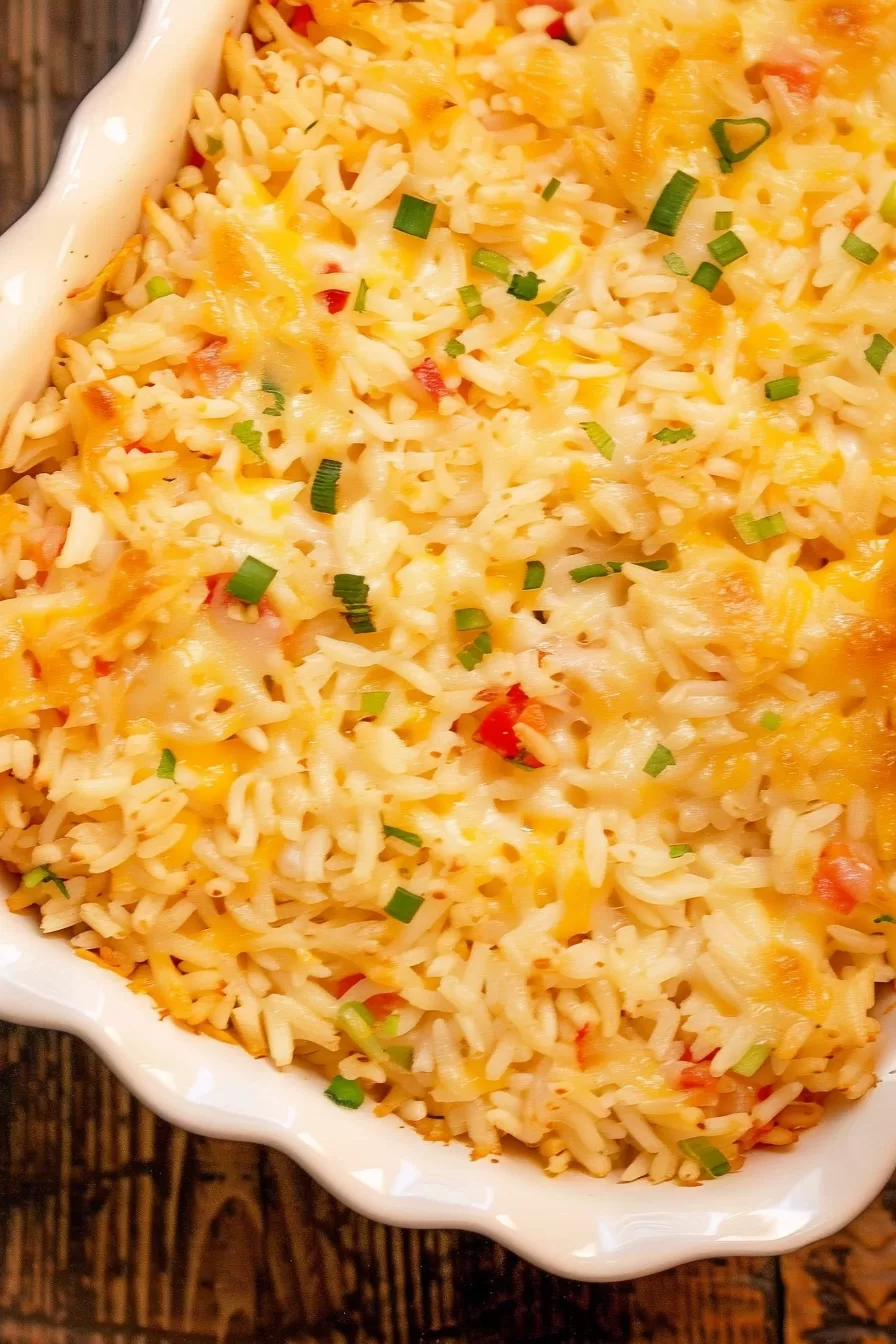
Remove the foil, sprinkle the rest of the Pepper Jack on top, and pop it back in the oven uncovered for 10 more minutes. You want that cheese golden, bubbly, and slightly crisp around the edges.
Step 7. Rest & Serve
Let it sit for a few minutes before diving in. Trust me—burning your mouth on molten cheese isn’t fun.
Want To Save This Recipe?
Storage Options:
- Fridge: Store leftovers in an airtight container for up to 4 days. The flavors get even better as it sits!
- Freezer: Assemble but don’t bake—freeze for up to 3 months. Thaw in the fridge overnight and bake as directed.
- Reheating Tip: Add a splash of milk before reheating to keep things creamy.
Variations and Substitutions:
Feeling adventurous? Try these twists:
- Meaty Add-Ons: Toss in shredded chicken, cooked sausage, or ground beef.
- Veggie Boost: Add black beans, zucchini, or mushrooms.
- Cheese Swap: No Pepper Jack? Monterey Jack, Colby Jack, or even a sharp cheddar work!
- Spicy Kick: Add a few dashes of hot sauce or sliced jalapeños to the mix.
- Mexican-Inspired: Swap cream of celery for cream of chicken and add a sprinkle of taco seasoning.
What to Serve with Pepper Jack Rice Bake?
This dish totally steals the show, but if you want to build a whole meal around it, here are some great pairings:
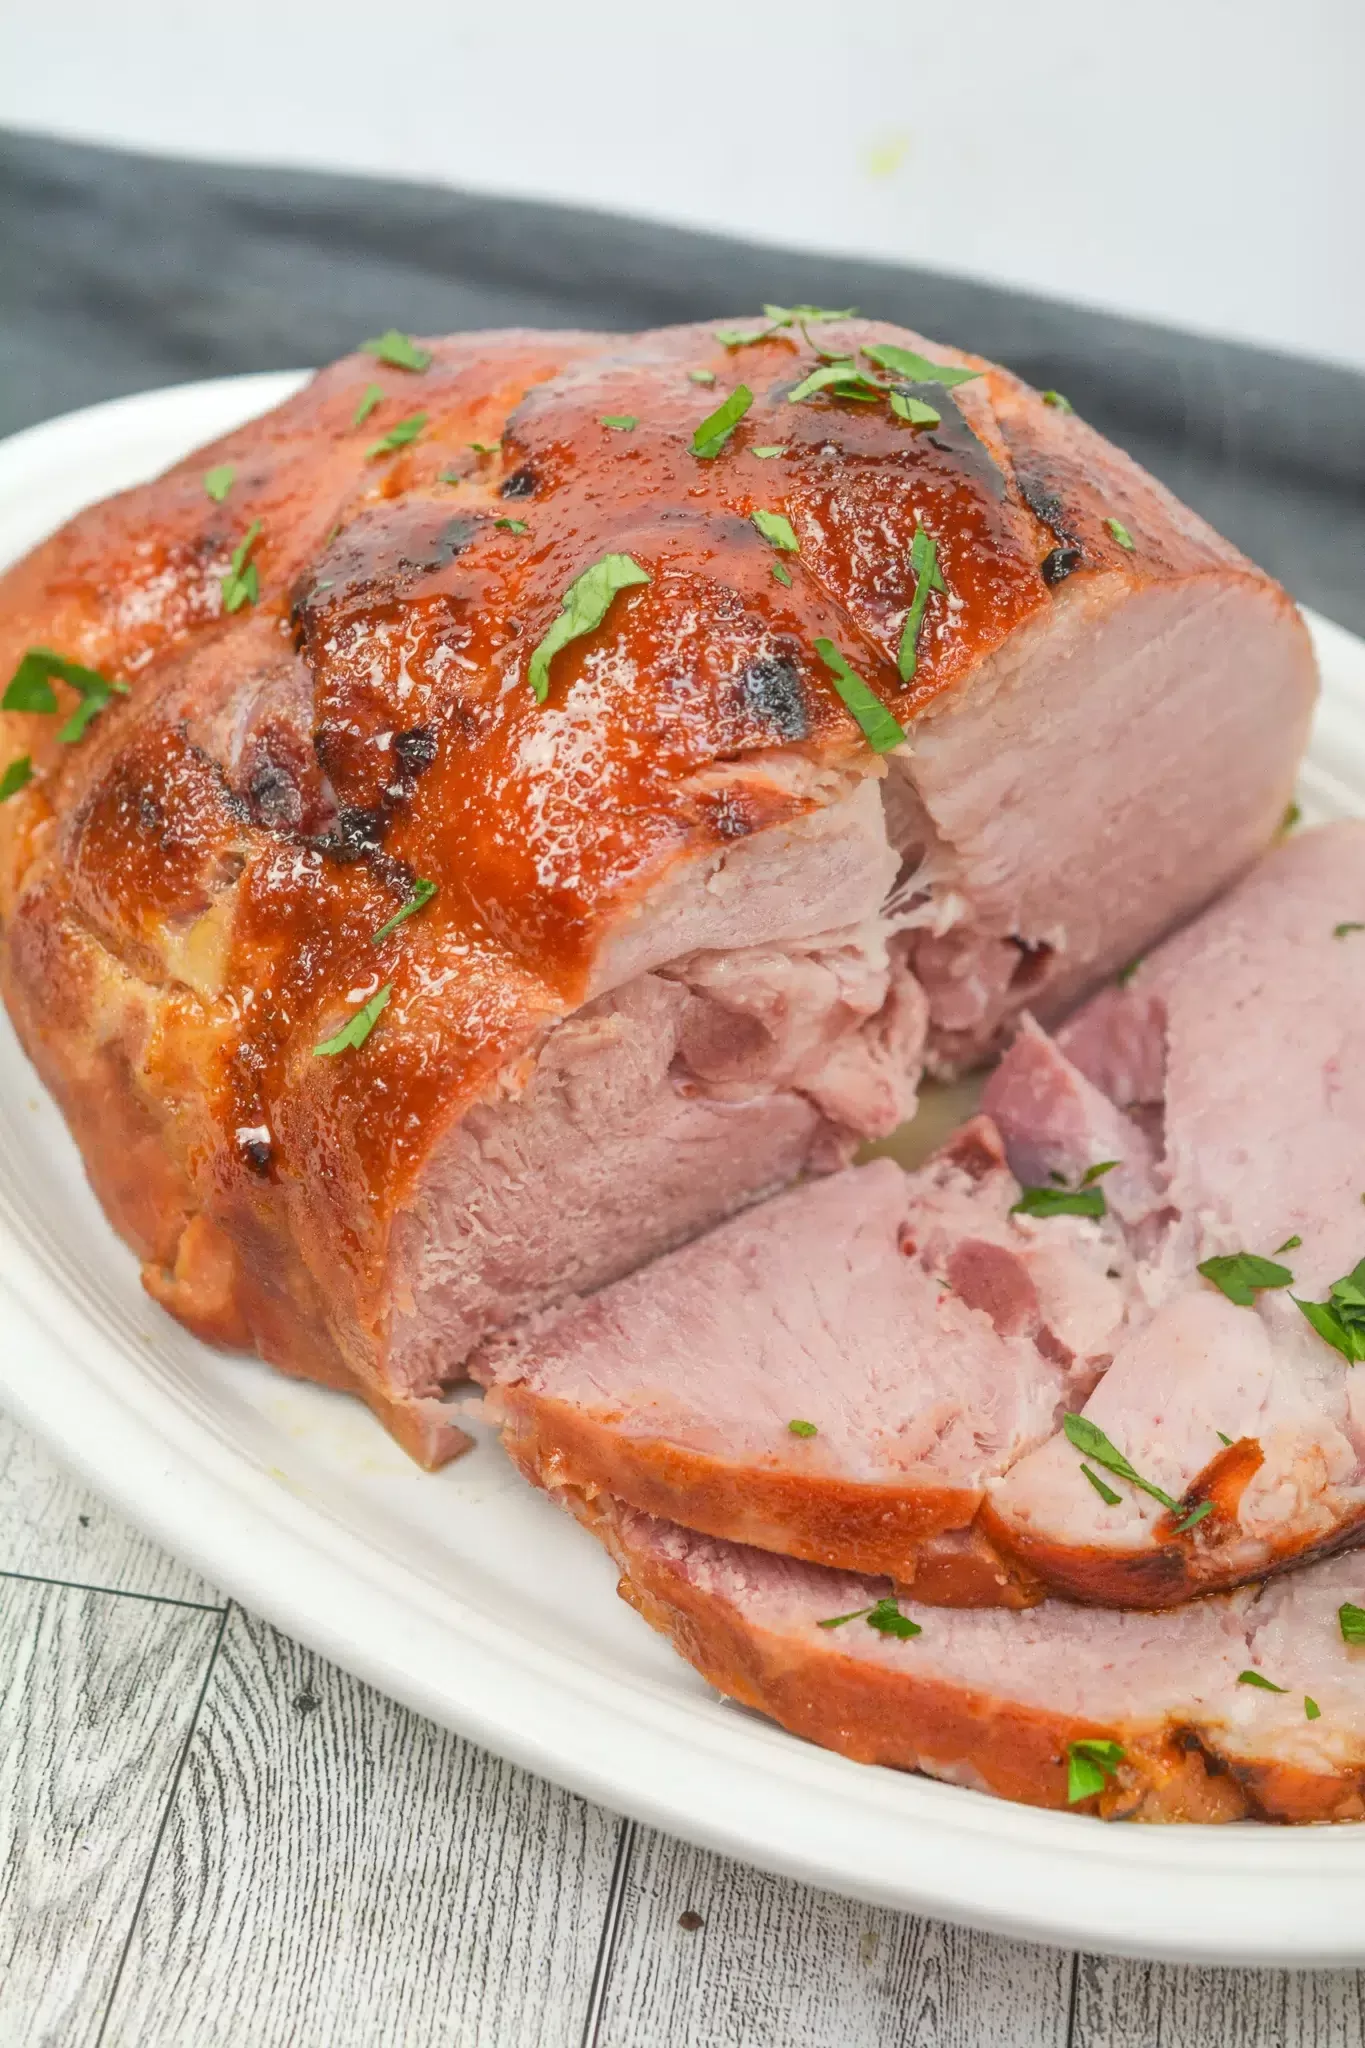
- Grilled Chicken: Juicy chicken + cheesy rice? Yes, please.
- Steak Fajitas: The spicy cheese pairs perfectly with smoky beef.
- Green Salad: Something fresh to balance the richness.
- Garlic Bread: Because carbs on carbs are sometimes necessary.
- BBQ Ribs: Trust me—this combo slaps.
Frequently Asked Questions:
Can I make this ahead of time?
Absolutely! Prep the whole thing, cover, and refrigerate for up to 24 hours. Bake as directed but add an extra 5 minutes.
Is Pepper Jack Rice Bake really spicy?
Not really! The Pepper Jack cheese has a mild heat, but if you’re heat-sensitive, you can swap it for Monterey Jack.
Can I use brown rice instead?
Yep! Brown rice works perfectly—just make sure it’s fully cooked before adding it.
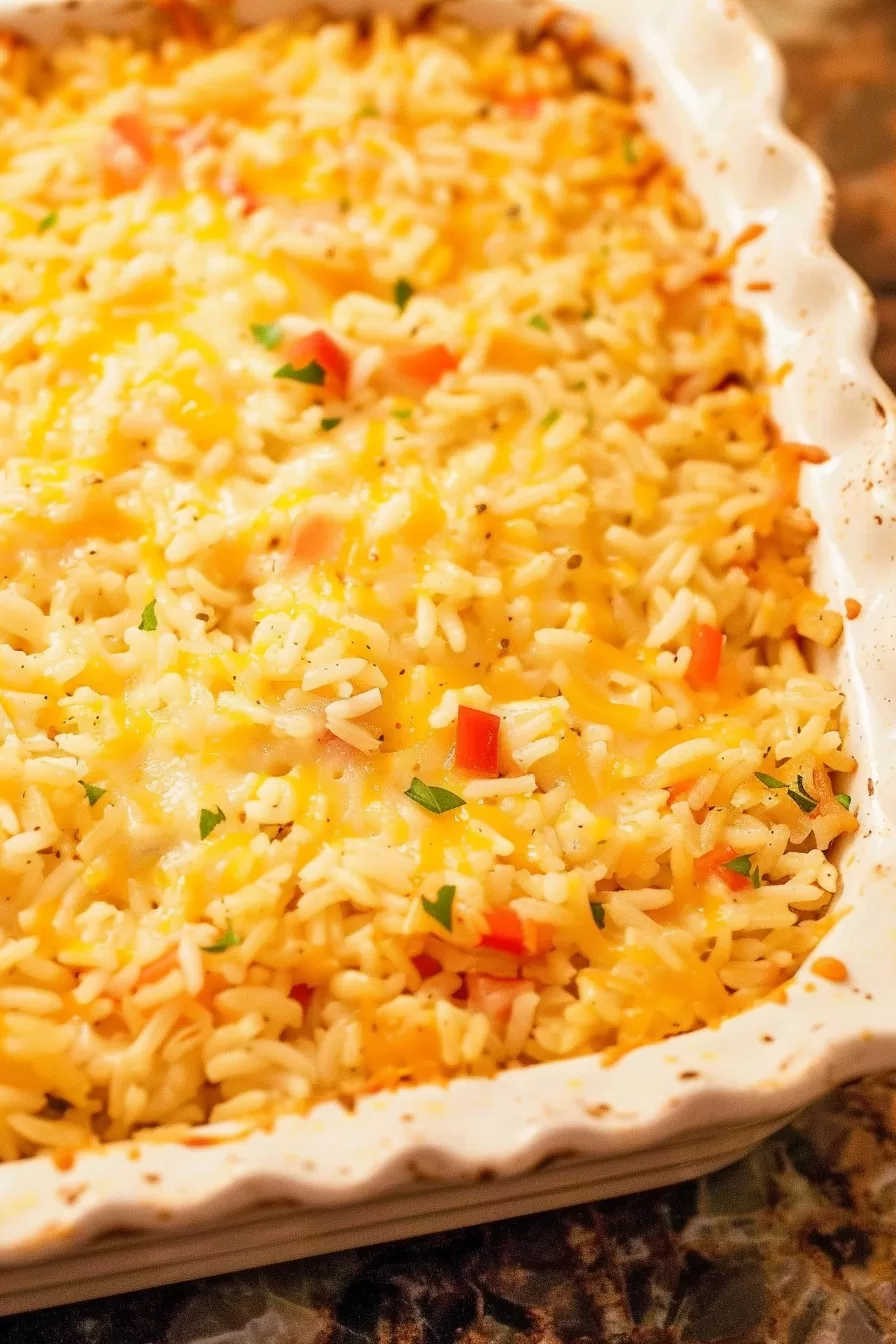
This Pepper Jack Rice Bake isn’t just another side dish—it’s total comfort food gold. Creamy, cheesy, with just the right amount of heat. Whether you’re making it for a big family dinner or just craving something warm and cozy, it always hits the spot.
So, what do you think? Ready to whip up some cheesy magic? If you make it, snap a pic and tag me—I’d love to see your delicious creation!
Keep the Flavor Coming – Try These:


Pepper Jack Rice Bake
Ingredients
- 2 tablespoons of oil
- 1 medium red bell pepper finely chopped
- 1 medium onion finely chopped
- 6 cups of cooked rice
- 1 container 8 ounces of sour cream
- 1 can 10.5 ounces of cream of celery soup
- 2 cans 4.5 ounces each of chopped green chiles
- 1 cup of corn kernels fresh or frozen
- 2 cups of shredded Pepper Jack cheese
- Salt and pepper to taste
Instructions
- Preheat your oven to 375 degrees Fahrenheit (190 degrees Celsius). Lightly grease a baking dish measuring 9 inches by 13 inches by 2 inches with cooking spray.
- In a skillet heat 2 tablespoons of oil, over high heat. Cook 1 red bell pepper and 1 medium onion until softened for 8 minutes.
- In a mixing bowl combine the following ingredients; 6 cups of rice, one container (8 ounces) of sour cream, one can (10.5 ounces) of cream of celery soup, two cans (4.5 ounces each) of chopped green chiles, one cup of corn kernels and the mixture of sautéed pepper and onion. Add one cup of shredded Pepper Jack cheese to the mixture.
- Evenly spread the rice mixture into the baking dish.
- Cover the dish with foil. Bake for 30 minutes.
- Remove the foil. Sprinkle the remaining one cup of shredded Pepper Jack cheese on top of the rice bake.
- Continue baking uncovered for ten minutes or until the cheese turns golden and bubbly.
- Allow some time for the Pepper Jack Rice Bake to cool slightly before serving. Savor its cheesy flavor!
Notes
I’m Bitty, owner of nodashofgluten.com, where I share simple, delicious recipes for all tastes, including gluten-free. Check out my “About Me” page for more info!

8 Responses
Stand out favorite at my Christmas Eve dinner! Everyone raved and requested the recipe! Also very easy to make. I made the night before.
This dish looks absolutely delicious. I recently lost my wife and now cooking for one. I want to try it but sometimes I am hesitant about the amount. By cutting the ingredients by half would it work the same for say three meals for one person and freezing say a third a of it.
Steve, I also cook for one most nights. I halved this recipe tonite in an 8×8 casserole dish and it came out perfectly. Depending on how much you eat per serving or if it is enjoyed as a main meal or side will determine the amount of servings you’ll have, but you can envision what it will be as made in an 8×8 dish. Simple recipe, not difficult to make at all. I encourage your cooking ventures, as I too branched out with my cooking after a loss. This recipe was a good one.
I only have TWO words for this recipe…. NO LEFTOVERS !!!! This was crazy good. Everyone loved it sooo much they took it home. I have to make this again soon, just for me.
Fixed this tonight. Oh my goodness it was such a hit . Can’t believe how good this was. Going to become a add on to my menu.
Haven’t even baked it yet, but just mixed it and this is really, really good, even unbaked.
Can’t wait for a taste of the finished product. Thank you so much for the wonderful recipe.
This looks amazing! I can’t wait to try it, and I am going to add Little Smokie Sausages to it also, I think that will be delicious!
We tried this recipe a few months ago and my husband loved it! He loves onions so I added a small amount of chopped onions to it. And, yes it was delicious 😋!