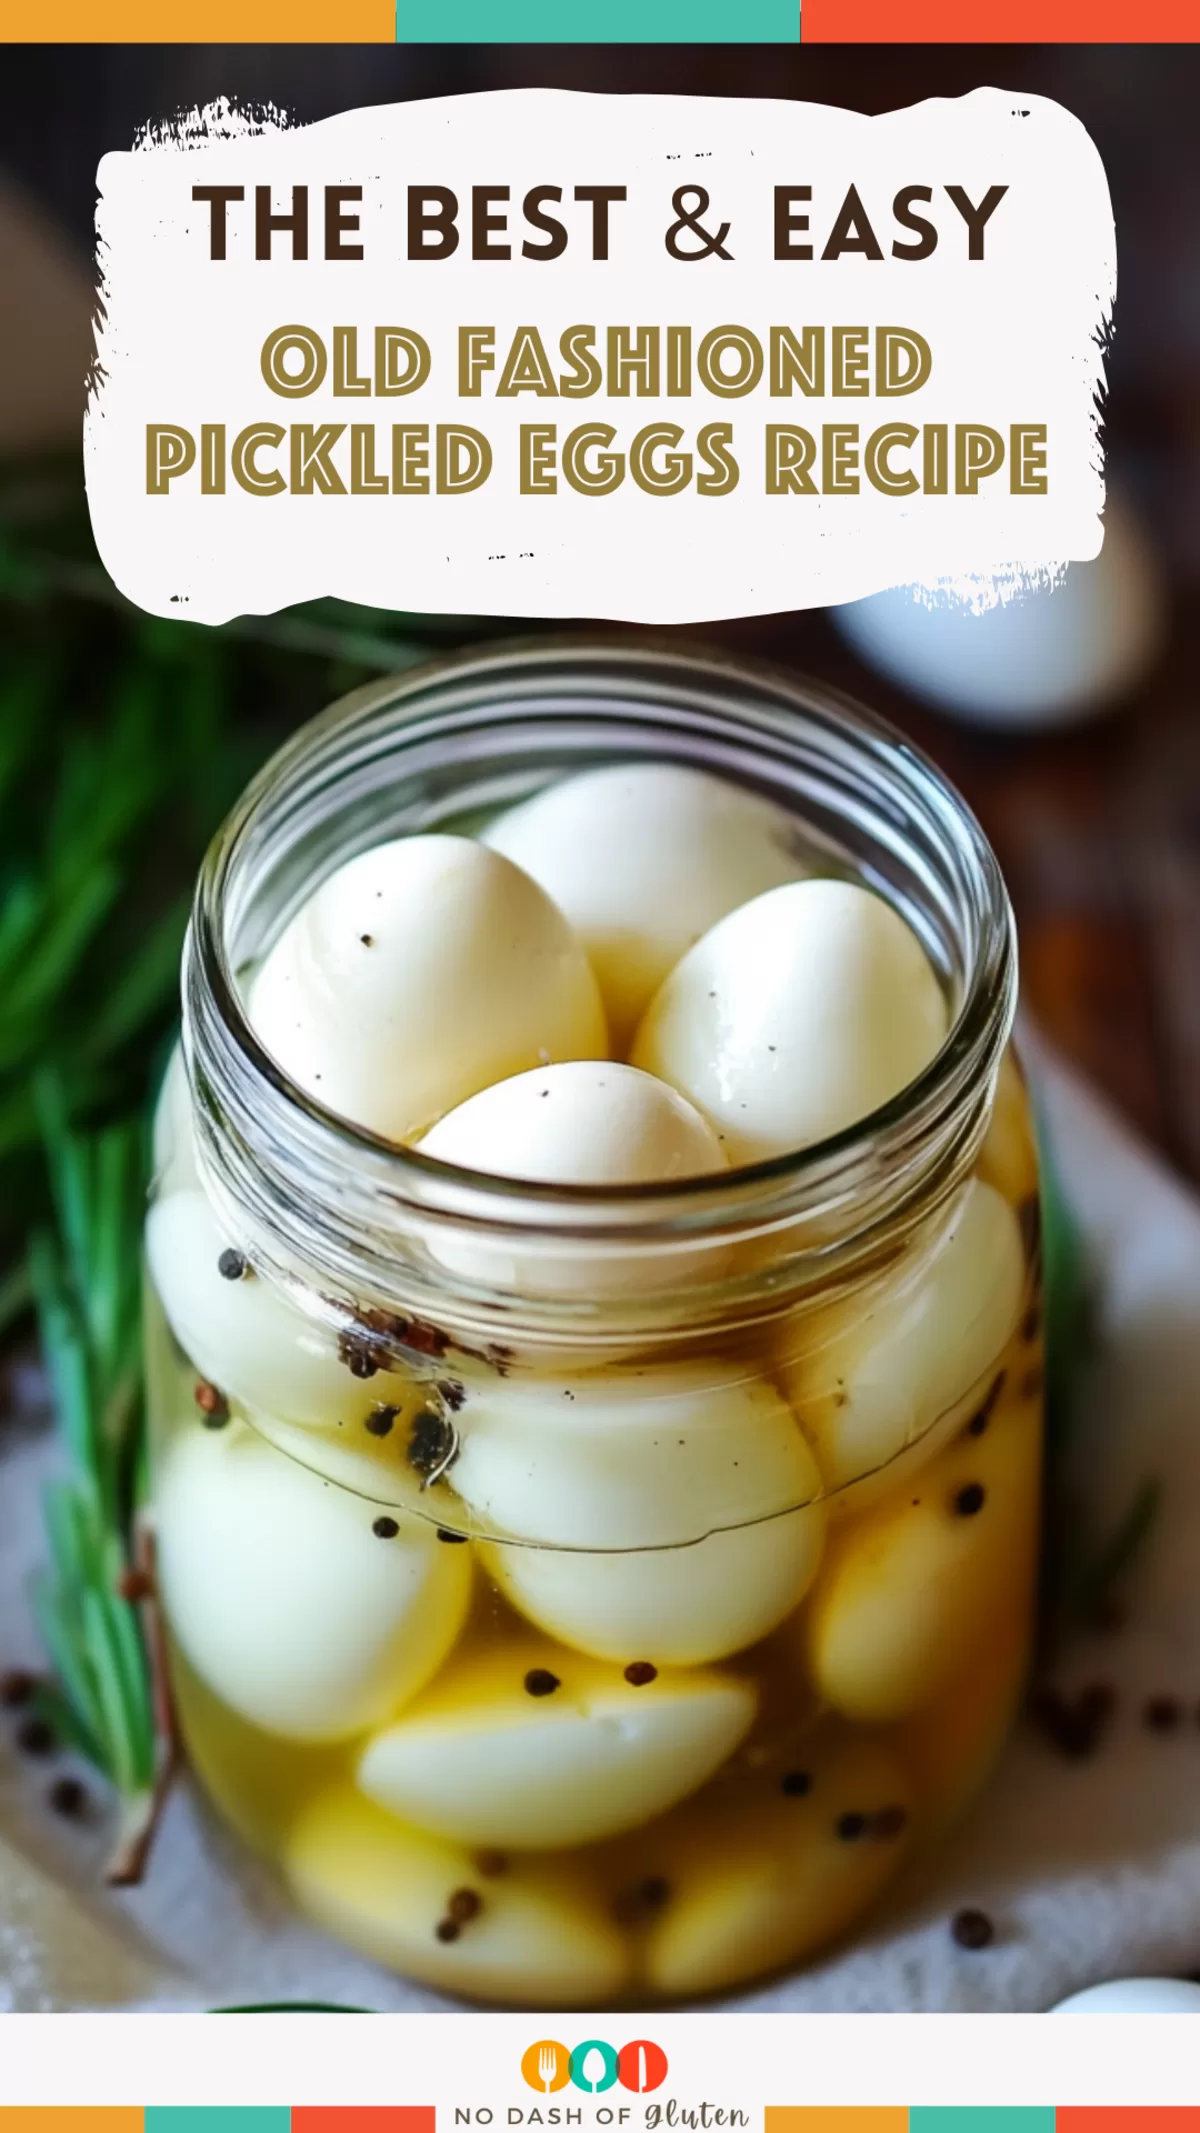
Old Fashioned Pickled Eggs – Do you ever stumble across a recipe that takes you back to a specific moment in time? For me, that’s exactly what happened with pickled eggs. It all started in my grandpa’s kitchen—well, technically his garage, because that’s where he kept this massive jar of pickled eggs on his workbench. (Why the garage? Don’t ask me. Grandpa logic.) Anyway, I was maybe 10 years old and totally grossed out by the idea of eggs swimming in vinegar. But Grandpa insisted, saying, “Real snacks don’t come in a bag!” One bite later, I was hooked.

Remember it later!
Planning to try this recipe soon? Pin it for a quick find later!
Remember it later!
Planning to try this recipe soon? Pin it for a quick find later!
Now, every time I whip up a batch, I can hear his gruff chuckle and smell the faint whiff of motor oil mixed with vinegar. It’s weirdly comforting. And hey, if you’ve never tried them, maybe this will be your “garage moment” (minus the motor oil, I hope).
Here’s a quick peek at what’s inside:
Table of content
Why You’ll Love This Old Fashioned Pickled Eggs Recipe?
So, why should you give this Old Fashioned Pickled Eggs Recipe a shot? Well, here’s the deal:
- It’s classic: This is a retro snack that’s stood the test of time. If it was good enough for our grandparents, it’s good enough for us, right?
- Ridiculously easy: With just a handful of ingredients and a jar, you’re set. No fancy gadgets, no culinary degree required.
- Perfect for planning ahead: These babies need a week to soak up that briny goodness, making them ideal for prepping ahead of parties or snack attacks.
- So versatile: They’re not just a snack—they can jazz up a salad, join a charcuterie board, or even star in a sandwich.
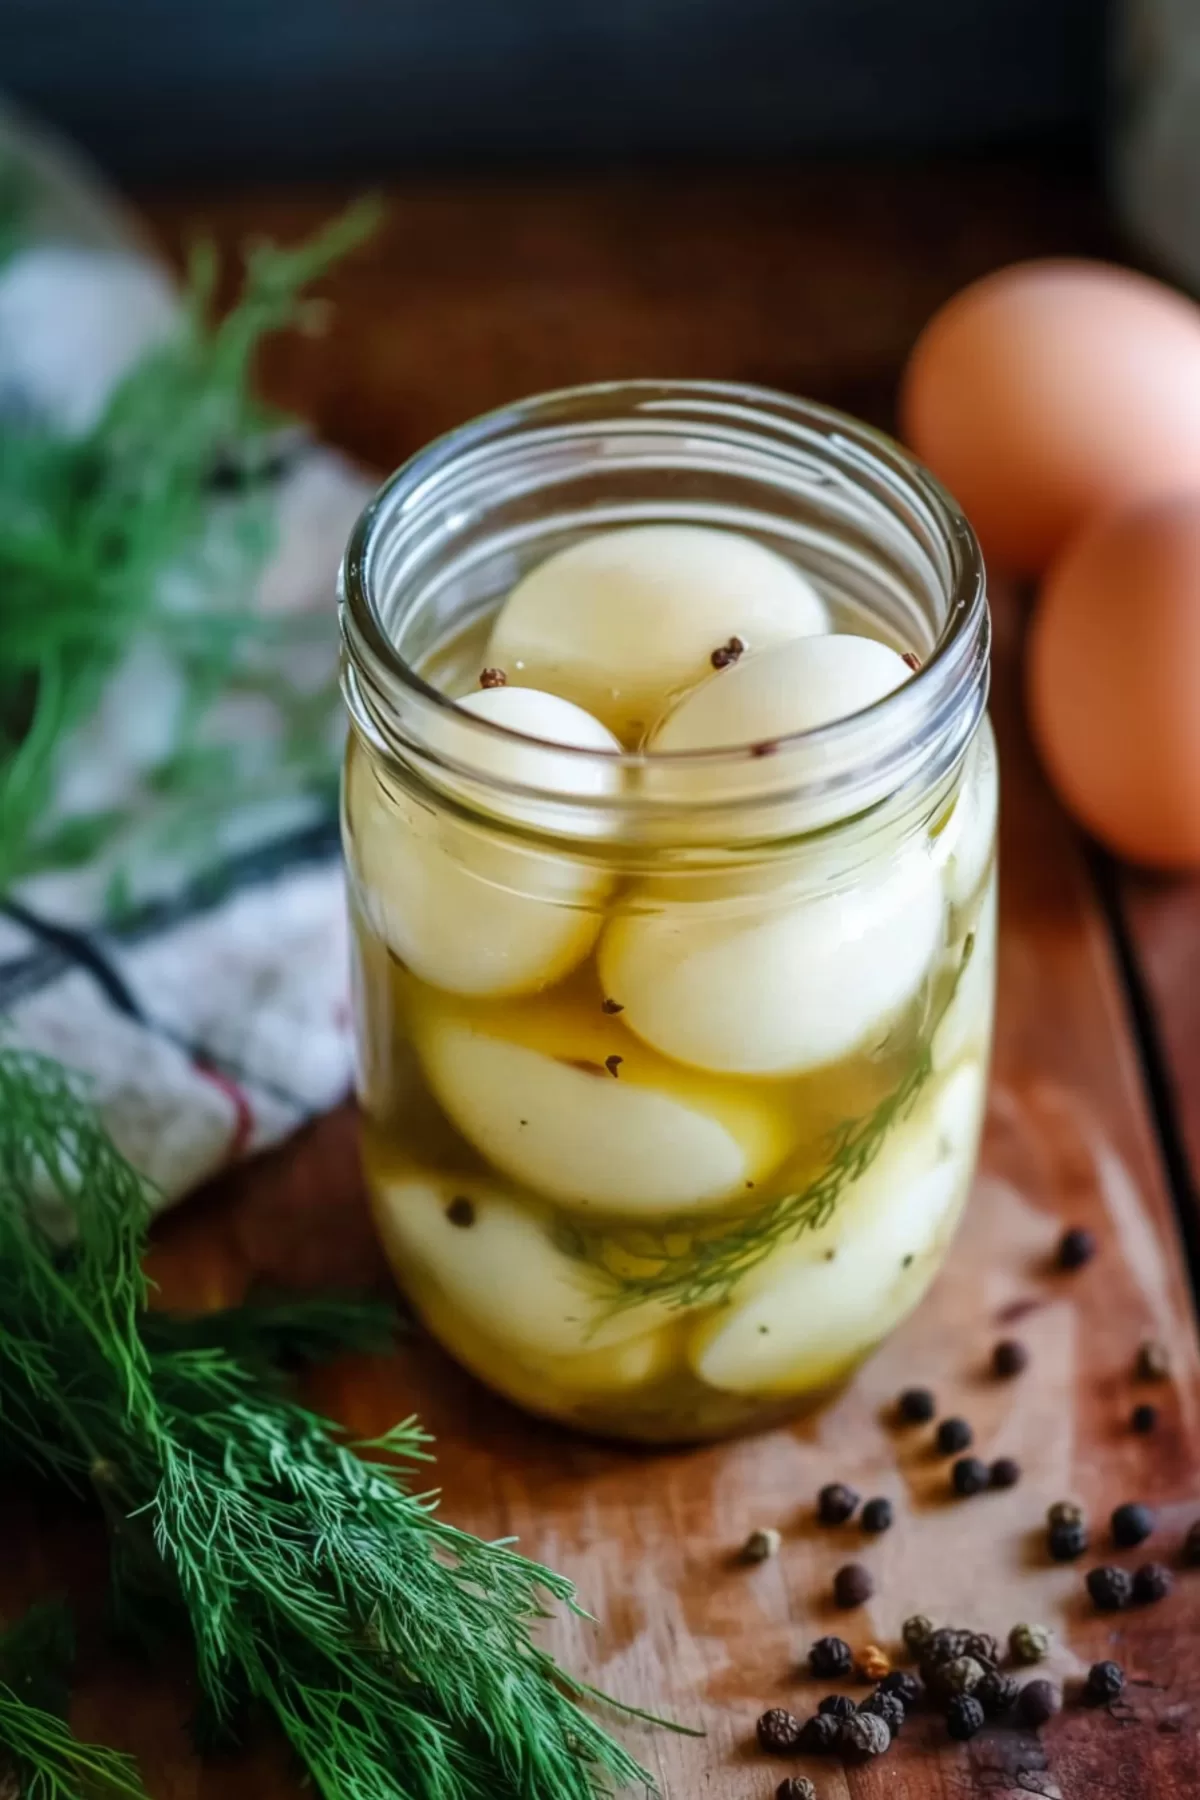
Ingredient Notes:
Let’s talk about what makes this recipe tick. Because even simple ingredients can pack a punch when used just right.
- Eggs: Small eggs are the way to go here—they soak up the brine faster. And trust me, older eggs peel easier. (Ever tried peeling fresh ones? It’s like trying to unwrap a glued-on Band-Aid.)
- White Vinegar: This is the backbone of the brine. If you’re feeling bold, swap in apple cider vinegar for a fruity twist. But for the OG flavor, stick with white.
- Sugar: Don’t skimp on the sugar, okay? It’s not just there to balance the vinegar; it gives the eggs that subtle sweetness that makes them so addictive.
- Salt: A little goes a long way. Think of it as the quiet MVP of the flavor team.
- Garlic: Smash those cloves before tossing them in—they’ll release more of their oils and give your brine that savory edge.
- Bay Leaf: I know it seems like a fancy, optional add-in, but don’t underestimate this little leaf. It’s like the bassline in a good song: you don’t notice it much, but take it away, and everything feels flat.
How To Make Old Fashioned Pickled Eggs?
- Prep the Eggs
Okay, first things first: toss your eggs into a saucepan and cover them with water. Bring it to a boil, then turn off the heat and let them sit for 15 minutes. This step is key—don’t rush it, or you’ll end up with those dreaded green-ring yolks. Once they’ve had their hot-tub moment, cool them under cold running water and peel. Pro tip: Rolling them gently on the counter before peeling makes the job way easier. - Make the Brine
Grab the same saucepan (because who’s got time for extra dishes?) and combine your vinegar, sugar, and salt. Bring it to a boil, stirring until the sugar dissolves. The vinegar smell might take over your kitchen, but I promise it’s worth it. Once everything’s dissolved, let it cool for a few minutes. - Assemble Your Jar
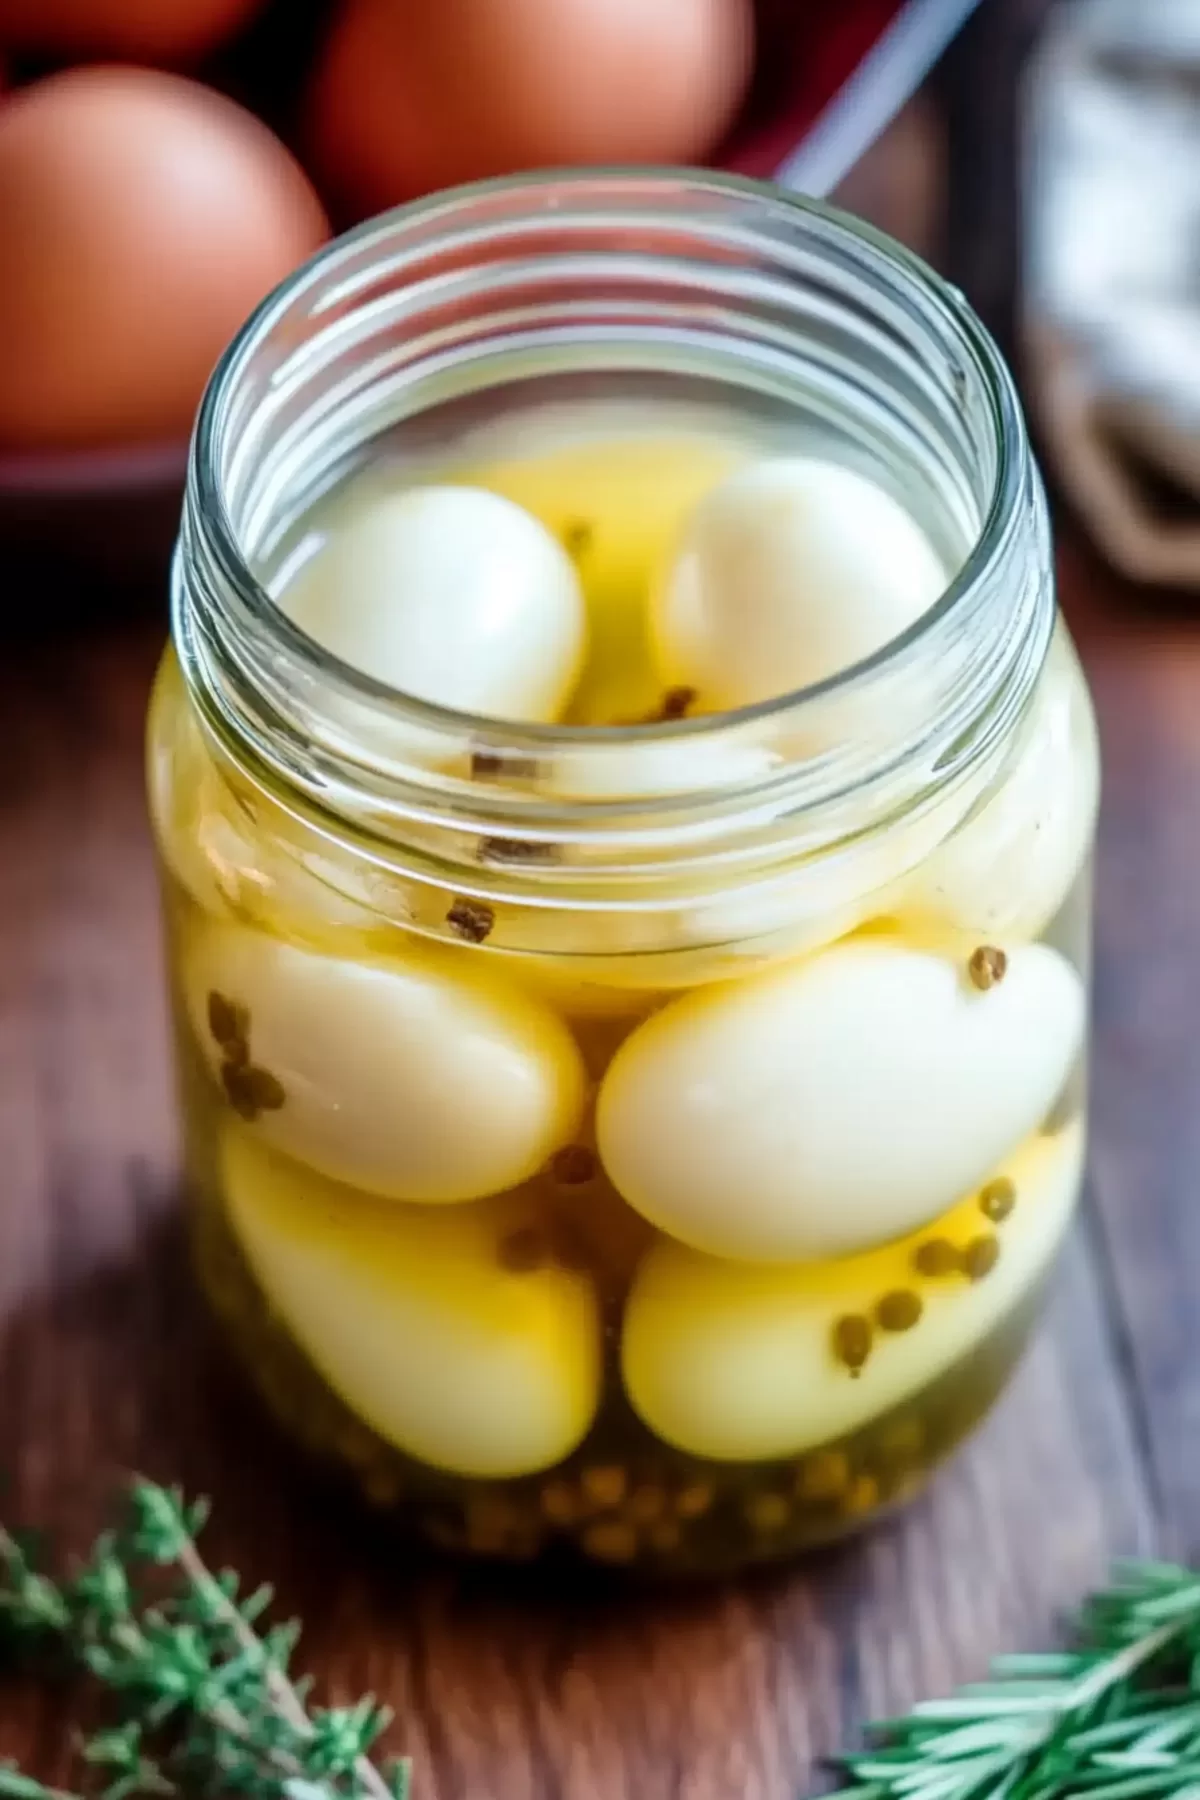
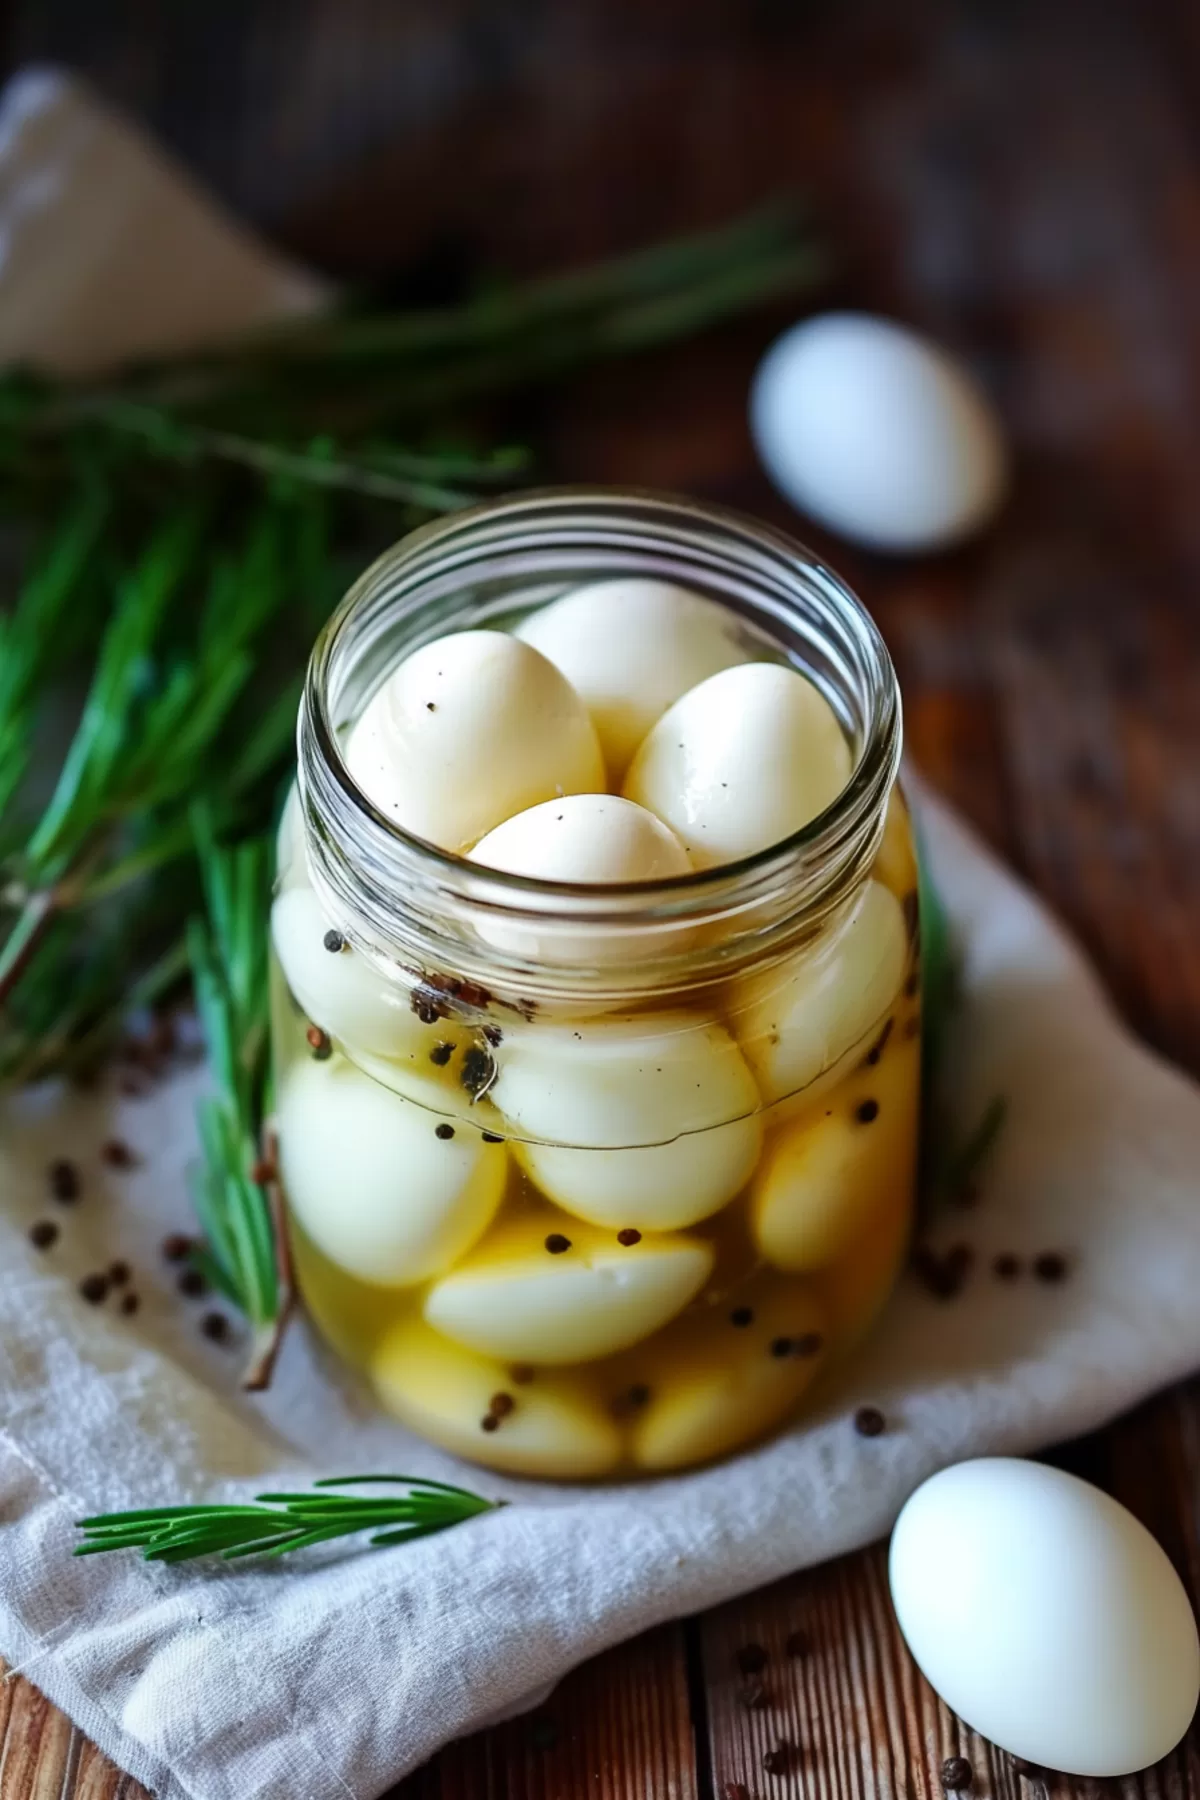
Here’s the fun part: layer your peeled eggs into a clean mason jar, along with the smashed garlic and bay leaf. Pour the warm brine over the top, making sure the eggs are completely submerged. If a rogue egg tries to float, gently press it down or add a little weight (like a small, clean jar lid). - Seal and Chill
Pop the lid on tight and stash the jar in your fridge. Now comes the hardest part: waiting. These eggs need at least 7 days to marinate. And yes, the wait is torture, but the payoff? Totally worth it.
Storage Options:
Once your eggs are pickled to perfection, they’ll stay fresh in the fridge for about a month. Just make sure they’re always submerged in that brine—no one likes a half-pickled egg. And if you’re anything like me, you’ll be sneaking one or two long before they’re officially “ready.”
Variations and Substitutions:
Feeling adventurous? Here’s how you can shake things up:
- Make it spicy: Toss in red pepper flakes or a sliced jalapeño for eggs with a kick.
- Beet it up: Add a sliced beet for a gorgeous pink hue and earthy flavor.
- Herb it out: Fresh dill or thyme can take these eggs to a whole new level.
- Swap the sugar: Try honey or brown sugar for a richer sweetness.
What to Serve with Old Fashioned Pickled Eggs?
Not sure how to enjoy these tangy treasures? Here are a few ideas:
- Charcuterie board: Pair them with cheeses, cured meats, and crackers for a fancy-yet-rustic vibe.
- Salads: Chop them into potato or green salads for a tangy twist.
- Pub snacks: Serve them with pretzels and mustard for a classic bar-side experience.
- Sandwiches: Slice them up and layer them into sandwiches for an unexpected flavor boost.
Frequently Asked Questions:
How long do I really need to wait before eating these?
Want To Save This Recipe?
Enter your email below and we'll send the recipe straight to your inbox.
Honestly? A week is ideal, but if you’re desperate, you could try one after five days. Just know the flavor won’t be fully developed.
Can I use brown eggs?
Of course! They’ll taste the same, but the darker shells might leave a slight tint on the brine. No biggie.
What happens if my brine gets cloudy?
No need to panic! A little cloudiness is normal as the eggs soak up the vinegar. But if anything smells off, trust your gut (and toss the batch).
So, what do you think? Are you ready to channel your inner retro snacker? I promise, this Old Fashioned Pickled Eggs Recipe is as easy as it gets—and the payoff is pure magic. Let me know how yours turns out!
Remember it later!
Planning to try this recipe soon? Pin it for a quick find later!
Remember it later!
Planning to try this recipe soon? Pin it for a quick find later!
Keep the Flavor Coming – Try These:
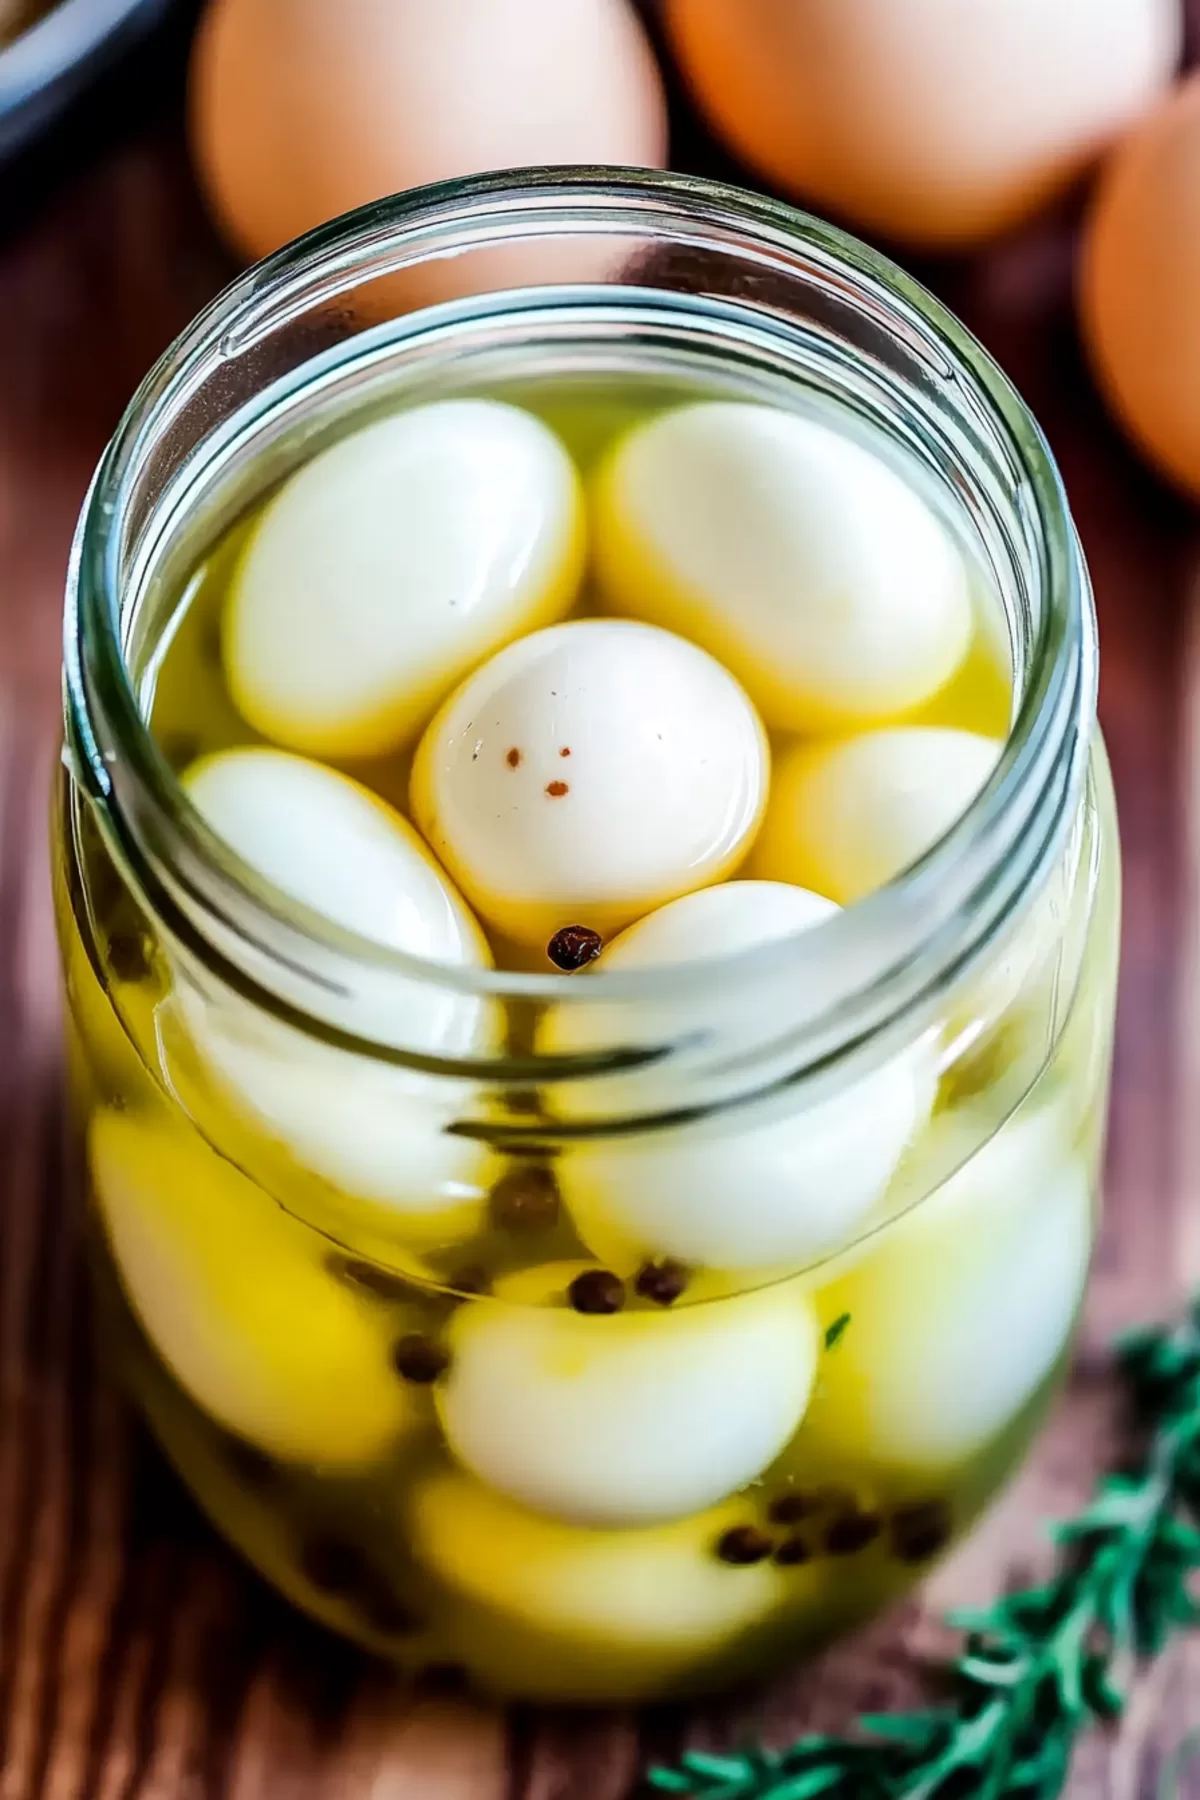
Old Fashioned Pickled Eggs Recipe
Ingredients
- 12 small eggs
- 3 cups white vinegar
- ¼ cup white sugar
- 1 tablespoon salt
- 2 garlic cloves smashed
- 1 bay leaf
Instructions
Prepare the Eggs
- Place the eggs in a medium saucepan and cover them with water. Bring the water to a boil over medium-high heat. Once boiling, remove the saucepan from the heat, cover, and allow the eggs to rest in the hot water for 15 minutes. Transfer the eggs to a bowl of cold water to cool. Gently peel the eggs once they are cool enough to handle.
Prepare the Brine
- Using the same saucepan, combine the white vinegar, sugar, and salt. Stir the mixture over medium heat until the sugar and salt dissolve completely. Bring the brine to a gentle boil, then remove it from the heat and set it aside to cool slightly.
Assemble the Pickling Jar
- In a clean 1-quart mason jar, layer the peeled eggs, smashed garlic cloves, and bay leaf. Pour the prepared brine over the eggs, ensuring they are fully submerged. If necessary, adjust the jar contents to keep the eggs covered.
Seal and Refrigerate
- Secure the lid tightly on the mason jar and place it in the refrigerator. Allow the eggs to pickle for at least 7 days before consuming. This resting period ensures the eggs fully absorb the flavors of the brine.
Notes

I’m Bitty, owner of nodashofgluten.com, where I share simple, delicious recipes for all tastes, including gluten-free. Check out my “About Me” page for more info!


