


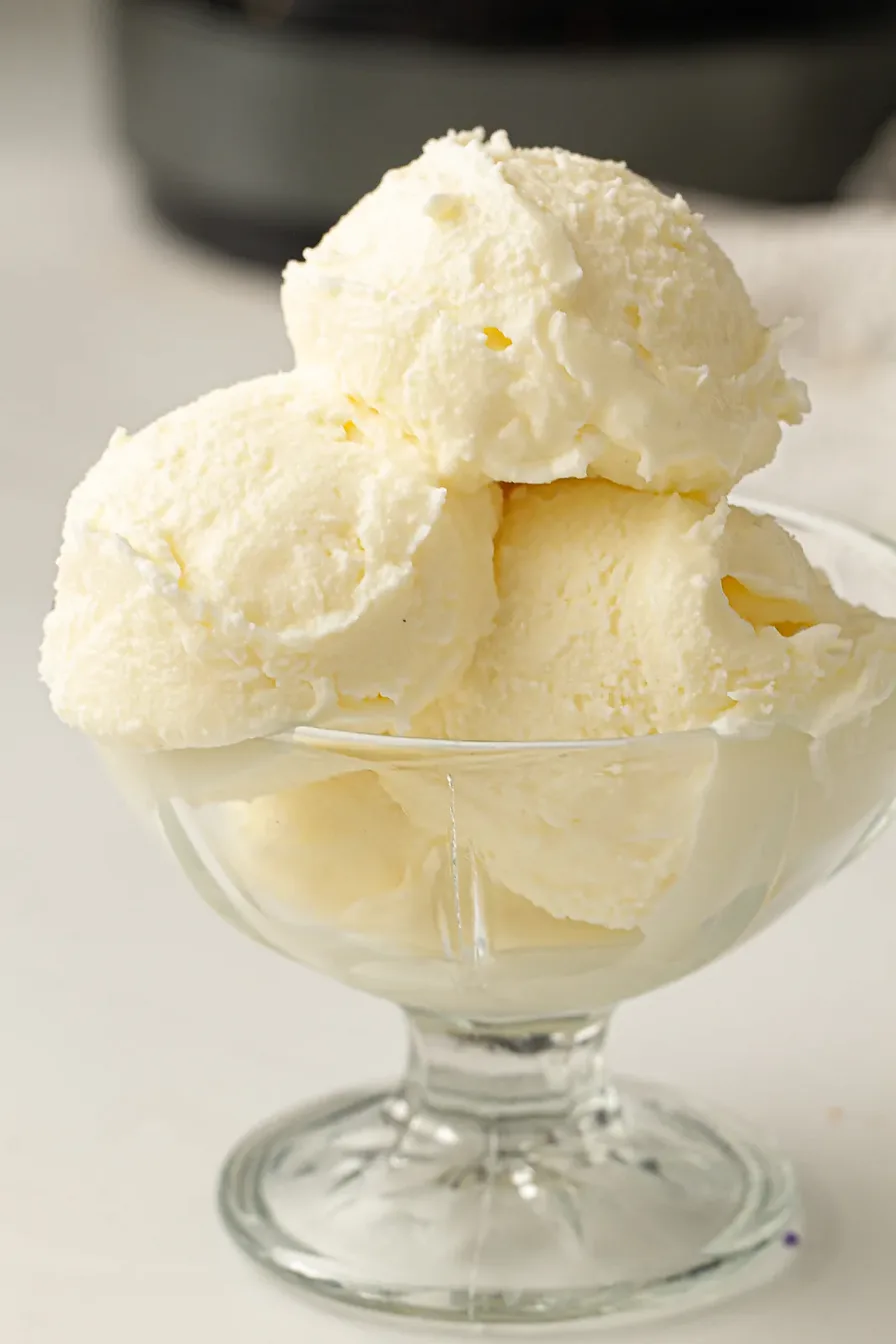
This Ninja Creami vanilla ice cream is rich, smooth and speckled with real vanilla bean. You only need 5 simple ingredients, one pint container and a little patience while it freezes.
In short, this is a no-cook base of 1 cup (240 ml) whole milk, 1/2 cup (120 ml) heavy cream, 70 g powdered sugar, the seeds of 2 vanilla pods and a pinch of salt, frozen in the Creami pint for 24 hours and then spun on the Ice Cream cycle for 2 to 4 minutes. It takes 8 minutes of prep and makes 1 pint.
There is something special about a really good scoop of plain vanilla. It’s the ice cream that goes with everything, from warm brownies to a slice of apple pie. And when you make it at home, you know exactly what’s in the pint.


That’s exactly why this Ninja Creami vanilla ice cream is such a handy recipe. The machine makes the whole thing so easy. Instead of churning a custard for half an hour, you simply whisk a quick base, freeze it solid, then let the machine shave it into creamy ice cream. There are no eggs, no cooking and no complicated steps.
Also, store-bought ice cream can be tricky when you eat gluten-free. Cookie pieces, cake bits and malt flavorings show up in a lot of flavors. So a homemade vanilla base you can trust is a great thing to have in your back pocket.
Why You’ll Love This Ninja Creami Vanilla Ice Cream?
First, it tastes like real vanilla. Scraping the seeds from two whole vanilla pods gives a deep, floral flavor and those pretty little black specks. Plus, the texture is wonderfully creamy thanks to the mix of whole milk and heavy cream.
- Just 5 ingredients: milk, cream, powdered sugar, vanilla and a pinch of salt.
- 8 minutes of prep: whisk, pour and freeze. The machine does the hard work.
- No eggs and no cooking: there’s no custard to temper or strain.
- Naturally gluten-free: every ingredient is gluten-free when you choose pure products.
- A perfect base: serve it plain, or use it for sundaes, milkshakes and mix-ins.
In addition, confectioners’ sugar dissolves almost instantly in cold milk. That means no gritty texture and no need to heat the base.
Best of all, Ninja Creami vanilla ice cream is endlessly useful. Keep a pint in the freezer and you always have a dessert ready for birthdays, pie nights or a quick milkshake. It also makes a great blank canvas for kids who want to pick their own toppings.

Ingredient Notes:
With so few ingredients, quality really counts. Here is a quick look at each one.
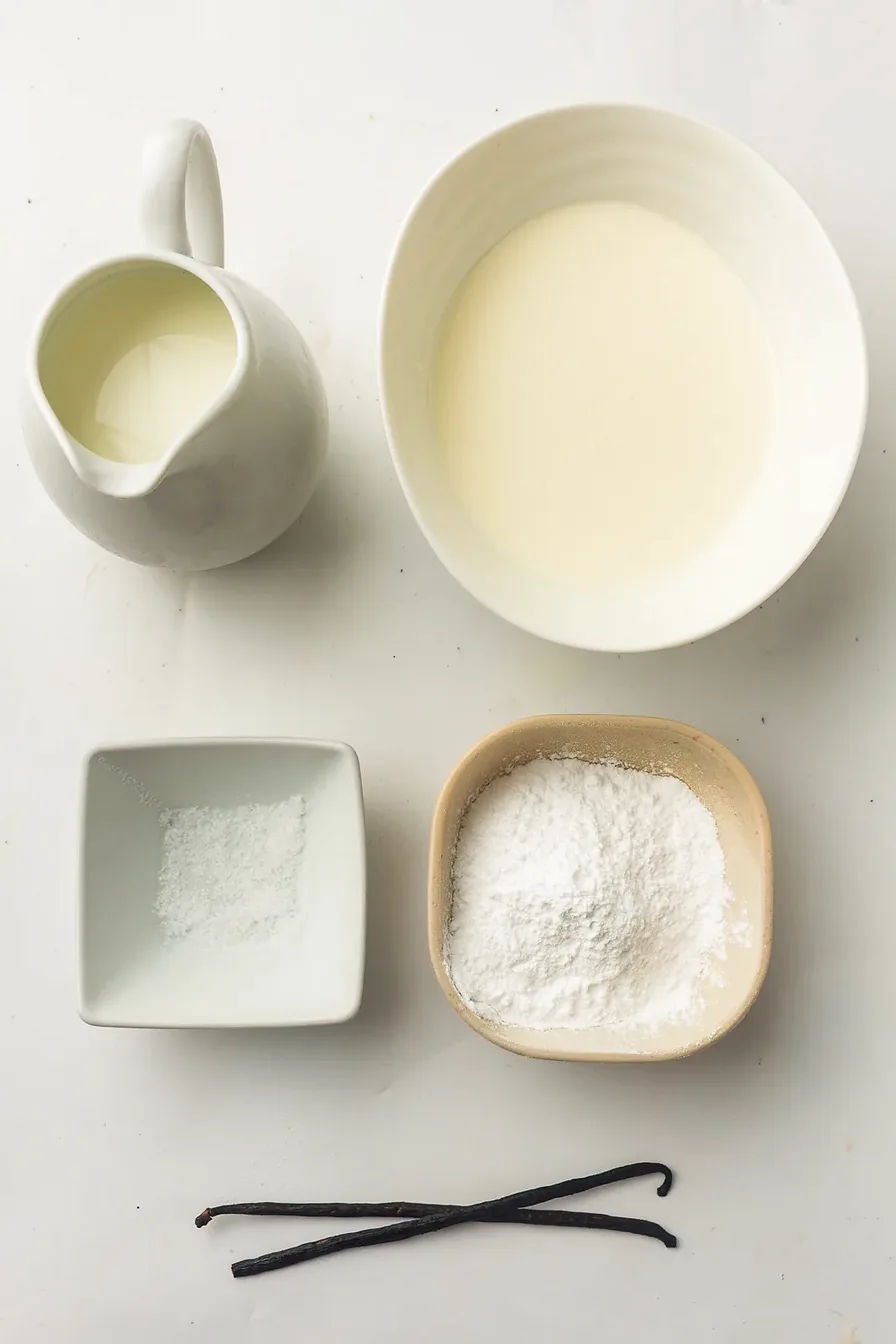
- Whole milk: it gives body and a clean dairy flavor. Lower fat milk works, but the ice cream will be a little less creamy.
- Heavy cream: this is where the richness comes from. The fat keeps ice crystals small, so the texture stays smooth.
- Confectioners’ sugar: also called powdered sugar. It sweetens the base and dissolves easily without heating.
- Whole vanilla pods: two pods, split and scraped. They give the strongest flavor and the classic speckled look. Prefer extract? Use 1 to 1½ teaspoons of good vanilla extract instead.
- Salt: just a pinch. It doesn’t make the ice cream salty; instead, it makes the vanilla taste fuller.
How To Make Ninja Creami Vanilla Ice Cream?
Making Ninja Creami vanilla ice cream happens in two parts: a quick base today and a short spin tomorrow. Here is the full process.
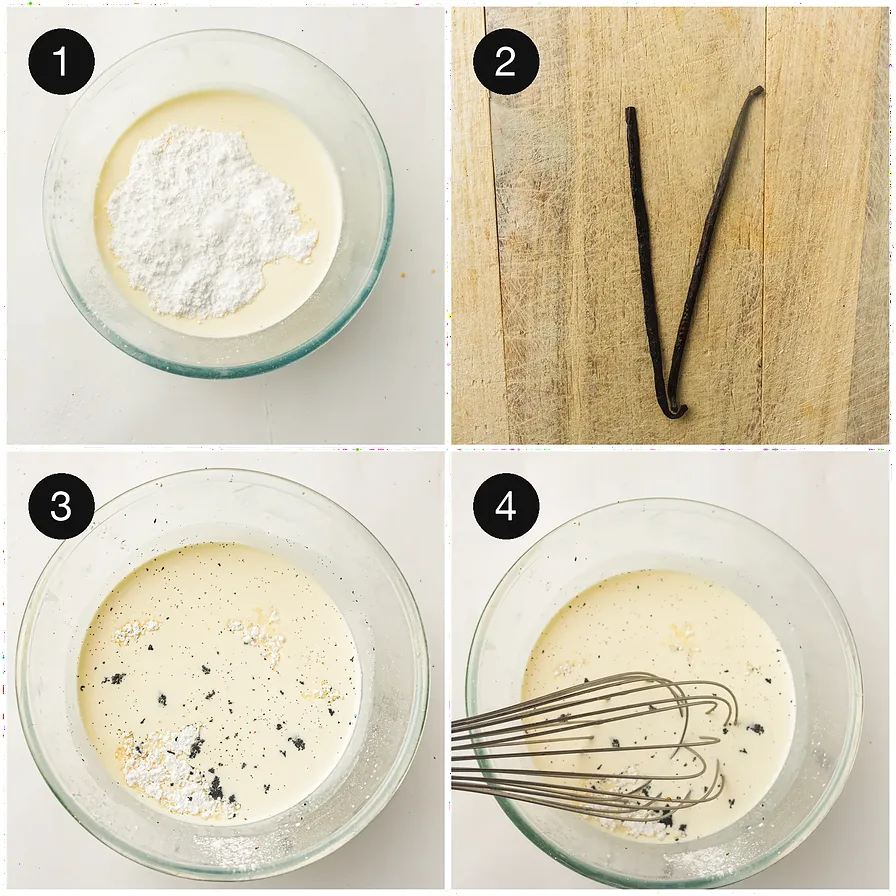
1. Prep the vanilla. Split both vanilla pods lengthwise with a sharp knife. Then run the back of the knife along each half to scrape out the seeds.
2. Mix the base. Add the vanilla seeds, whole milk, heavy cream, confectioners’ sugar and salt to a mixing jug.
3. Whisk well. Whisk until the sugar has fully dissolved and the vanilla seeds are evenly dispersed. Vanilla seeds like to clump, so give it an extra stir.
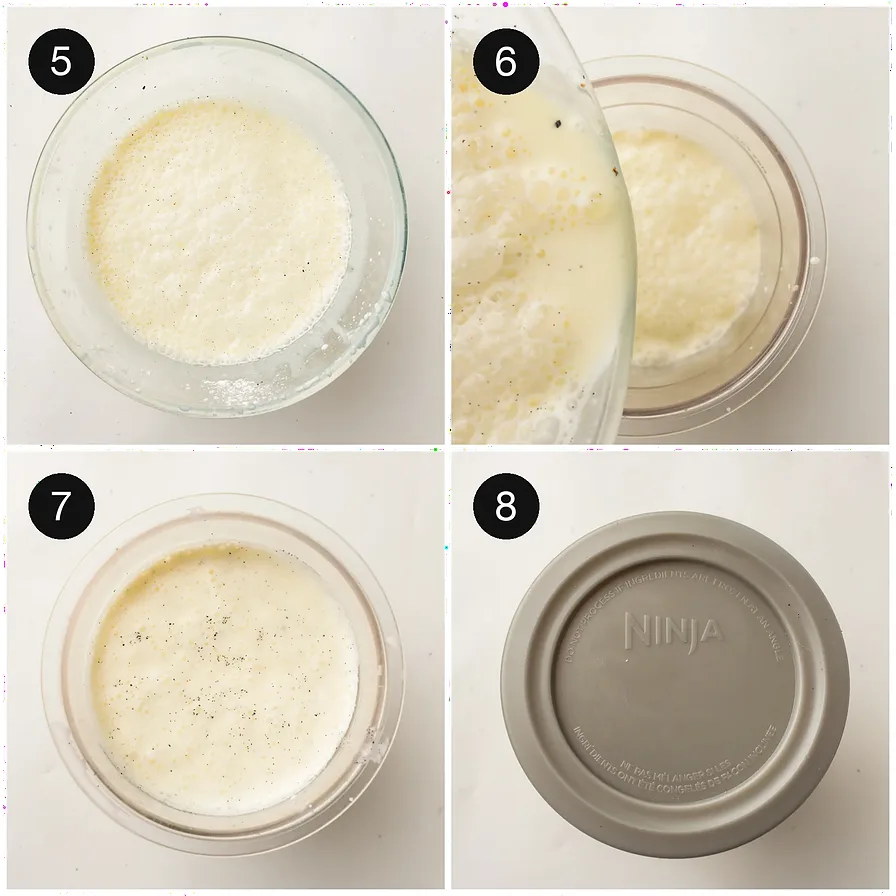
4. Freeze. Next, pour the mixture into your Ninja Creami pint container. Secure the lid and freeze for 24 hours on a flat surface. A level pint freezes evenly, which helps the blade spin smoothly later.
5. Spin. The next day, remove the pint from the freezer. Place it into the Ninja Creami and run the Ice Cream cycle.
6. Fix a crumbly texture. If the texture looks crumbly or powdery, add 1 to 2 tablespoons of milk into the centre and press Mix-In once. This is very common, especially with very cold freezers. For more texture tips, this article on the Ninja Creami step for creamier results is a helpful read.
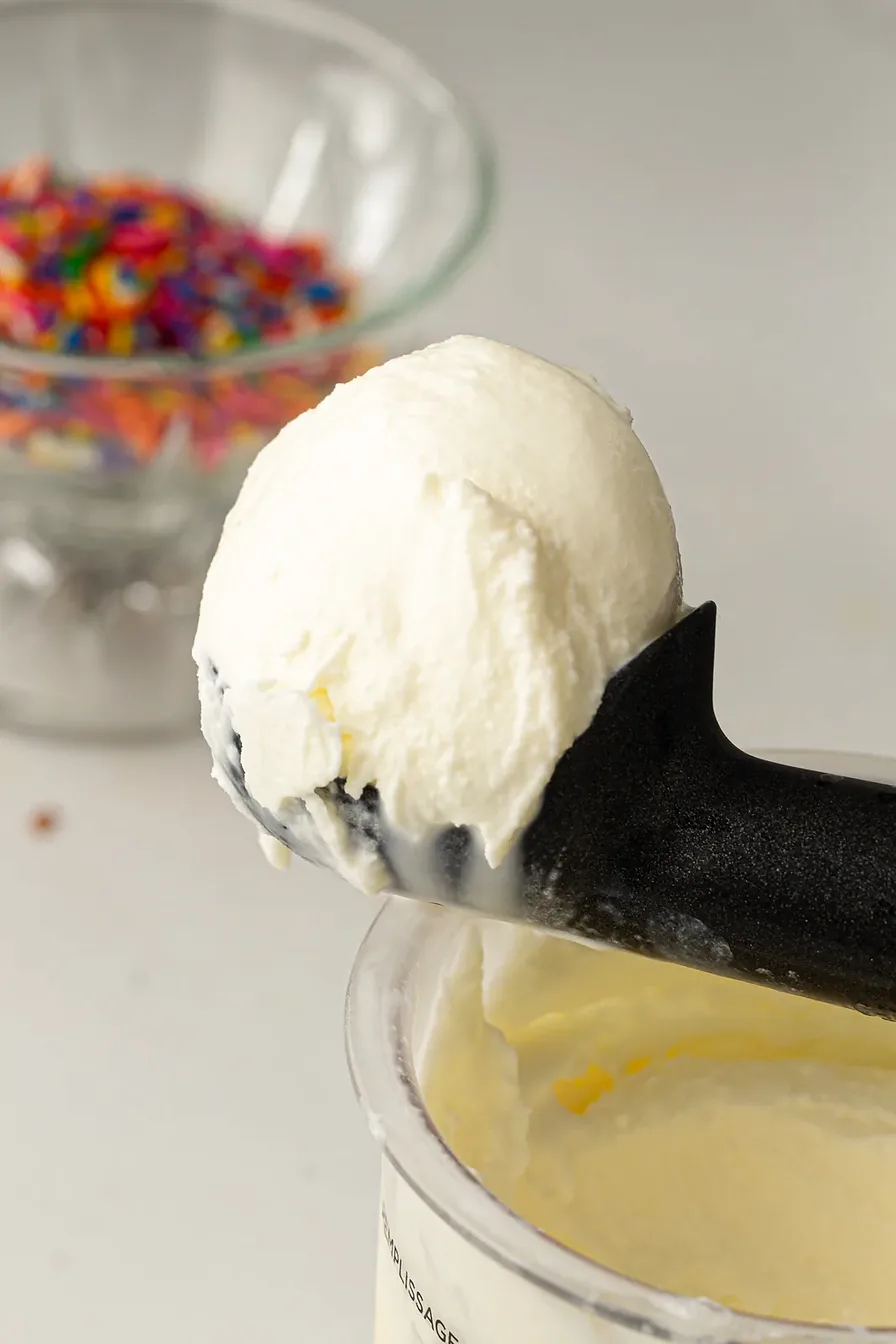
7. Serve. Finally, serve immediately for a soft, creamy texture, or freeze it again for a firmer scoop.
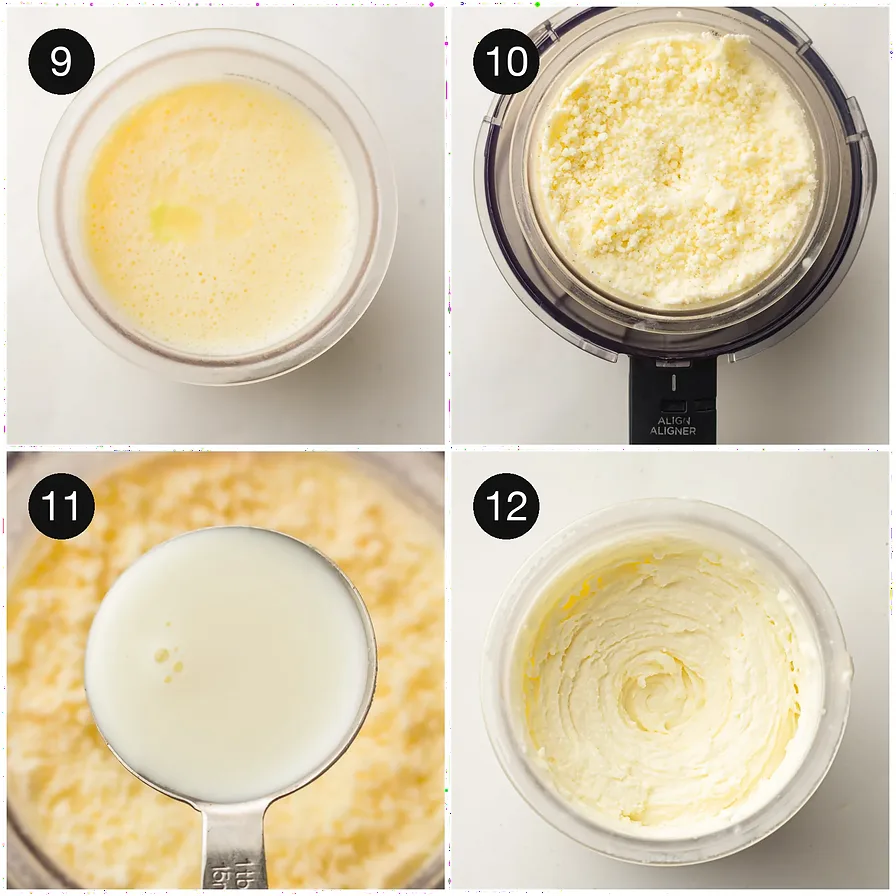
Don’t worry if your first spin looks a bit like snow. A splash of milk and one more short spin usually turns it silky.
A few tips for the creamiest Ninja Creami vanilla ice cream:
- Freeze the pint on a flat shelf, not tilted on top of frozen bags. An uneven top can make the blade work harder.
- Don’t fill past the max fill line. The base expands a little as it freezes.
- Whisk the base again right before pouring, because the vanilla seeds tend to sink to the bottom.
- If your freezer runs very cold, let the pint sit on the counter for about 5 minutes before spinning.
- Add mix-ins only after the first spin, once the ice cream already looks smooth.

How To Make It Gluten-Free:
Plain vanilla ice cream made from milk, cream, sugar, vanilla and salt is naturally gluten-free. Still, a few spots deserve a careful look, particularly if you are cooking for someone with celiac disease.
- Vanilla extract: pure vanilla extract is generally gluten-free, since distilled alcohol is considered safe. However, imitation vanilla and “vanilla flavoring” blends vary by brand, so read the label or pick one marked gluten-free.
- Powdered sugar: most confectioners’ sugar is sugar plus cornstarch. A few brands use other starches, so check the package for a gluten-free claim.
- Toppings and mix-ins: this is where gluten hides most often. Cookies, brownies, cake pieces, cones and malted milk powder usually contain wheat or barley. The Celiac Disease Foundation’s list of gluten sources is a great reference for spotting them.
- Sprinkles and sauces: some sprinkles, caramel sauces and fudge toppings are gluten-free and some are not. Choose products labeled gluten-free.
- Cones: regular waffle cones are made with wheat flour. Look for certified gluten-free cones, or serve your scoops in a bowl.
- Cross-contact: wash the pint, lid and blade well if they were just used for a cookie or brownie mix-in batch. Use a clean scoop too.
In other words, the base is simple and safe; just stay label-savvy with everything you add on top.
Storage Options:
Store leftover Ninja Creami vanilla ice cream in the Creami pint with the lid secured for up to 2 weeks in the freezer. Smooth the top flat before freezing so it re-spins evenly.
For the best texture, let it soften on the counter for 5 to 10 minutes before serving. If it has frozen rock-hard, you can also run it through the machine again, adding a splash of milk if it turns crumbly.
Variations and Substitutions:
Once you have this vanilla base down, it’s easy to change things up. Because the flavor is so clean, almost anything you add will shine. Here are some ideas.
- Vanilla extract: swap the pods for 1 to 1½ teaspoons of good vanilla extract.
- Vanilla bean paste: another easy swap that still gives you the speckles.
- Lighter version: use low-fat milk, but expect a slightly icier scoop.
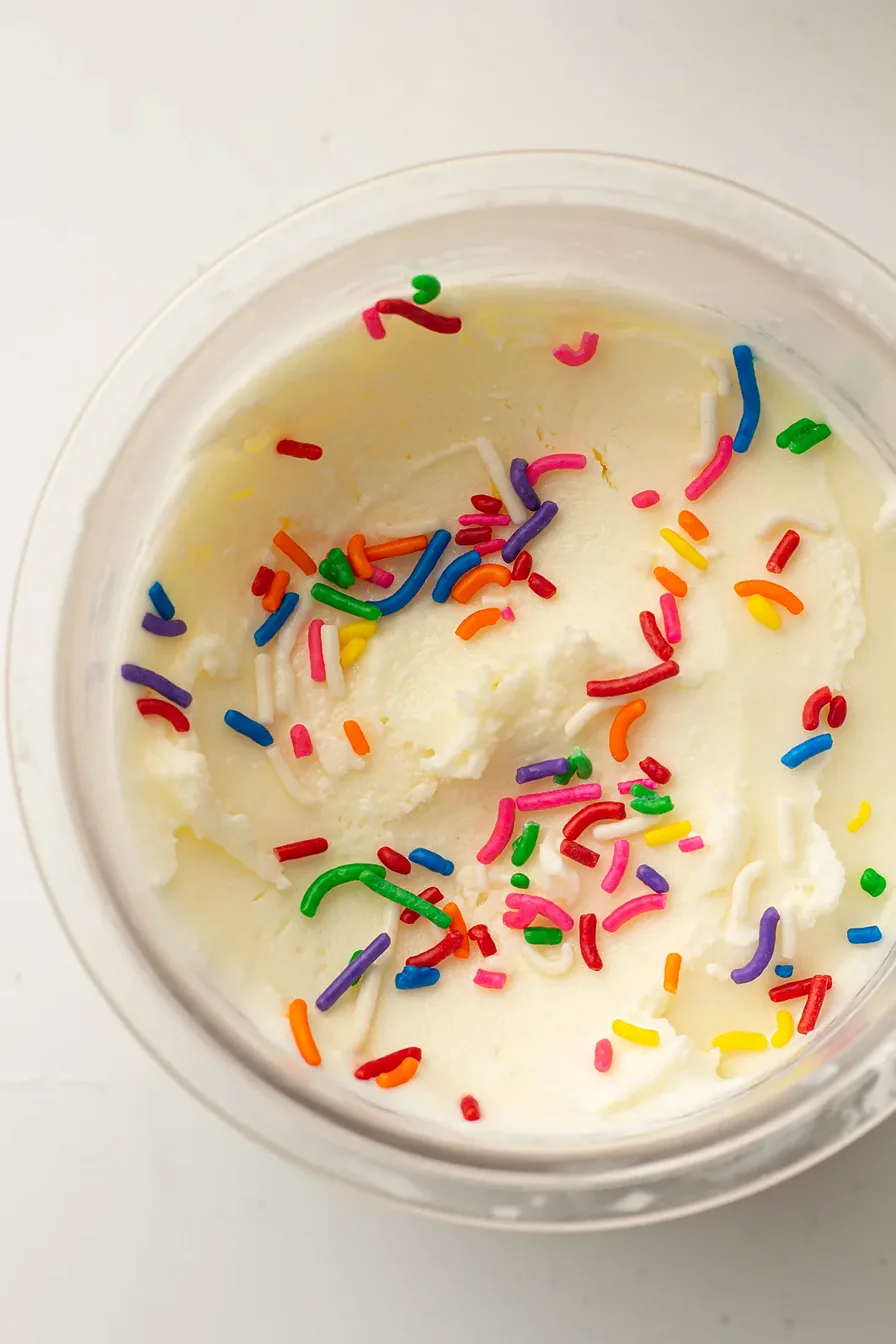
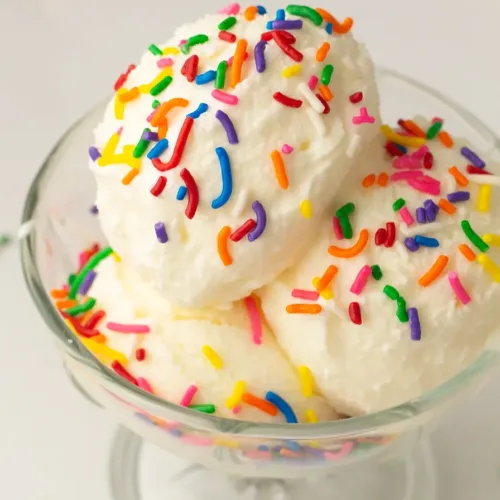
- Birthday cake style: add gluten-free rainbow sprinkles with the Mix-In program.
- Chocolate chip: fold in mini chocolate chips after the first spin.
- Fruit swirl: spoon in a little berry jam just before serving.
Want more homemade scoops? Then try this fresh strawberry ice cream next.
What to Serve with Ninja Creami Vanilla Ice Cream?
Vanilla ice cream pairs with almost any dessert, especially warm brownies, pie and fresh berries. Here are a few favorite pairings.
- Warm brownies, apple pie or chocolate chip cookies (choose gluten-free versions).
- A drizzle of caramel or hot fudge for a sundae-style bowl.
- Fresh berries for a simple, classic dessert.
- Blended into milkshakes with a splash of milk.
- Side by side with a scoop of creamy coffee ice cream.
Frequently Asked Questions:
Can I use vanilla extract instead of vanilla pods?
Yes. Use 1 to 1½ teaspoons of good-quality vanilla extract in place of the 2 vanilla pods. Vanilla pods simply give a richer flavor and the classic speckled look.
Can I use low-fat milk?
Yes, but the ice cream will be slightly less creamy and a little icier. The recipe uses 1 cup (240 ml) whole milk with 1/2 cup (120 ml) heavy cream, and that fat is what keeps the texture smooth.
Why is my Ninja Creami ice cream crumbly?
Ninja Creami ice cream turns crumbly when the frozen base is very cold, which is common on the first spin. Add 1 to 2 tablespoons of milk into the centre and press Mix-In once.
How long does the base need to freeze?
The vanilla base needs 24 hours in the freezer on a flat surface. A fully frozen, level pint lets the blade spin evenly, and the Ice Cream cycle itself then takes about 2 to 4 minutes.
Is Ninja Creami vanilla ice cream gluten-free?
Yes, the base of milk, cream, confectioners’ sugar, vanilla and salt is naturally gluten-free. Check labels on vanilla extract and powdered sugar, and choose gluten-free toppings, cones and mix-ins.
How long does homemade vanilla ice cream keep in the freezer?
It keeps up to 2 weeks in the Creami pint with the lid secured. Smooth the top flat before refreezing, then soften it for 5 to 10 minutes or re-spin it, adding a splash of milk if it turns crumbly.
Once you have made this Ninja Creami vanilla ice cream, you will always want a pint waiting in the freezer. It is creamy, simple and ready for any topping you love. Enjoy every scoop!
Keep the Flavor Coming – Try These:

Ninja Creami Vanilla Ice Cream
Ingredients
- 240 ml whole milk 1 cup
- 120 ml heavy cream 1/2 cup
- 70 g confectioners' sugar powdered sugar
- 2 whole vanilla pods split and seeds scraped (or 1 to 1 1/2 tsp vanilla extract, if preferred)
- 1 pinch salt
Instructions
- Split both vanilla pods lengthwise with a sharp knife. Scrape out the seeds.
- Add the vanilla seeds, whole milk, heavy cream, confectioners' sugar, and salt to a mixing jug.
- Whisk until the sugar has fully dissolved and the vanilla seeds are evenly dispersed.

- Pour the mixture into your Ninja Creami pint container. Secure the lid and freeze for 24 hours on a flat surface.
- The next day, remove the pint from the freezer.
- Place the pint into the Ninja Creami and run the Ice Cream cycle (2 to 4 minutes).
- If the texture is crumbly, add 1 to 2 tablespoons of milk into the centre and press Mix-In once.
- Serve immediately for a soft, creamy texture, or freeze again for a firmer scoop.
Notes
- Store in the Creami pint with the lid secured for up to 2 weeks. For best texture, soften for 5 to 10 minutes before serving.
- Vanilla extract (1 to 1 1/2 tsp) can replace the pods; pods give a richer flavour and the classic speckled look.
- Low-fat milk works but the ice cream will be slightly less creamy.
- Serve with warm brownies, apple pie or chocolate chip cookies, a drizzle of caramel or hot fudge, fresh berries, or use as a milkshake base.
Nutrition

I’m Bitty, owner of nodashofgluten.com, where I share simple, delicious recipes for all tastes, including gluten-free. Check out my “About Me” page for more info!