

These homemade gummies are made with real orange juice, unflavored gelatin, a spoonful of honey and a squeeze of lemon. Four ingredients, ten minutes of hands-on time, and a fridge does the rest.
In short, homemade gummies are 1 1/2 cups (360 ml) of 100% fruit juice set with 4 tablespoons (28 g) of unflavored gelatin, lightly sweetened with honey or maple syrup and brightened with lemon juice. They take 10 minutes of prep and at least 2 hours in the fridge, and one batch makes about 40 small gummies.
If you have ever read the label on a bag of store-bought gummy candy, you know it can be a long list. Corn syrup, artificial colors, flavorings, waxes, and sometimes wheat-based ingredients you would never expect in candy. So making your own is a really nice switch, especially when you are cooking gluten-free.


The idea is simple. You warm fruit juice gently, melt gelatin into it, sweeten it lightly, then let it set in molds or a lined dish. That’s it. No candy thermometer, no boiling sugar, and no special skills.
Also, these gummies are bright, bouncy and pleasantly tart. Kids love them in lunch boxes, and grown-ups tend to sneak them straight from the fridge. Once you see how easy they are, you will probably start trying every juice in the house.
Why You’ll Love These Homemade Gummies?
First of all, you control exactly what goes in. There is no added color, and the orange shade comes from the juice itself. Plus, you can skip the sweetener entirely if your juice is already sweet enough.
- Only 4 ingredients: juice, gelatin, honey or maple syrup, and lemon juice.
- 10 minutes of prep: most of the time is just waiting while they chill.
- Naturally gluten-free: nothing here contains wheat, barley or rye, as long as you check your labels.
- Kid-friendly: little helpers can sprinkle the gelatin and fill the molds.
- Endlessly flexible: swap in apple, grape, cherry or mango juice for new flavors.
In addition, a batch makes about 40 small gummies, so one pan goes a long way for snacks all week.

Ingredient Notes:
Because this recipe is so short, every ingredient matters. Here is what each one does, and what to look for when you shop.
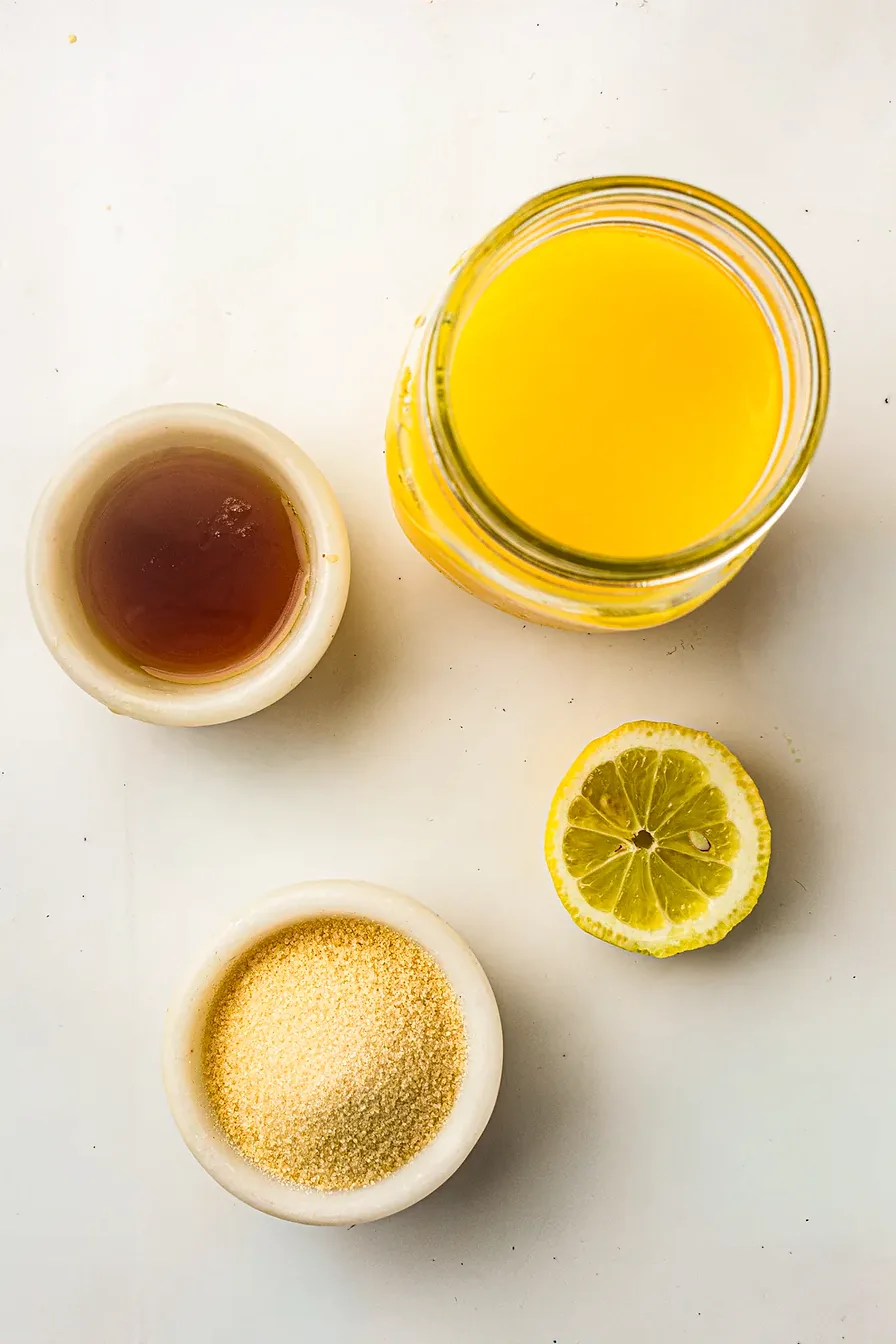
- 100% fruit juice: orange juice is the star here. Choose a juice that is 100% juice, not a “juice drink” with added sugar and flavorings. Pulp-free gives the smoothest gummies. If you squeeze your own, strain it well first.
- Unflavored gelatin powder: this is what makes the gummies chewy. You need 4 tablespoons, which is about 28 grams. Plain, unflavored powdered gelatin works best, and you can use beef or pork gelatin, whichever you can find.
- Honey or maple syrup: totally optional. It rounds out the tartness of the orange juice. Maple syrup keeps the recipe honey-free.
- Lemon juice: just a teaspoon. It brightens the flavor and makes the orange taste fresher.
One important tip: avoid fresh pineapple, kiwi or papaya juice. Those fruits contain enzymes that break down gelatin, so your gummies may never set. Bottled, pasteurized versions are usually fine because heat deactivates those enzymes.
How To Make Homemade Gummies?
Making homemade gummies takes three quick stages: bloom, melt, and set. Here is how it works.
1. Bloom the gelatin. Pour the juice into a small saucepan. Then sprinkle the gelatin evenly over the top and leave it alone for 5 minutes. During this time the granules soak up liquid and swell, which is called blooming. If you are curious about the science, this guide to properly blooming gelatin explains why cold liquid and patience matter so much.
2. Melt it gently. Next, set the pan over low heat and stir gently until the gelatin is fully dissolved and the mixture looks smooth. Do not let it boil. High heat weakens gelatin, and that can leave you with soft, sticky gummies.
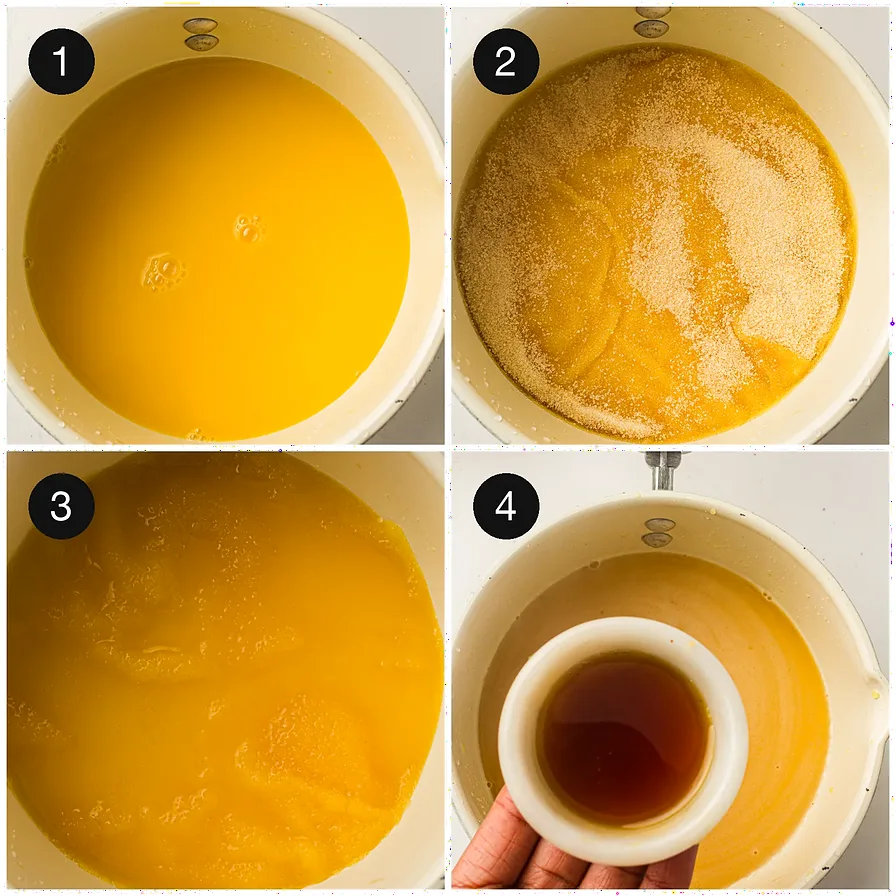
3. Sweeten and brighten. Take the pan off the heat. After that, stir in the honey or maple syrup (if using) and the lemon juice.
4. Pour and chill. Pour the mixture into silicone molds, or into a small parchment-lined dish if you want to cut squares. A dropper or a measuring cup with a spout makes filling small molds much easier. Then refrigerate for at least 2 hours, or until fully set.
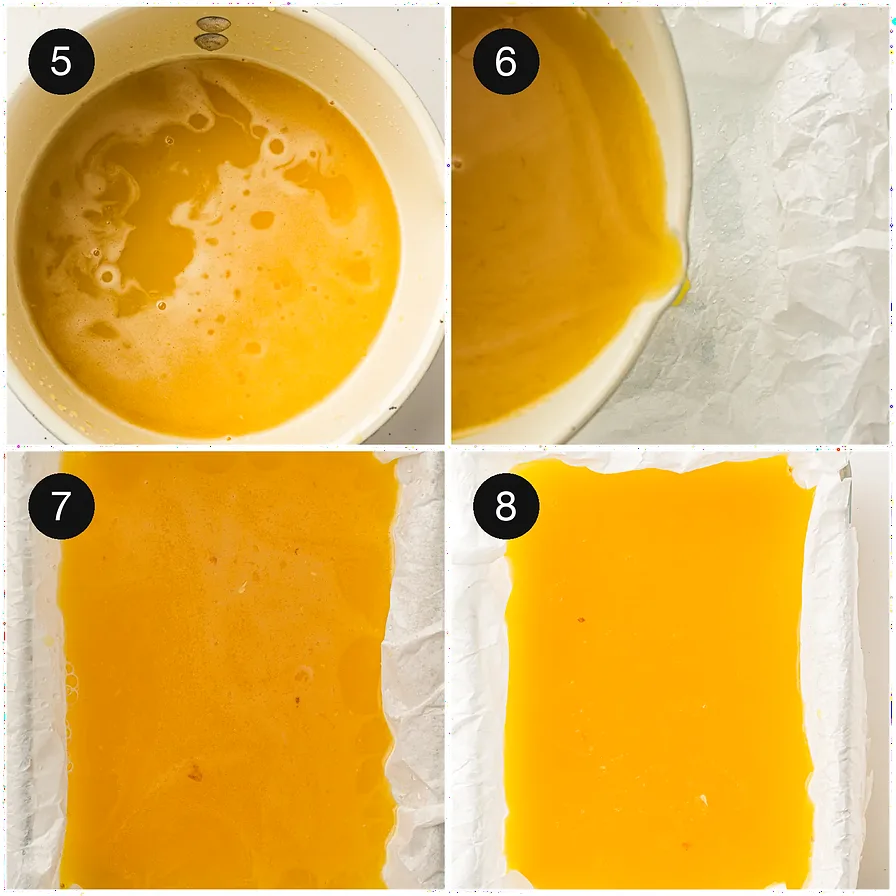
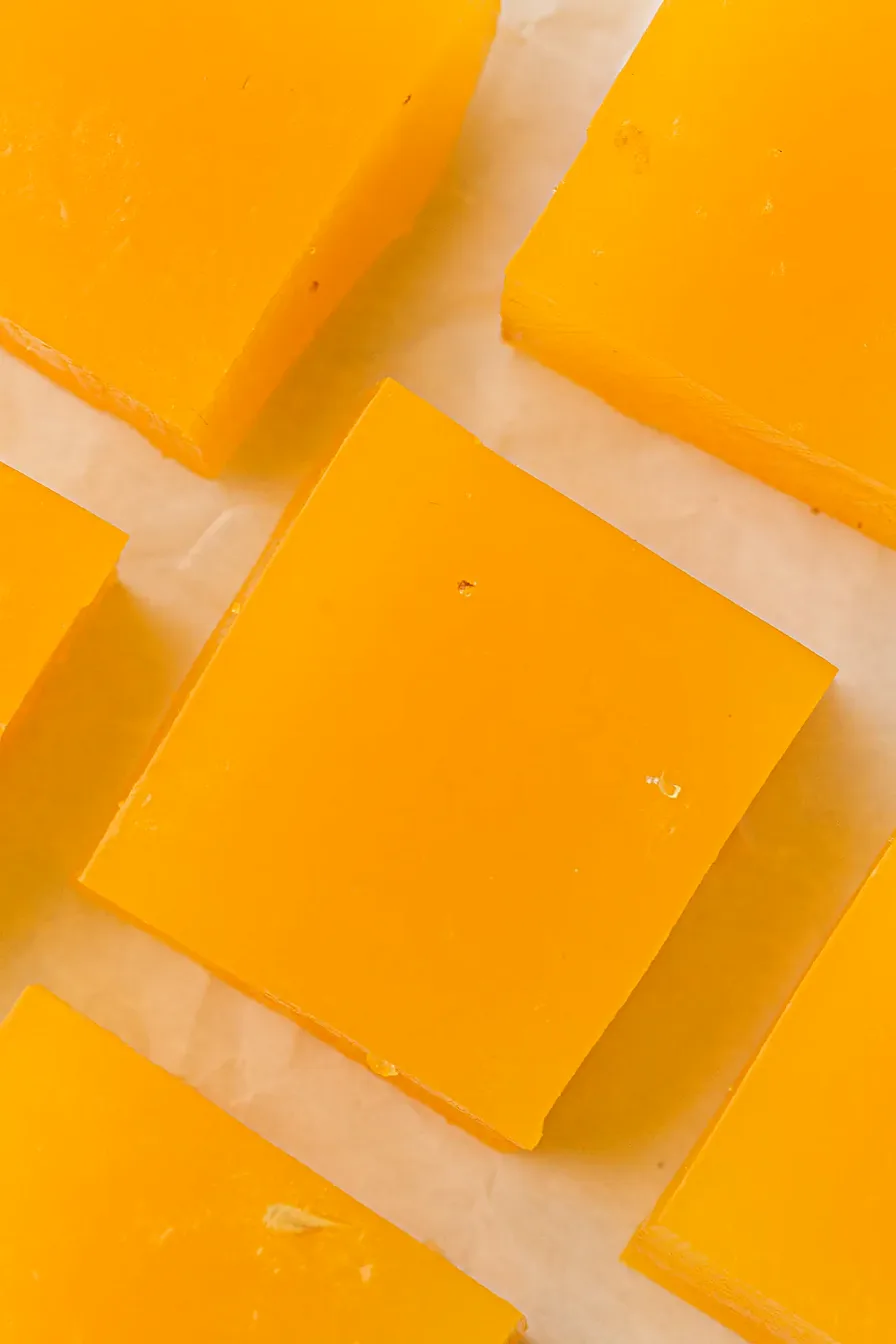
5. Unmold and cut. Finally, pop the gummies out of the molds. If you used a dish, lift the slab out with the parchment and cut it into small squares with a sharp knife.
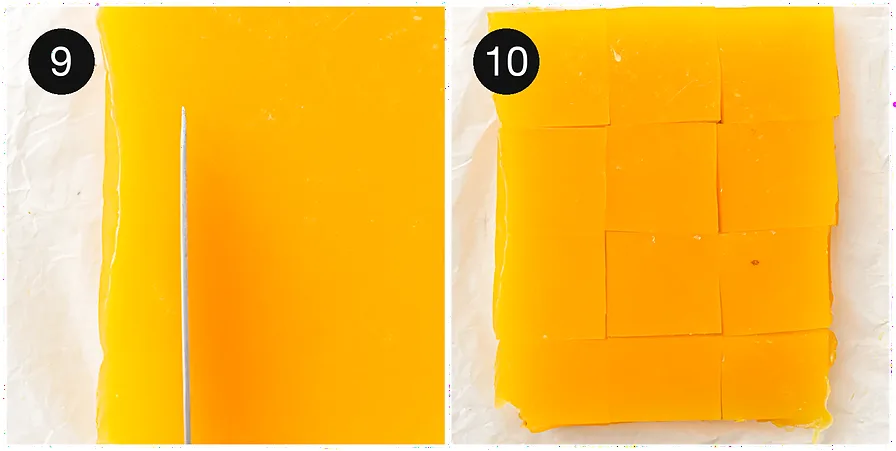
You will notice a little foam on top while the mixture is still warm. That’s normal. You can skim it off with a spoon before pouring for perfectly clear gummies, or simply leave it.
How To Make It Gluten-Free:
Good news: this recipe is naturally gluten-free. Fruit juice, plain gelatin, honey, maple syrup and lemon juice do not contain wheat, barley or rye. Even so, if you are cooking for someone with celiac disease, it’s worth taking a few careful steps.
- Read the juice label. Plain 100% juice is generally gluten-free, and the Celiac Disease Foundation’s gluten-free foods guide lists most juices as safe. However, flavored juice blends, “smoothie” style drinks and juice cocktails can contain extra ingredients, so read the full list every time.
- Use plain, unflavored gelatin. Plain gelatin is made from collagen, not grain. That said, flavored gelatin mixes and boxed “gummy kits” can contain added flavorings, colors or fillers. Stick to unflavored powder and check the package for a gluten-free claim.
- Watch your sweetener. Pure honey and pure maple syrup are naturally gluten-free. On the other hand, “pancake syrup” or flavored syrup blends are a different product, so choose pure maple syrup.
- Careful with coatings. If you like to roll gummies in sugar or add a sour coating, use plain granulated sugar or citric acid. Avoid crushed candy, cookie crumbs or malt-flavored powders.
- Prevent cross-contact. Wash your saucepan, whisk, molds and cutting board well, especially if they were just used for baking with wheat flour. Store the finished gummies in a clean, dedicated container.
In short, buy simple ingredients, read every label, and look for a certified gluten-free mark when you can find one on the gelatin or juice.
Storage Options:
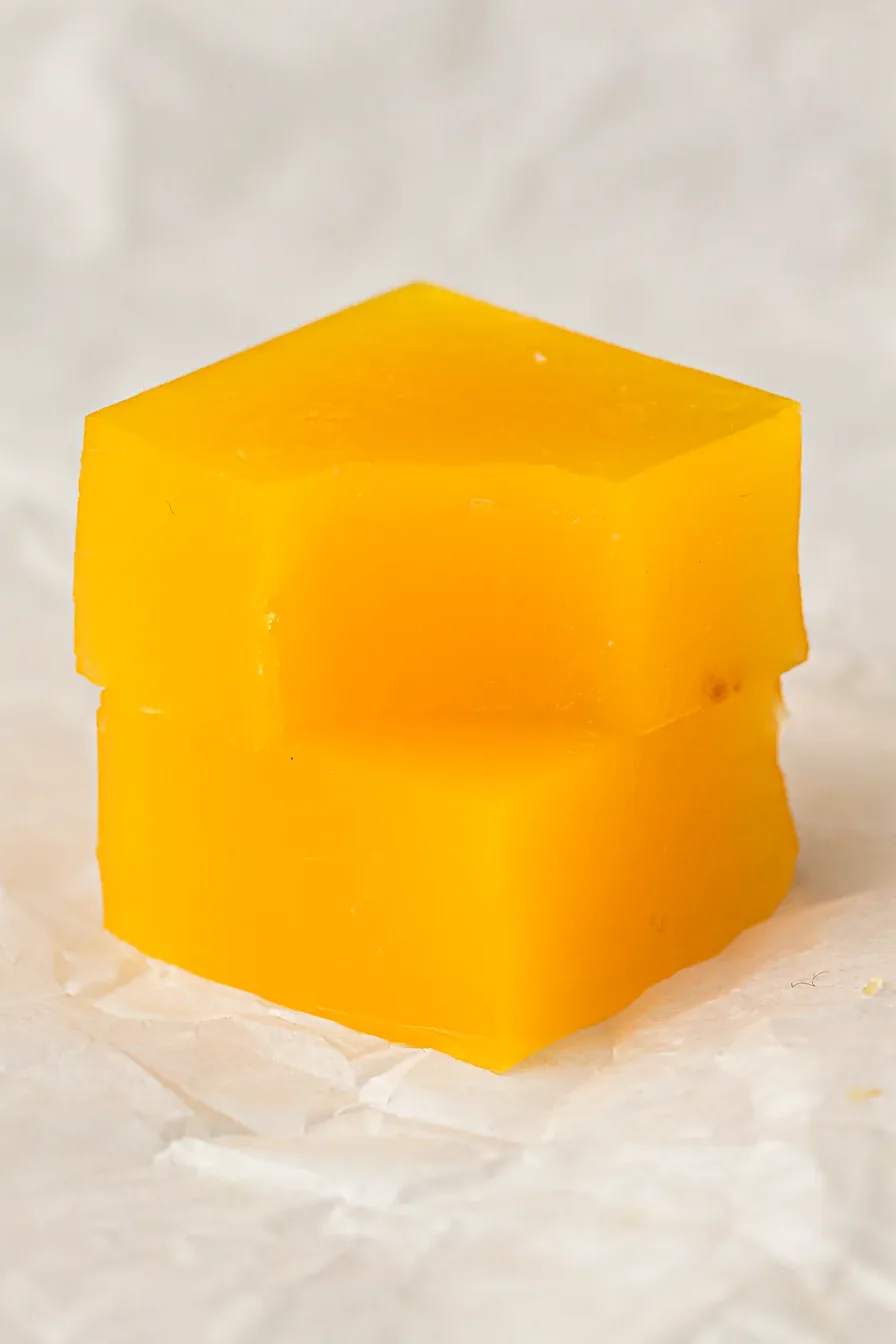
Store homemade gummies in an airtight container in the refrigerator for up to 1 week. They stay firm and chewy when chilled, so keep them cold until you are ready to eat them.
However, they are not meant for room-temperature storage. Gelatin softens as it warms, and the gummies can turn sticky or start to weep. If you pack them in a lunch box, add a small ice pack.
To stop them from sticking together, layer the gummies between sheets of parchment paper. Also, a light toss in granulated sugar just before serving helps keep them separate.
Variations and Substitutions:
Once you have the basic ratio down, you can play with it in so many ways. Here are a few easy ideas.
- Different juices: try apple, white grape, cherry, pomegranate or a mango blend. Tart juices may need the full amount of honey.
- Sugar-coated gummies: roll the cut squares in granulated sugar for that classic sparkly finish.
- Sour gummies: mix a little citric acid into the sugar coating for a pucker-up bite.
- Softer texture: if you prefer a softer, jelly-like gummy, use a little less gelatin.
- Fun shapes: use bear, heart or star silicone molds instead of cutting squares.
- Sweetener swap: use maple syrup instead of honey, or leave the sweetener out completely.
Love jewel-bright candies like these? Then you will also enjoy these festive cranberry jelly candies for the holiday season.
What to Serve with Homemade Gummies?
Homemade gummies are a snack on their own, yet they also fit nicely into bigger spreads.
- Pack them in lunch boxes next to fresh fruit and cheese cubes.
- Add them to a kids’ party snack board or a movie-night candy bowl.
- Use them as a fun topping for yogurt bowls.
- Serve them alongside a cool, citrusy dessert like this simple 2-ingredient orange sherbet.
- Bag them up as small homemade gifts for teachers or neighbors.
Frequently Asked Questions:
How long do homemade gummies last?
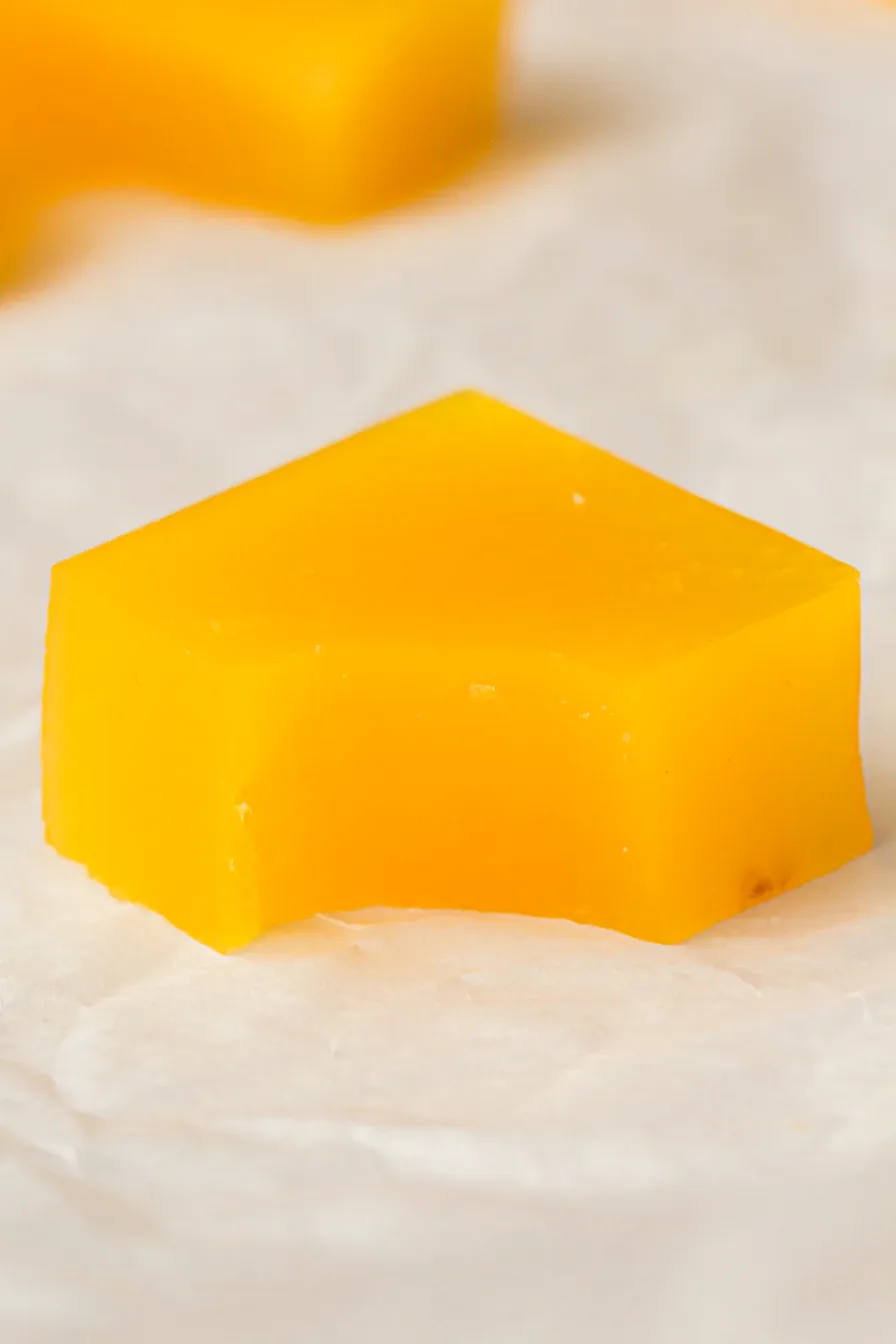
Homemade gummies last up to 1 week in an airtight container in the refrigerator. They contain no preservatives and soften at room temperature, so keep them chilled and layer them between parchment paper.
Why did my gummies turn out rubbery?
Rubbery gummies usually mean too much gelatin. This recipe uses 4 level tablespoons (28 grams) for 1 1/2 cups of juice, so measure carefully or use a kitchen scale. For a softer, jelly-like gummy, use a little less.
Can I use fresh-squeezed juice?
Yes. Fresh-squeezed orange juice works; strain out the pulp first for a smooth texture and use the same 1 1/2 cups (360 ml). Avoid fresh pineapple, kiwi and papaya juice, since their enzymes stop gelatin from setting.
Can I skip the sweetener?
Yes. The 2 tablespoons of honey or maple syrup are optional. If your juice is naturally sweet, leave the sweetener out; tart juices may need the full amount.
What is the best gelatin for gummies?
Plain, unflavored powdered gelatin works best for homemade gummies, at 4 tablespoons (28 g) per batch. Beef and pork gelatin both set well, so use whichever you can find at the same weight.
Are homemade gummies gluten-free?
Yes, they are naturally gluten-free when you use 100% juice, plain unflavored gelatin and pure honey or maple syrup. Read every label, since juice blends and flavored gelatin can contain other ingredients, and wash tools used for wheat baking.
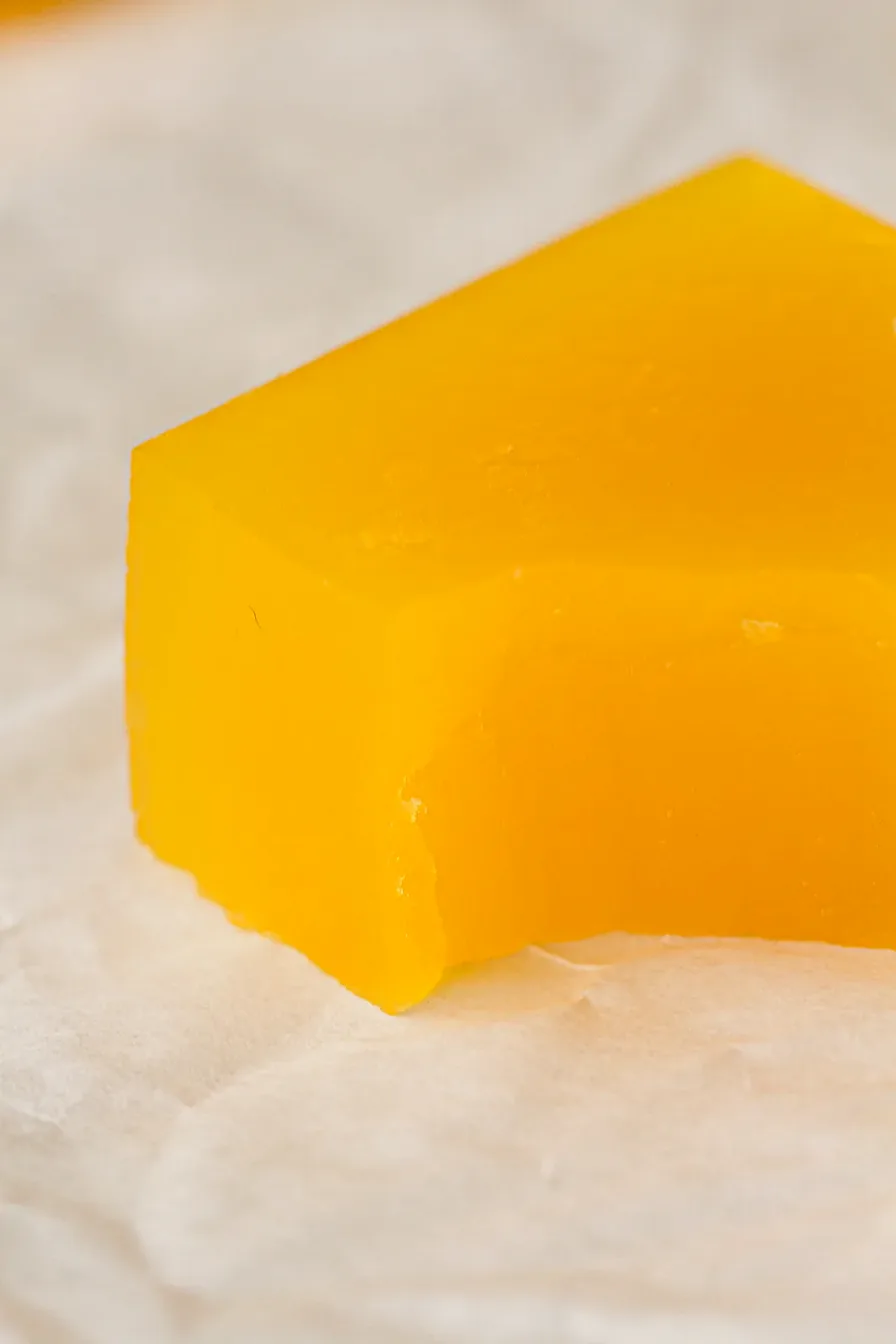
Give these homemade gummies a try the next time you want a snack that feels a little special. They are bright, chewy, simple to make, and easy to keep gluten-free. Enjoy!
Keep the Flavor Coming – Try These:
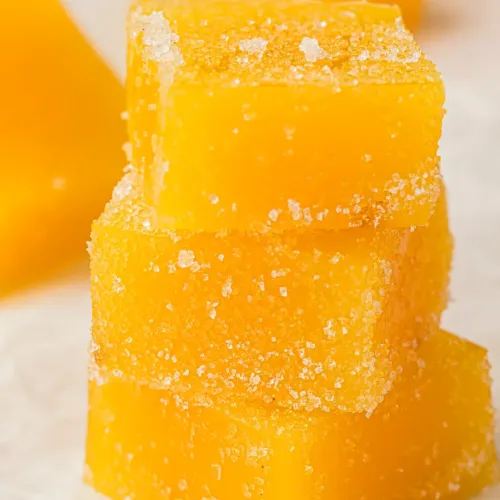
Homemade Gummies
Ingredients
- 1 1/2 cups 100% fruit juice 360 ml; orange juice works beautifully
- 4 tablespoons unflavored gelatin powder 28 g
- 2 tablespoons honey or maple syrup 30 ml; optional
- 1 teaspoon lemon juice 5 ml
Instructions
- Pour fruit juice into a small saucepan and sprinkle gelatin evenly over the top. Let sit for 5 minutes to bloom.

- Place saucepan over low heat and stir gently until gelatin fully dissolves. Do not boil.
- Remove from heat and stir in honey or maple syrup (if using) and lemon juice.
- Pour mixture into silicone molds or a parchment-lined dish.
- Refrigerate for at least 2 hours, or until fully set.
- Remove from molds or cut into small squares.

Notes
- Store in an airtight container in the refrigerator for up to 1 week. Best kept chilled for a firm texture; not suitable for room-temperature storage.
- Too much gelatin makes gummies rubbery, so measure carefully.
- Fresh-squeezed juice works; strain the pulp first for a smooth texture.
- If your juice is naturally sweet, you can skip the sweetener.
Nutrition

I’m Bitty, owner of nodashofgluten.com, where I share simple, delicious recipes for all tastes, including gluten-free. Check out my “About Me” page for more info!