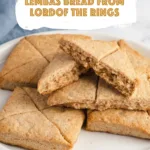

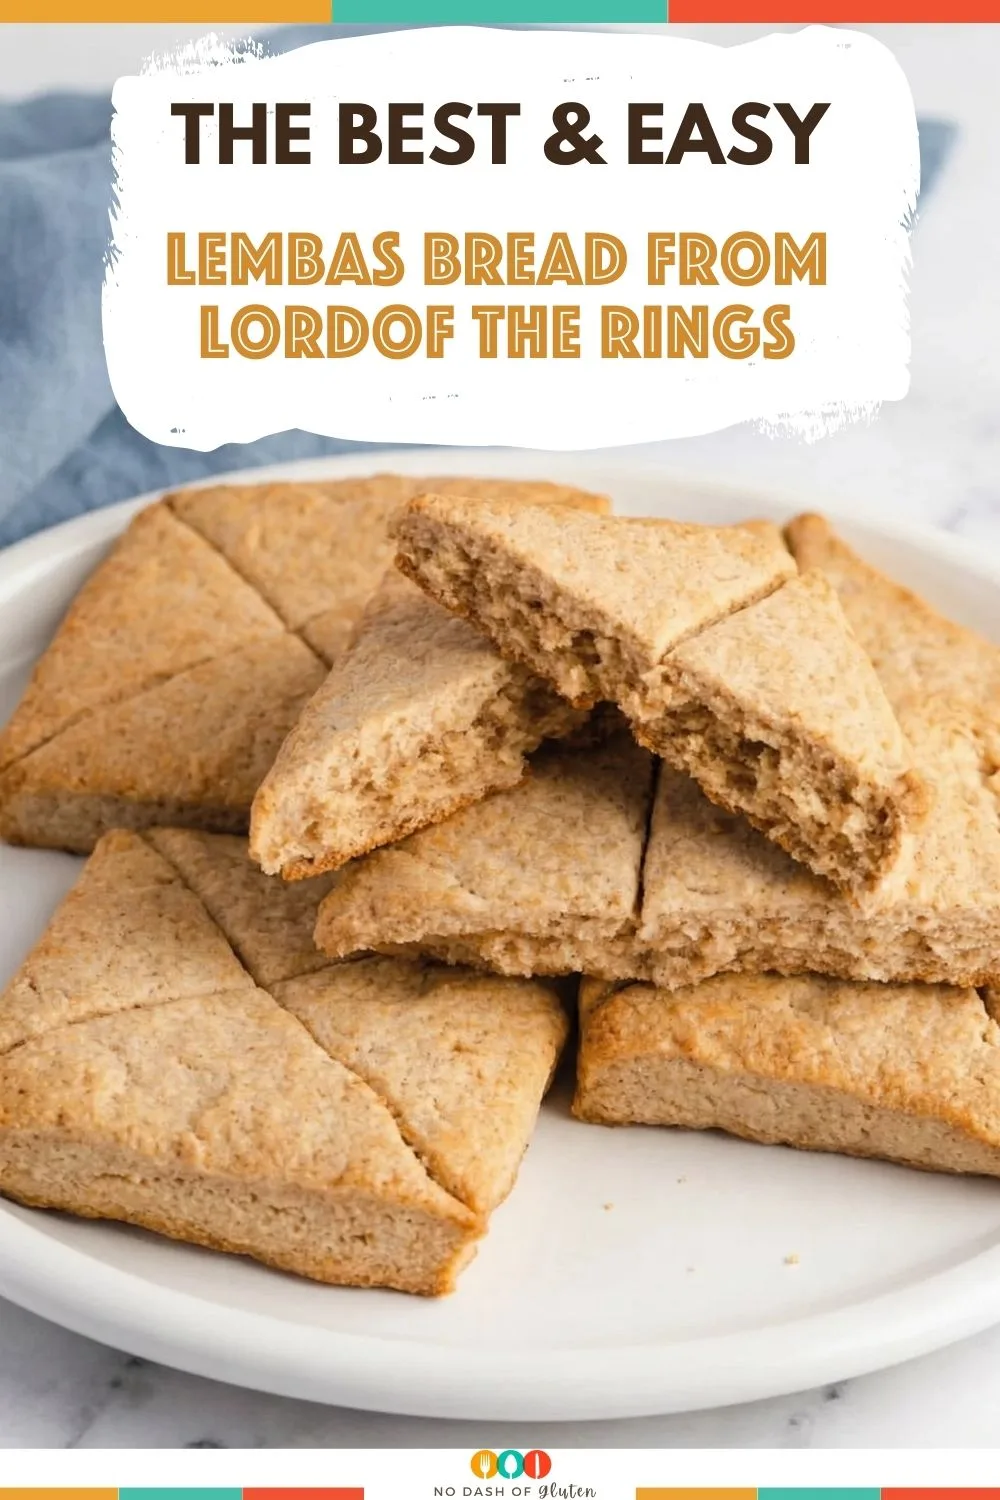
Whip up this simple Lembas Bread From Lord of the Rings Recipe with flour, butter, brown sugar, and cream. Perfect for second breakfasts, elevensies… or whenever you need a snack fit for an Elf!
You know how sometimes you get caught up in a movie marathon and suddenly find yourself wanting to be in Middle-earth? No? Just me? Well, that’s how this Lembas Bread from The Lord of the Rings Recipe made its debut at our house. We were halfway through The Two Towers (Extended Edition, because obviously), and my kids started begging for snacks. “Mom, can we have something Elvish?” And I was like, “What do I look like, Galadriel?” But then, I thought… Why not?
I dusted off my old notes from a Tolkien fan blog I used to read (yep, still nerdy after all these years) and got to work. And let me tell you, this recipe is a keeper. It’s buttery, not-too-sweet, and has that comforting hint of cinnamon that makes you think you’re in the woods of Lothlórien, not your messy kitchen. My husband took a bite and said, “It’s like a scone met a biscuit and had an Elvish baby.” Not wrong.
A Little Lembas Lore (for Fellow Nerds and Snack Enthusiasts)
If you’ve ever wondered what exactly Lembas bread is supposed to be, besides the stuff of hobbit dreams, here’s a quick rundown straight from the source. In The Fellowship of the Ring, Galadriel gifts the Fellowship these magical cakes, saying:
“Eat little at a time, and only at need. For these things are given to serve you when all else fails. The cakes will keep sweet for many many days, if they are unbroken and left in their leaf-wrappings, as we have brought them. One will keep a traveler on his feet for a day of long labour, even if he be one of the tall Men of Minas Tirith.”
Lembas is said to be an Elvish whey bread, light, slightly crisp, with a gentle sweetness. Elves passed the recipe down through generations, and even Gimli (the ultimate meat-and-ale guy) enjoyed it. In Tolkien’s world, it was a tightly guarded secret, thought to be made with ground corn and seed, and was so pure that creatures like Gollum couldn’t eat it. Fun fact: Tolkien was probably inspired by “tack,” a type of sailor’s hard bread designed to last for months at sea, proof that even magic has practical roots.
So, while my kitchen lacks the golden light of Lothlórien (unless you count the bulb over the sink), this recipe brings a touch of that Elvish magic home. One bite, and you might just feel ready for your own unexpected journey, or at least the next movie in the marathon.


What Real-Life Bread Inspired Tolkien’s Lembas?
Fun fact for my fellow trivia nerds: Tolkien’s idea for lembas bread didn’t just spring from Elvish imagination. It was actually inspired by “tack,” a type of hard, dry ship’s biscuit that sailors used to take on long sea voyages. This stuff was tough enough to survive months at sea, about as close as humans get to Elf-level snack technology. So, if you’ve ever wondered why lembas is described as filling, travel-friendly, and able to outlast an orc incursion, you can thank those ancient mariners (and maybe a little Tolkien ingenuity).
Why You’ll Love This Lembas Bread From Lord of the Rings Recipe?
First off, this Lembas Bread from The Lord of the Rings Recipe is easy. Like, surprisingly easy for something you’d think Elves had to bless or chant over. It’s also:
- Ridiculously portable. Perfect if you’re going on an adventure… or just need a snack between Zoom calls.
- Not overly sweet. You won’t crash after eating one. Or two. Or five. No judgment.
- Flexible! Want more cinnamon? Do it. Feel like adding nuts? Sure. This recipe loves a remix.
- Impress-your-friends level geeky. Imagine pulling these out at your next movie night. “Oh, these? Just some Lembas Bread I baked this afternoon…” Instant legend.
How Is This Lembas Bread Different From Regular Focaccia?
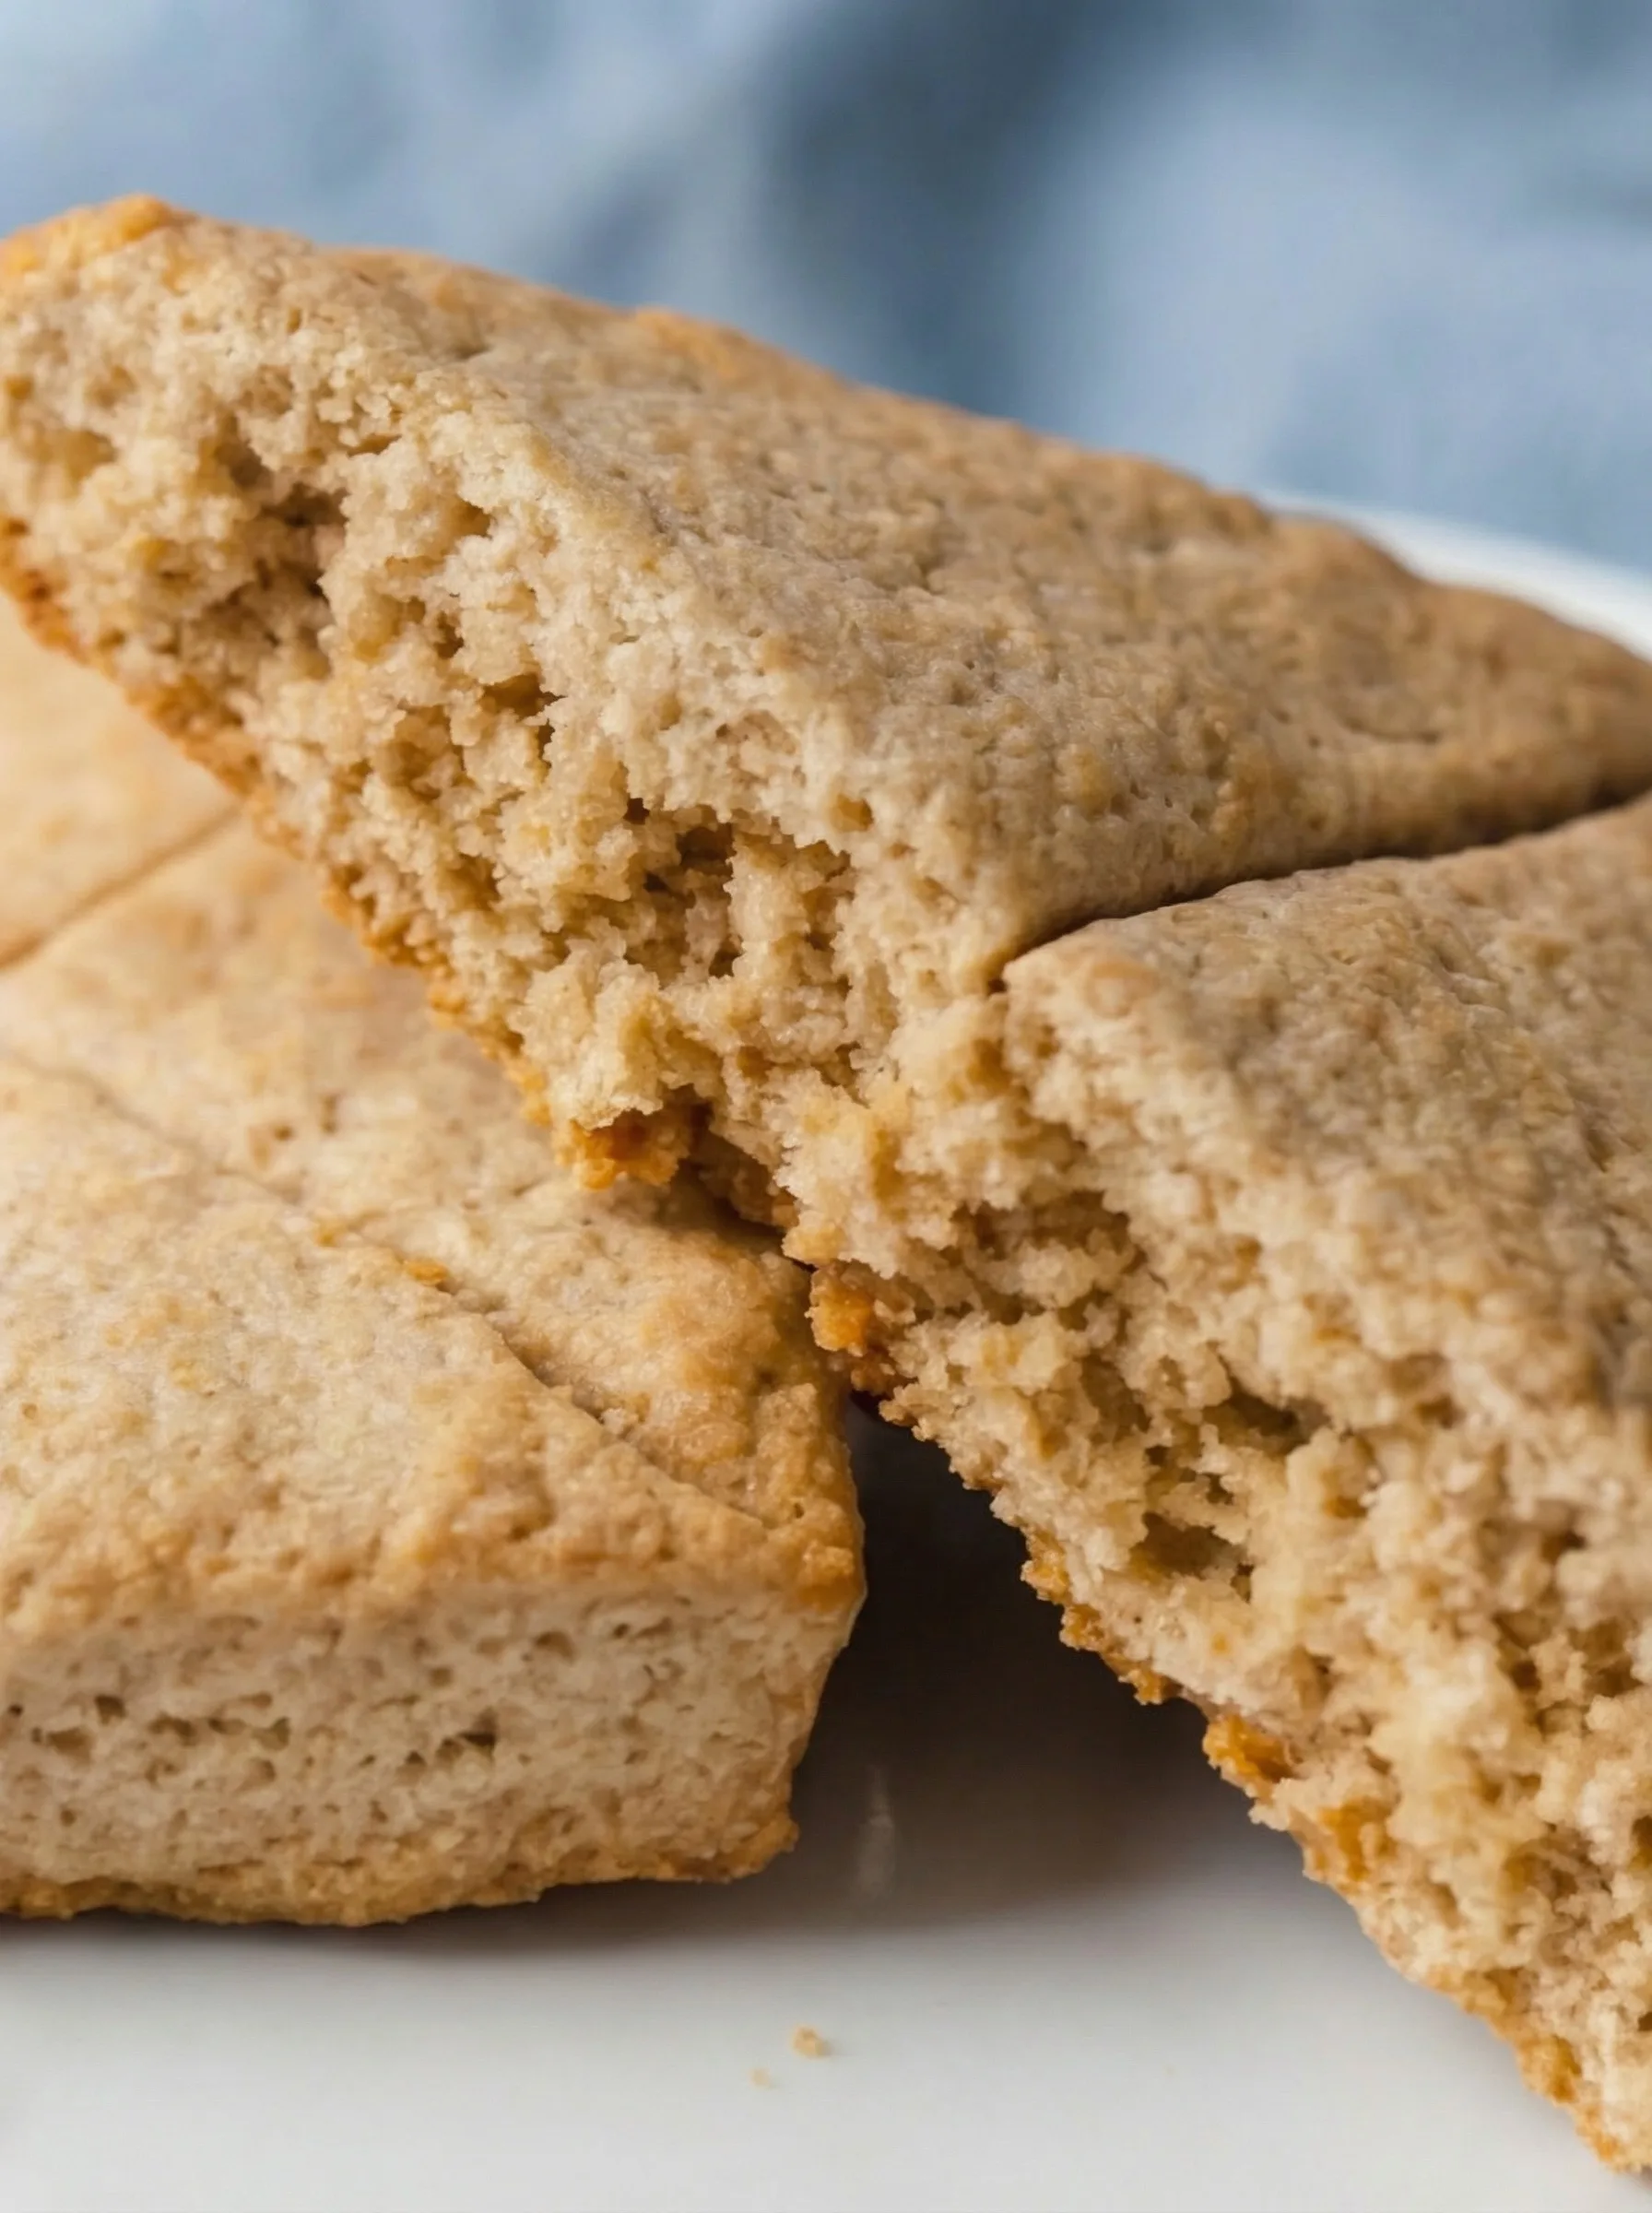
Think of your favorite focaccia, airy, full of craggy bubbles, sometimes bordering on a bread pillow. Now, lembas bread turns that idea on its head. Instead of a super open, holey crumb, this take on lembas keeps things much tighter and more compact (because let’s face it, Elves need something sturdy for cross-country trekking, not just a fluffy bread cloud).
Here’s what stands out:
- Smaller air pockets. You won’t find those signature cavernous holes here. The goal: heartier, close-knit slices that hold together whether you’re wrapping them in mallorn leaves or parchment paper.
- Thinner profile. Spreading the dough edge-to-edge in the pan means each piece bakes up thinner than your usual focaccia, no thick slabs, just an easy-to-carry bite.
- No bubbles galore. Unlike traditional focaccia that’s all about wild fermentation and big bubbles, this recipe calls for a more careful rise. Double in size? Yes. Gigantic air pockets? Absolutely not.
In short: Picture a bread that’s less “giant bread sponge,” more “solid snack with enough heft to actually fuel your quest.” Even if your adventure is just making it to lunchtime.
Ingredient Notes:
I’m guessing you’ve already got most of this in your pantry, which is another reason this recipe is pure gold.
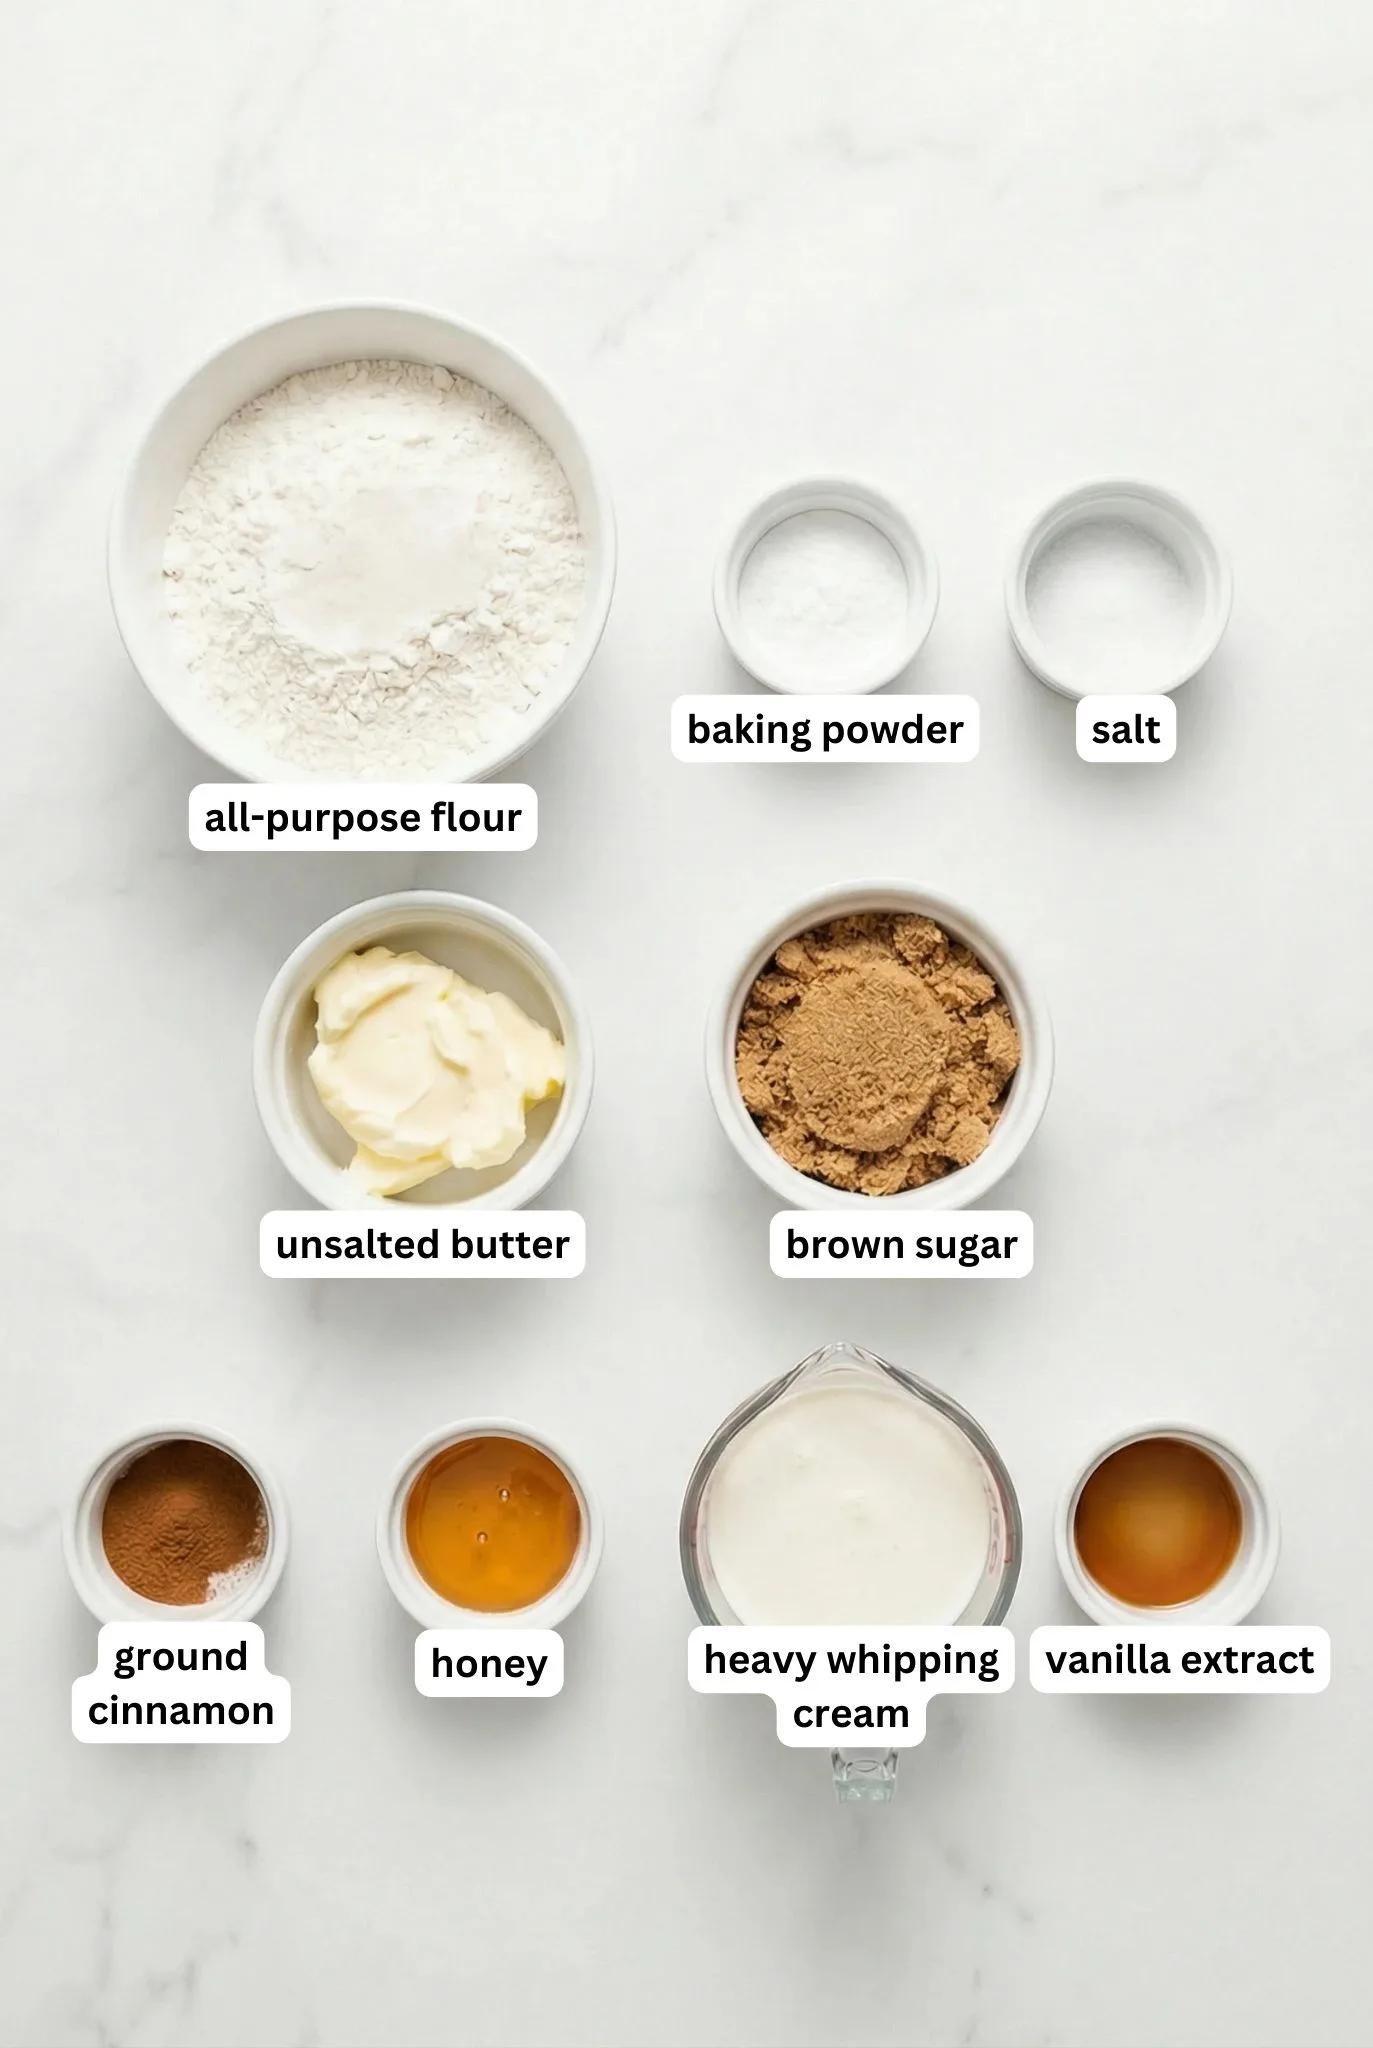
- 2½ cups all-purpose flour – Basic, dependable, gets the job done. Like Samwise Gamgee.
- 1 tablespoon baking powder – Gives the bread just enough lift, so it’s not a rock.
- ¼ teaspoon salt – A little salt makes the sweet shine. Trust me.
- ½ cup butter (softened) – The star. Buttery richness that makes you want one more bite.
- ⅓ cup brown sugar – Adds a hint of caramel-y sweetness. The sugar also feeds the yeast, helping it activate and giving your dough that perfect, fluffy rise.
- 1 teaspoon cinnamon – Optional, but why would you skip it? This is the comfort spice.
- ½ teaspoon honey – Tiny bit of sweetness. The Elves would approve.
- ⅔ cup heavy whipping cream – Makes the dough soft and tender. Go big or go home.
- ½ teaspoon vanilla extract – Because everything’s better with vanilla.
What You’ll Need: The Lembas Bread Toolkit
Making lembas bread isn’t some epic quest requiring a wizard’s laboratory, but you will need a few basics from your kitchen armory:
- Baking sheets – For that golden-brown bottom.
- Mixing bowls – One big, one small. Nothing fancy.
- Stand mixer or wooden spoon – Either works. Let the mixer do the heavy lifting or go classic with some elbow grease.
- Parchment paper (bonus points if it’s leaf-shaped) – Prevents sticking and looks decidedly Elvish.
No mithril required. Just gather these, and you’re ready to roll (or, you know, bake).
Swapping in Whole Wheat Flour
So, you’re eyeing that sack of whole wheat flour in the back of your pantry and wondering if it’s up to the lembas task. Good news: you can use whole wheat flour instead of all-purpose. The result will be a bit heartier—think “Rohan feast” rather than “Elven delicacy.”
A couple of tips if you want to go full Hobbit and make the swap:
- Start with a one-for-one substitution. The flavor will be a touch nuttier.
- Check your dough. Whole wheat flour absorbs liquid like it’s headed through Mordor, so you may need to add an extra splash of cream to keep things tender.
- Don’t expect quite the same pillowy softness. Whole wheat lends a little more chew and density—still tasty, just a different vibe.
Bottom line: Absolutely doable, especially if you like your lembas a bit more rustic.
How Long Does Lembas Bread Take, Start to Finish?
Set aside about four hours from the first measuring cup to the last slice cooling on the rack. Most of this is hands-off—the dough needs its beauty rest to rise and get sturdy enough for your Elvish quest. Here’s the breakdown:
- Hands-on time: Around 30 minutes for mixing and shaping.
- Letting the dough rise: About 1 hour and 30 minutes.
- Baking: Add another 30 minutes for the oven magic.
- Total journey: Give yourself a four-hour window (enough to watch The Two Towers and still have time for second breakfast).
It’s not a quick spell, but the results feel worthy of a seat at Elrond’s table.
How To Make Lembas Bread from The Lord of the Rings?
- Preheat and Pretend You’re in Rivendell: Set your oven to 425°F. As it warms up, maybe hum the Fellowship theme. I won’t judge.
- Whisk the Dry Ingredients: In a big bowl, whisk together flour, baking powder, and salt. Super simple.
- Cut in the Butter: Toss in that softened butter and work it in until your mixture looks like fine breadcrumbs. The goal here is to leave tiny pieces of butter in the flour so they melt in the oven and help create a light, tender texture. For a clear breakdown of this technique, check out this guide on how to cut butter into flour from The Spruce Eats.
- Add Some Sweetness: Stir in brown sugar and cinnamon. Right about now, your kitchen’s going to start smelling amazing.
- Bring It Together: Add honey, heavy cream, and vanilla. Use a fork at first (you’ll feel fancy), then your hands if you need to. You’re aiming for a thick, slightly sticky dough. Hobbit-approved.
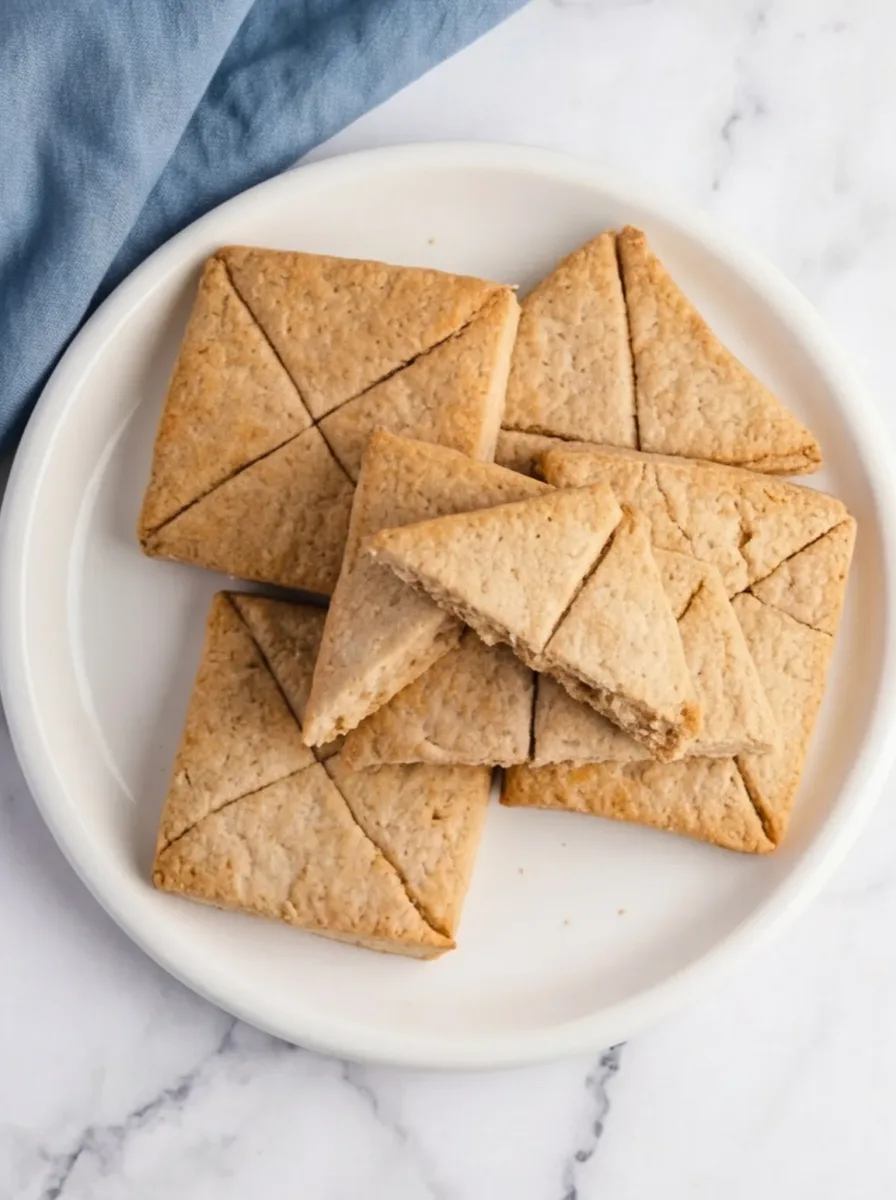
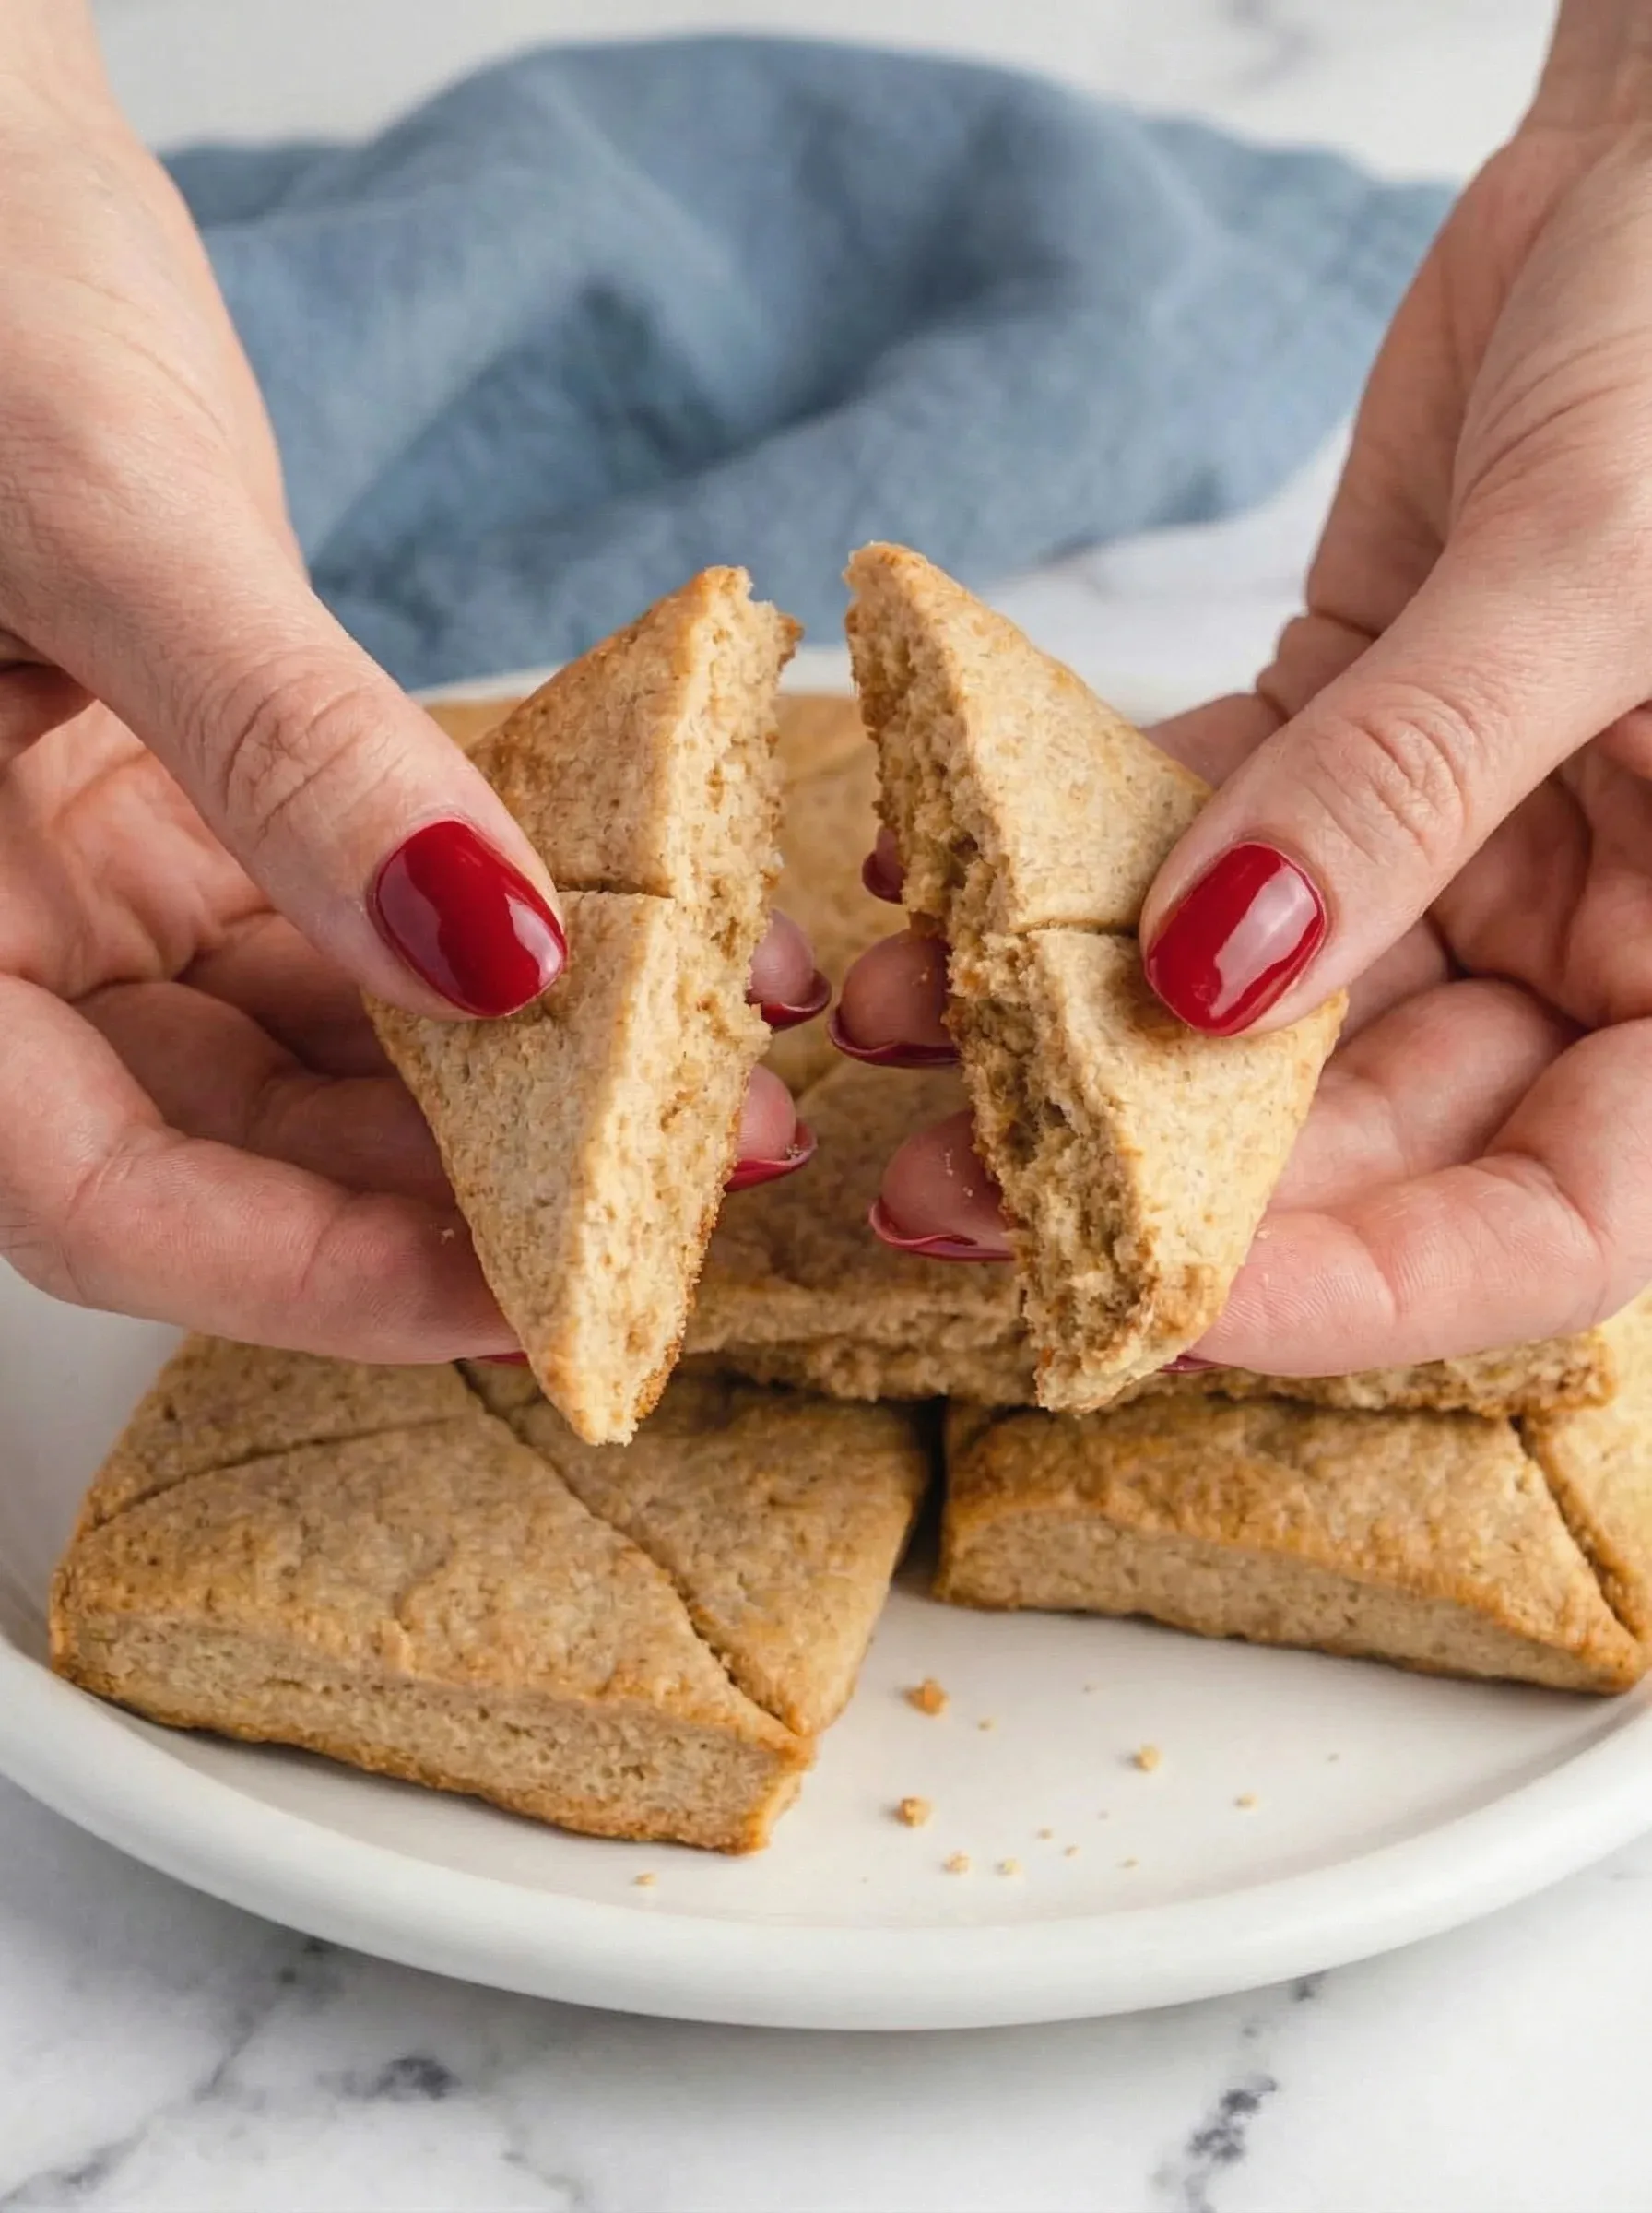
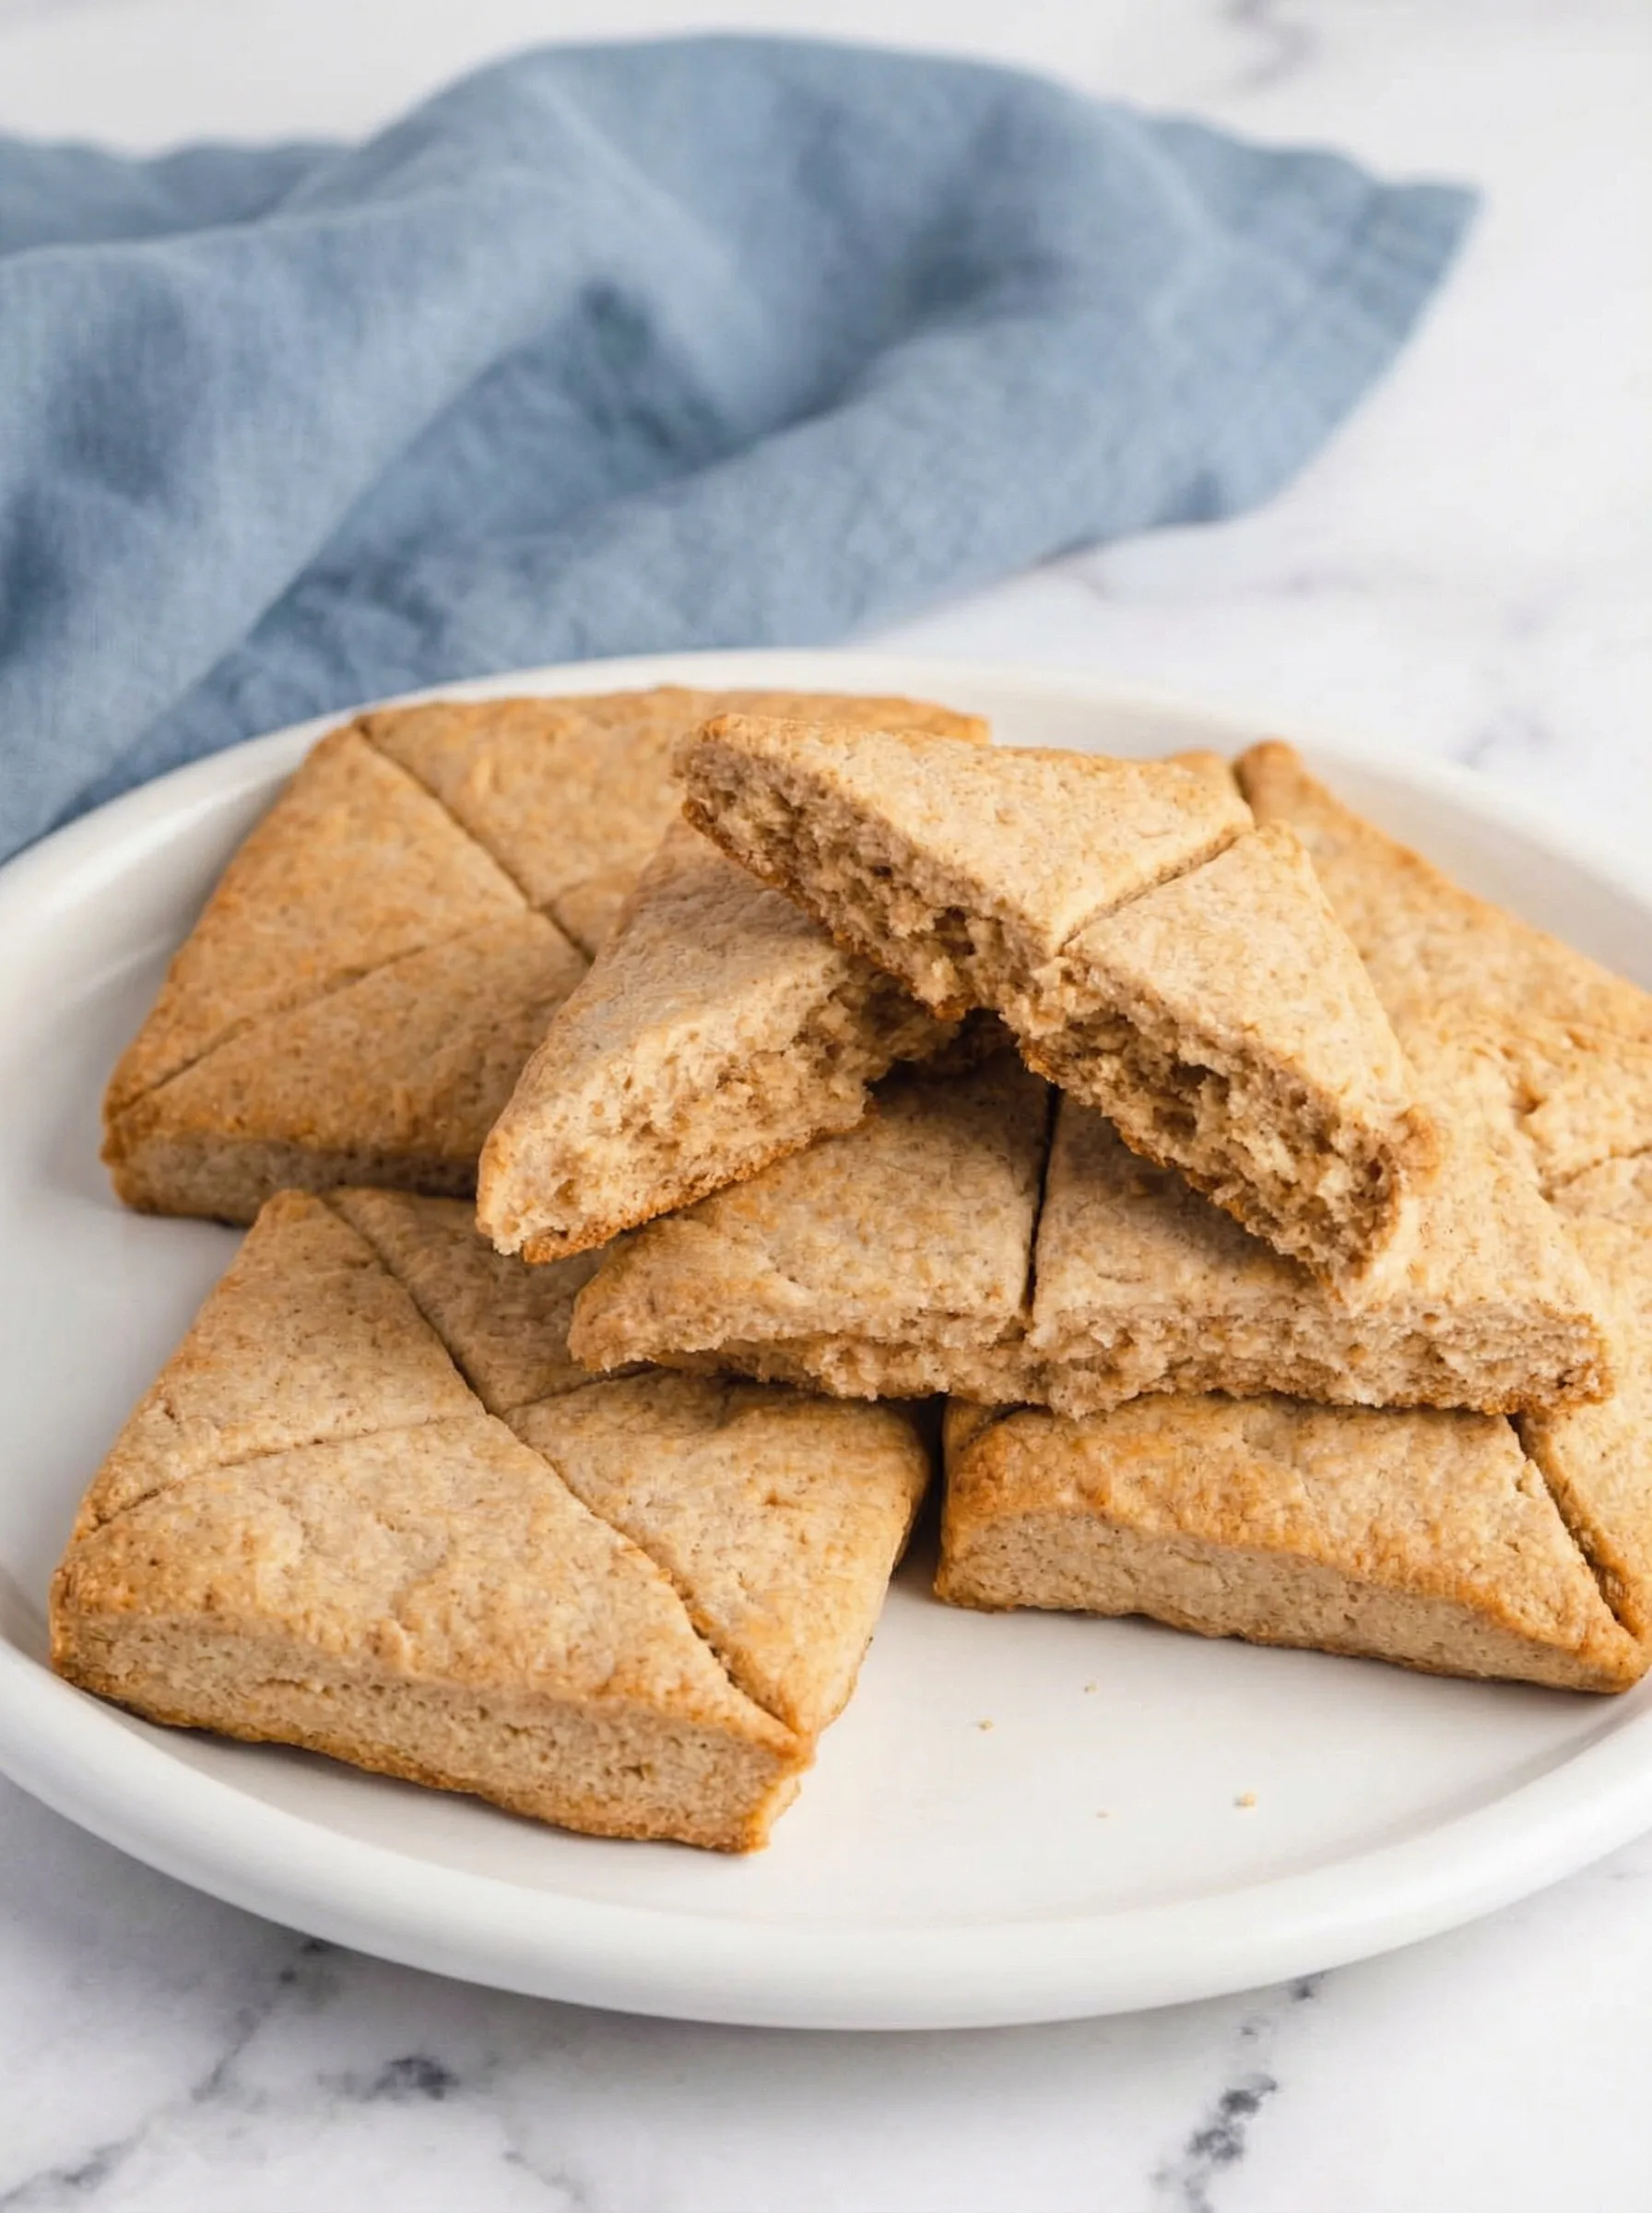
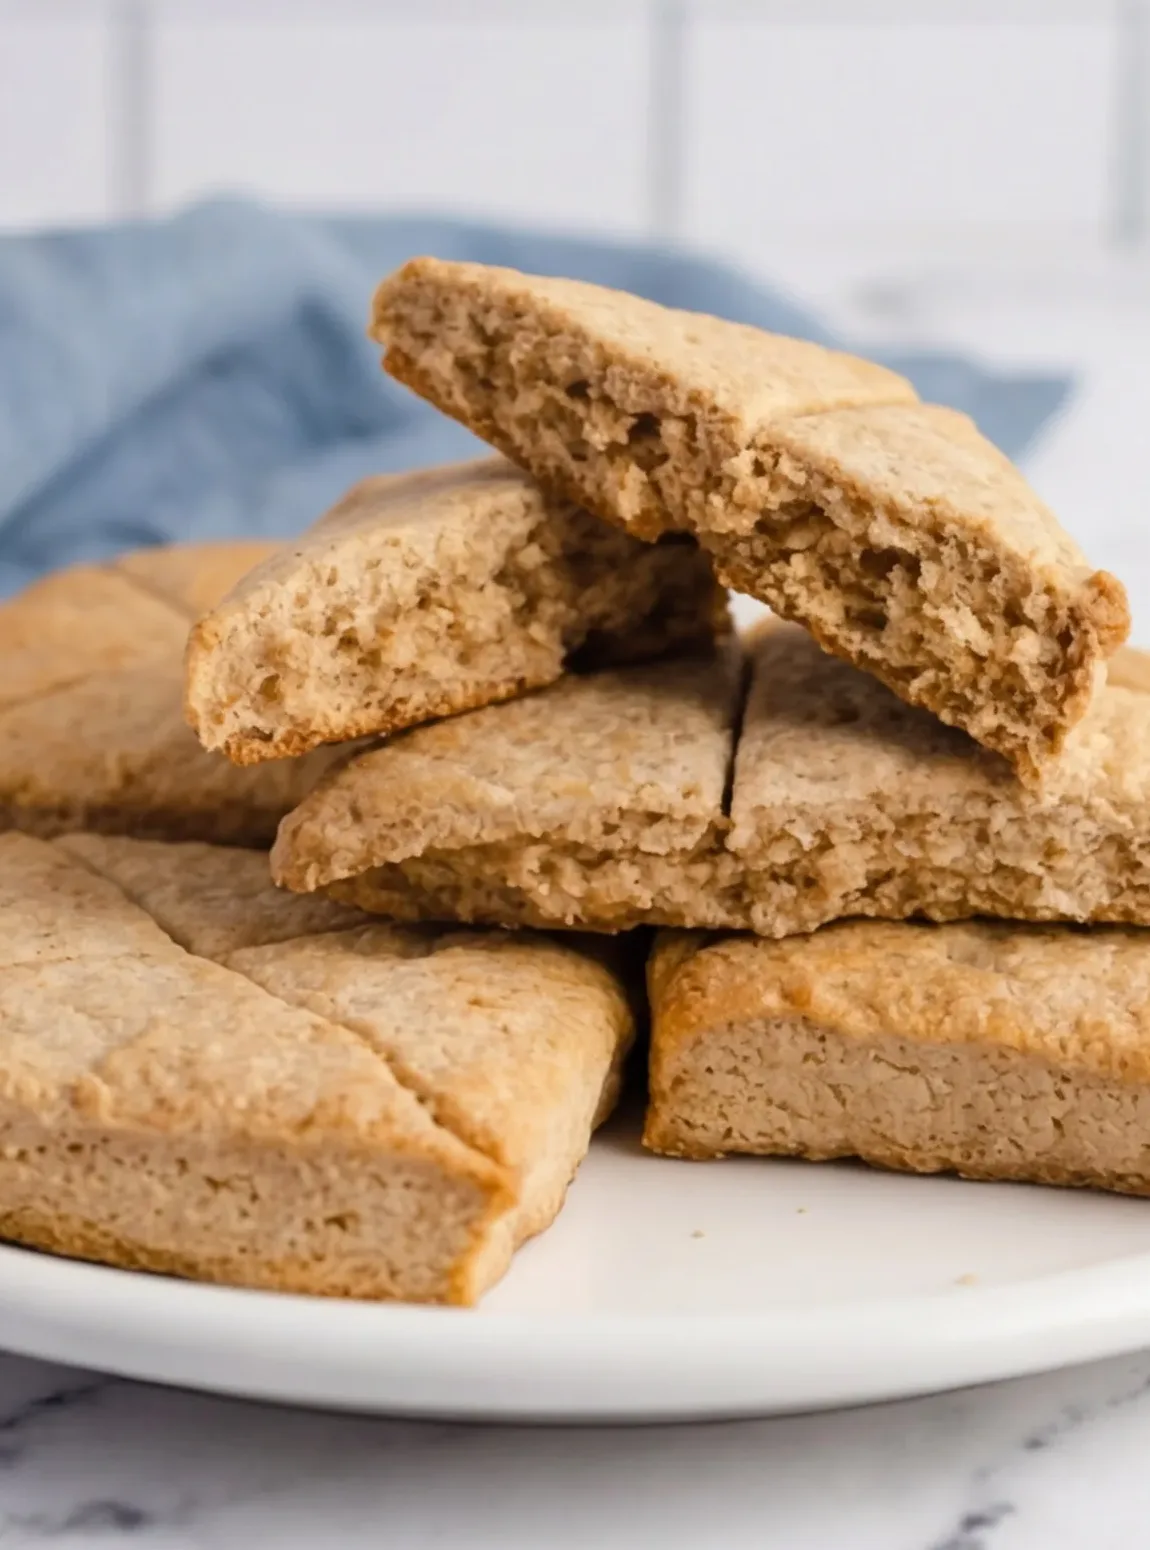
- Roll and Slice: Roll out the dough to about ½ inch thick. Use a knife to cut it into squares, around 3 inches works best. Lightly score each square with an X (corner to corner). It looks cool and gives big Tolkien vibes.
- Bake It Up: Transfer your lembas squares to a parchment-lined baking sheet and bake for 12-ish minutes. You’re looking for lightly golden edges, not a tan. These are Elven baked goods, after all.
- Cool Completely (If You Can Wait): Let them cool all the way. I know, patience is hard. But they taste better that way, kind of like a shortbread with a little chew.
How to Tell When Your Lembas Dough is Ready
So, when do you know your lembas dough is poised for its journey to the oven? Here’s what to look for:
- Doubled in Size, Not a Shire Balloon: After rising, your dough should be roughly twice its original size. Don’t expect it to puff up like a party balloon—lembas bread is hearty, not billowy.
- Firm But Not Fragile: The surface should look smooth and a bit puffy, but not delicate or overly bubbly. If you spot giant airy pockets, it’s probably gone a bit too far into “Elven cloud” territory.
- Gently Press to Test: Press your fingertip gently into the dough. If it springs back slowly and leaves just a slight indent, you’re in business. If it collapses completely or barely moves, you may need to adjust your proofing time next round.
- Still a Bit Thin: Unlike rustic loaves, lembas dough stays fairly thin before baking. That’s exactly what you want—just enough lift for some softness, but still true to Tolkien’s vision.
Bottom line: When your dough looks puffy, pillowy, and still holds its shape without massive air bubbles, it’s ready for the oven (and your next adventure).
Letting Your Lembas Bread Dough Rise
Let’s talk patience—the most “Gandalf showing up exactly when he means to” part of the whole lembas-making quest. Rise time matters, and while this isn’t your classic loaf, you still want to nail it.
Here’s how to do it right:
- Find the Goldilocks Zone: You’re not after gigantic air pockets or a bread that puffs up like a hobbit’s second breakfast. Keep an eye on your dough as it rises: you want it to just about double in size, but stop short if it starts looking extra bubbly or fragile.
- Hearty, not Puffy: The ideal lembas dough will look full and sturdy—not saggy, not riddled with huge air holes.
- Don’t Over-Proof: Over-proofed dough loses strength and just ends up sad. If it starts to sag or deflate, you’ve gone too far. Aim for dough that still holds its shape.
- Thin is in: Don’t worry if the dough seems a bit thin in the pan. Spread it to the edges if needed—it’s not supposed to bake up tall like a dwarven helmet.
If you follow those steps, your lembas bread will come out with a satisfying, tight crumb: not too dense, not too airy. Just right for keeping your party fueled on their way to Mordor.
PRO TIPS:
Wrapping Your Lembas Bread: While real mallorn leaves are a bit out of reach (unless you’ve got a secret line to Lothlórien), you can absolutely get creative with your wrapping. Parchment paper printed with leaves is a fun, accessible option. Place two sheets back to back so the inside is green, too. Don’t sweat it if they don’t line up perfectly; the rustic look adds to the charm. For an even more authentic touch, banana leaves work beautifully and add an earthy aroma. Secure your wrapped lembas with a bit of butcher’s twine, and you’re ready for your own adventure.
Adjusting for Thicker or Thinner Lembas: Want a heftier lembas that feels worthy of a second breakfast? Just roll your dough out a little chunkier, closer to ¾ inch thick, and cut your squares as usual. Love your lembas more on the snackable, crisp side? Roll that dough a bit thinner (about ¼ inch), and keep an eye on the bake time since they’ll cook up a tad faster. You can also switch to a smaller baking sheet for chunkier pieces, or spread out on a larger one for thinner slices. Basically, you’re the Elven baker; wield your rolling pin as you see fit.
Storage Options:
Once cool, pop them in an airtight container. They’ll stay fresh on your counter for 4-5 days (longer if you’re in Rivendell, I bet). Planning for an extended journey? You can freeze them! Just thaw at room temp, and you’re good to go.
Want To Save This Recipe?
Freezing Lembas Bread
Headed out on a quest or just making a batch ahead? Lembas freezes like a dream. Just make sure your bread is completely cool first, then wrap each square snugly in either plastic wrap or foil. (For maximum Middle-earth points, parchment paper followed by foil totally works, too.) Tuck the wrapped lembas into a freezer bag or an airtight container, this keeps them tasting fresh for up to a month. When you need a snack fit for a Ranger, simply let them thaw at room temperature, and you’re ready for elevenses, no magic required.
Variations and Substitutions:
Feeling adventurous? Tweak away:
- Make it gluten-free: Use a 1-to-1 gluten-free flour blend. Works like a charm.
- Add more spice: Nutmeg or cardamom would be lovely additions.
- Go sweet: Sprinkle the tops with a dusting of powdered sugar after baking.
- Add nuts: A handful of chopped walnuts or pecans mixed into the dough? Yes, please.
- Dried fruit: Some currants or finely chopped dried apricots would make these extra hearty.
- Skip or swap the herbs: Not a fan of Italian seasoning? No worries—you can leave it out, or swap in your favorite dried herbs like rosemary or thyme for a new twist. Play around and see what Middle-earth combo you like best!
Don’t be afraid to get creative. Whether you’re catering to elves, hobbits, or picky dwarves, there’s a lembas variation for everyone.
What to Serve with Lembas Bread from The Lord of the Rings?
Want to go all out for your Lord of the Rings night? Try these:
- Hot tea or cider: Classic Middle-Earth drinks. Bonus points for a pewter mug.
- Fresh fruit: Apple slices or berries for a Shire-inspired snack.
- Honey butter: Not canonical, but hey, delicious is delicious.
- Elven wraps: Okay, okay. You can use leaves if you want the real vibe.
Make-Your-Own Butter for Lembas
Feeling adventurous? Impress your hobbit and elf pals with a batch of homemade butter—perfect for spreading on lembas bread (and making you look like an absolute kitchen wizard).
Here’s the gist:
- 2 pints heavy cream
- A pinch of fine salt
Whip the cream in a food processor, blender, or even with an old-fashioned hand mixer, until it transforms first into whipped cream and then separates into butter and liquid (buttermilk). Pause every so often to drain off the liquid. Once you’ve got thick, creamy butter, knead in a little salt. Done! Pair with your lembas and cue the applause—extra points if you serve it in a wooden bowl.
More serving Ideas:
Pair your lembas bread with a hearty, Middle-earth-inspired stew or soup for a meal even Samwise would approve of. And if you’re feeling cheeky, wrap a piece up and take it on your next hike; it might just help you go the extra mile, just like Frodo and Sam.
For the Ultimate Middle-earth Vibe:
Want to truly wow your fellowship? Serve your lembas bread in homemade wooden bowls or rustic goblets—nothing says “second breakfast in the Shire” like real wood grain and a little craftsmanship at your table. If you’re handy (or know someone who is!), try your hand at carving some simple bowls or cups for an extra-special touch. Not feeling crafty? Check out local artisan markets or online shops like Etsy for charming hand-turned wooden pieces. The natural textures will instantly level up your Tolkien-themed spread and make the whole affair feel straight from Bag End.
Whether you load them up with lembas, stews, or just a heap of fruit, these little touches make your gathering even more magical—worthy of a hobbit’s approval!
More Lord of the Rings-Inspired Recipes to Try
If you’re feeling the spirit of Middle-Earth and want to expand your fantasy menu, you’re in luck. Here are a few whimsical, Tolkien-themed treats that are sure to get a round of “second breakfasts” (and elevenses) at your table:
- Sam’s Hearthside Stew: A rustic root vegetable and barley stew, just the thing for hungry hobbits after a long walk through the Shire.
- Smeagol’s Fish & Toast: Inspired by Gollum’s unique palate, but cooked and seasoned properly—think smoked salmon or seared trout on crisply toasted sourdough, with crackers for a touch of crunch.
- Rabbit Tartine à la Gollum: No need to eat it raw! This open-faced sandwich features tender roast rabbit or chicken, a swipe of herbed cheese, and a sprinkle of fresh greens.
Ready to plan your own Middle-Earth feast? There’s a whole world of flavors to discover, whether you’re hosting a Hobbiton movie night or just craving a little culinary adventure.
Frequently Asked Questions:
Is this an authentic recipe from Tolkien?
Nope. It’s fan-made, but totally inspired by Tolkien’s descriptions. And honestly? Pretty darn tasty.
Does Lembas Bread keep you full?
Well, it’s not magic… but it is a surprisingly satisfying snack. Two pieces usually keep me full for a while.
Do I have to make the crisscross pattern on top?
Nope! It’s totally optional, but it does make the bread look extra cool. And if you’re planning to share photos? Definitely worth it.
How long does Lembas Bread last in the fridge?
Stored in an airtight container in the fridge, lembas bread will stay fresh for about 4–5 days. It may last a bit longer if kept well sealed, making it great for snacking or prepping ahead for your next adventure.
More Lembas Know-How
Can I use whole wheat flour?
Yes! Whole wheat flour works, but expect the texture to be a bit heartier. You might need to add a splash more water if the dough feels stiff.
Can I freeze lembas bread?
Absolutely. Wrap pieces individually in plastic wrap or foil and stash them in the freezer for up to a month. Thaw at room temp when your next quest calls.
How about skipping the spices or switching them up?
Totally fair game. If Italian seasoning isn’t your thing, try cinnamon, cardamom, or even a hint of nutmeg for a sweeter twist. Lembas is all about making it your own.
Any tips for wrapping?
If you want to go full Middle-Earth, wrap your lembas in parchment, banana leaves, or even a clean kitchen towel for that rustic travel vibe. No leaves? No problem.
What if my dough rises too much?
Keep an eye on your dough, let it double, but don’t let it get super bubbly or fragile. Overproofing can make the bread a bit too airy.
Does water temperature matter?
If you’re using yeast, yes! Aim for water between 90°F and 110°F. Too hot and you’ll zap the yeast; too cold and nothing happens.
Got more questions? Drop them in the comments—I’m always happy to play Elven baker-in-residence!
And there you have it! The Lembas Bread from The Lord of the Rings Recipe that’ll make you feel ready for an adventure (or, you know, a chill afternoon). Try it, tweak it, and let me know how it goes. And if you wrap them in leaves and take photos? Send them my way. I’m always here for a little Middle-Earth magic.
Keep the Flavor Coming – Try These:


Lembas Bread From Lord of the Rings Recipe
Ingredients
- 2 ½ cups all-purpose flour
- 1 tablespoon baking powder
- ¼ teaspoon salt
- ½ cup unsalted butter softened
- ⅓ cup brown sugar packed
- 1 teaspoon ground cinnamon optional, for added flavor
- ½ teaspoon honey
- ⅔ cup heavy whipping cream
- ½ teaspoon vanilla extract
Equipment
- Baking sheet
- Mixing bowls
- Wooden spoon or spatula
- Stand mixer (optional)
- Parchment paper (bonus if it's leaf-shaped)
Instructions
- Preheat the Oven: Preheat the oven to 425°F (220°C). Prepare a baking sheet by lining it with parchment paper or lightly greasing it to prevent sticking.
- Prepare the Dry Ingredients: In a large mixing bowl, combine 2 ½ cups of all-purpose flour, 1 tablespoon of baking powder, and ¼ teaspoon of salt. Mix thoroughly to ensure even distribution of the leavening agents and seasoning.
- Incorporate the Butter: Add ½ cup of softened unsalted butter to the dry mixture. Using an electric mixer on low speed or a pastry cutter, blend the butter into the flour mixture until it resembles fine breadcrumbs or granules.
- Add Sweeteners and Spices: Add ⅓ cup of packed brown sugar and 1 teaspoon of ground cinnamon (if using) to the mixture. Stir until the dry ingredients are evenly combined.
- Combine Wet Ingredients: In a separate small bowl, mix ½ teaspoon of honey, ⅔ cup of heavy whipping cream, and ½ teaspoon of vanilla extract. Slowly pour this mixture into the flour mixture.
- Form the Dough: Using a fork or your hands, gently stir the mixture until a thick dough forms. Be careful not to overwork the dough; it should be cohesive yet tender.
- Shape the Dough: On a lightly floured surface, roll out the dough to a thickness of approximately ½ inch. Cut the dough into 3-inch squares. Lightly score each square with a criss-cross pattern from corner to corner using a sharp knife, taking care not to cut completely through.
- Bake: Place the dough squares onto the prepared baking sheet. Bake in the preheated oven for 12 to 15 minutes, or until the bread is set and the edges turn a light golden brown.
- Cool and Serve: Remove from the oven and allow the Lembas Bread to cool completely on a wire rack. It is best enjoyed at room temperature after it has dried slightly, which enhances the flavor and texture.
Notes
Nutrition
I’m Bitty, owner of nodashofgluten.com, where I share simple, delicious recipes for all tastes, including gluten-free. Check out my “About Me” page for more info!