
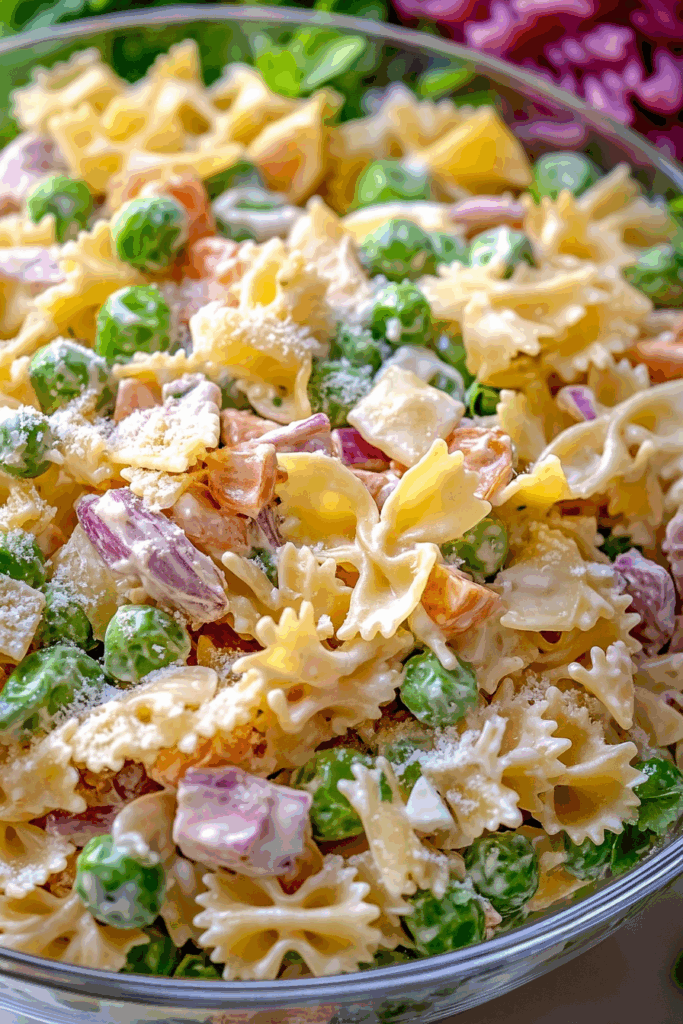
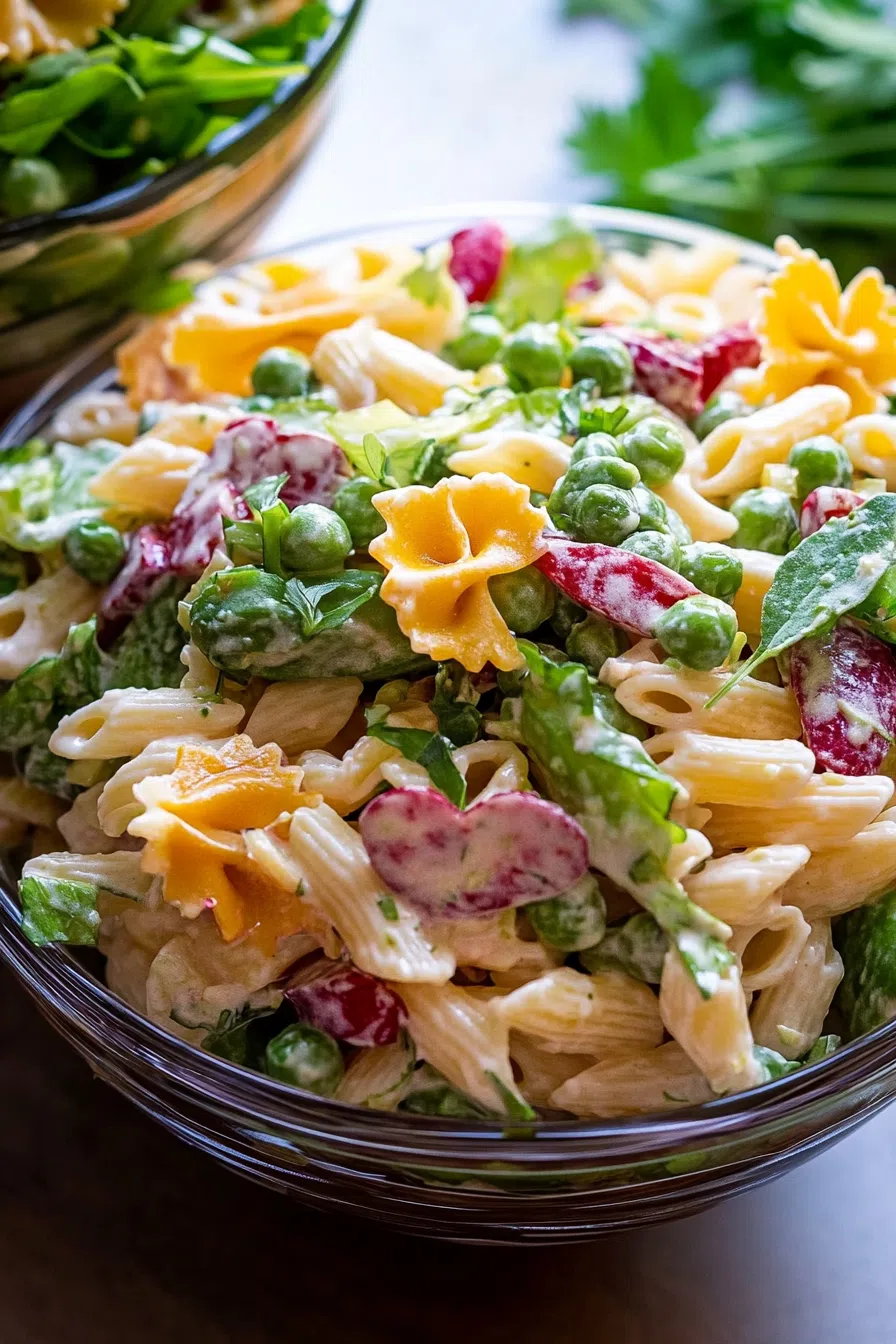
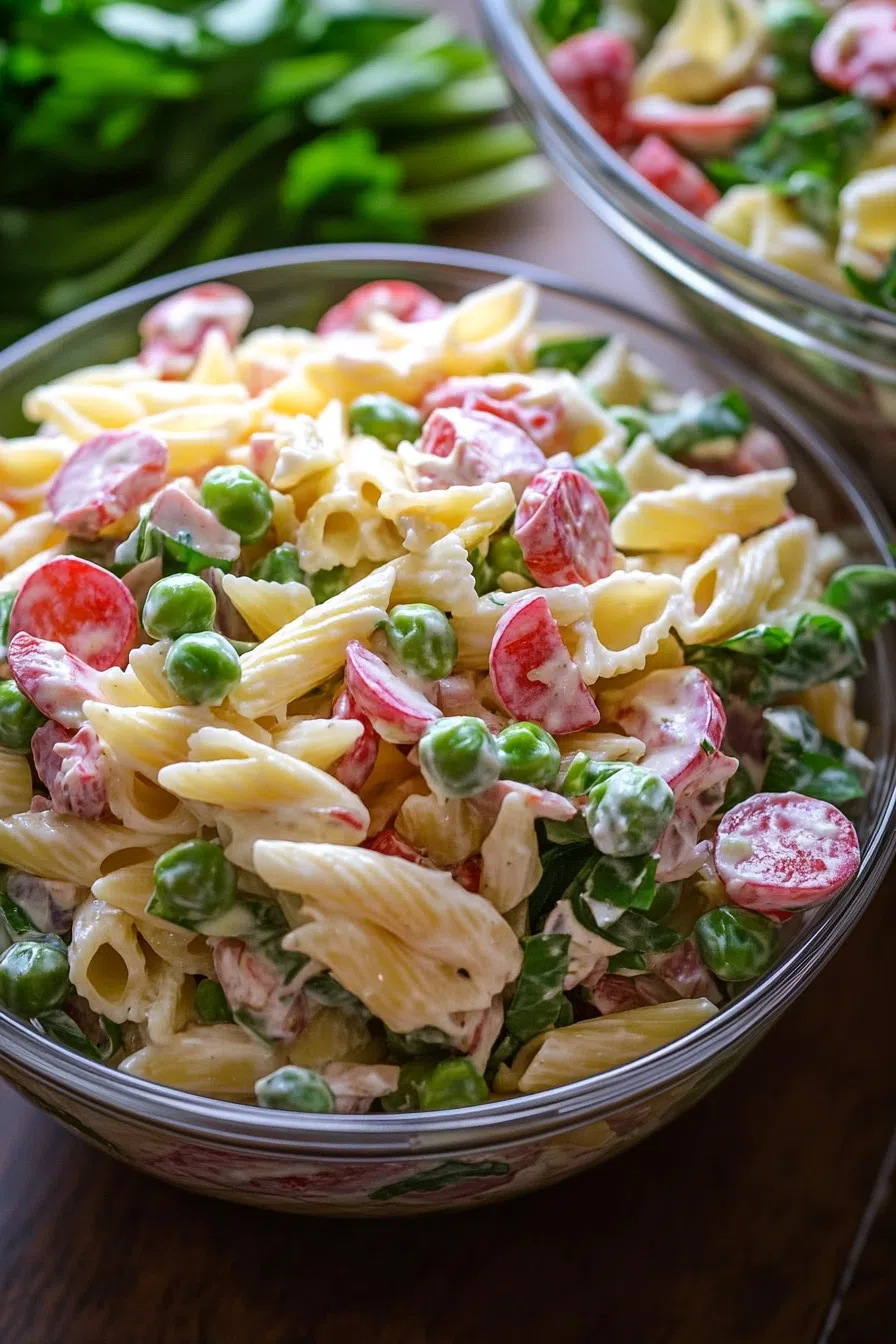
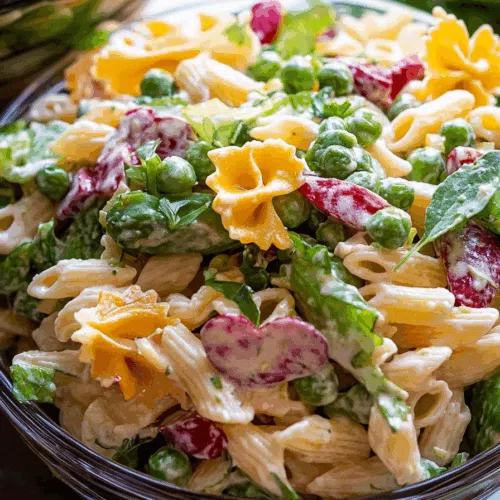
With bowtie pasta, ham, peas, romaine, artichokes, mukimame, radishes, and a creamy garlic dressing, this Layered Spring Pasta Salad is peak spring in a bowl.
If you’d told me five years ago that I’d have a go-to pasta salad, I’d have laughed. Like, really laughed. I was always the person who politely scooped two tablespoons at potlucks, just so I wouldn’t look rude, and then left the rest untouched while hunting for the deviled eggs.
But then came this Layered Spring Pasta Salad. And suddenly I became That Person who not only brings the pasta salad but insists people “try just a little—it’s actually good, I swear!”


It started the way a lot of my favorite recipes do: fridge scavenging. It was early spring, I had leftover Easter ham, a bag of bowtie pasta I’d been ignoring for months, and a bunch of random vegetables I bought with good intentions but no real plan (you know the drill). I’d also recently bought a trifle bowl on sale—don’t ask me why, I just did. So I decided to layer everything in it, drizzle on a creamy, garlicky dressing, and hope for the best.
Turns out… it was really good. Not fancy. Not particularly “healthy” or trendy. But good in that way that’s comforting and fresh at the same time. My daughter picked out the peas and my husband said it tasted like something from a deli—meant as a compliment, I think? Either way, we all went back for seconds. And thirds.
Why You’ll Love This Layered Spring Pasta Salad Recipe?
Let’s be real—there are a million pasta salads out there. Most of them taste like mayo and regret. But this Layered Spring Pasta Salad? It’s got balance. You get a little of everything in every bite: crunch from the romaine and radishes, chew from the pasta, creaminess from the dressing, and a nice salty hit from the ham and Parmesan.
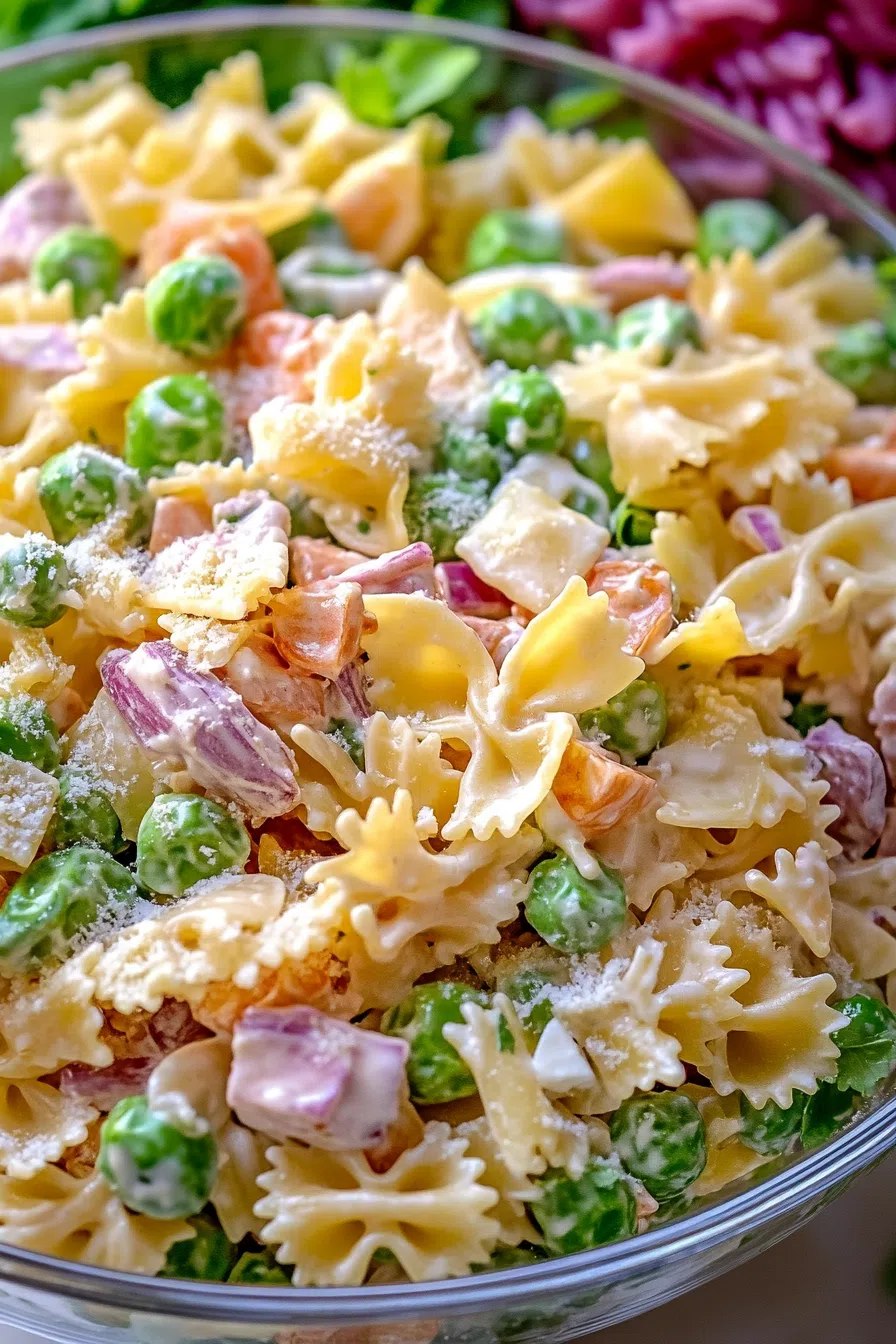
Plus, it’s… fun? There’s something weirdly satisfying about layering all the ingredients in a clear bowl like you’re building a savory dessert. You feel fancy doing it. And then you get to watch people’s faces when they realize it’s not just pretty—it’s actually delicious too.
And hey, it holds up. You can make it hours (even a whole day) ahead of time, and it won’t turn into a soggy mess. That’s rare. This salad’s basically low-maintenance, which I deeply respect.
Ingredient Notes:
Okay, deep breath. It looks like a lot, but most of it is stuff you probably have or can find easily. And you can absolutely play around with it—I do, every time. But here’s my “base version”:
-
Bowtie Pasta: I use it mostly because it’s cute. But it also holds up well and soaks up the dressing like a pro.
-
Romaine Lettuce: You want something crunchy that won’t wilt in five minutes. Romaine nails it.
-
Frozen Peas (thawed): Something about peas in pasta salad just works. Sweet, poppy little bites.
-
Mukimame (aka shelled soybeans): Adds protein and a nice color pop. If you don’t have it, don’t panic.
-
Ham: Leftover Easter ham is gold here. You could also use deli ham. Or skip it, honestly.
-
Artichoke Hearts: I’m obsessed with them. They add this soft, briny thing that balances the other textures.
-
Radishes: I never liked radishes until I put them in this salad. Now I’m a little defensive of them.
-
Green Onions + Shallots: Sharp, but not in a “your breath will scare people” way.
-
Shaved Parmesan: Don’t skip this. It’s the salty topper that ties it all together. Sprinkle like you mean it.
How To Make Layered Spring Pasta Salad?
Here’s the thing—this doesn’t need to be perfect. I’ve made this salad half-asleep and once during a thunderstorm with the power flickering. Still turned out great. Just follow the rhythm and trust the layering.
Step 1: Make the Dressing
Whisk together ½ cup mayo, ¾ cup sour cream, 1 tablespoon white wine vinegar, 2 teaspoons lemon juice, 1 teaspoon sugar, 3 cloves garlic (minced), and 2 teaspoons Italian seasoning. It’s creamy, garlicky, tangy—exactly what spring salad dressing should be. Taste and adjust as you go. I usually add a bit more garlic because… well, I am who I am.
Step 2: Cook Pasta + Thaw the Frozen Stuff
Boil your bowties until they’re just tender. Rinse under cold water to cool them down and stop the cooking. Meanwhile, thaw the peas and mukimame. I usually just run warm water over them in a strainer. Works like a charm.
Step 3: Chop, Slice, and Mentally Prepare
This is the part where you cut up all the stuff: romaine, radishes, ham, shallot, green onions. It’s fine if everything’s not perfectly even. It’s a salad, not a mosaic.
Step 4: Layer It Up
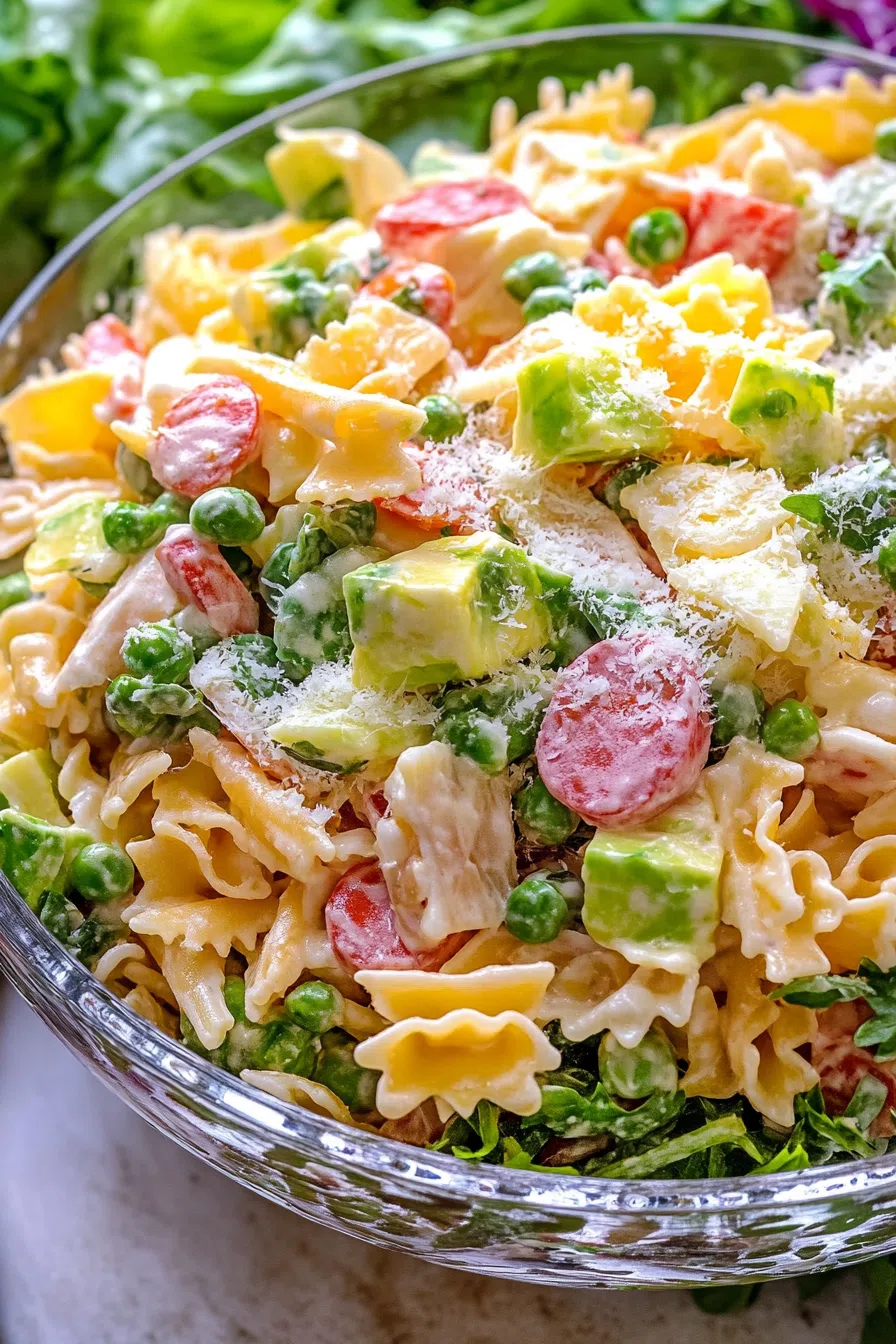
Now the fun part. Start with romaine. Then pasta. Then peas. Then mukimame. Then ham. Then artichokes. Then radishes. Then your onions and shallots. You can freestyle a bit—just make sure it looks pretty from the side. Or don’t. It’s still good either way.
Step 5: Dressing + Cheese
Spoon your dressing gently over the top like you’re frosting a cake. It doesn’t have to be perfect, just cover the top. Then sprinkle on the Parmesan like you’re blessing the salad.
Step 6: Chill and (Eventually) Toss
Cover and pop it in the fridge. I usually leave it for a few hours, but overnight works too. Toss gently before serving—or let people scoop through the layers. Both approaches are valid.
Want To Save This Recipe?
Storage Options:
So, confession: I’ve eaten leftovers of this two days after making it, and it was still good. The romaine gets a little softer, but not in a gross way. The dressing holds up shockingly well, and everything stays flavorful and fresh.
Just keep it covered in the fridge. It’ll be your lunchbox hero for a couple of days, no problem.
Variations and Substitutions:
I love this salad because it doesn’t care if you follow the rules. Don’t have everything? Sub something else in. Nobody’s judging.
-
No ham? Try bacon, rotisserie chicken, or even roasted chickpeas.
-
No mukimame? Go with regular edamame, white beans, or more peas.
-
Hate radishes? You’re not alone. Try sliced cucumber or red bell pepper instead.
-
Need it dairy-free? Use vegan mayo, skip the cheese, and maybe add some olives for flavor.
-
Want to bulk it up? Throw in cooked quinoa or chopped hard-boiled eggs. Weirdly amazing.
What to Serve with Layered Spring Pasta Salad?
This salad plays well with others. You can serve it as a side or let it steal the spotlight. Here’s what I’ve paired it with and loved:
-
Grilled chicken or salmon – protein + crunch = no-brainer.
-
Quiche or frittata – brunch vibes forever.
-
Fruit salad – balances out the saltiness and gives it that springtime feel.
-
Crusty bread – because salad alone just isn’t enough some days.
-
Lemonade, iced tea, or rosé – whatever helps you channel your inner picnic person.
Frequently Asked Questions:
Do I have to use a glass bowl?
Not at all. Use whatever you’ve got. The clear bowl just makes it pretty if you’re trying to impress someone’s mom.
Can I make it a day ahead?
Yes, and I’d even recommend it. The flavors get cozier overnight.
Do I have to toss it before serving?
Up to you! Tossing it blends the flavors more evenly. Not tossing keeps the visual layers intact. I usually toss it halfway through serving and call it rustic.
So yeah—Layered Spring Pasta Salad. A little extra. A little messy. But in the best way. It’s the kind of dish that turns a basic lunch into something that feels like a celebration… even if it’s just Tuesday and you’re eating it at the kitchen counter in sweats.
If you make it, please tell me. Did you swap in bacon? Add olives? Forget the peas and still love it? I want to hear all of it. Food is better when we share stories—and honestly, I love salad gossip.
Keep the Flavor Coming – Try These:

Layered Spring Pasta Salad
Ingredients
Salad Components:
- 1 16 oz package bowtie pasta, cooked and cooled
- 1 ½ cups chopped romaine lettuce
- 1 cup frozen green peas thawed
- 1 cup frozen Mukimame shelled soybeans, thawed
- 1 ½ cups diced cooked ham
- 1 cup canned artichoke hearts drained and quartered
- ¾ cup sliced radishes
- ¾ cup chopped green onions
- 1 shallot thinly sliced
- ¾ cup shaved Parmesan cheese for garnish
Dressing:
- ½ cup mayonnaise
- ¾ cup sour cream
- 1 tablespoon white wine vinegar
- 2 teaspoons freshly squeezed lemon juice
- 1 teaspoon granulated sugar
- 3 cloves garlic minced
- 2 teaspoons Italian seasoning
Instructions
Prepare the Dressing
- In a small mixing bowl, combine the mayonnaise, sour cream, white wine vinegar, lemon juice, sugar, minced garlic, and Italian seasoning. Whisk thoroughly until smooth. Cover and refrigerate while assembling the salad.
Assemble the Salad
- In a large trifle bowl or any clear glass serving dish, begin layering the ingredients in the following order: chopped romaine lettuce, cooked bowtie pasta, thawed peas, thawed Mukimame, diced ham, artichoke hearts, sliced radishes, green onions, and shallots. Reserve the shaved Parmesan for the final garnish.
Apply the Dressing and Garnish
- Spoon the prepared dressing over the top of the layered salad, using the back of a spoon to spread it evenly across the surface. Sprinkle shaved Parmesan cheese evenly on top as the finishing touch.
Chill Before Serving
- Cover the salad securely with plastic wrap or a fitted lid. Refrigerate for a minimum of 1 hour to allow flavors to meld. Toss gently just before serving, if desired.
Notes
I’m Bitty, owner of nodashofgluten.com, where I share simple, delicious recipes for all tastes, including gluten-free. Check out my “About Me” page for more info!

