
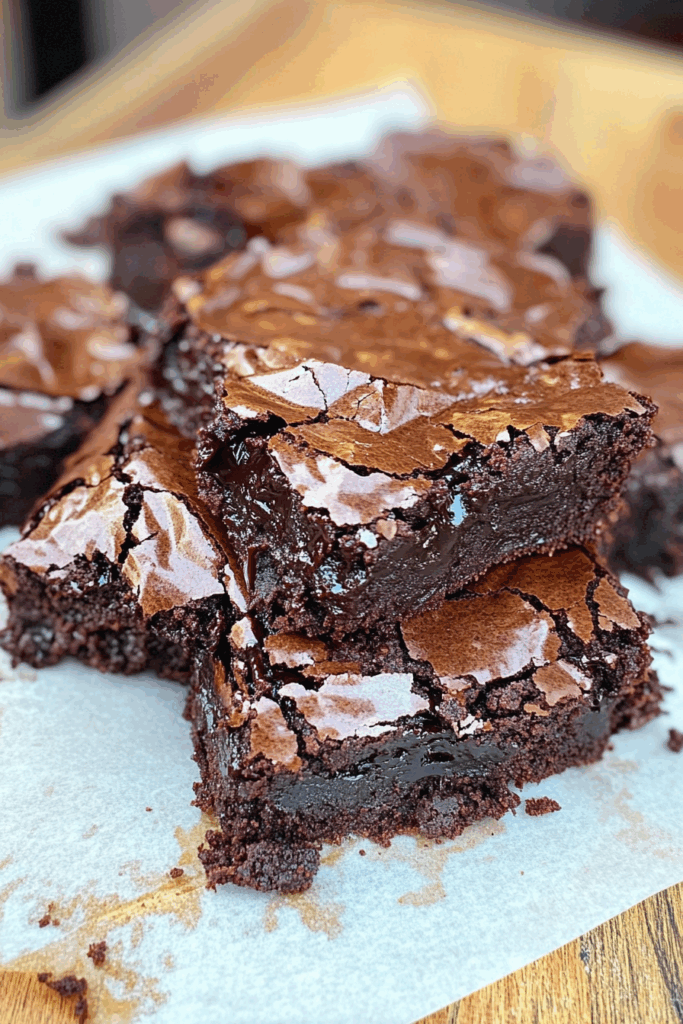
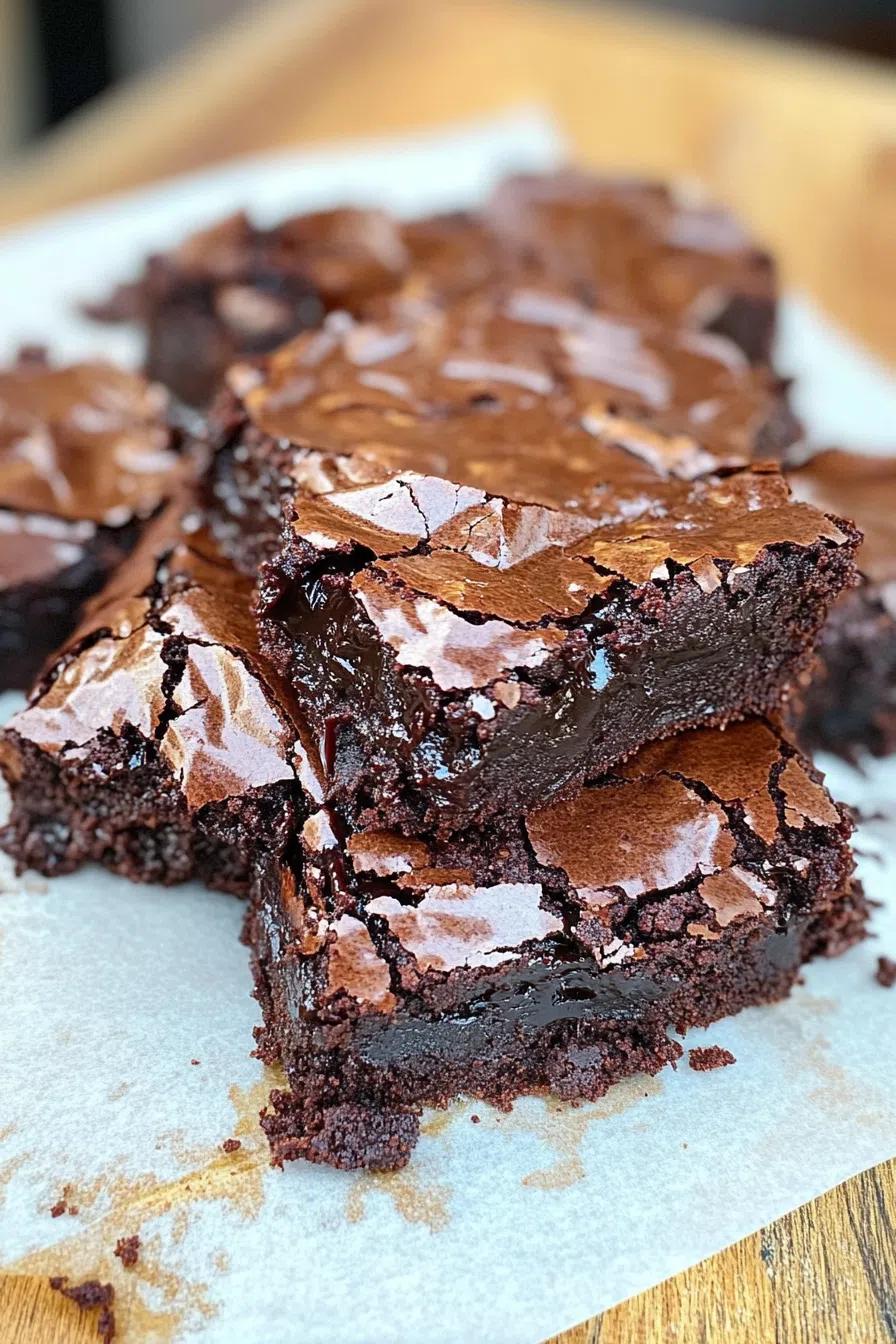
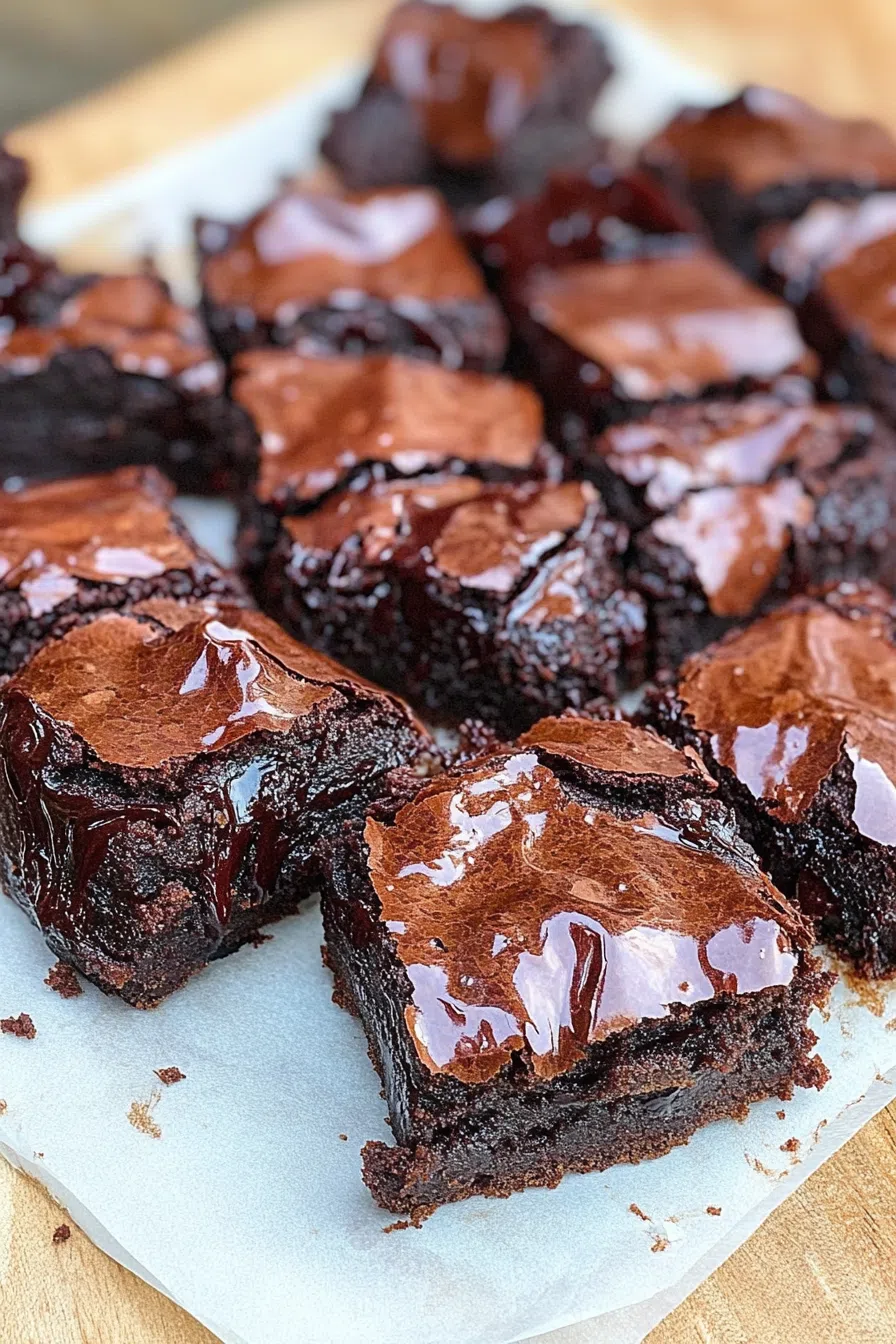
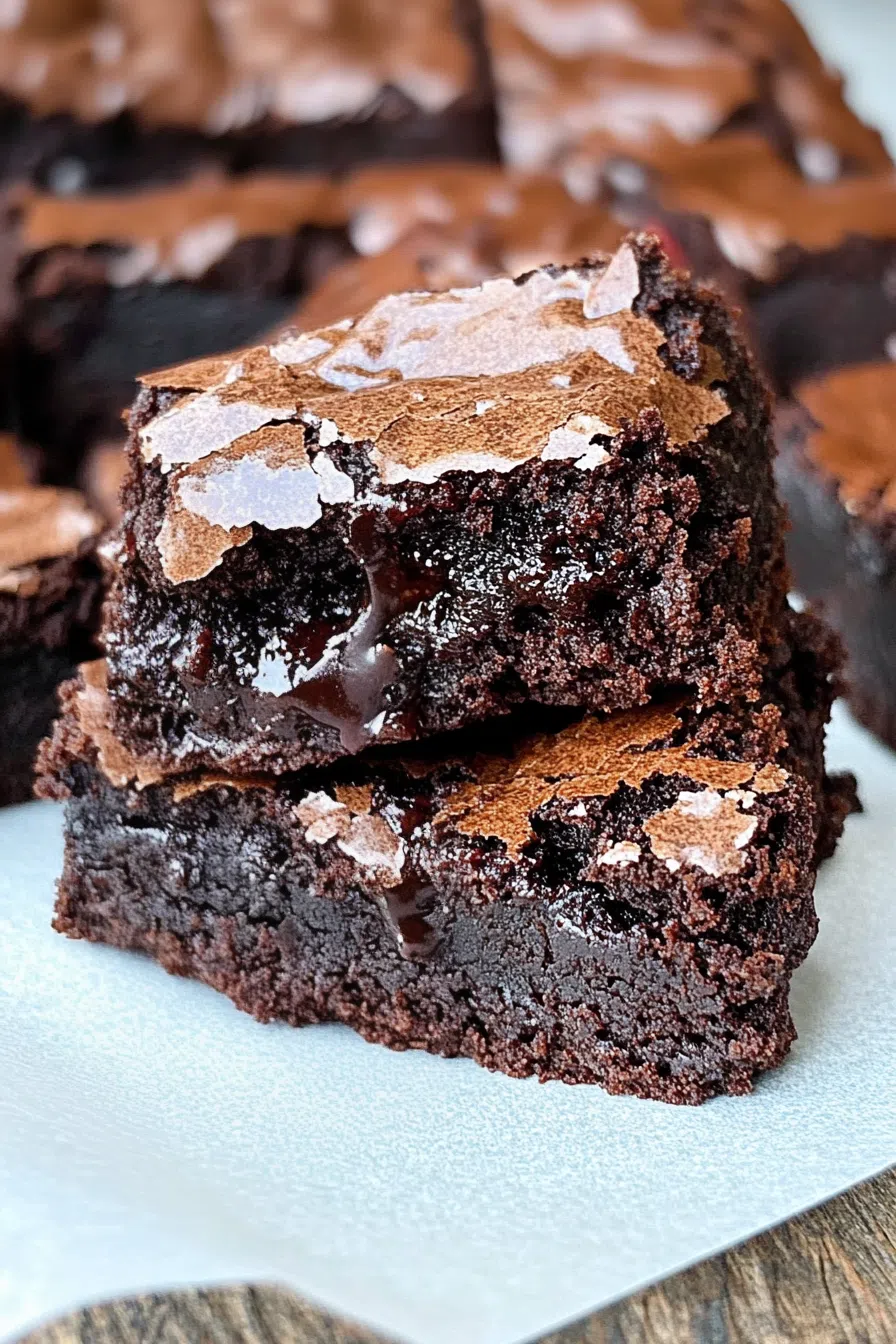
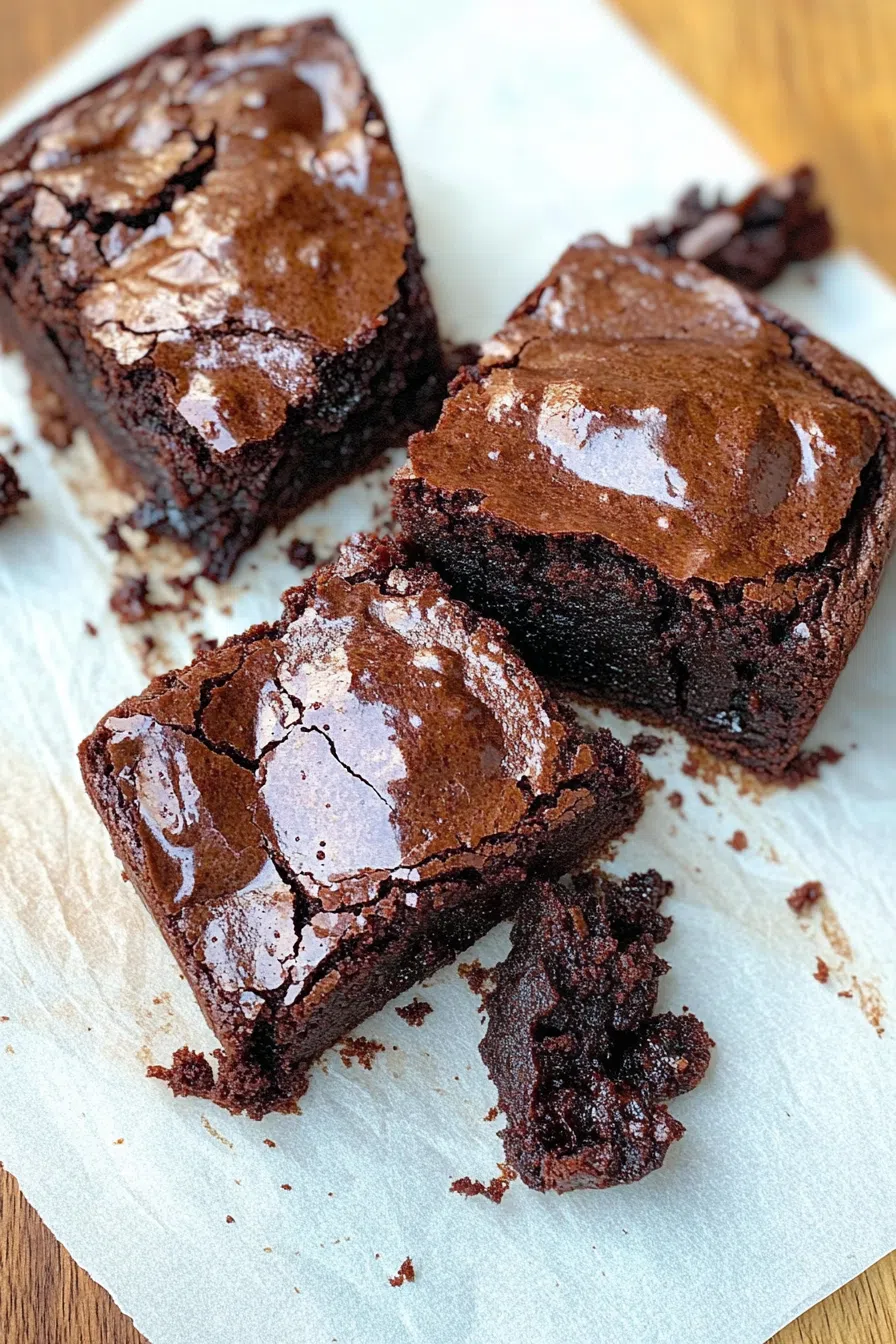
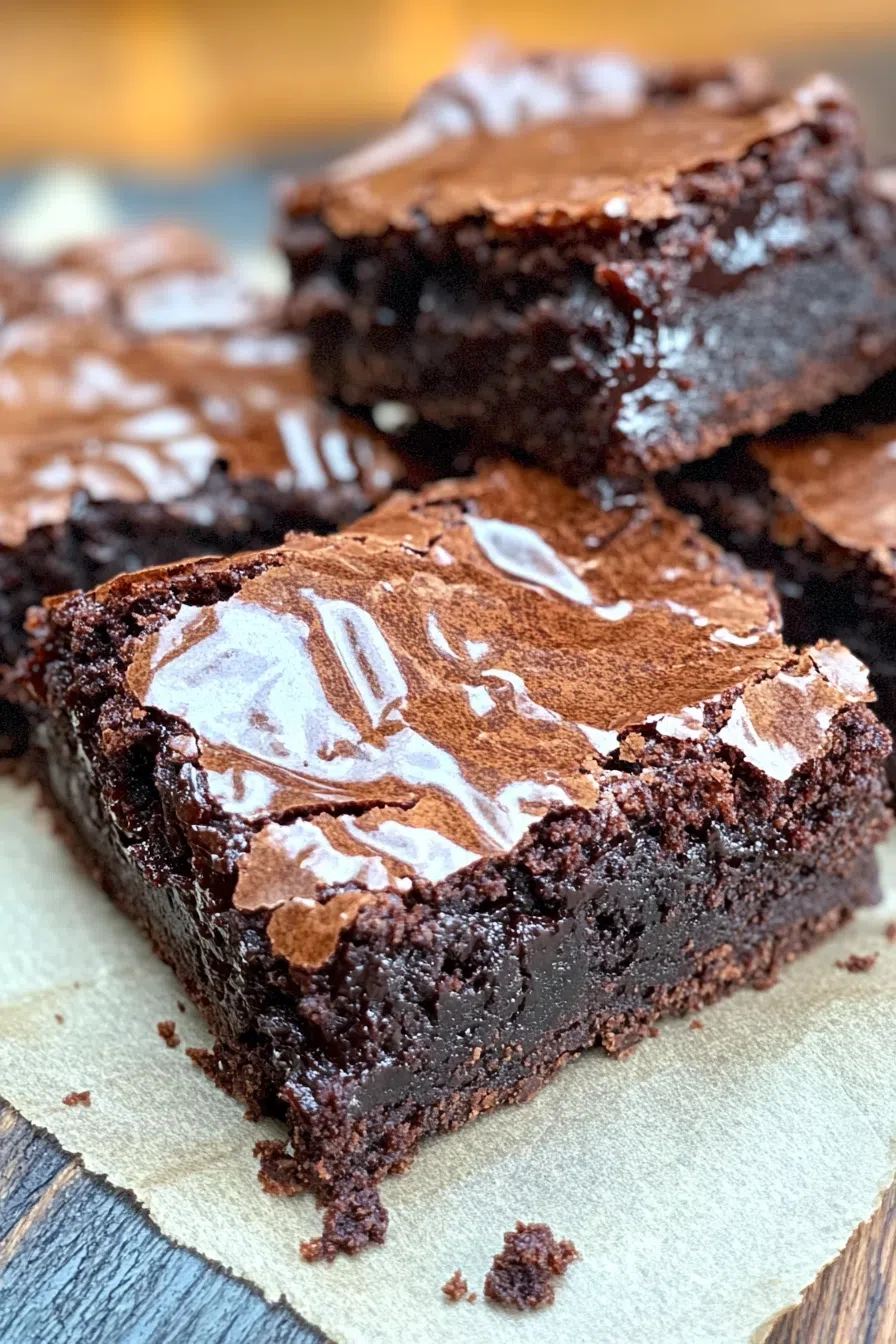
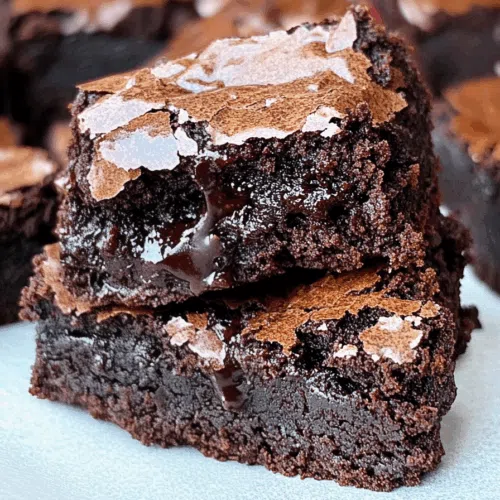
Made with chopped dark chocolate, cocoa powder, and brown sugar, these gooey lava brownies are ridiculously fudgy and rich.
I wasn’t even supposed to be baking that day. It was one of those lazy Saturdays where I had laundry piling up, a to-do list untouched, and somehow—no snacks in the house (how does that happen?!). And then it hit me: brownies. Not just any brownies, though. I wanted something more. Something with that melt-in-the-middle, lick-your-fingers-after-each-bite kind of magic.
So I did what any tired-yet-hungry human would do: I raided the pantry. Found a bar of 70% dark chocolate I’d been “saving,” a half-used pack of Kerrygold butter, and just enough brown sugar to call it dessert. I didn’t follow any strict recipe—just went by feel, tried a little of this and a little more of that. And somehow? These came out better than any boxed mix ever could.


They were soft in the middle, a little crispy on the edges, and had that crinkly top I always thought was some kind of professional secret. Spoiler alert: it’s not. You just tap the pan mid-bake and boom—crinkle magic.
Anyway, now I make these way more often than I probably should.
Why You’ll Love This Lava Brownies Recipe?
Look, I’ve tried dozens of brownie recipes in my life—cakey, chewy, gluten-free, you name it. But there’s something wild about these lava brownies. They’re…
-
Molten in the center without the hassle of individual ramekins.
-
Ridiculously easy for how gourmet they taste.
-
Bittersweet and rich instead of just sugar bombs. Perfect if you’re over those store-bought sugar bricks.
-
And that tap halfway through baking? It gives them the kind of top you see on bakery brownies behind the glass case—except you don’t have to put on pants to get them.
Ingredient Notes:
Let’s talk ingredients. Because if you’re gonna make lava brownies, you better know what’s pulling the weight behind all that gooey glory.
-
Kerrygold Salted Butter: Yes, it matters. That extra creaminess and salt makes the chocolate taste way more intense. Don’t substitute margarine. Please.
-
70% Chocolate (chopped from a bar): Not chips. Not milk chocolate. You want that moody, deep, rich kind of chocolate. The kind that says, “I’m here to be eaten slowly… or not.”
-
Dutch Process Cocoa Powder: Dark, smooth, and not too acidic. This gives the batter a rich base and makes the brownies feel fancy without you trying too hard.
-
Eggs (three, room temp): Structure, shine, and that slightly chewy bite.
-
Brown Sugar + Granulated Sugar: One gives moisture and depth; the other gives structure. They’re the power couple of brownie land.
-
Flour + Salt: Barely enough flour to hold it together, just enough salt to make the sweet sing.
-
Chocolate Chips: These melt in random pockets and make each bite a surprise. Like edible treasure.
How To Make Lava Brownies?
Alright, now for the messy, chocolatey, totally-worth-it part. Here’s how it all goes down:
Step 1: Preheat and line your pan.
Set the oven to 350°F. Grab your 8×8 baking pan and line it with parchment. I leave a little hanging off the edges so I can lift the brownies right out. Lazy but smart.
Step 2: Melt the butter and chocolate.
Toss the butter and chopped chocolate into a heat-safe bowl and melt it gently—microwave in short bursts or do it over a saucepan if you’re feeling fancy. Stir till smooth. Try not to eat it with a spoon. (You’ll want to. Don’t.)
Step 3: Whisk the eggs and sugar.
In a separate bowl, whisk the eggs with both sugars and vanilla. Whisk till it’s light and a little frothy. This is what gives you that shiny crinkle top. It’s science. Or magic. One of those.
Step 4: Mix it all together.
Slowly pour the melted chocolate into the egg mixture. Stir gently. Now sift in your cocoa powder, flour, and salt. Don’t overmix. A few streaks are okay. Fold in the chocolate chips last.
Want To Save This Recipe?
Step 5: Bake, tap, and bake again.
Pour the batter into your pan and smooth the top. Bake for 15 minutes. Then pull the pan out and give it a gentle tap on the counter. I know it feels weird—but just trust me. Put it back in and bake another 13 minutes.
Step 6: Cool and cut.
Let them cool completely before slicing. That lava needs to settle unless you’re into chocolate chaos (which, valid).
Storage Options:
-
Room Temp: 2–3 days in a sealed container. Still soft. Still magical.
-
Fridge: They firm up a little but come right back to life in 10 seconds flat in the microwave.
-
Freezer: Freeze in layers with parchment in between. They’ll last up to 2 months. Bonus: frozen lava brownies taste absurdly good on hot days.
Variations and Substitutions:
-
Want a peanut butter swirl? Dollop and swirl it in before baking.
-
No Dutch cocoa? You can use regular, but they’ll be lighter in flavor and color.
-
Prefer milk chocolate? Totally fine—just expect a sweeter result.
-
Gluten-free? A good 1:1 GF flour blend works like a charm here.
What to Serve with Lava Brownies?
-
Vanilla ice cream. Classic and necessary.
-
Whipped cream + berries. To pretend it’s balanced.
-
Espresso or strong coffee. Because nothing beats the combo of chocolate and caffeine.
-
Or honestly… nothing. Just you, a brownie, and a fork.
Frequently Asked Questions:
Can I skip the chocolate chips?
Totally! But they add such fun texture and extra gooey bites, I’d miss them.
Why the tapping step?
It helps collapse any big air bubbles and forms that bakery-style crackled top. It’s weird, but it works.
Can I use unsalted butter instead?
You can. Just add a tiny pinch more salt to the batter so the flavors stay balanced.
So… are you gonna try them? Or are you gonna let these lava brownies live rent-free in your brain like they do in mine?
If you bake them, tag me, message me, or show up at my door with a plate. Kidding. (Not really.) Chocolate like this was meant to be shared—unless it’s the last one. Then all bets are off.
Keep the Flavor Coming – Try These:

Lava Brownies
Ingredients
- 1 1/2 sticks salted pure butter preferably Kerrygold
- 4 ounces bar 70% chocolate chopped
- 3 large eggs
- 1/2 cup granulated sugar
- 1/2 cup dark brown sugar
- 1 tablespoon pure vanilla extract
- 1/2 cup Dutch process cocoa powder
- 1/2 cup all-purpose flour
- 1/2 teaspoon salt
- 1 cup dark chocolate chips or semi-sweet
Instructions
- Start by preheating your oven to 350˚F and lining an 8x8 pan with parchment paper.
- In a bowl combine the butter with the chopped chocolate until it becomes smooth.
- Using another bowl sift together cocoa powder, flour and salt. Mix them well.
- Take a bowl and whisk together the eggs, sugars and vanilla until they become frothy.
- Gradually add the chocolate mixture to the ingredients. Stir in the ingredients until well combined.
- Gently fold in some chocolate chips into the batter.
- Pour the batter into your pan and bake it for 15 minutes.
- Remove from the oven and gently tap on top of the pan to create a texture then return to bake for 13 minutes.
- Allow your brownies to cool in the pan before cutting them into squares. Enjoy!
Notes
I’m Bitty, owner of nodashofgluten.com, where I share simple, delicious recipes for all tastes, including gluten-free. Check out my “About Me” page for more info!


One Response
SO SO good. I didn’t have vanilla or chocolate chips, used 56% cacao, and light brown sugar instead of dark — it’s so rich and gooey, even with the adjustments!!
I also calculated the nutrition facts if anyone needs them!
9 servings, 332 cals per serving
35.3g carbs
21.2g fat (12.5g saturated fats)
4g protein
101.7 cholesterol
154.4 sodium
35.3g carbs (2.8g fiber, 26.7g sugar (5.3g added))
0.7% calcium
10.1% iron
34mg potassium
2% vitamin A