Learn how to cook chicken breast in a toaster oven with simple seasonings and olive oil for juicy, flavorful results—no dry, rubbery chicken here!
I have to confess something. For years, my toaster oven was basically a glorified bagel warmer. It handled frozen waffles, reheated the occasional slice of pizza, and that was about it. Cooking actual food in it? Never crossed my mind.
Then one day, my oven broke. Of course, it happened right when I was about to make dinner. Typical. I had a pack of chicken breasts and no intention of dragging out a frying pan and dealing with oil splatters. So, in a moment of frustration (and mild desperation), I thought, Can I cook chicken breast in the toaster oven?


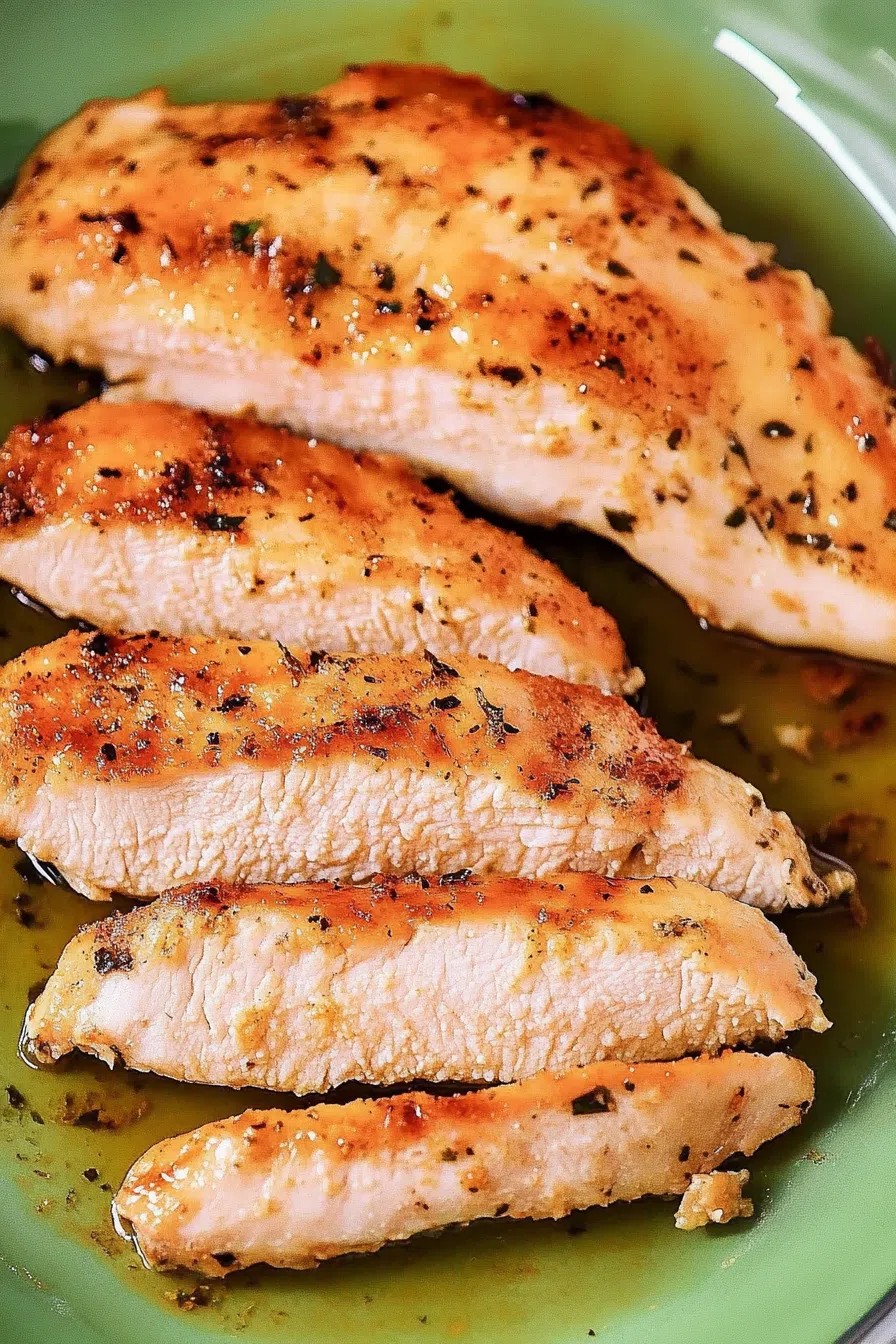
Spoiler alert: Yes. And not only did it work, but the chicken came out perfectly juicy, golden on the outside, and full of flavor. I was honestly kind of mad I hadn’t thought of it sooner.
Since that day, my toaster oven has been promoted from “pizza box storage space” to my go-to for quick, easy meals. And if you haven’t tried cooking chicken in yours yet, you’re seriously missing out.
Why You’ll Love This Chicken Breast In Toaster Oven Recipe?
- No dry chicken. The toaster oven cooks at the perfect temp to keep it juicy.
- Minimal effort. No complicated techniques, no messy stovetop.
- Small-space friendly. Perfect for apartments, dorms, or when you don’t wanna heat up the whole house.
- Quick and reliable. Ready in about 30 minutes, start to finish.
- Easy cleanup. One pan, one less thing to scrub.
- Totally customizable. Simple seasonings now, but you can switch it up however you like.
Ingredient Notes:
Even though this recipe is ridiculously simple, the right ingredients make all the difference.
- Chicken Breast – Boneless, skinless, and about 6-8 ounces each is ideal. If your chicken is thick, pound it a bit to ensure even cooking.
- Olive Oil – Adds moisture and helps the seasoning stick. Butter works too if you want a richer flavor.
- Garlic & Onion Powder – Simple, but trust me—this combo makes a difference. They add depth without overpowering the chicken.
- Salt – Don’t skimp on it! Salt is what makes the flavors pop.
- Black Pepper – A little heat to balance everything out.
Pro Tip: Feeling fancy? Try adding smoked paprika, lemon zest, or Italian seasoning for a different twist.
How To Make Chicken Breast In Toaster Oven?
Step 1: Preheat the Toaster Oven
Set it to 350°F. This is the magic temp—hot enough to cook the chicken through but not so hot that it dries out.
Line a baking pan with
Step 2: Mix Your Seasonings
In a small bowl, mix onion powder, garlic powder, black pepper, and salt.
Now, grab your chicken breasts and pat them dry with a paper towel. Why? Because if the chicken is damp, the seasoning won’t stick well, and it won’t get that golden color.
Step 3: Oil & Season Like You Mean It
Brush both sides of the chicken with olive oil. Then, sprinkle half of the seasoning mix on one side, flip, and do the same on the other.
Important: Bake the top side down first—this helps it brown better.
Step 4: Use a Meat Thermometer (If You Have One)
If you’ve got a probe thermometer, now’s the time to use it! Insert it into the thickest part of the largest chicken breast.
No thermometer? No worries—you’ll just need to keep an eye on the time (see below).
Step 5: Bake!
Want To Save This Recipe?
Pop the pan in the toaster oven and let it work its magic.
Here’s how long to bake based on size:
- 5-6 oz pieces: 17-20 minutes (until 163°F)
- 6-7 oz pieces: 18-21 minutes (until 163°F)
- 8-9 oz pieces: 21-23 minutes (until 162°F)
- 10-12 oz pieces: 23-26 minutes (until 161°F)
The trick? Pull it out just before 165°F because it’ll keep cooking as it rests.
Step 6: Let It Rest (Don’t Skip This!)
Cover the chicken loosely with foil and let it sit for 10 minutes.
I get it—you’re hungry. But trust me, if you cut into it too soon, all the juices will spill out, leaving you with dry chicken. Be patient. The difference is huge.
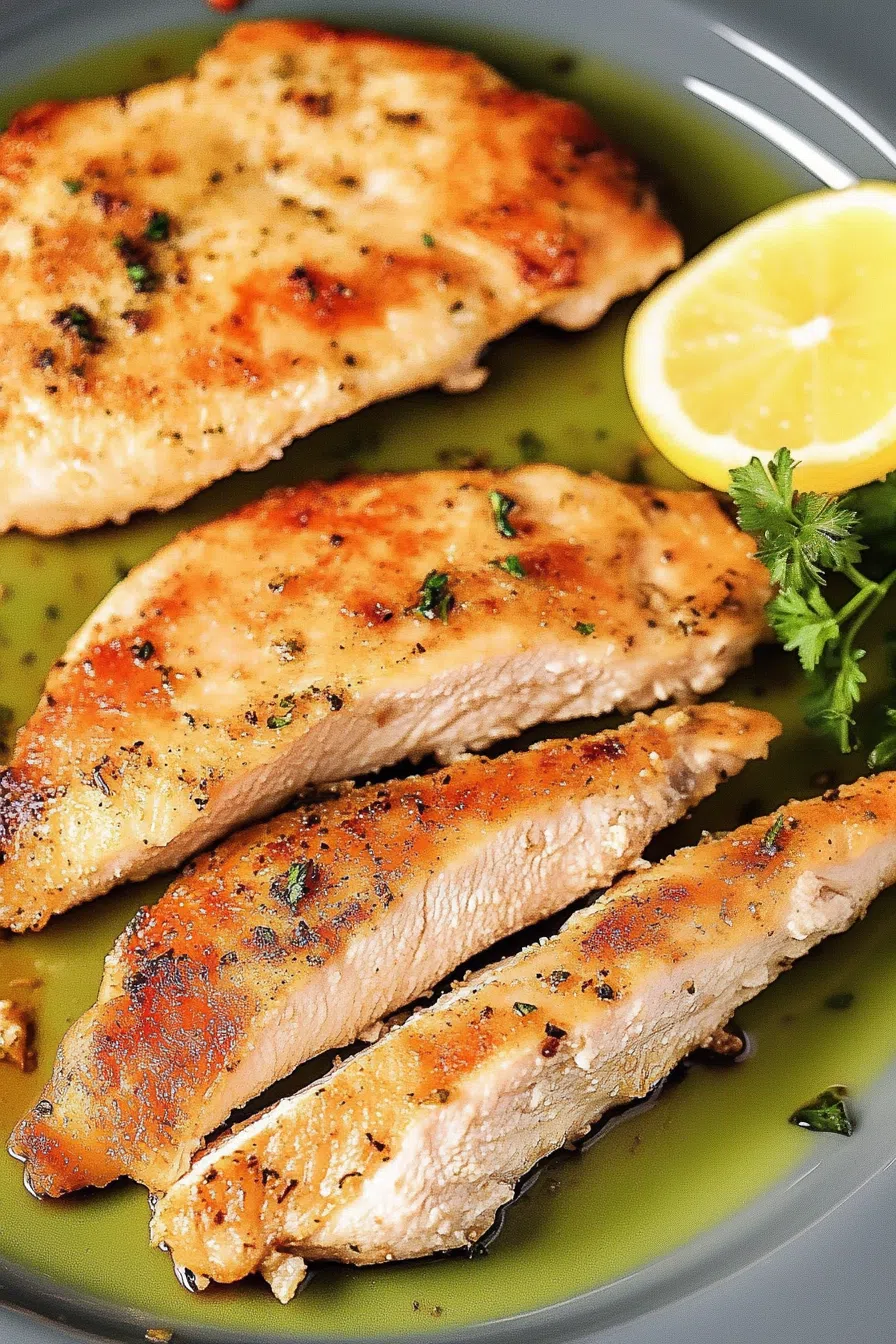
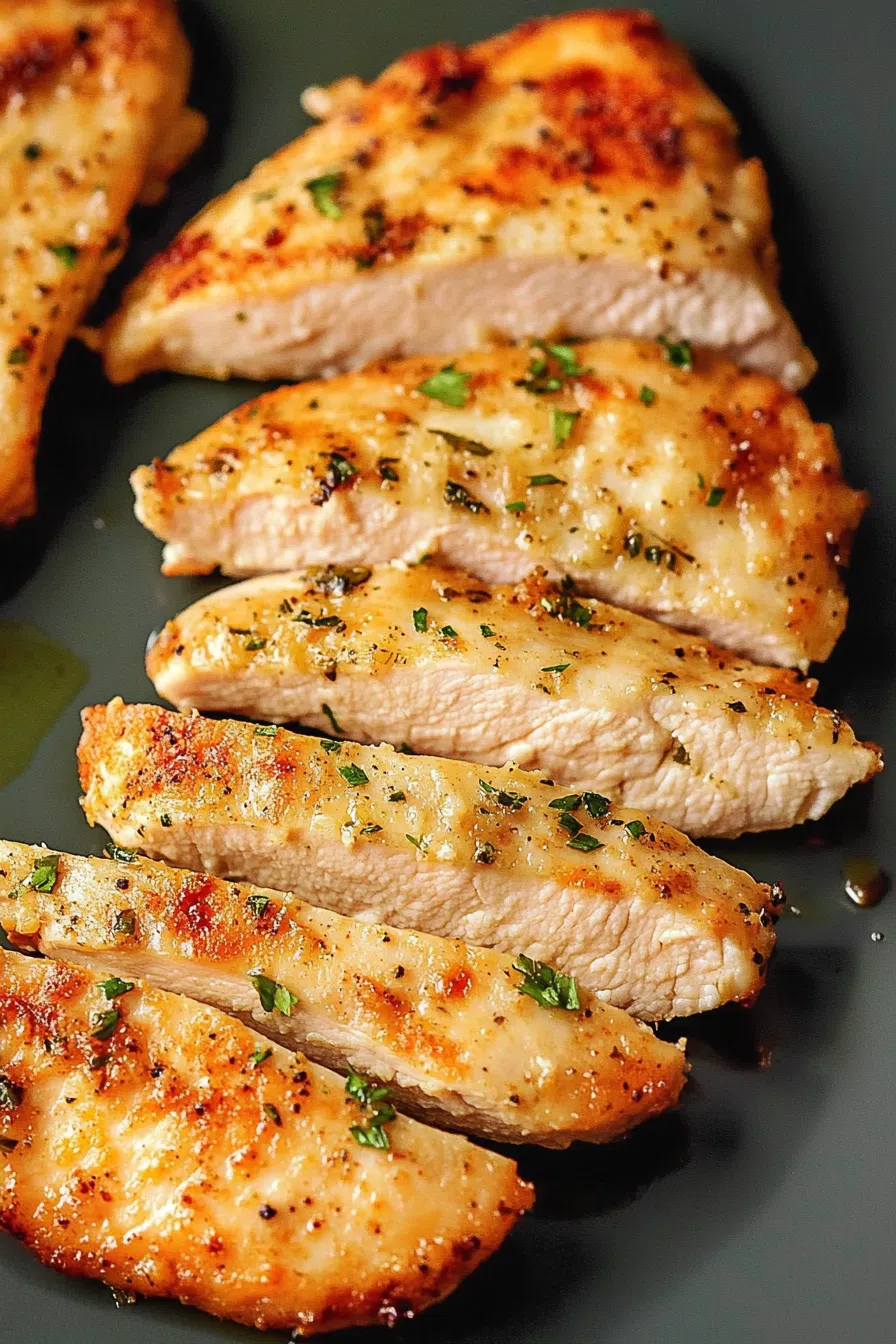
Step 7: Serve & Enjoy!
Drain any pan juices over the chicken for extra flavor. Serve it as-is, or add a sauce, glaze, or fresh herbs on top.

Storage Options:
- Fridge: Store leftovers in an airtight container for up to 4 days.
- Freezer: Wrap tightly and freeze for up to 3 months.
- Reheat: Microwave with a splash of broth, or warm it in a pan to keep it juicy.
Variations and Substitutions:
- Lemon-Garlic: Add fresh lemon juice and zest for a citrusy kick.
- Spicy Kick: Sprinkle in some cayenne or smoked paprika for heat.
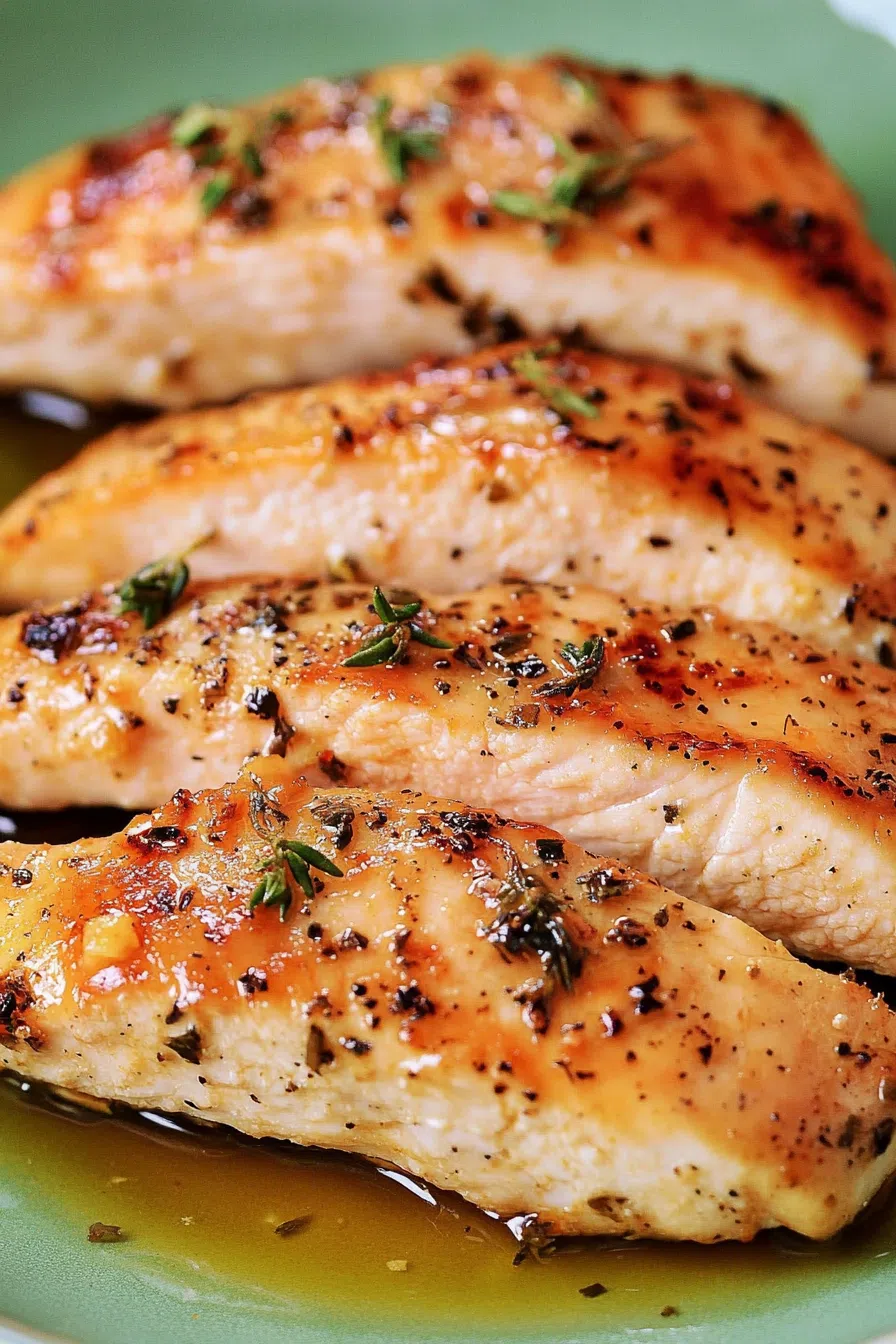
- Herb Lovers: Throw in fresh rosemary, thyme, or basil before baking.
- Crispy Crust: Coat in seasoned breadcrumbs and bake at 375°F for a crunchier texture.
What to Serve with Chicken Breast In Toaster Oven?
This chicken is so versatile—here are a few great pairings:
- Mashed potatoes – Because sometimes you need comfort food.
- A fresh salad – Light and refreshing to balance the richness.
- Rice or quinoa – Perfect for soaking up all the juices.
- Roasted veggies – Healthy, easy, and delicious.
Frequently Asked Questions:
Can I cook frozen chicken in a toaster oven?
I wouldn’t recommend it. It won’t cook evenly, and you’ll likely end up with dry edges and a raw center. Thaw it first!
How do I know when my chicken is done without a thermometer?
Press down gently—if it’s firm but not rock-hard, it’s probably done. Also, cut into the thickest part—if the juices run clear, you’re good.
Can I marinate the chicken beforehand?
Absolutely! Just don’t overdo it—30 minutes to 2 hours is ideal. Anything longer can break down the texture too much.
If you’ve been sleeping on your toaster oven, it’s time to change that. This toaster oven chicken breast is juicy, easy, and perfect for busy weeknights.
So, what do you think? Gonna give it a shot? Let me know—I’d love to hear how it turns out!
Keep the Flavor Coming – Try These:
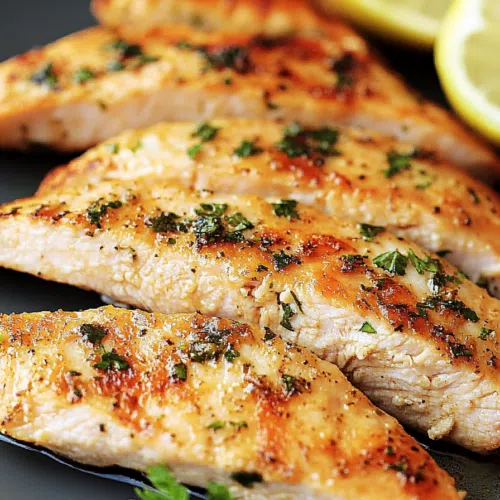
How To Cook Chicken Breast In Toaster Oven
Ingredients
- 1 lb boneless skinless chicken breasts (approximately 6-8 oz each)
- 1 tbsp extra virgin olive oil
- ½ tsp onion powder
- ¼ tsp garlic powder
- 2 pinches finely ground black pepper
- ¼ – ¾ tsp salt to taste
Instructions
Preheat the Toaster Oven
- Set the toaster oven to 350°F (175°C). Line a small baking pan with parchment paper for easier cleanup.
Prepare the Seasoning Blend
- In a small bowl, combine the onion powder, garlic powder, black pepper, and salt. Mix well to ensure even seasoning distribution.
Prepare the Chicken
- Pat the chicken breasts dry with a paper towel to remove excess moisture. Brush both sides with olive oil, ensuring an even coating.
Season the Chicken
- Sprinkle half of the seasoning mixture on one side of the chicken, then flip and apply the remaining half. For optimal results, place the top side down on the baking pan—this promotes better browning.
Insert a Meat Thermometer (Optional)
- If using a probe thermometer, insert it into the thickest part of the largest chicken breast. Avoid piercing through to the bottom to ensure an accurate reading.
Bake the Chicken
- Place the pan in the preheated toaster oven and bake according to the following size-based guidelines:
- 5-6 oz chicken breasts: 17-20 minutes, or until the internal temperature reaches 163°F (73°C)
- 6-7 oz chicken breasts: 18-21 minutes, or until 163°F (73°C)
- 8-9 oz chicken breasts: 21-23 minutes, or until 162°F (72°C)
- 10-12 oz chicken breasts: 23-26 minutes, or until 161°F (71°C)
Rest the Chicken
- Once removed from the toaster oven, loosely cover the chicken with aluminum foil and allow it to rest for 10 minutes. During this time, the internal temperature will rise to 165°F (74°C), ensuring safe consumption while maintaining juiciness.
Serve
- Drain any juices from the pan and lightly brush them over the chicken. Serve immediately or incorporate into various dishes such as salads, wraps, or grain bowls.
Notes
I’m Bitty, owner of nodashofgluten.com, where I share simple, delicious recipes for all tastes, including gluten-free. Check out my “About Me” page for more info!