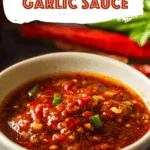
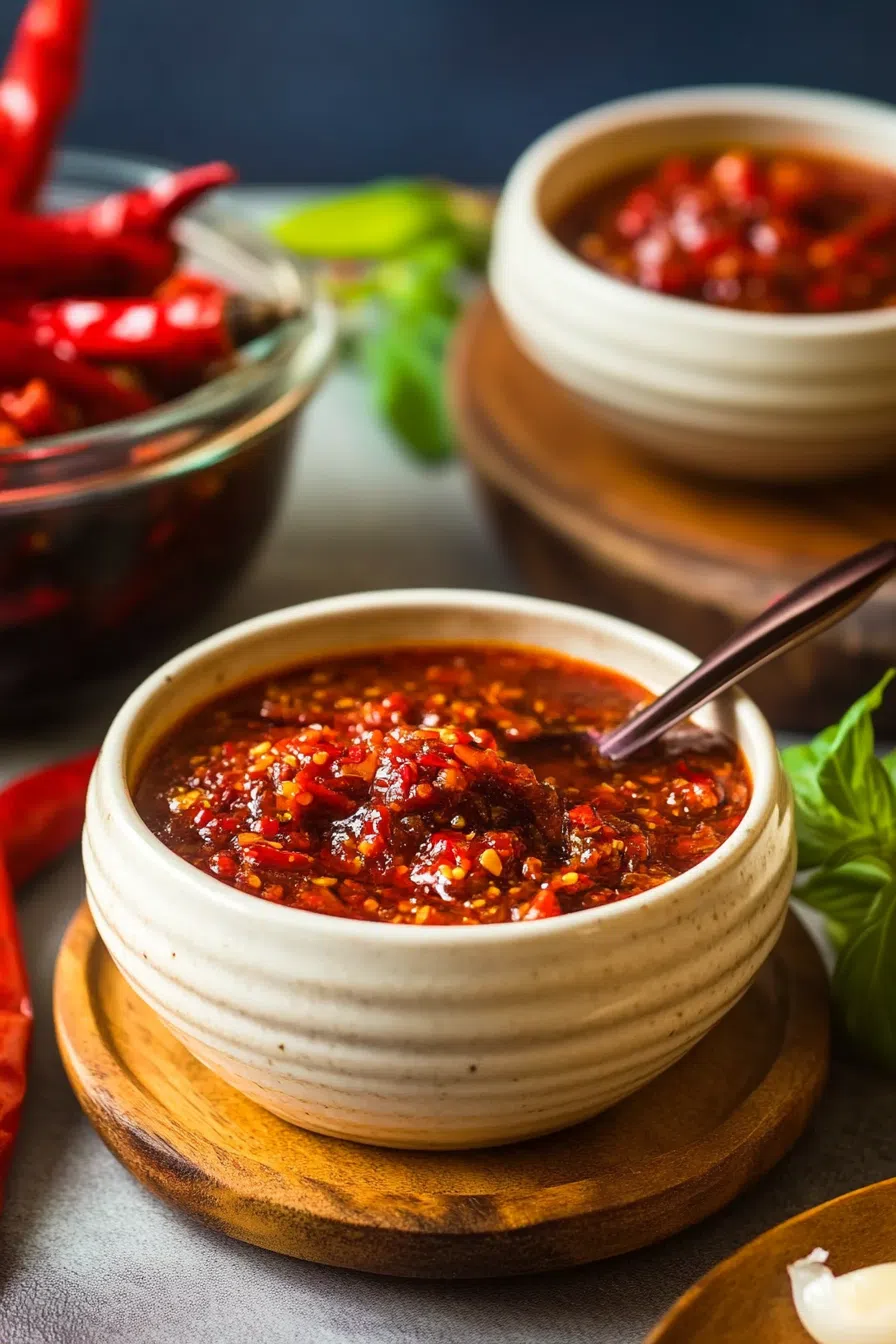
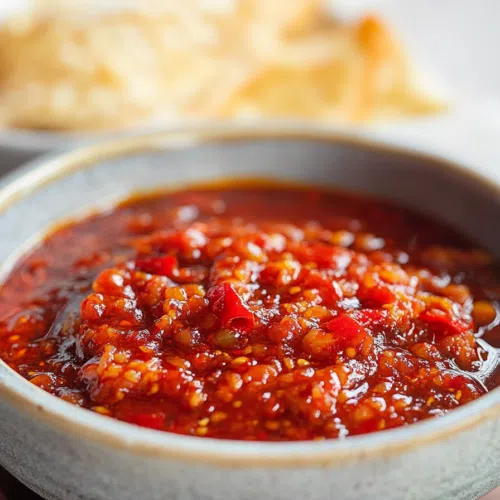
Whip up this bold, spicy Homemade Chili Garlic Sauce with Thai chilies, garlic, vinegar, brown sugar, and oil. Pure flavor, no junk.
I’ll be honest with you. I didn’t set out to make Homemade Chili Garlic Sauce to impress anyone. I made it because I ran out of the jarred stuff mid-cooking, and there was no way I was driving to the store in pajama pants. You get it, right?


So, I rummaged through the fridge and pantry, grabbed a handful of chilies that were just about to go bad (classic me), and some garlic, because there’s always garlic. Ten minutes later, I had a spicy, garlicky, slightly sweet magic potion that made my noodles sing. My husband dipped his grilled cheese in it. My sister smeared it on toast. And me? Well, I may or may not have eaten it straight off the spoon. No judgment, okay?
Now it’s a staple in my fridge. Sometimes it’s spicier than expected. Sometimes it’s thicker than last time. But it’s always so good.
Why You’ll Love This Homemade Chili Garlic Sauce Recipe?
Alright, if you’re still on the fence, let me break it down:
- No preservatives. It’s just fresh, punchy flavors. You know what’s going in here.
- You can tweak it. Want more garlic? Toss it in. Need it milder? Pull back on the chilies.
- Ridiculously versatile. I’ve spread it on sandwiches, mixed it into mayo for a spicy dip, and yes, even swirled it into my scrambled eggs.
- Quick and easy. Fifteen minutes. One pan. Zero stress.
Oh, and your kitchen will smell like you’re about to open a street food stall. Not a bad vibe, right?
Ingredient Notes:
Here’s what you’re working with—and why it matters.
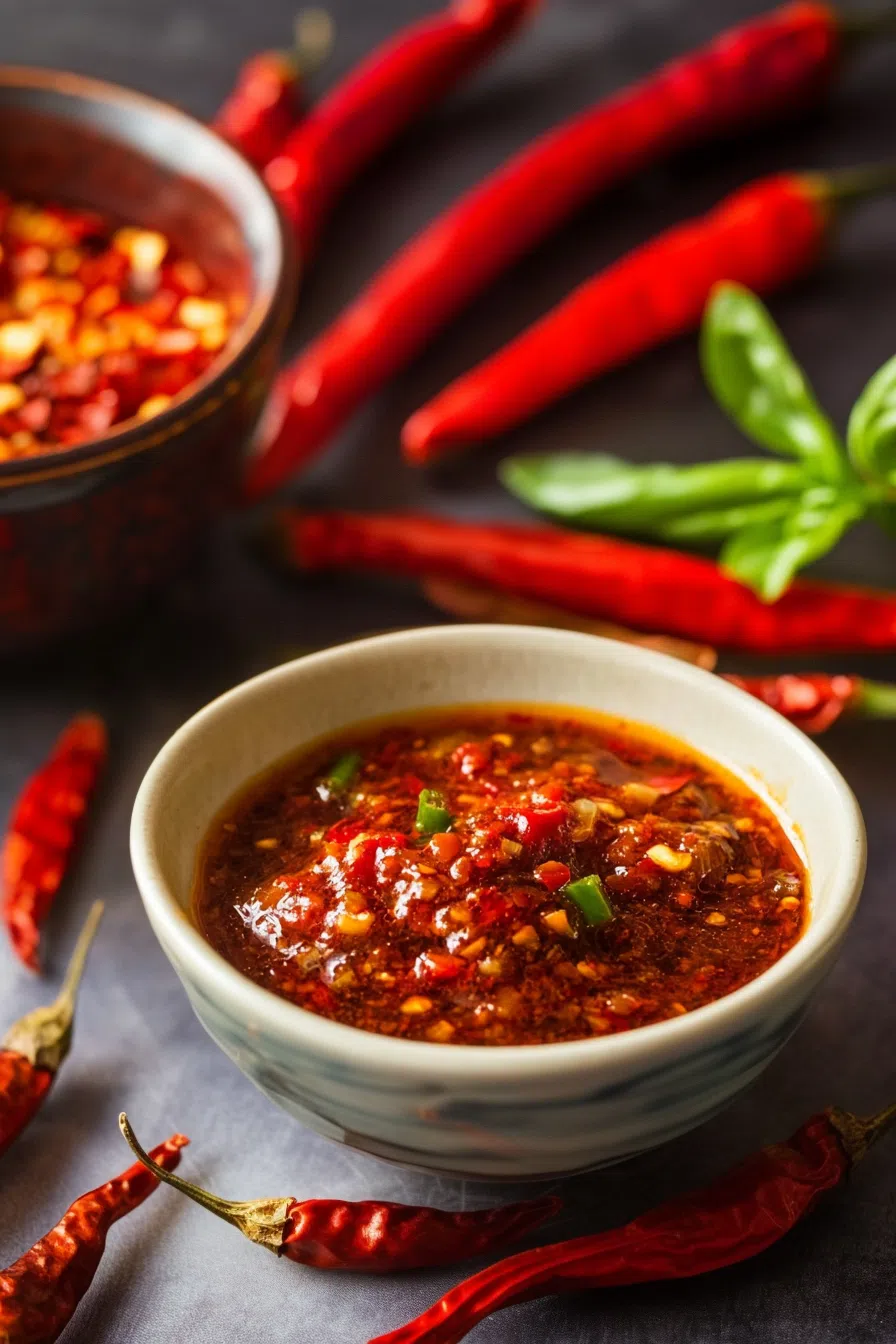
- Thai Chilies (1 cup): These little devils pack a punch. I love the heat, but you can totally swap for milder ones if you’re not into breaking a sweat.
- Garlic (6 cloves): Fresh is best. It’s the backbone of the sauce, so no lazy jar stuff. Been there. Regretted it.
- Vinegar (2 tablespoons): Rice vinegar is my go-to for a slightly sweet tang. White vinegar works fine, but it’s sharper.
- Light Brown Sugar (1 tablespoon): Sweetness to balance out the heat and tang. Think of it as the peacekeeper in this fiery gang.
- Salt (1 tablespoon): Basic, but essential. Makes everything else pop.
- Neutral Oil (1½ cups): Extra light olive oil or vegetable oil works. Don’t use fancy olive oil here—the flavor will fight the sauce. And we want harmony.
How To Make Homemade Chili Garlic Sauce?
Step 1: Prep the Players
Pop off the chili stems, peel your garlic, and toss them into a food processor. Add your salt, sugar, and vinegar too. Pulse until it’s a rough paste. You want it blended, but not baby food.
Step 2: Heat Things Up
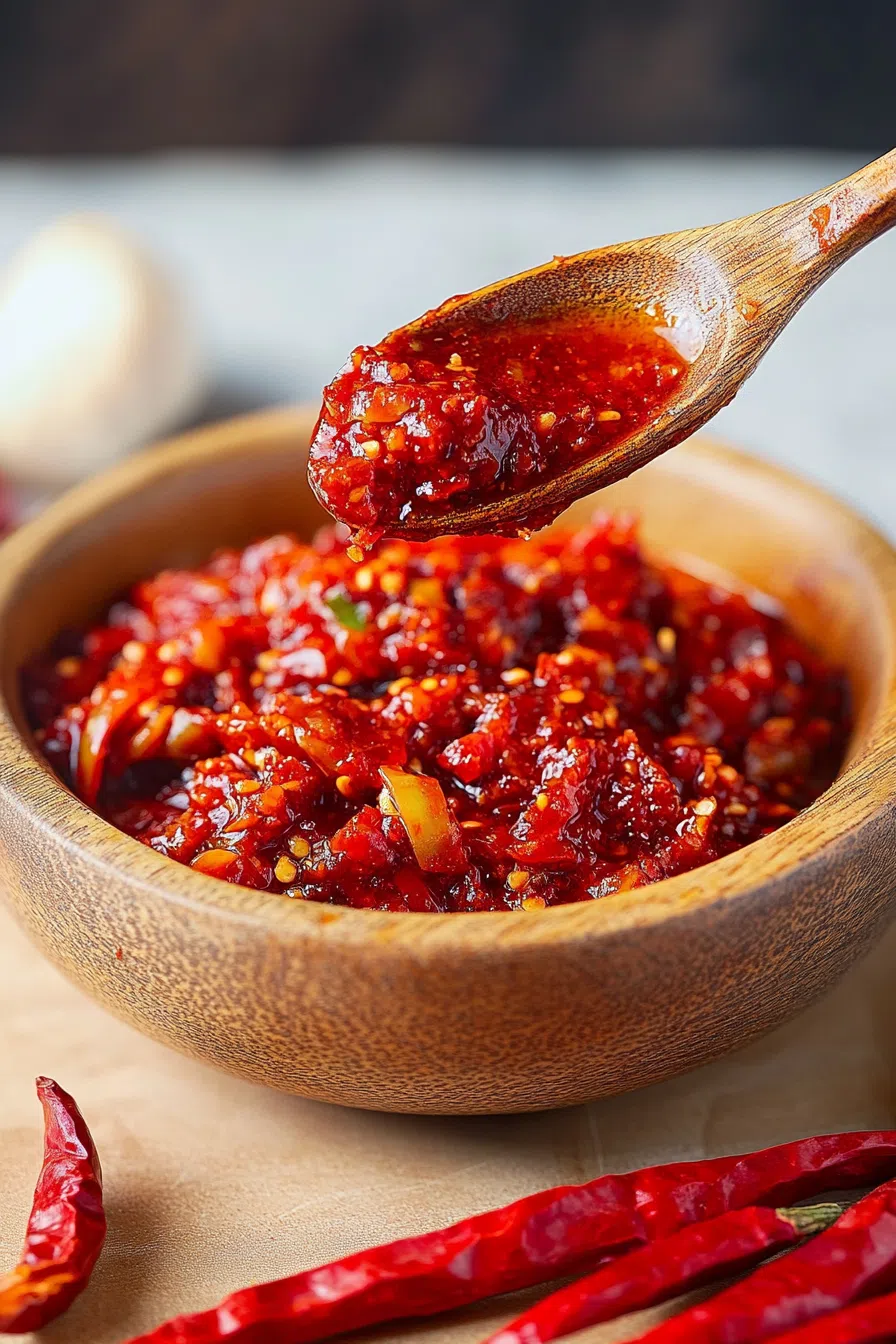
Warm up ½ cup of your oil in a heavy pan—medium heat. No need to rush here. Once it’s ready, scrape in your chili-garlic mix. Stir like you mean it. You’ll cook it for about 8-9 minutes, until it’s thickened and turned this deep red color that practically screams flavor explosion.
Step 3: Gloss It Up
Pour in the rest of the oil and give it a good stir. You’re aiming for glossy and smooth. Turn off the heat and let it cool. Try not to eat it straight out of the pan. (I’m not saying I’ve done that… but I’ve done that.)
Want To Save This Recipe?
Step 4: Jar It and Bask in Your Glory
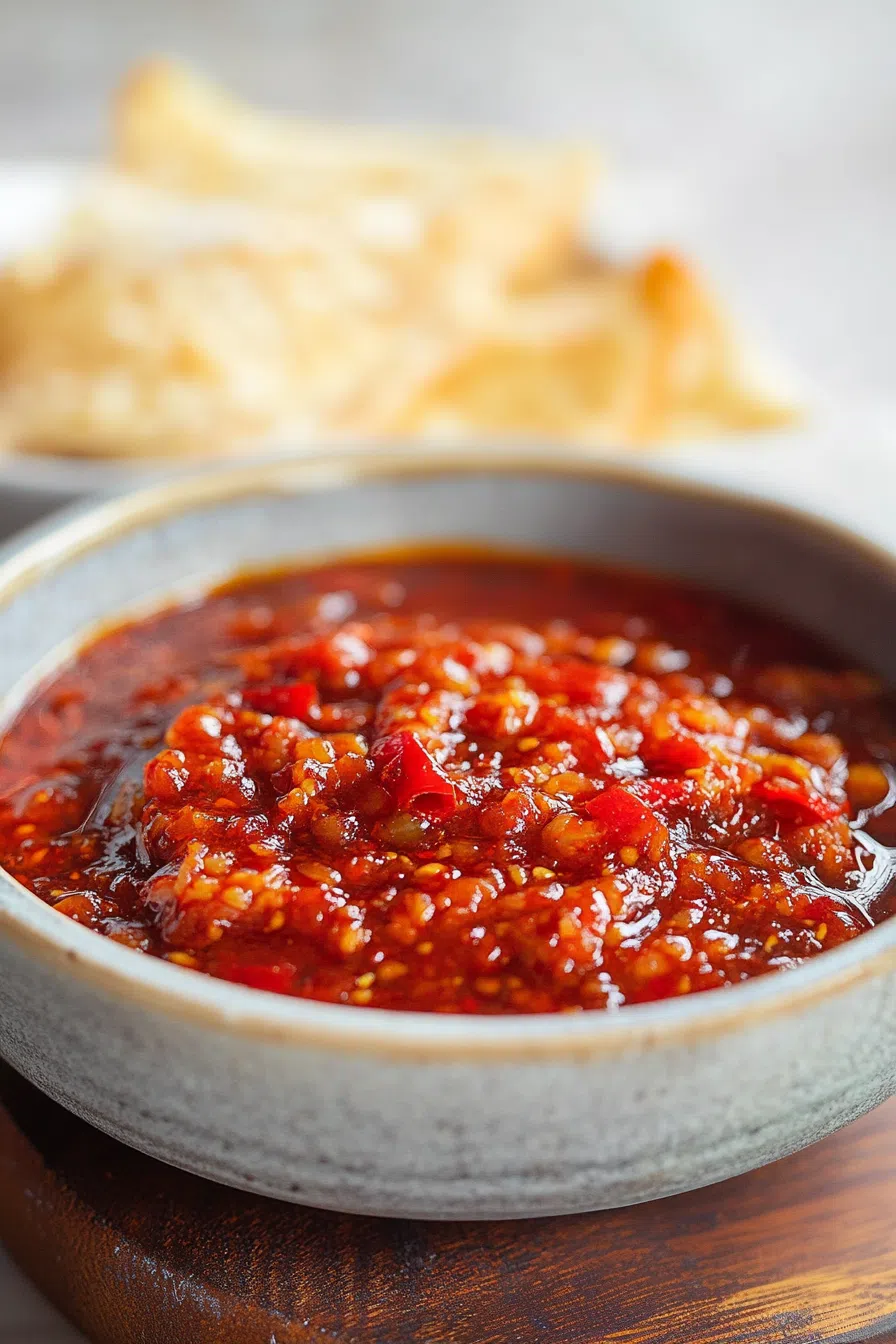
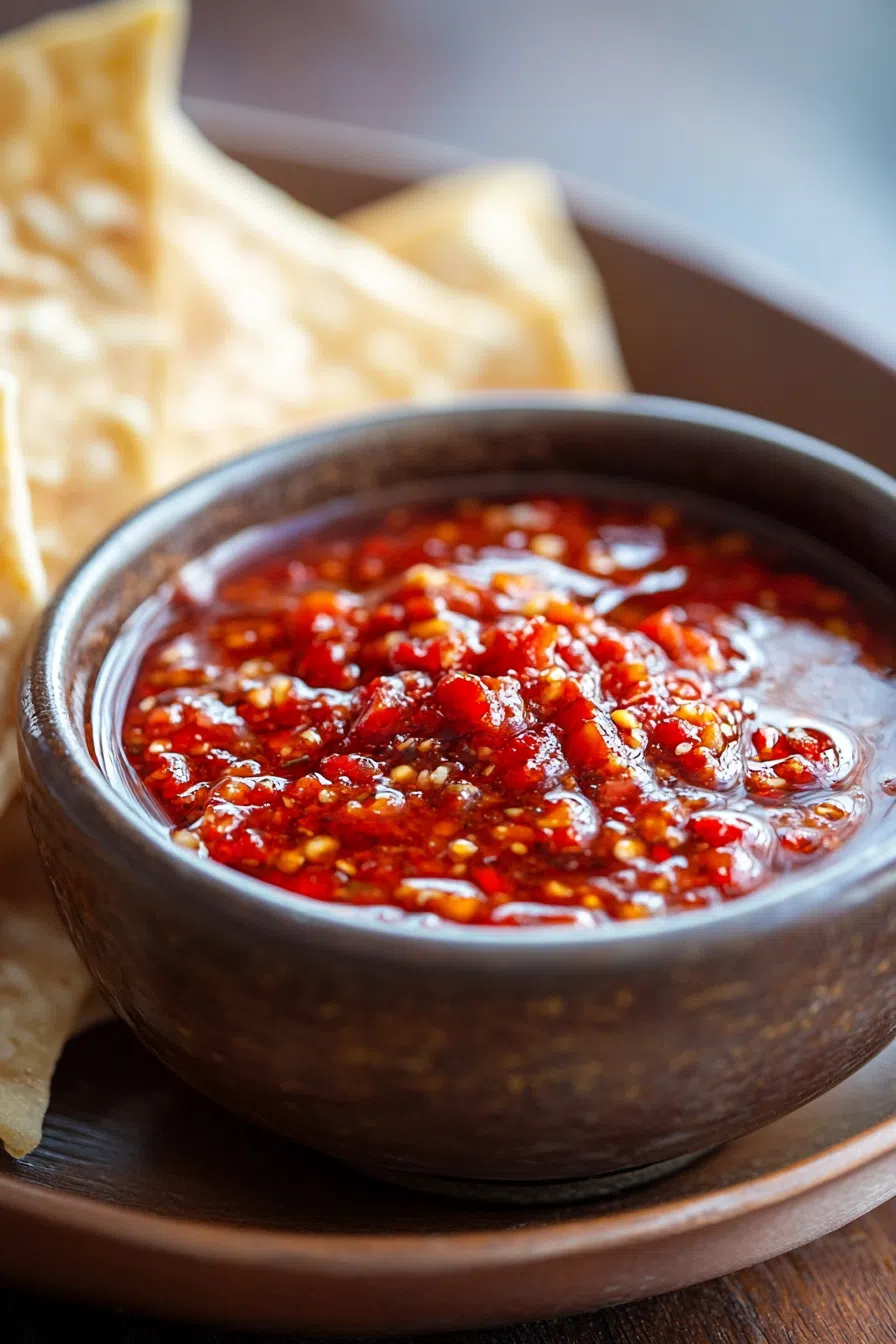
Spoon it into a clean jar. Pop it in the fridge. It keeps for weeks, but honestly? Ours never lasts that long.
Storage Options:
- Fridge: Up to 3 weeks. It gets even better as it sits, kind of like you’ve aged it in a magical flavor cave.
- Freezer: Freeze small portions if you made a double batch (do it!). Ice cube trays work great.
Variations and Substitutions:
- Mild it Down: Use red bell peppers or Fresnos instead of Thai chilies.
- Kick it Up: Add a few dried chilies to the mix.
- Zing Factor: Swap rice vinegar for apple cider vinegar. It’s fruitier.
- Sweet Switch: Try honey instead of brown sugar. It gives a floral twist.
- Extra Depth: Stir in a splash of soy or fish sauce if you want to get fancy.
- Nutty Move: Add a hint of sesame oil at the end for that toasted vibe.
What to Serve with Homemade Chili Garlic Sauce?
- Eggs: Fried, scrambled, or boiled—this sauce loves them all.
- Noodles: Toss it into ramen or stir-fried noodles. Instant flavor bomb.
- Grilled Meat: Chicken skewers? Beef satay? This is your new best friend.
- Pizza: I know. But trust me.
- Dumplings: Forget the soy sauce—dip them in this.
Frequently Asked Questions:
Is this super spicy?
Oh yeah, it can be. But you can control it. Fewer chilies = gentler kick.
Do I have to use that much oil?
You can cut back, but the oil is what preserves it and makes it silky. Less oil means shorter shelf life.
How long does it keep?
In the fridge, about 3 weeks. It’ll get thicker over time but still tastes amazing.
Seriously, this Homemade Chili Garlic Sauce is one of those recipes you make once and wonder how you ever lived without it. I’m curious—what are you going to slather it on first? Leave a comment, or just tell me I’m not the only one eating it by the spoonful.
Happy cooking (and tasting)!
Keep the Flavor Coming – Try These:
Homemade Chili Garlic Sauce
Ingredients
- 1 cup fresh Thai chilies stems removed
- 6 cloves fresh garlic peeled
- 2 tablespoons rice vinegar or white vinegar
- 1 tablespoon light brown sugar
- 1 tablespoon salt
- 1½ cups neutral oil such as extra light olive oil or vegetable oil
Instructions
Prepare the Chili-Garlic Mixture:
- In a food processor, combine the Thai chilies, garlic cloves, rice vinegar, light brown sugar, and salt. Process the ingredients until finely chopped, forming a thick, coarse paste.
Cook the Chili-Garlic Paste:
- In a heavy-bottomed saucepan, heat ½ cup of neutral oil over medium heat. Once warmed, carefully add the chili-garlic paste. Stir continuously to prevent scorching, and cook over medium-high heat for 8 to 9 minutes. The mixture should reduce in volume and change color from pale pink to a rich, deep red, indicating that the water has evaporated.
Add Remaining Oil:
- Once the mixture has thickened, add the remaining 1 cup of neutral oil. Stir thoroughly to combine, ensuring the sauce develops a smooth, cohesive consistency. Remove the pan from heat and allow the sauce to cool completely at room temperature.
Store the Sauce:
- Transfer the cooled Homemade Chili Garlic Sauce into a clean, airtight glass jar. For optimal freshness, refrigerate the sauce if it will not be consumed within a few days. When properly stored, the sauce may be kept refrigerated for up to 3 weeks.
Notes
I’m Bitty, owner of nodashofgluten.com, where I share simple, delicious recipes for all tastes, including gluten-free. Check out my “About Me” page for more info!