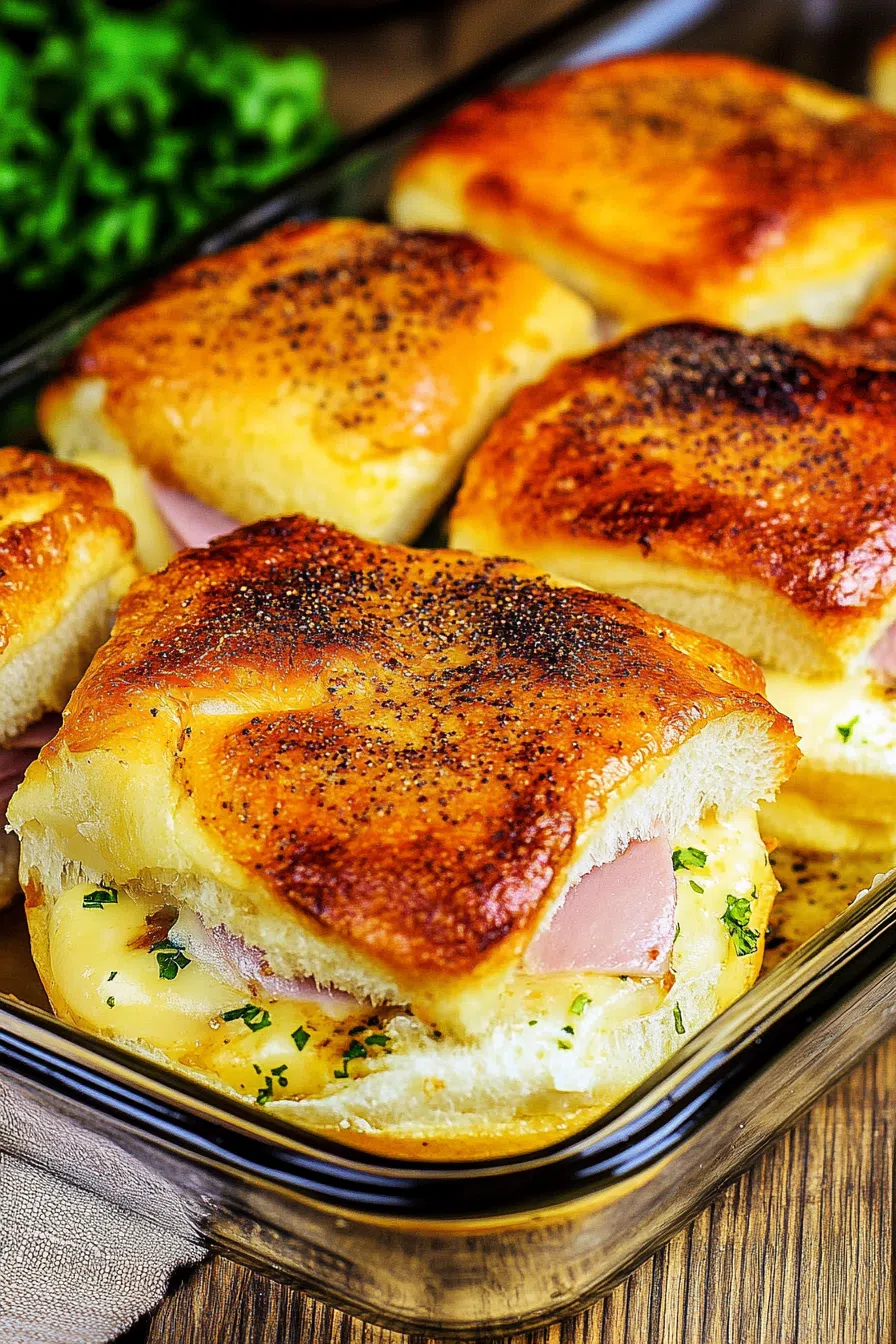
Sweet Hawaiian rolls layered with ham, Swiss cheese, butter, mustard, and onion—these baked ham and Swiss sandwiches are a melty, crave-worthy classic.
I didn’t grow up with baked sandwiches. My mom was more of a “turkey on white, no mayo” kinda woman. If you wanted something toasted, you used the microwave and hoped for the best. So, when I stumbled across the idea for these Hawaiian Baked Ham and Swiss Sandwiches, it wasn’t out of nostalgia—it was out of desperation.
It was right after Thanksgiving, one of those weird in-between days where you’re kind of full from leftovers but still want something warm. I had ham in the fridge, a bag of Swiss from who knows when, and a pack of King’s Hawaiian rolls that had survived the holiday. Oh, and the oven worked. That’s pretty much all I had going for me.


I threw it together—not really measuring, just feeling it out—and when they came out of the oven? Golden tops, gooey middles, the kind of smell that makes you hungry even when you’re not. My husband walked in and literally said, “Whoa, what’s that?” which is code for: I’m about to eat four of those before dinner.
Ever since, this has been the thing I make when I want something cozy but not complicated. It’s been to family game nights, tailgates, even one particularly chaotic baby shower. And yes, I’ve eaten them standing at the counter with the fridge door still open. No shame.
Why You’ll Love This Hawaiian Baked Ham and Swiss Sandwiches Recipe?
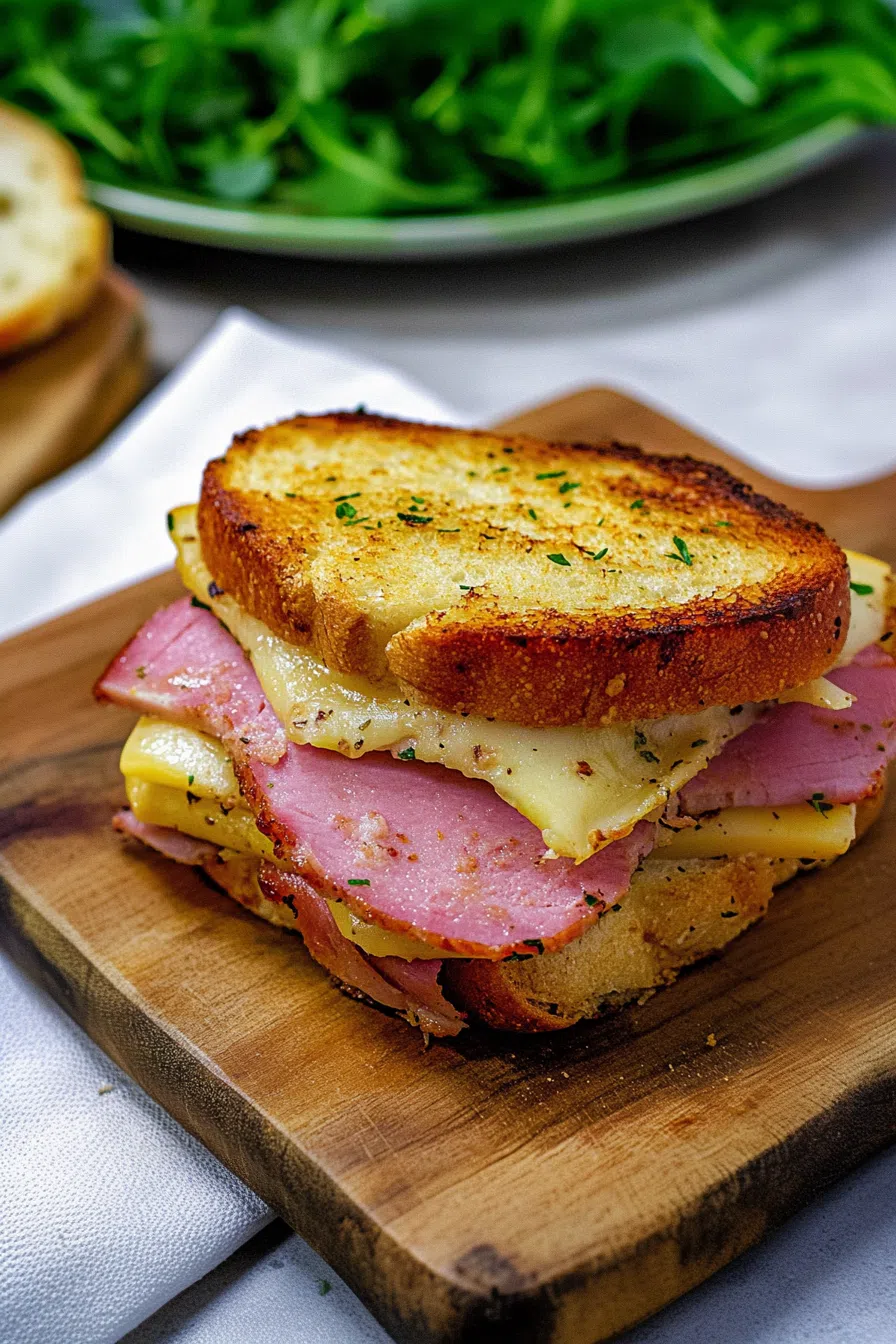
They’re kinda magical. It’s that perfect balance—sweet, salty, melty, a little crispy on the edges, soft in the middle. It hits every comfort-food note, but still feels like you “made something.” You know?
The best part? You don’t need a culinary degree or 47 ingredients. Just layer everything into a baking dish, pour the buttery sauce over the top, and let the oven do the work. No flipping sandwiches. No fuss. Just… joy.
Also, the way people look at you when you walk into a room with a pan of these? Feels a little like fame.

Ingredient Notes:
I don’t always measure exactly when I make these, but here’s the general rundown:
-
King’s Hawaiian Rolls: Soft, sweet, and weirdly addictive. They’re the foundation. You can technically use other rolls, but… you’ll miss that signature flavor.
-
Sliced honey baked ham: I usually go with deli-sliced, but leftover ham? Even better. Thicker slices make it feel more like a sandwich. Thin slices are easier to stack. I’m indecisive, so I do both.
-
Swiss cheese: It melts beautifully and has that subtle nutty thing that plays so well with ham. I’ve tried provolone too—still great.
-
Unsalted butter: For the glaze. Melt it down, mix it up, and watch it turn everything golden and beautiful.
-
Honey mustard: This makes the glaze pop. Sweet and tangy in all the right ways. If you’re not a mustard person… honestly? Still try it.
-
Dried minced onion: Don’t overthink it. It adds a savory little something that fresh onion just doesn’t.
-
Worcestershire sauce: Tiny splash, big impact. Adds that “I can’t put my finger on it but it’s so good” flavor.
How To Make Hawaiian Baked Ham and Swiss Sandwiches?
Step 1: Preheat your oven and breathe.
Crank it to 350°F. Spray a 9×13 baking dish with whatever nonstick spray you’ve got. Or butter, if you’re feeling fancy.
Step 2: Whip up that glaze.
In a bowl, stir together the melted butter, honey mustard, minced onion, and Worcestershire sauce. It’ll smell strong. That’s a good sign. It softens once baked. Trust the process.
Step 3: Sandwich assembly time.
Slice the rolls in half as one big sheet. Like a sandwich lasagna. Put the bottoms in the pan. Layer on ham. Then cheese. Then more ham if you’re chaotic like me. Place the tops back on.
Step 4: Pour and prep for oven magic.
Pour that buttery glaze evenly over the top. Make sure each roll gets love. Cover with foil and bake for 20 minutes. Then remove the foil and bake another 10-15 minutes until the tops are golden and the cheese is trying to escape the sides.
Step 5: Let them sit. Briefly.
Wait 5 minutes. Seriously. Just enough so you don’t burn your mouth (like I did the first time). Then dig in. They’re best warm, but I’ve been known to eat them cold straight from the fridge too.

Storage Options:
I’m usually left with maybe one lonely sandwich by the end of the night—if that. But if you do have extras, wrap them in foil and store them in the fridge. They’ll hold up for about 2–3 days. I like reheating them in the oven at 300°F for 10 minutes, but microwaving works too if you’re just not in the mood to wait. (Been there.)
Want To Save This Recipe?
Pro tip? Don’t toss the foil. That buttery glaze firms up in the fridge and kind of turns into its own flavor layer. It’s… weirdly amazing.
Variations and Substitutions:
This recipe begs for variation. Honestly, I don’t think I’ve made them exactly the same way twice.
-
Try different cheese: Havarti, provolone, cheddar… there’s no wrong move.
-
Turkey or roast beef instead of ham? Totally fair game. I once used leftover brisket. Regret nothing.
-
Spicy version: Add jalapeños or sriracha to the glaze. Wakes you right up.
-
Veggie twist: Roast some mushrooms or add a thin layer of sautéed spinach. (It still counts as comfort food, promise.)
-
Gluten-free rolls: Yep, those work too. Just check they’re sturdy enough to hold the glaze.
What to Serve with Hawaiian Baked Ham and Swiss Sandwiches?
-
Chips or fries: Because sometimes you just want that crunchy, salty sidekick.
-
Coleslaw or salad: Gives the illusion of balance.
-
Soup (especially tomato): Warm, cozy pairing. Bonus points if it’s raining outside.
-
Pickles: Trust me. That vinegary bite against the rich sandwich? Chef’s kiss.
-
Fruit salad: For your one friend who always “needs something fresh.”
Frequently Asked Questions:
Can I make these ahead of time?
Totally. Assemble everything the night before, but wait to pour the glaze until just before baking. Store covered in the fridge. They’ll taste freshly made—and save you time when you’ve got guests.
Can I freeze them?
Ehh. I’ve tried it. Not my favorite. The rolls get a little soggy, and the cheese texture changes. If you do, freeze before baking and reheat in the oven. But fresh is really where it’s at.
What if I hate mustard?
You probably won’t taste it as mustard-y as you think. It blends into the glaze. But if it’s a dealbreaker, swap it with a little mayo and honey or just skip it and use garlic butter instead.

If you’re looking for a meal that’s easy, ridiculously tasty, and feels like you tried harder than you did—this is the one. These Hawaiian Baked Ham and Swiss Sandwiches aren’t trying to be trendy or health-conscious. They’re just here to make you happy.
And honestly? Isn’t that what good food is supposed to do?
Give them a try. Change ’em up. Eat them in your PJs if you want. And if you’ve got a family favorite twist, I’d seriously love to hear it.
Keep the Flavor Coming – Try These:


Hawaiian Baked Ham and Swiss Sandwiches
Ingredients
- 1 stick ½ cup unsalted butter melted
- 1 tablespoon honey mustard
- 1 tablespoon dried minced onion
- 2 teaspoons Worcestershire sauce
- 15 King’s Hawaiian rolls
- 1 pound sliced honey baked ham
- Approximately 10 slices Swiss cheese
Instructions
Preheat the oven:
- Set the oven to 350°F (175°C) and allow it to preheat. Lightly grease a 9×13-inch baking dish with nonstick cooking spray or butter.
Prepare the glaze:
- In a medium-sized mixing bowl, combine the melted butter, honey mustard, dried minced onion, and Worcestershire sauce. Whisk until well blended and set aside.
Assemble the sandwiches:
- Without separating the rolls individually, slice the entire set of King’s Hawaiian rolls horizontally to create one top and one bottom slab. Place the bottom half in the prepared baking dish.
Layer with fillings:
- Evenly distribute the sliced ham over the bottom rolls. Layer the Swiss cheese on top of the ham. If desired, repeat the layers for additional fillings. Place the top half of the rolls back on to complete the sandwiches.
Apply the glaze:
- Spoon or brush the prepared glaze evenly over the tops of the rolls, ensuring full coverage. Allow the mixture to seep into the sides slightly.
Bake the sandwiches:
- Cover the dish with aluminum foil and bake for 20 minutes. Then remove the foil and continue baking for an additional 10 to 15 minutes, or until the tops are golden brown and the cheese is thoroughly melted.
Serve warm:
- Remove from the oven and let cool slightly before slicing and serving. These sandwiches are best enjoyed warm.
Notes
I’m Bitty, owner of nodashofgluten.com, where I share simple, delicious recipes for all tastes, including gluten-free. Check out my “About Me” page for more info!