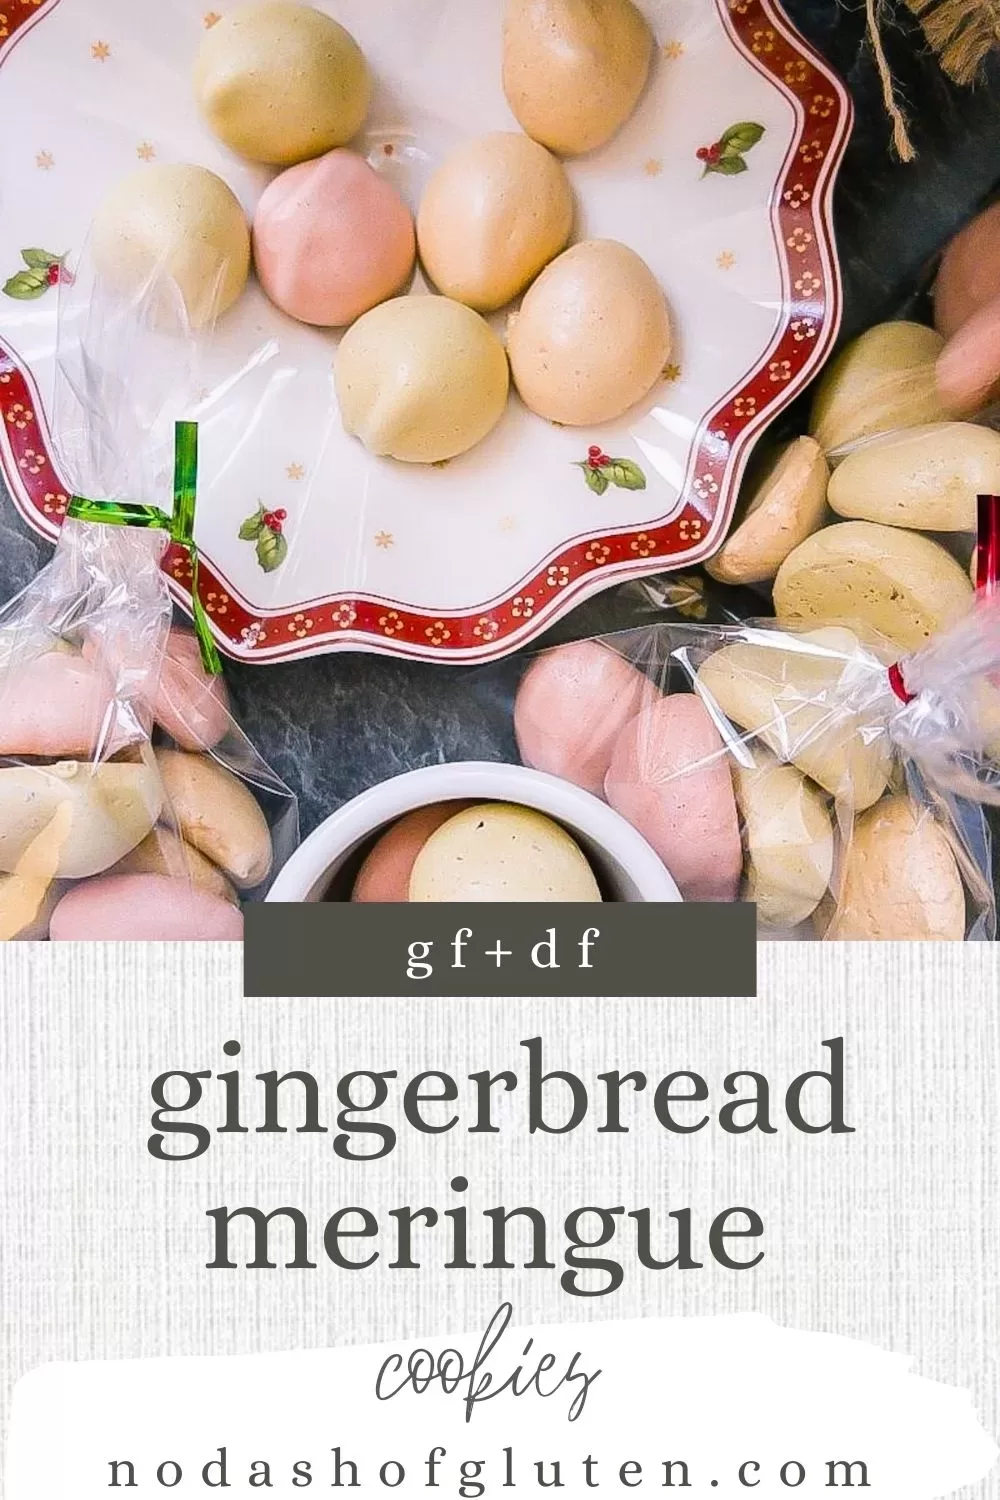
The best part about these gingerbread meringue cookies is you expect a completely different taste when you bite into a pink, green, or beige-colored meringue cookie! But you are then utterly surprised by the delicious gingerbread flavor.
This year I have rediscovered my love for meringues. As a goal, I have set myself to create colorful gingerbread flavored meringues to gift away to friends, relatives, and neighbors. A terrific, enjoyable, and very meditative pastime, I must say.
Meringue cookies are effortless to make, gluten-free, and can be combined with a wide variety of flavors.
What I particularly like about this year’s variant with gingerbread flavor (and this was also the feedback of my tasters) – you expect a completely different taste when you bite into a pink, green, or beige-colored meringue cookie! But you are then utterly surprised by the delicious gingerbread flavor.

Now let’s get started baking!
Related: Gluten-Free, Dairy-Free Chocolate Chip Cookies, Dairy Free Christmas Desserts
Gingerbread Meringue Cookies

This post may contain affiliate links. As an Amazon Services LLC Associates and RewardStyle affiliate, we may earn a small commission for any purchases made through affiliate links. Please read our disclaimer and disclosure statement for full details.
Ingredients
- 4 Egg whites
- 2 Tsp Gingerbread essence
- Salt
- 240 g Sugar
- Food color: red, green
Equipment
Want To Save This Recipe?
Instructions
- Before you start mixing everything together, heat your oven to 212°F/100°C convection (or 248°F/120°C top/bottom heat) and prepare several baking sheets with baking paper. I needed a total of three trays for all the meringue cookies.
- For the uncolored base, add the egg whites to a large mixing bowl with two teaspoons of gingerbread essence and a pinch of salt and beat until stiff. While doing this, slowly add the sugar.
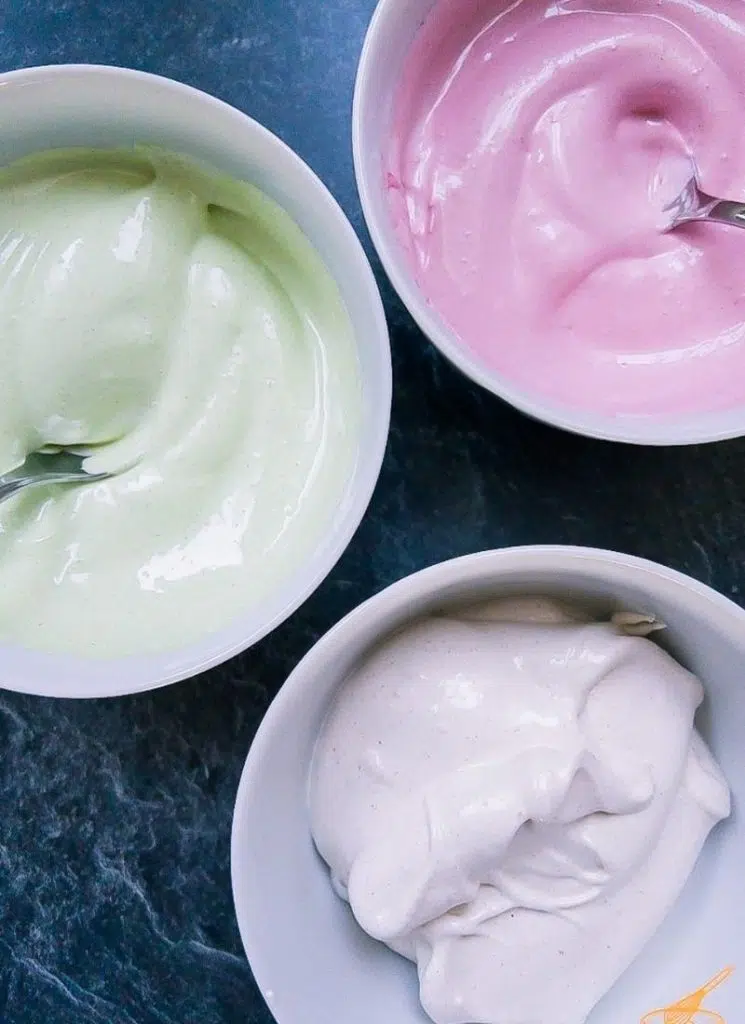
- Now divide the finished mixture into three small bowls to color it. One remains white/beige—the beige color results from the gingerbread essence I used, which gives a brownish touch. The other two are getting the color green and pink.
- Once everything is nicely colored, fill the first piping bag with a round tip. (To make filling up the piping bag easier, use a tall container in which you place the prepared piping bag.) This way, you have your hands free and can quickly fill the egg white mixture and then start piping right away.
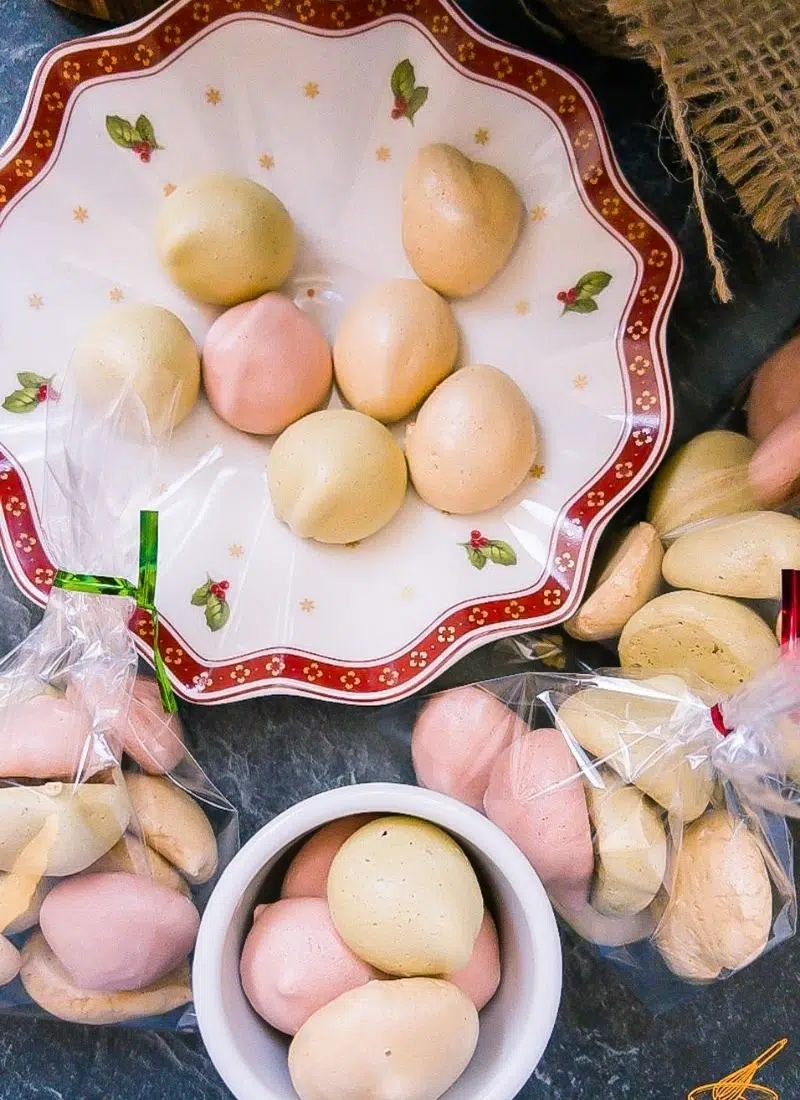
- Pipe the meringue mixture in the form of small drops onto the prepared baking sheet. Do this until the first piping bag is empty, and the baking sheet is most likely full.
- Let the meringue cookies dry in the oven for 1.5 hours.
- Before starting with the next color, clean the tip and prepare the next piping bag with one of the remaining colors. Rinse and repeat until all colors are done, and all sheets are full.
TIP: If you have the option to turn your oven on convection, I would recommend that, as it makes it much easier to dry three trays at a time. Otherwise, it would be best to dry them in order, as there is a risk that the cookies on the top sheet will get burnt.
Once your delicious meringue cookies are all done and cooled, store them in an airtight container until you are ready to gift them away.
Cookie Gift Boxes and Bags


Gingerbread Meringue Cookies
Ingredients
- 4 Egg whites
- 2 Tsp Gingerbread essence
- Salt
- 240 g Sugar
- Food color: red green
Instructions
- Before you start mixing everything together, heat your oven to 212°F/100°C convection (or 248°F/120°C top/bottom heat) and prepare several baking sheets with baking paper. I needed a total of three trays for all the meringue cookies.
- For the uncolored base, add the egg whites to a large mixing bowl with two teaspoons of gingerbread essence and a pinch of salt and beat until stiff. While doing this, slowly add the sugar.
- Now divide the finished mixture into three small bowls to color it. One remains white/beige—the beige color results from the gingerbread essence I used, which gives a brownish touch. The other two are getting the color green and pink.
- Once everything is nicely colored, fill the first piping bag with a round tip. (To make filling up the piping bag easier, use a tall container in which you place the prepared piping bag.) This way, you have your hands free and can quickly fill the egg white mixture and then start piping right away.
- Pipe the meringue mixture in the form of small drops onto the prepared baking sheet. Do this until the first piping bag is empty, and the baking sheet is most likely full.
- Let the meringue cookies dry in the oven for 1.5 hours.
- Before starting with the next color, clean the tip and prepare the next piping bag with one of the remaining colors. Rinse and repeat until all colors are done, and all sheets are full.
- TIP: If you have the option to turn your oven on convection, I would recommend that, as it makes it much easier to dry three trays at a time. Otherwise, it would be best to dry them in order, as there is a risk that the cookies on the top sheet will get burnt.
- Once your delicious meringue cookies are all done and cooled, store them in an airtight container until you are ready to gift them away.
Notes
- Mixing bowls
- Electric hand mixer
- Piping bag with a round tip
- Baking sheet
- Parchment paper
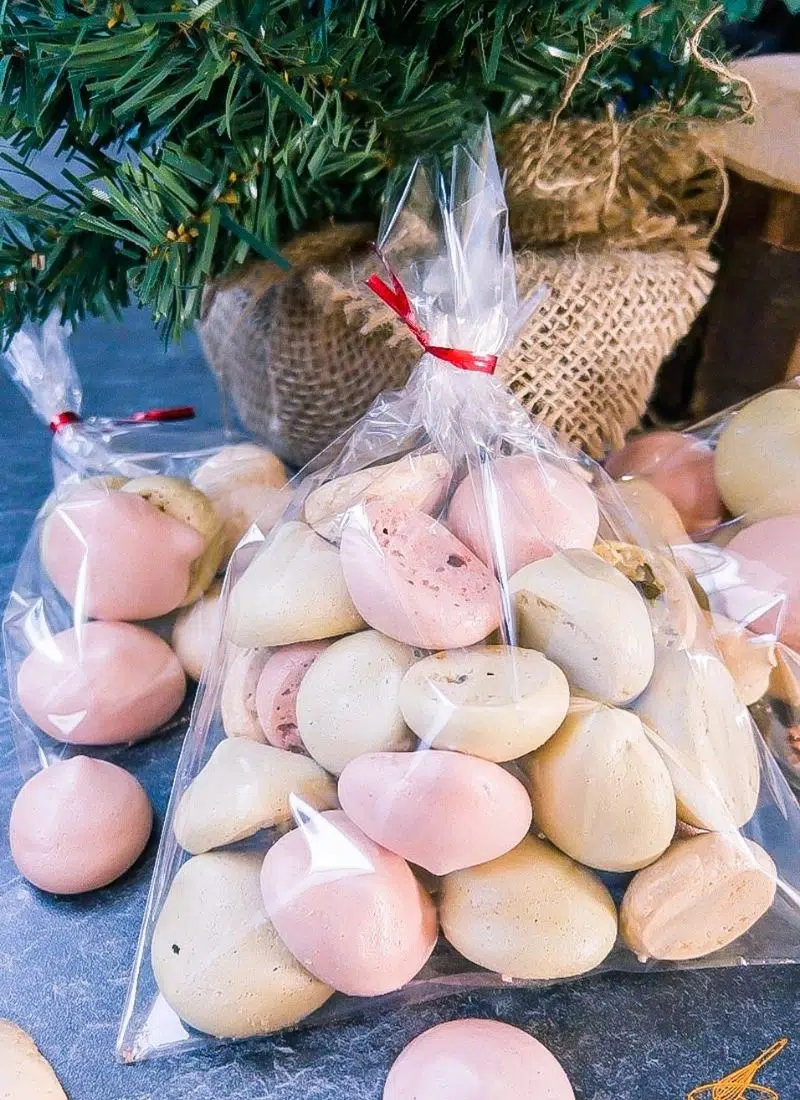
I packaged this homemade food gift in little chocolate bags. Looks adorable, doesn’t it?
And the nice thing is, you also did something for the environment with such a gift because homemade is personal, environmentally friendly, and cost-effective! Hooray!!! A win all the way around!
Check out my Combinegoodflavors blog if you’re on the hunt for other cookie and chocolate recipes.
I’m Bitty, owner of nodashofgluten.com, where I share simple, delicious recipes for all tastes, including gluten-free. Check out my “About Me” page for more info!