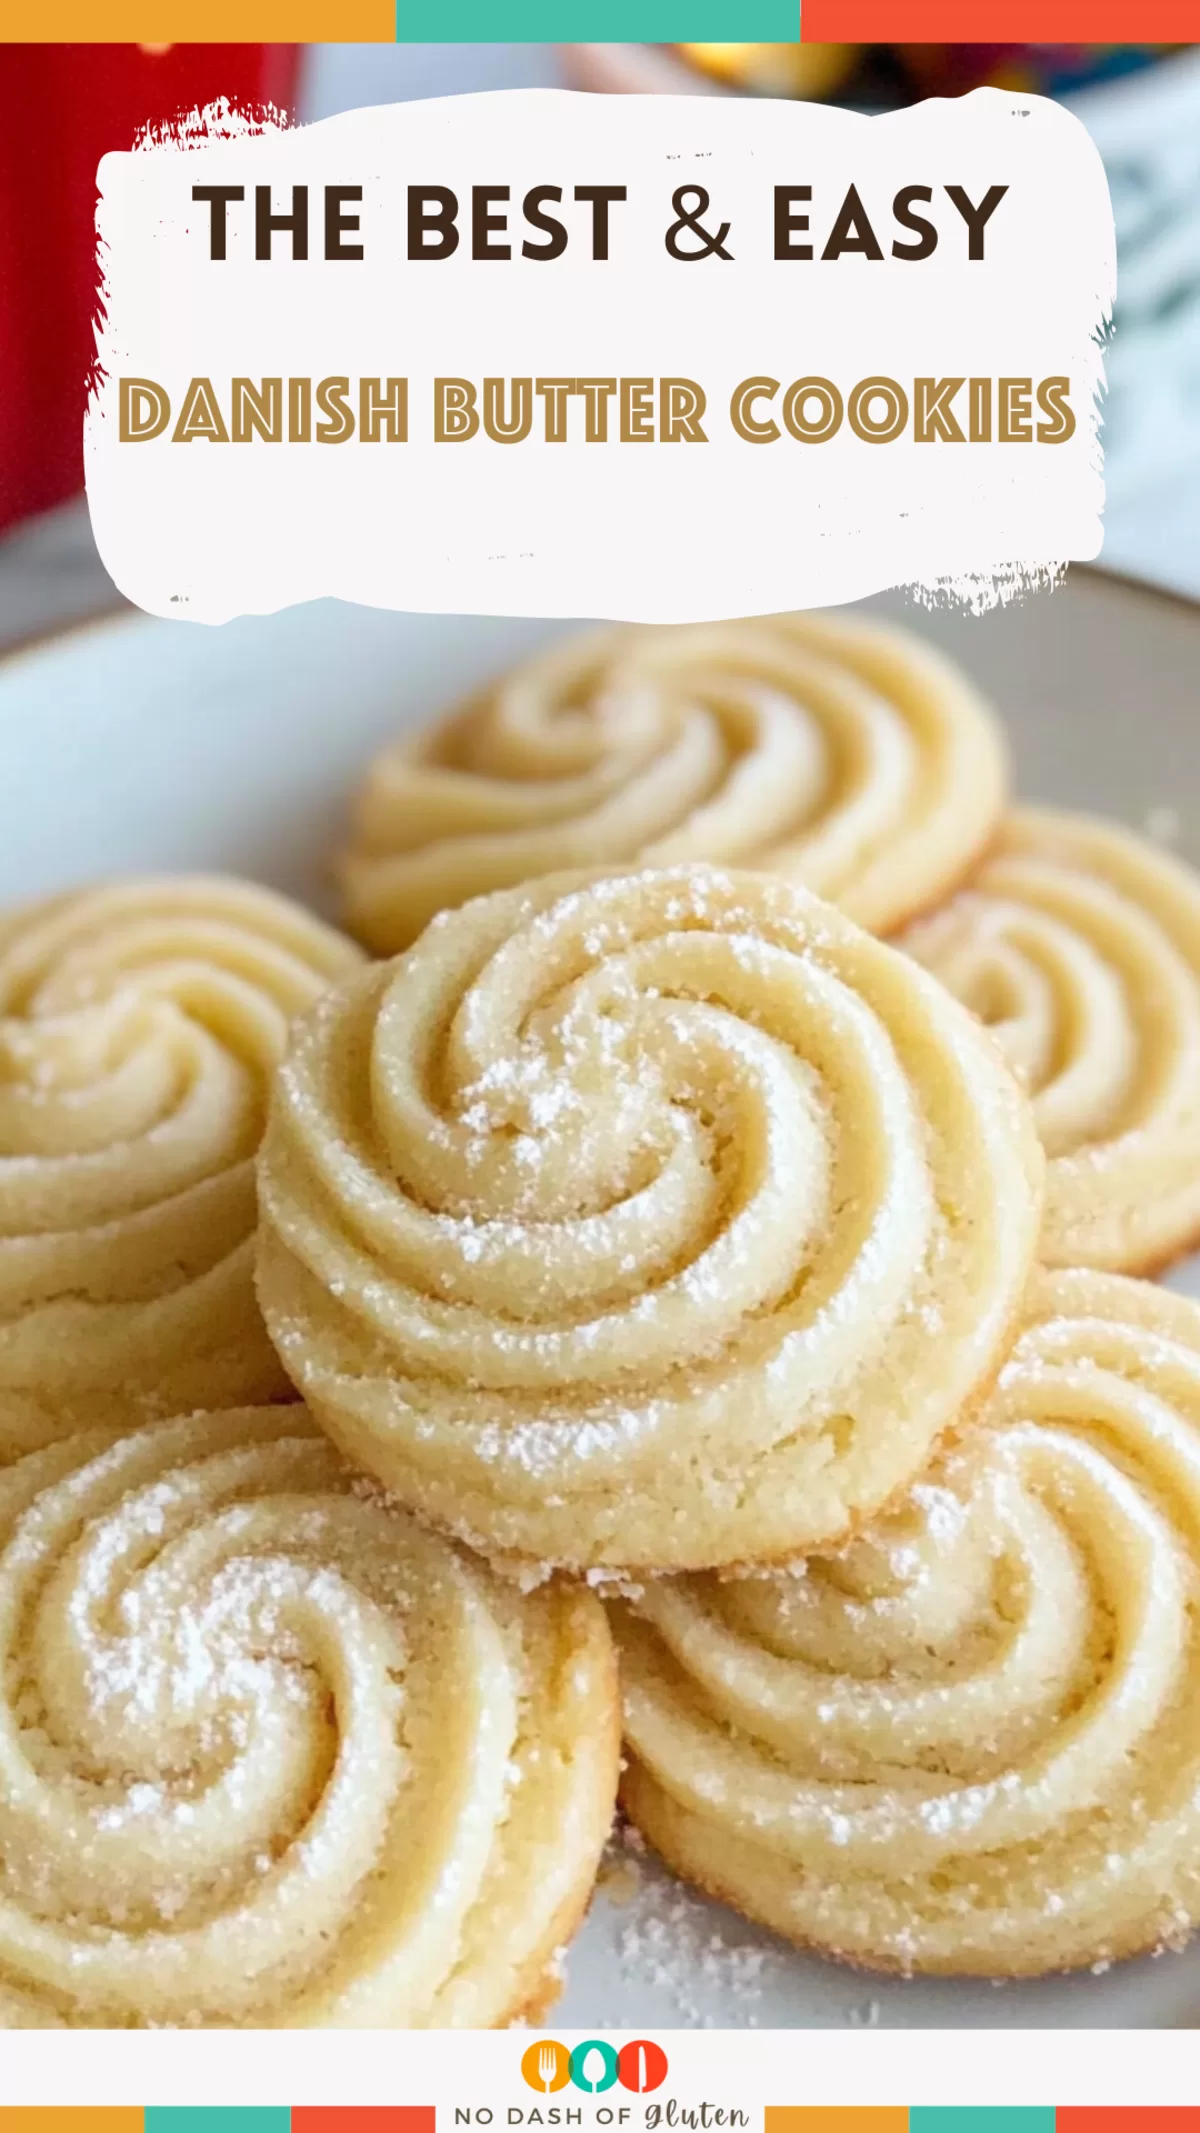
Danish Butter Cookies – Let me take you back to a time when opening a tin of Danish butter cookies felt like a little ceremony. Growing up, those blue tins were everywhere during the holidays—on coffee tables, in gift baskets, and, oddly enough, sometimes holding sewing supplies instead of cookies. Anyone else experience that disappointment?
The first time I tried making Danish butter cookies from scratch, I was skeptical. Could I really recreate that perfectly crisp, melt-in-your-mouth texture? But here’s the thing—these cookies are surprisingly simple, and they’re even better homemade. Plus, the aroma that fills your kitchen while they bake? Absolute magic.

These cookies remind me of family gatherings, where everyone fights over the last swirl in the tin. Now, I bake them for friends and family, and I’ve even started gifting them during the holidays. They’re always a hit, and honestly, they’ve become a little tradition in my house. Whether you grew up loving these cookies or you’re just discovering them, they’re bound to bring a smile.
Why You’ll Love This Danish Butter Cookies Recipe?
There’s a reason Danish butter cookies are a classic. Here’s why you’ll love making them:
- Simple, Familiar Ingredients: Just butter, powdered sugar, vanilla, and flour. Nothing fancy, just pure goodness.
- Melt-in-Your-Mouth Texture: Light, crisp, and buttery in all the best ways.
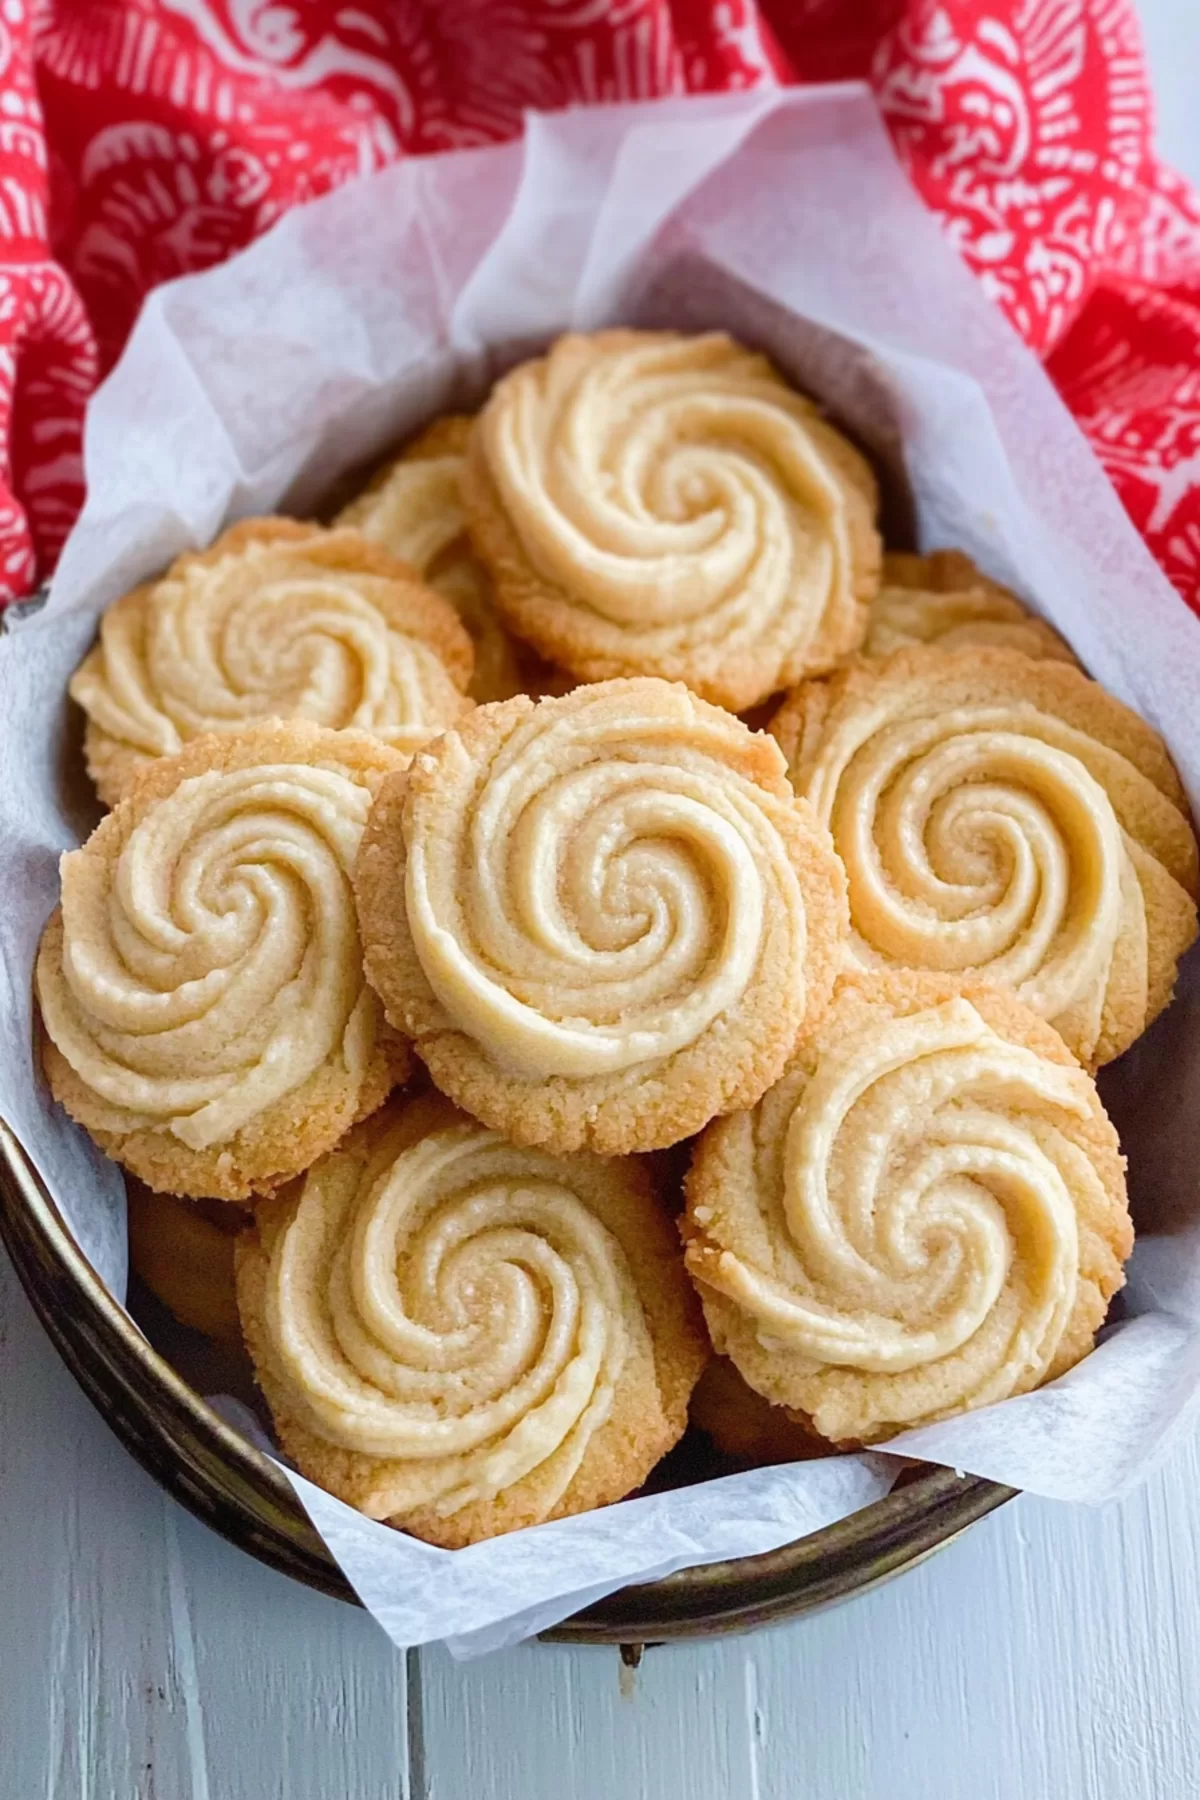
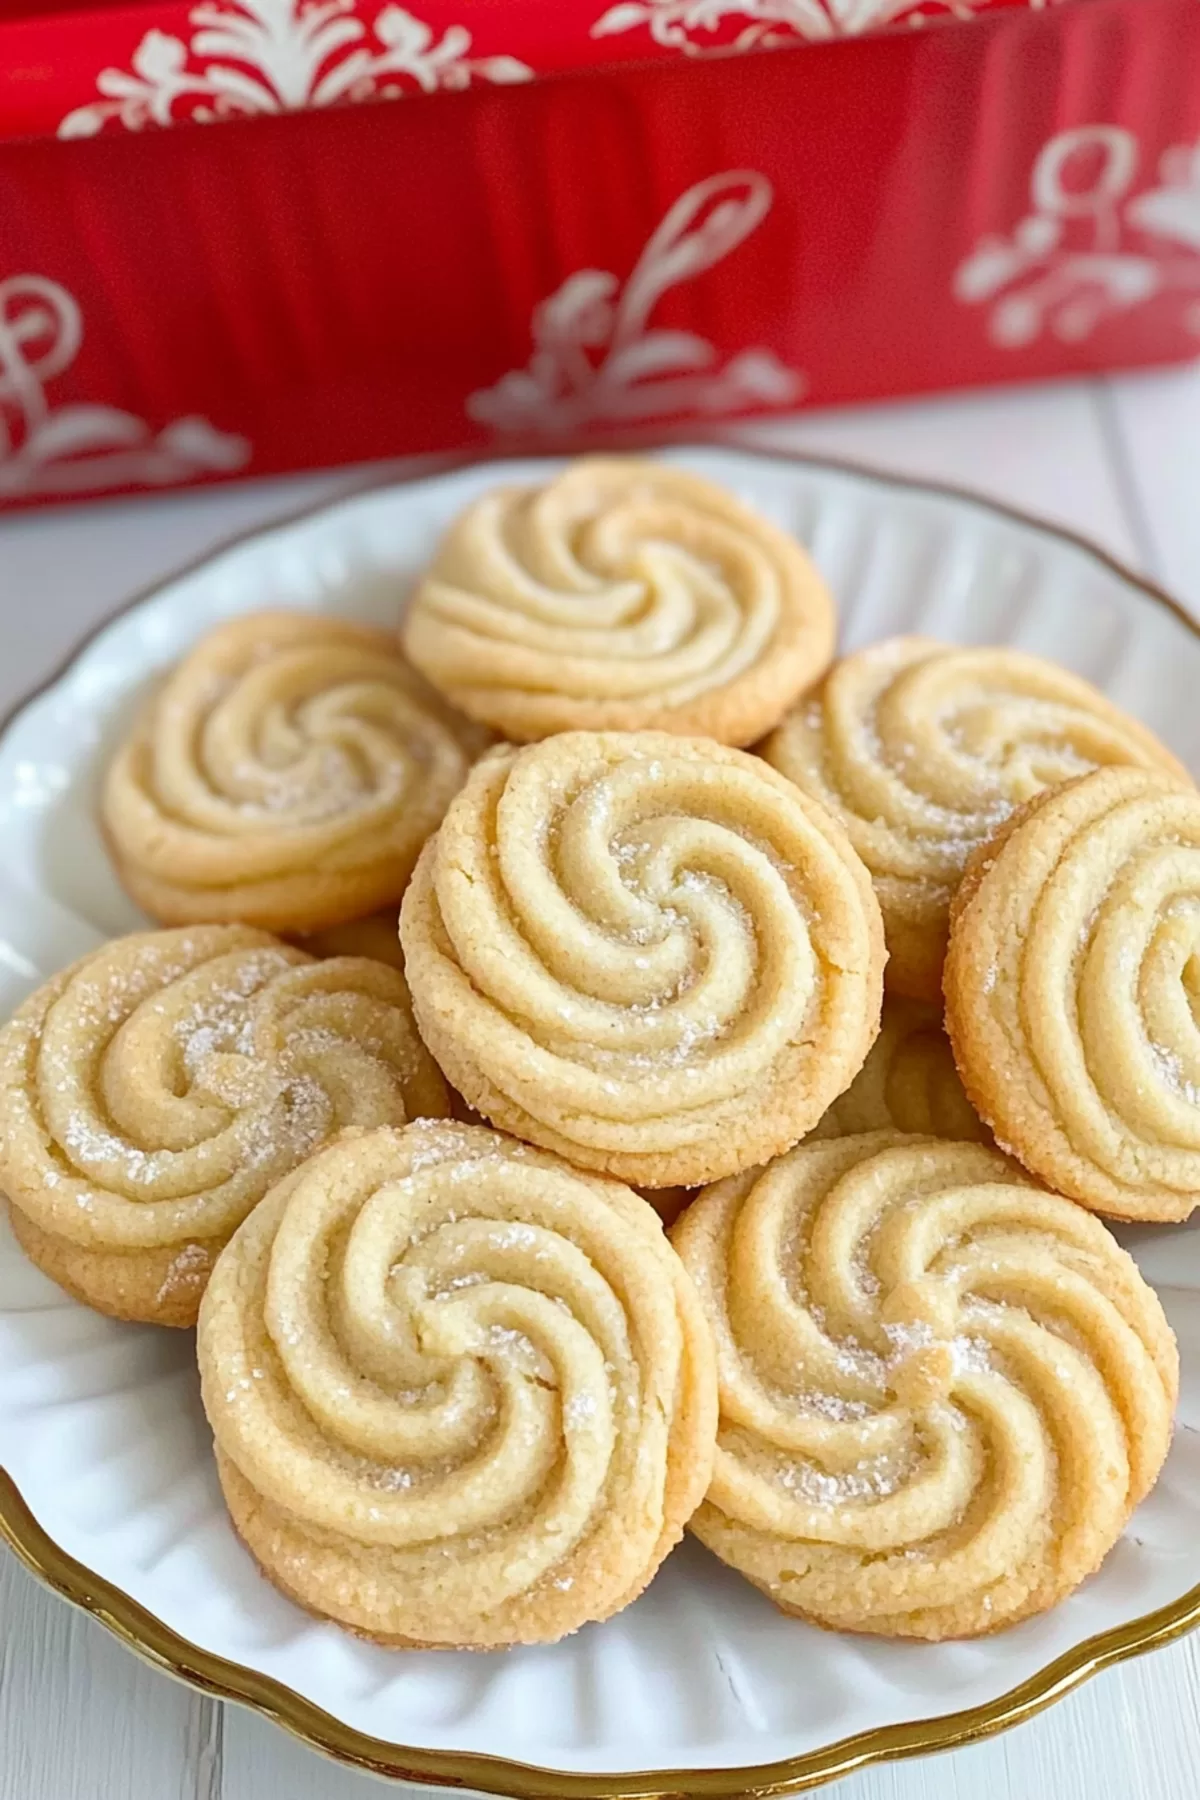
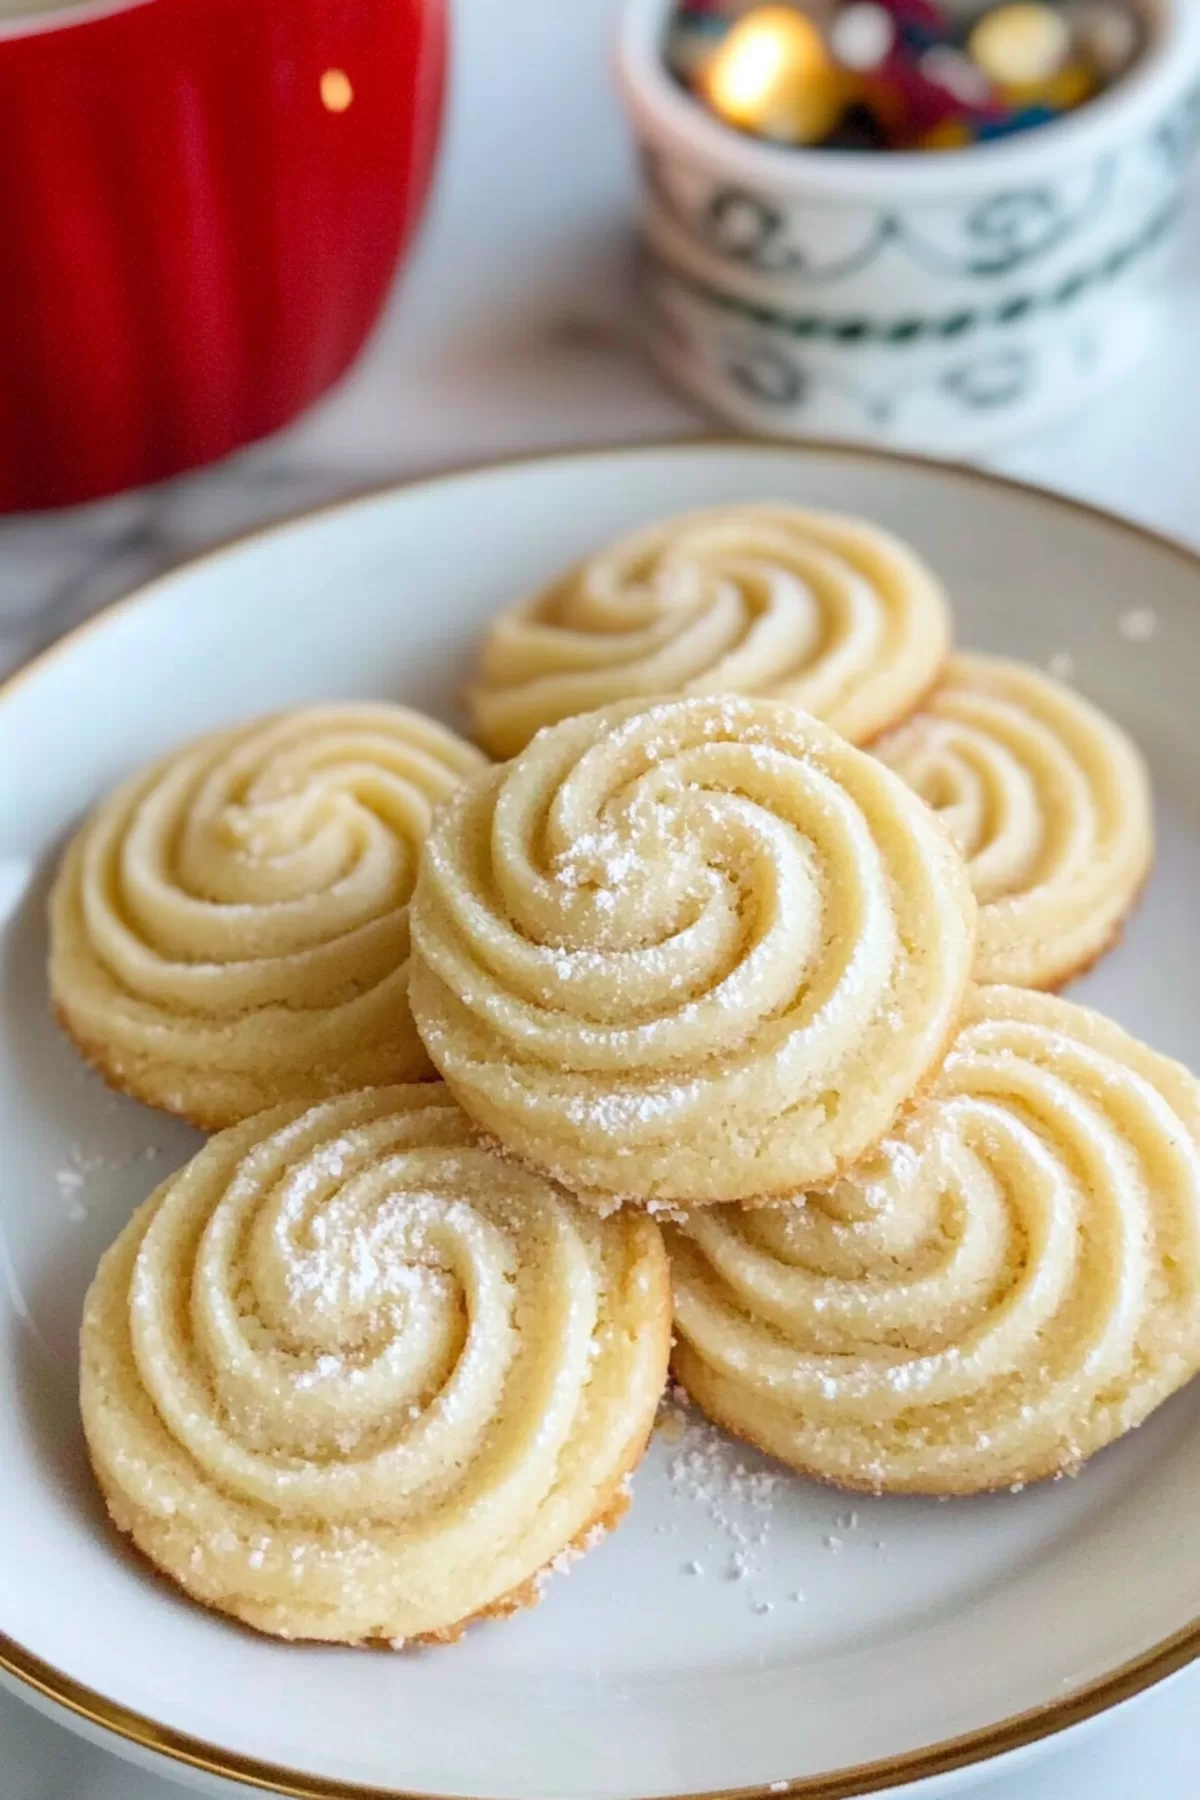
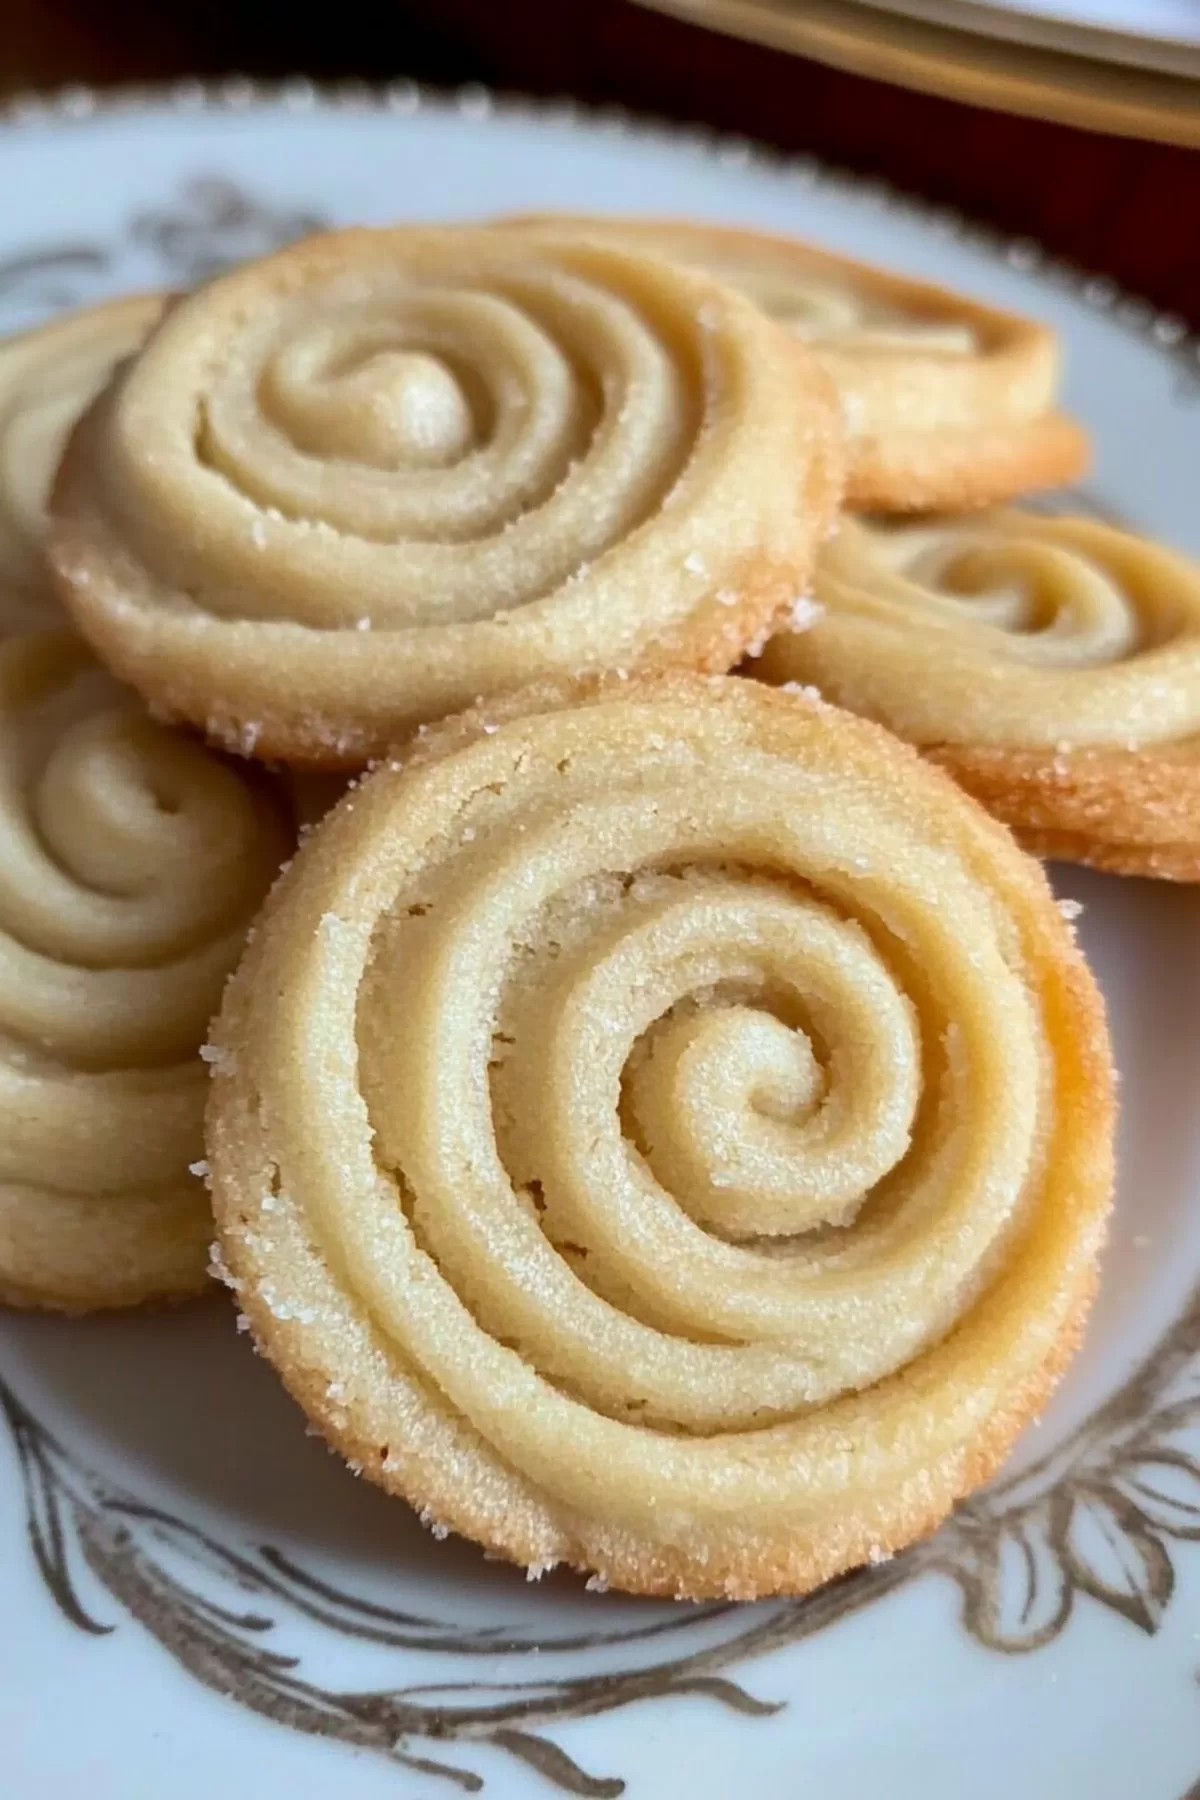
- Beautifully Piped Shapes: They look like you picked them up at a fancy bakery, but you made them in your own kitchen.
- Perfect for Sharing: Pack them in a tin, and you’ve got the ultimate homemade gift.
- Customizable: Add a drizzle of chocolate, a sprinkle of sugar, or even a hint of citrus.
Ingredient Notes:
Here’s why each ingredient is key to nailing that perfect Danish butter cookie texture:
- Butter: The star of the show. Go for unsalted, good-quality butter—it makes all the difference in flavor.
- Powdered Sugar: This isn’t just about sweetness. Powdered sugar gives the cookies that light, melt-in-your-mouth texture.
- Vanilla Extract: A little vanilla adds warmth and depth. Pure vanilla is ideal, but imitation works in a pinch.
- Flour: All-purpose flour works perfectly, but cake flour gives a slightly softer texture. Sift it to avoid lumps.
Pro Tip: Want an extra pop of flavor? Add a tiny pinch of salt to balance the sweetness. It’s subtle but worth it.
How To Make Danish Butter Cookies?
These cookies are easier than you think. Let’s break it down:
- Get the Butter Ready:
Start by letting your butter soften at room temperature. It should be soft enough to mix easily but not melting. Think of it as the Goldilocks of butter—just right. - Cream It Like You Mean It:
Beat the butter, powdered sugar, and vanilla extract together until the mixture is pale and fluffy. This takes about 5–8 minutes, and yes, your arm might get a little workout. But this step is what makes the cookies so light, so don’t skimp! - Add the Flour:
Sift the flour in small batches and gently fold it into the butter mixture. Take your time here—overmixing can make the dough tough, and nobody wants that. - Pipe the Cookies:
Scoop the dough into a piping bag fitted with a star tip. Pipe little swirls or circles onto a parchment-lined baking sheet. If the dough is too stiff to pipe, mix in a tablespoon of warm milk to loosen it up. - Chill and Relax:
Pop the piped cookies into the fridge for 30 minutes. This step keeps the cookies from spreading too much in the oven, so don’t skip it. Use this time to clean up or, let’s be honest, scroll through your phone. - Bake to Perfection:
Preheat your oven to 300°F (150°C). Bake the cookies for 13–15 minutes, or until the edges are just starting to turn golden. Let them cool on the baking sheet for about 10 minutes before moving them to a wire rack. - Optional Fancy Touches:
Feeling extra? Sprinkle sugar on the cookies before baking or drizzle them with chocolate once they’ve cooled. Either way, they’re stunning.
Storage Options:
Danish butter cookies are great for making ahead or storing for later:
Want To Save This Recipe?
Enter your email below and we'll send the recipe straight to your inbox.
- At Room Temperature: Store in an airtight container for up to two weeks. They stay crisp and delicious.
- Freezer-Friendly: Freeze-baked cookies in a sealed container for up to three months. Thaw at room temperature before enjoying.
Variations and Substitutions:
Want to mix things up? Here are some ideas:
- Citrus Twist: Add a teaspoon of lemon or orange zest to the dough for a fresh flavor.
- Chocolate Lovers: Drizzle cooled cookies with melted chocolate or dip one side for a fancy touch.
- Almond or Hazelnut: Swap vanilla extract for almond or hazelnut extract for a nutty kick.
- Gluten-Free: Use a 1:1 gluten-free baking flour. The texture might change slightly, but they’ll still be delicious.
What to Serve with Danish Butter Cookies?
These cookies are versatile and pair beautifully with:
- Hot Beverages: Coffee, tea, or hot cocoa—they all complement the buttery richness.
- Ice Cream: Crumble cookies over vanilla ice cream for a simple yet indulgent dessert.
- Fruit: Pair with fresh berries or a fruit salad for a light contrast.
- Cheese Plate: Yes, really! These cookies go surprisingly well with mild, creamy cheeses like brie.
Frequently Asked Questions:
Why is my dough too stiff to pipe?
If the dough feels stubborn, mix in a tablespoon of warm milk. It’ll loosen right up and make piping easier.
Can I skip chilling the cookies?
I wouldn’t. Chilling helps them hold their shape, so your swirls stay pretty instead of melting into blobs.
How do I know when they’re done?
Look for edges that are just turning golden. The cookies will firm up as they cool, so don’t overbake them.
There you have it—Danish butter cookies that are simple, classic, and impossible to resist. Whether you’re baking for a holiday gathering, a thoughtful gift, or just because you’re craving something sweet, these cookies never disappoint. Give them a try, and let me know how they turn out! Did you drizzle them with chocolate? Add a citrus twist? Can’t wait to hear your take!
<Remember it later>
Planning to try this recipe soon? Pin it for a quick find later!
<Remember it later>
Planning to try this recipe soon? Pin it for a quick find later!
Danish Butter Cookies
Ingredients
- ½ cup unsalted butter softened at room temperature
- ½ cup powdered sugar
- 1 teaspoon pure vanilla extract
- 1 cup cake flour or all-purpose flour sifted
Instructions
Prepare the Butter:
- Remove the butter from the refrigerator at least one hour before baking to allow it to soften. The butter should be soft to the touch but not melted.
Cream Butter and Sugar:
- In a large mixing bowl, use a handheld or stand mixer to cream the butter, powdered sugar, and vanilla extract together. Beat the mixture on medium speed for 5–8 minutes until it becomes light in color and fluffy in texture.
Incorporate the Flour:
- Gradually sift the flour into the creamed butter mixture in three batches, folding it gently after each addition. Continue folding until all the flour is fully incorporated, and the dough is smooth and uniform.
Shape the Cookies:
- Transfer the dough to a piping bag fitted with a star tip (such as a 1M nozzle). Pipe swirls or circles of dough onto a baking sheet lined with parchment paper or a silicone baking mat. Ensure adequate spacing between cookies.
Adjust Dough Consistency (Optional):
- If the dough feels too stiff to pipe, add one tablespoon of warm milk to soften it. Mix gently and try piping again.
Chill the Cookies:
- Place the baking sheet with the piped cookies into the refrigerator for 30 minutes. Chilling the dough helps the cookies retain their shape during baking.
Preheat the Oven:
- While the cookies are chilling, preheat the oven to 300°F (150°C).
Bake the Cookies:
- Bake the cookies in the preheated oven for 13–15 minutes, or until the edges are lightly golden. Monitor closely to avoid overbaking.
Cool the Cookies:
- Remove the baking sheet from the oven and allow the cookies to cool on the sheet for 10 minutes. Carefully transfer them to a wire rack to cool completely before serving or storing.
Optional Finishing Touches:
- Sprinkle granulated sugar over the cookies before baking for added texture or drizzle cooled cookies with melted chocolate for a decorative touch.
Notes

I’m Bitty, owner of nodashofgluten.com, where I share simple, delicious recipes for all tastes, including gluten-free. Check out my “About Me” page for more info!


