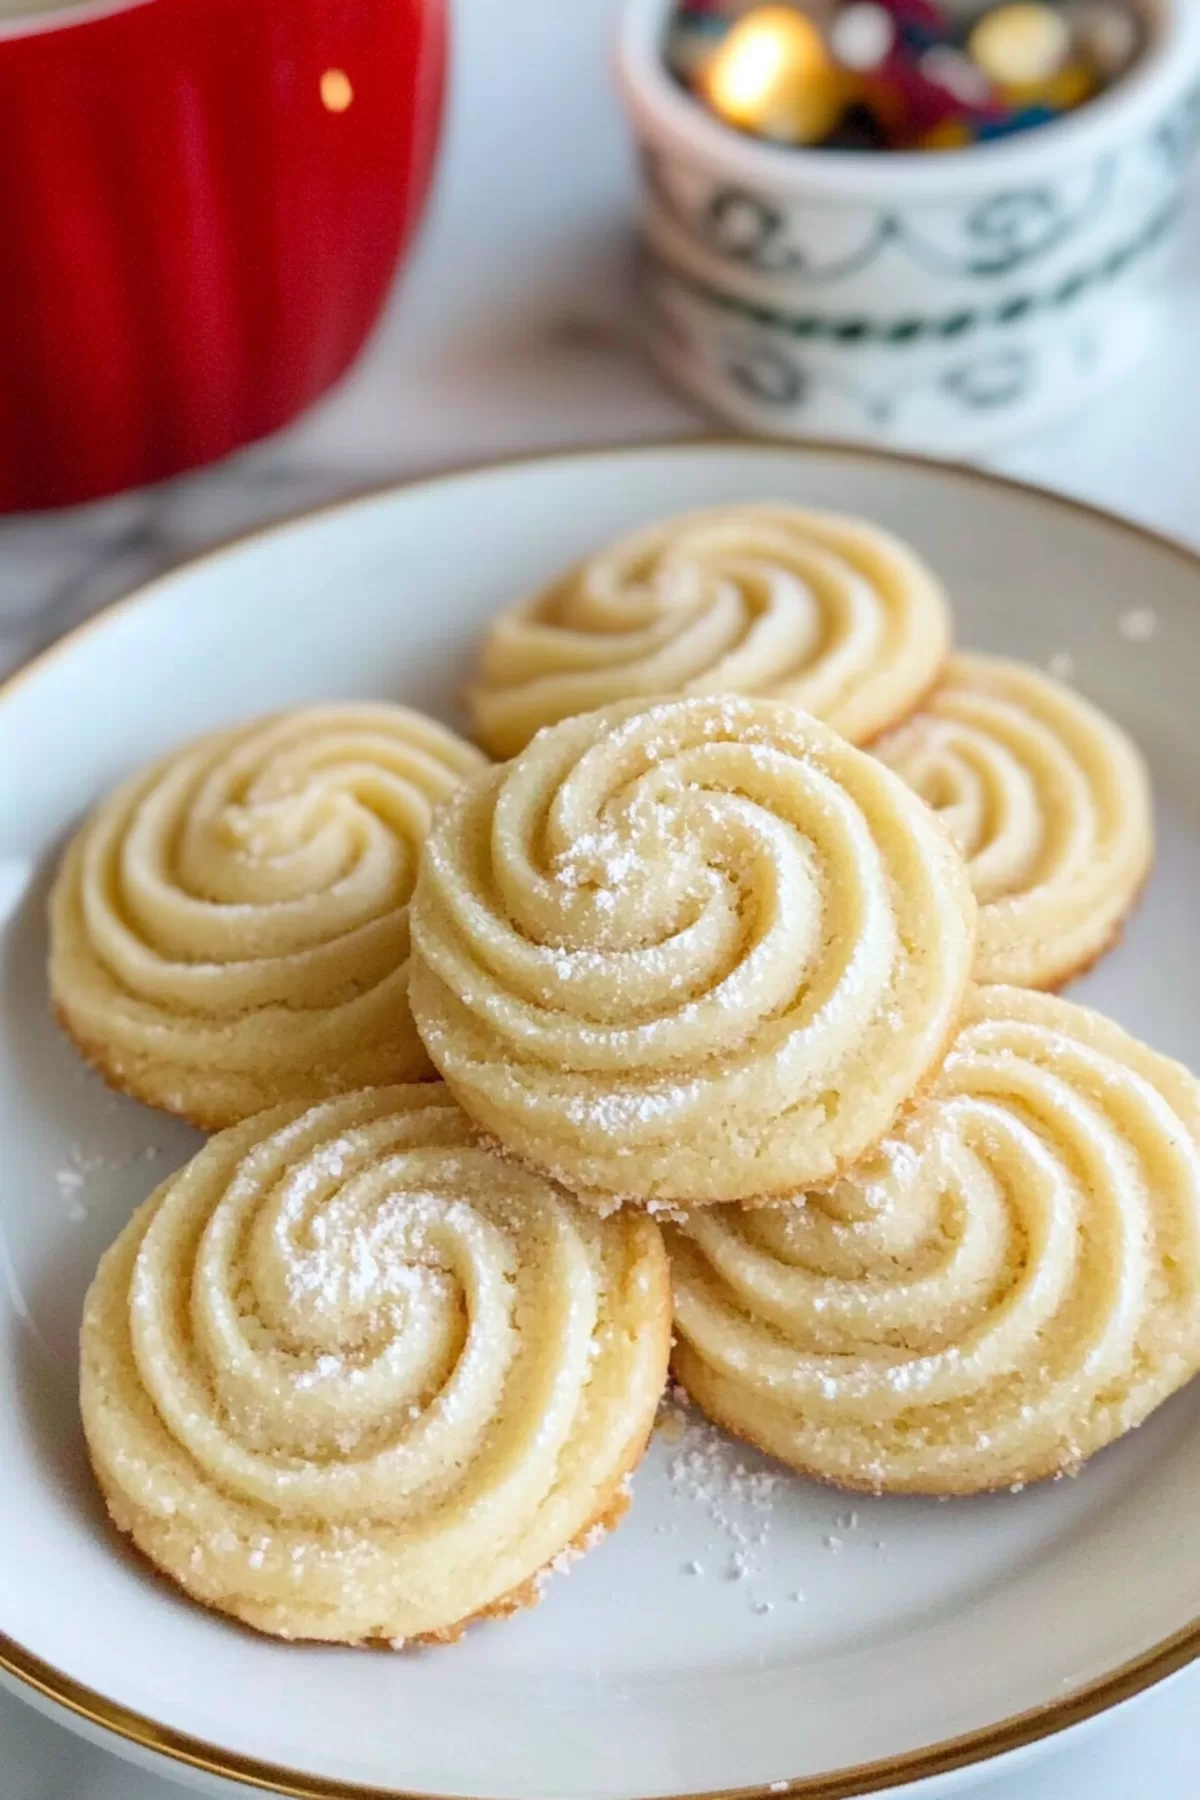
Danish Butter Cookies
Light, buttery, and delicately crisp, these Danish butter cookies are a classic treat made with just four simple ingredients. Perfect for any occasion, they’re easy to bake and utterly delicious.
14 Servings
Ingredients
- ½ cup unsalted butter softened at room temperature
- ½ cup powdered sugar
- 1 teaspoon pure vanilla extract
- 1 cup cake flour or all-purpose flour sifted
Instructions
Prepare the Butter:
- Remove the butter from the refrigerator at least one hour before baking to allow it to soften. The butter should be soft to the touch but not melted.
Cream Butter and Sugar:
- In a large mixing bowl, use a handheld or stand mixer to cream the butter, powdered sugar, and vanilla extract together. Beat the mixture on medium speed for 5–8 minutes until it becomes light in color and fluffy in texture.
Incorporate the Flour:
- Gradually sift the flour into the creamed butter mixture in three batches, folding it gently after each addition. Continue folding until all the flour is fully incorporated, and the dough is smooth and uniform.
Shape the Cookies:
- Transfer the dough to a piping bag fitted with a star tip (such as a 1M nozzle). Pipe swirls or circles of dough onto a baking sheet lined with parchment paper or a silicone baking mat. Ensure adequate spacing between cookies.
Adjust Dough Consistency (Optional):
- If the dough feels too stiff to pipe, add one tablespoon of warm milk to soften it. Mix gently and try piping again.
Chill the Cookies:
- Place the baking sheet with the piped cookies into the refrigerator for 30 minutes. Chilling the dough helps the cookies retain their shape during baking.
Preheat the Oven:
- While the cookies are chilling, preheat the oven to 300°F (150°C).
Bake the Cookies:
- Bake the cookies in the preheated oven for 13–15 minutes, or until the edges are lightly golden. Monitor closely to avoid overbaking.
Cool the Cookies:
- Remove the baking sheet from the oven and allow the cookies to cool on the sheet for 10 minutes. Carefully transfer them to a wire rack to cool completely before serving or storing.
Optional Finishing Touches:
- Sprinkle granulated sugar over the cookies before baking for added texture or drizzle cooled cookies with melted chocolate for a decorative touch.
Notes
To make these cookies gluten-free, substitute the cake or all-purpose flour with a 1:1 gluten-free baking flour blend. Ensure that all other ingredients, including the powdered sugar, are certified gluten-free by checking the product labels.